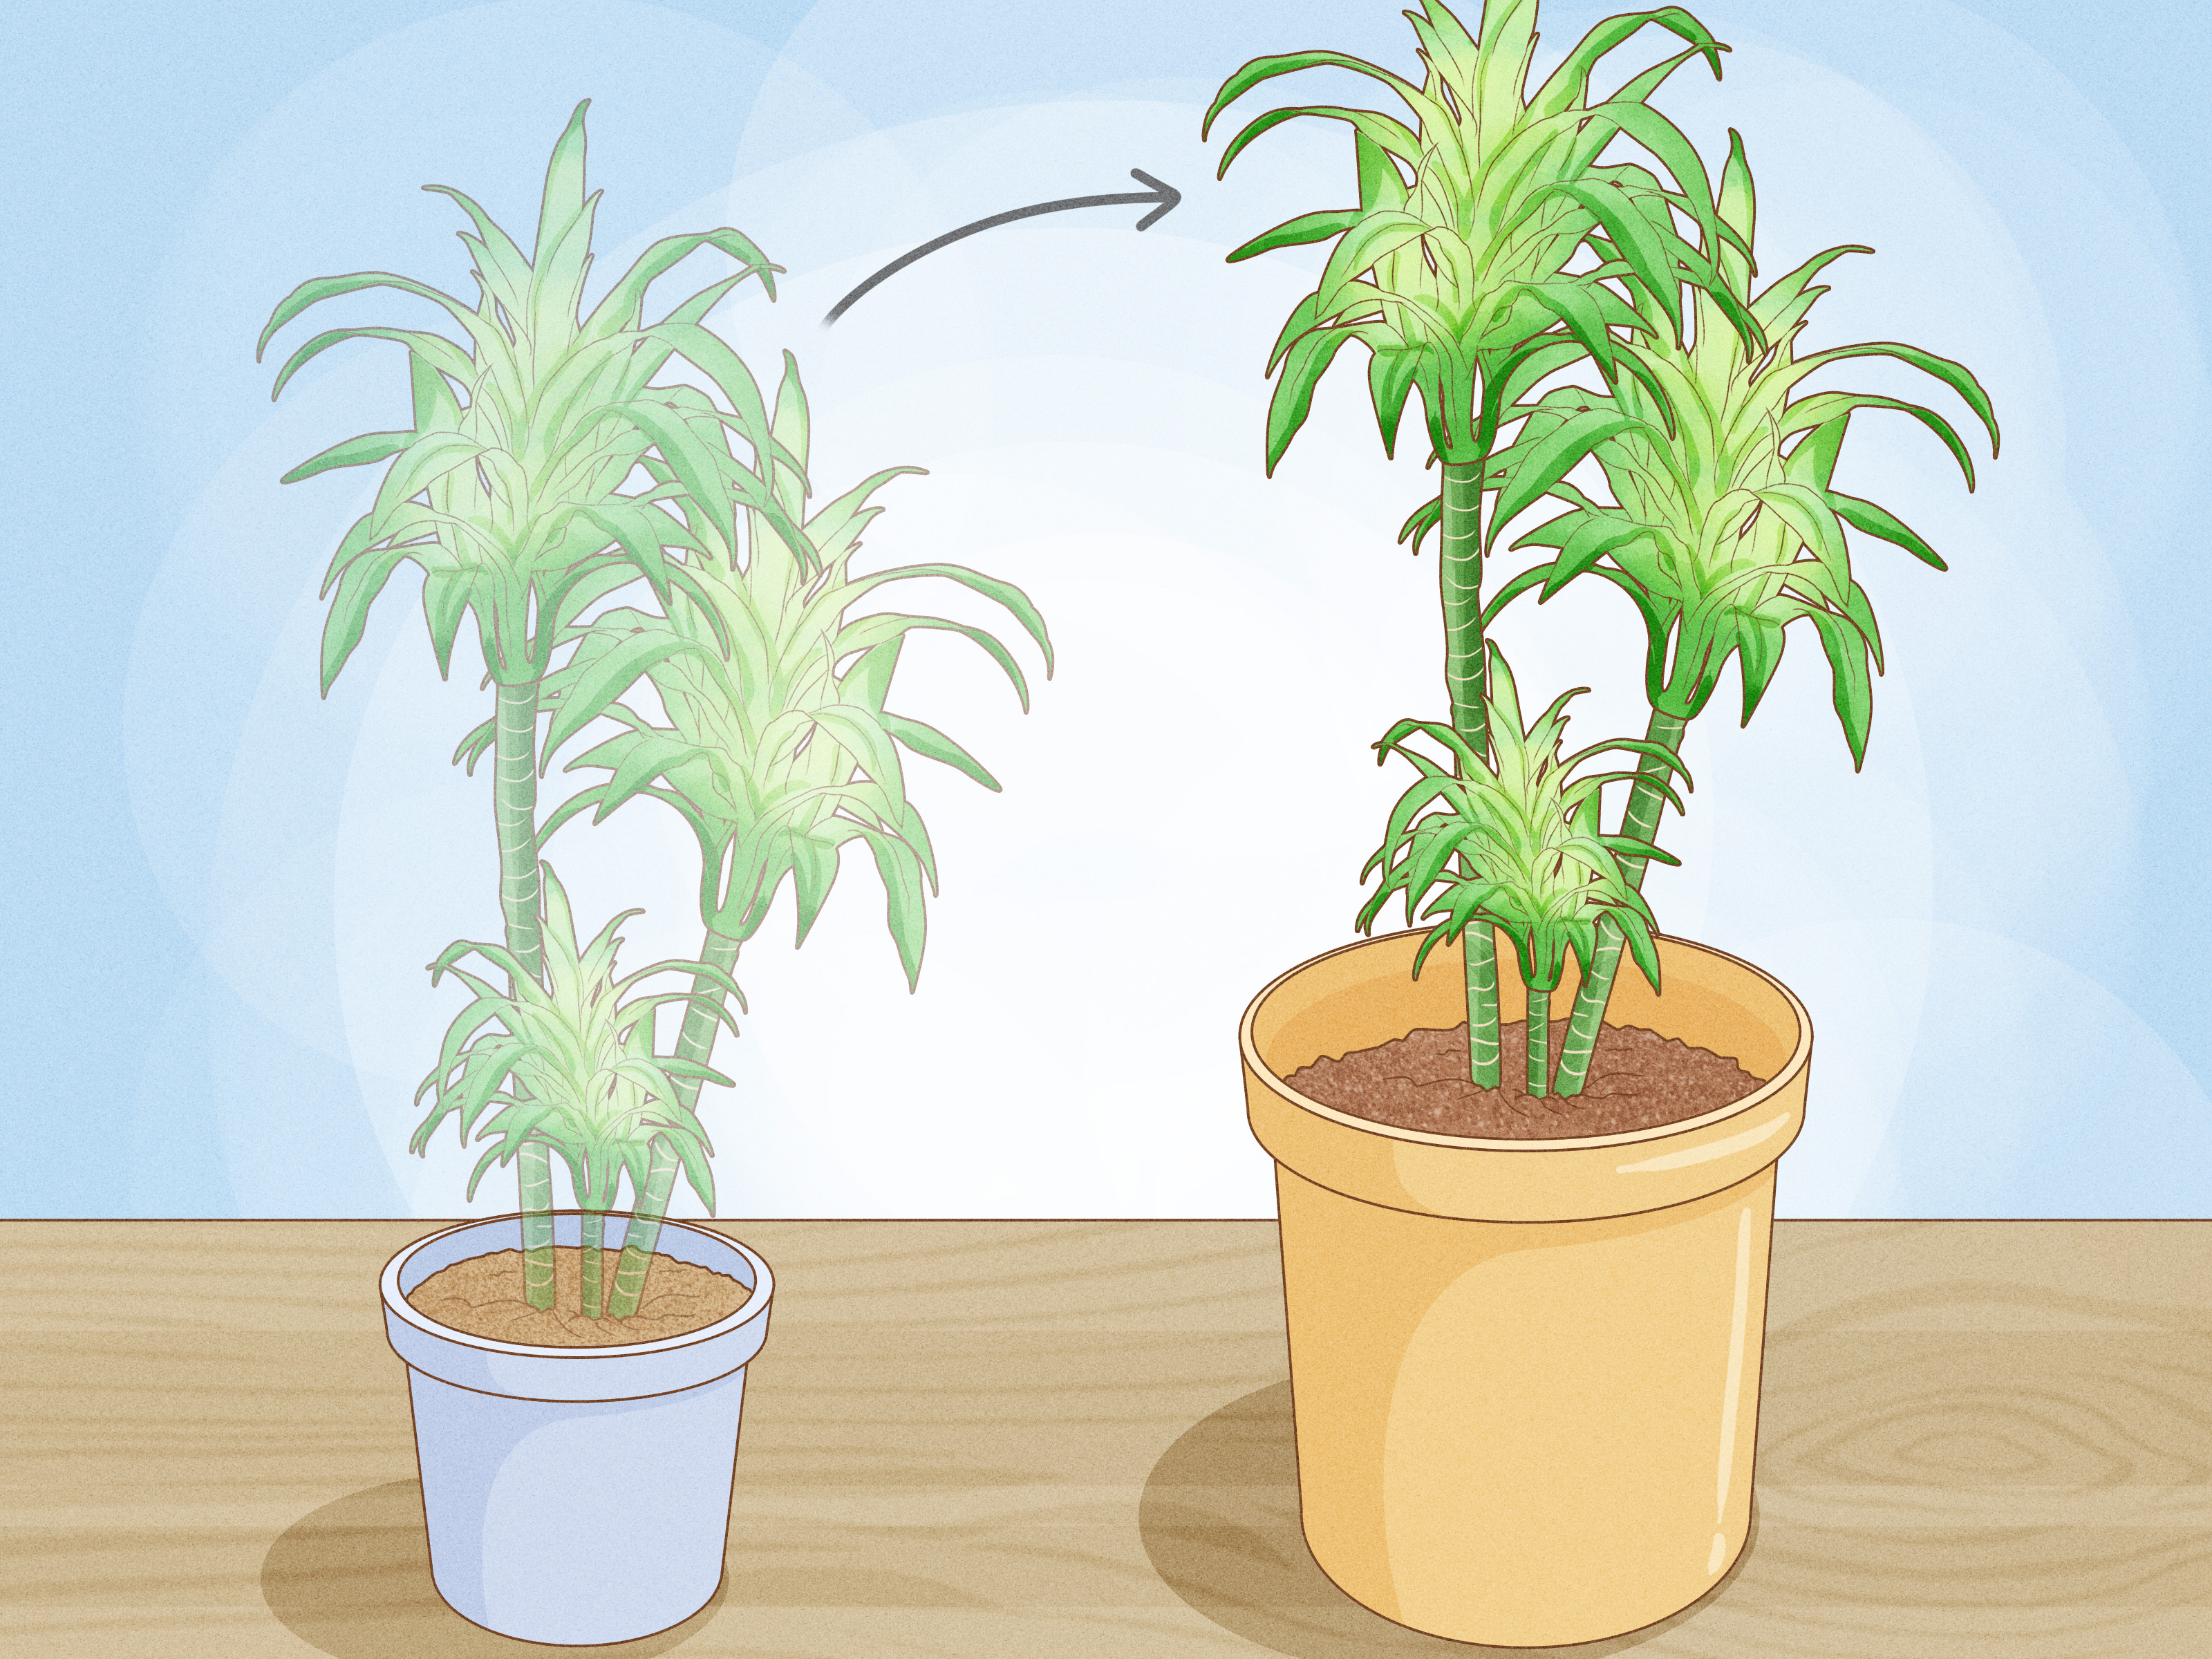
If your houseplant looks like it’s auditioning for a “before” photolopsided, leggy, or mysteriously
committed to growing only toward one windowcongrats: you’ve met the real reason pruning exists.
Pruning isn’t plant punishment. It’s a haircut with benefits: healthier growth, better shape, fewer pests,
and a whole lot less “Why is this vine in my coffee?” energy.
In this guide, you’ll learn why pruning indoor plants matters, when to do it
(timing is the difference between “glow-up” and “meltdown”), and how to make clean cuts that
encourage bushy, thriving houseplants. We’ll also cover pinching, deadheading, root pruning, and the
handful of plants that would really prefer you didn’t go Edward Scissorhands on them.
What Counts as Pruning (and What Doesn’t)
“Pruning” gets used for everything from removing one crispy leaf to hacking a monstera back into the room
it actually lives in. Let’s define a few terms so you prune with purpose:
-
Grooming: Removing yellow leaves, dead stems, spent blooms, and general plant “lint.”
This is light maintenance and can happen year-round. -
Pruning: Removing a stem, branch, or section of plant to improve health, shape, or size.
This is more structural. -
Pinching: Removing soft, new tips (often with fingers) to encourage branching and a fuller look.
Think of it as redirecting the plant’s “main character” energy to its side shoots. - Deadheading: Removing spent flowers so the plant stops wasting energy on blooms that are done.
-
Root pruning: Trimming roots during repotting to manage size or fix root issues (like rot or
severe root-binding).
Why Prune Houseplants?
Houseplants don’t live in the wild. They live with usnear vents, windows, pets, toddlers, and the occasional
human who says, “I watered it yesterday,” and means “three weeks ago.” Pruning helps houseplants adapt to
indoor life by focusing energy where it matters most.
1) To remove dead, damaged, or diseased growth
Yellow leaves, broken stems, and mushy sections aren’t just unattractivethey can invite pests and disease
or drain energy from healthy parts of the plant. Removing the problem areas is the fastest way to reduce
stress and prevent spread.
2) To control size (because ceilings are not optional)
Indoor plants can outgrow their spot surprisingly fast in brighter months. Pruning keeps a plant from becoming
top-heavy, floppy, or too large for its pot and living space.
3) To fix legginess and encourage a fuller shape
Leggy growth usually means your plant is stretching for light. Pruning helps, but it’s only half the solution
you’ll also want brighter light or more even exposure. When done correctly, cutting back to the right point
encourages new side growth and a bushier, more balanced look.
4) To encourage new growth (strategically)
Many houseplants respond to pruning by pushing new growth near the cut. That can mean more leaves, more branches,
and a plant that looks like it belongs in a catalog instead of a “plant rescue” forum.
5) To support flowering
Deadheading can extend bloom time in some flowering houseplants. For others, pruning at the right time keeps you
from accidentally removing next season’s buds.
6) To reduce pests and improve airflow
Dense, crowded growth can trap moisture and hide pests. Selective pruning improves airflow and makes it easier to
spot trouble early (before spider mites throw their tiny web party).
When to Prune Houseplants: Timing That Actually Works
The best pruning schedule isn’t just based on the calendarit’s based on your plant’s growth cycle and your goal.
Still, there are some solid indoor-plant rules of thumb.
The best overall time: late winter through spring (aka “growth season kickoff”)
For most houseplants, the best time for bigger cuts is when they’re ready to growtypically late winter into spring,
when light increases and plants naturally ramp up. Pruning during active growth helps plants recover faster and push
fresh stems and leaves.
What about summer?
Summer is usually fine for light pruning, shaping, and pinchingespecially if your plant is actively growing and
getting good light. Think maintenance cuts and gentle reshaping, not major renovation unless the plant is vigorous.
Can you prune in fall?
Fall pruning can be useful when plants have put on lots of growth and you want to tidy them upespecially if you
bring plants indoors after a summer outside. The key is keeping it light and not forcing big new growth right as
the plant is about to slow down.
Winter pruning: light grooming is okay; major pruning is usually not
Many houseplants slow down in winter due to lower light. Heavy pruning can stress them because they recover more
slowly and may not have the energy to replace what was removed. In winter, focus on grooming:
remove dead leaves, broken stems, and obviously failing sections. Save major reshaping for spring.
Flowering houseplants: prune after blooming
As a general rule, prune flowering plants right after they finish flowering. If you prune right before bloom time,
you may remove buds and reduce flowers. (Nobody wants to accidentally delete spring.)
Exceptions: what you can do anytime
- Remove dead, diseased, or damaged leaves and stems.
- Snip off rotting sections (especially if you suspect disease spread).
- Cut away pest-infested growth that isn’t salvageable (and isolate the plant afterward).
Tools and Prep: Set Yourself Up for Clean Cuts
Pruning is a small wound. Your job is to make that wound clean so the plant can seal it quickly. That means:
sharp tools, clean tools, and a plan.
What you’ll need
- Sharp scissors for soft stems and thin growth
- Hand pruners for thicker stems (indoor trees, woody growth)
- Rubbing alcohol (or a disinfectant solution) to sanitize tools
- Paper towels for wiping blades between cuts
- Gloves if your plant has sap that irritates skin (hello, some ficus and euphorbia types)
- A trash bag (because “I’ll pick these up later” is how pests relocate)
Sanitize your tools (yes, every time)
Wipe blades with rubbing alcohol before you start, and between plants. This reduces the chance of spreading pests
or disease. If you’re removing diseased tissue, sanitize between cuts toothink of it like not using the same
tissue for every sneeze.
How to Prune Houseplants: Step-by-Step
Step 1: Step back and diagnose the real problem
Before you cut, look at the whole plant. What’s the goal?
- Leggy and sparse? You’ll prune back to nodes and improve light exposure.
- Too tall or wide? You’ll reduce size gradually (not in one dramatic session).
- Yellow leaves or rot? You’ll remove failing tissue and review watering/drainage.
- Unbalanced? You’ll shape selectively to even out growth.
Step 2: Start with the “3 Ds”
Remove dead, damaged, and diseased parts first. This alone can
dramatically improve the plant’s look and health, and it helps you see the true structure of what’s left.
- Cut dead leaves at the base of the leaf stem (or as close as practical without damaging healthy tissue).
- Remove broken stems with a clean cut back to healthy growth.
- If a section is mushy or blackened, cut back until you reach firm, healthy tissue.
Step 3: Find the node (the plant’s “restart button”)
For many houseplants, new growth emerges from nodesthose little bumps or joints where leaves attach or where buds
form. If you cut in the right spot, the plant can branch out below the cut.
Where to cut: Make your cut just above a node or a set of buds. Angle slightly (often around 45 degrees)
so water doesn’t sit on the cut. Avoid leaving a long stub, which can die back and look messy.
Step 4: Follow the “small haircut” rule
It’s tempting to fix everything at once. Don’t. As a general guideline, avoid removing more than about a third of the plant
at one time. If your plant needs major downsizing, do it in stages over several weeks during active growth.
Step 5: Shape strategically (balance is the vibe)
As you prune, rotate the pot and check the plant from multiple angles. Remove the longest, most awkward stems first,
then reassess. You can always cut more. You can’t reattach a vine like a LEGO piece.
Step 6: Pinch for bushiness
Pinching is perfect for fast growers and “I want it fuller” goals. Remove the soft tip of a stemusually about an inch
or lessjust above a node. This encourages side buds to grow, creating a denser plant.
Pinching works especially well for many vining and compact plants when done regularly during active growth.
Step 7: Deadhead spent blooms
For flowering houseplants, remove spent flowers by pinching them off or clipping them back close to the main stem.
This helps redirect energy into new blooms or healthier foliage, depending on the plant.
Plant-by-Plant Pruning Tips (Because Not All Houseplants Play Nice)
Vining plants: pothos, philodendron, ivy, hoya
Vining plants prune beautifully. If your vine is long and bare near the base, cut it back to a node closer to the pot.
Many trailing plants respond with fresh growth and look fuller.
- Rejuvenation move: Trim long, leafless vines back to where leaves are still healthy.
- Bonus: Use healthy cuttings for propagation (many root easily in water or moist mix).
Upright foliage plants: dracaena, schefflera, rubber plant, monstera
These can be pruned to control height and shape, but timing mattersspring is usually best for bigger cuts.
If your plant is slowing down in winter, keep pruning minimal.
- Cut above a node to encourage branching.
- Take it slow: one or two major cuts can be plenty for a season.
Ferns and other “softer” growers
Many ferns don’t love heavy pruning when light is low. Focus on grooming: remove browned fronds at the base and keep
conditions stable. Save bigger shaping for brighter months when they’re actively growing.
Flowering houseplants
The safest rule: prune right after flowering ends. If you prune before bloom, you can remove buds. Deadheading during
bloom cycles keeps the plant tidy and can help extend the show.
Palms and Norfolk Island pine: do NOT “top” them
Some plants have a single growing point at the top. If you remove it, the plant may not recover. For palms and Norfolk
Island pine, stick to removing dead or fully brown fronds/branches, and avoid cutting the main growing tip.
Orchids: prune with extra restraint
Many orchids don’t want general pruning. Remove dead flower spikes and dead tissue, but don’t trim green, healthy parts
unless you’re following specific orchid care for your variety.
Root Pruning: The “Underrated Reset” for Rootbound Houseplants
Root pruning sounds intense, but it’s sometimes the best optionespecially if your plant is severely rootbound or you
need to manage size. The ideal time is usually during repotting in active growth season (often spring), when the plant
can recover faster.
When root pruning makes sense
- Rootbound plants with circling roots and very little soil left in the pot
- Size control when you want to keep the same pot size
- Root rot (in this case, do it promptlyrot spreads)
How to root prune (basic approach)
- Slide the plant out and inspect roots. Healthy roots are generally firm and light-colored.
- Trim off any black, mushy, or smelly roots (these indicate rot).
-
For size control, you can remove a portion of the bottom of the rootball (often up to about a third),
and/or make a few vertical cuts into the root mass to encourage new root growth outward. - Repot with fresh mix, and keep aftercare gentle while the plant recovers.
Root pruning pairs well with top pruning, but don’t go extreme on both at once. If you remove a lot of roots, keep top
pruning moderate, and vice versa. The goal is balance: fewer roots mean the plant can support fewer leaves temporarily.
Aftercare: What to Do After Pruning
After pruning, your plant is basically saying, “Cool. I need a minute.” Help it recover with steady, not dramatic,
care changes.
Water wisely
A heavily pruned plant may use less water for a short time (fewer leaves = less transpiration). Check soil moisture
before watering, and avoid soaking a plant that’s not actively drinking.
Give it the right light (this is how you prevent new legginess)
If you pruned because the plant was leggy, upgrade the light situation. Rotate the pot regularly, move it closer to a
brighter window, or supplement with a grow light. Otherwise, the plant will recreate the same problemjust shorter at first.
Hold fertilizer briefly after major pruning
If you removed a large portion of the plant, let it show signs of new growth before fertilizing. In low-light seasons,
over-fertilizing can do more harm than good. When growth resumes, feed lightly according to your fertilizer instructions.
Watch for pests
Pruning makes it easier to inspect leaves and stems. Check undersides of leaves, nodes, and new growth for early signs:
webbing, sticky residue, tiny crawling insects, or cottony clusters.
Common Pruning Mistakes (and How to Avoid Them)
- Cutting too much at once: Big “makeover” cuts can shock the plant. Reduce size in stages.
- Pruning in winter without enough light: Many plants recover slowly in low light. Keep winter cuts light.
- Ignoring the cause of legginess: If light is the problem, pruning alone won’t fix it.
- Using dull or dirty tools: Dull blades crush tissue; dirty blades spread problems.
- Cutting at random points: Aim for cuts just above nodes/buds so the plant can branch properly.
- Topping single-growth-point plants: Palms and similar plants can be permanently damaged by removing the growing tip.
Quick FAQ
How often should I prune houseplants?
Grooming (removing dead leaves, spent blooms) can be ongoing. Structural pruning is usually occasionaloften seasonal,
based on growth. Pinching can be done more frequently during active growth if you want a fuller plant.
Will pruning make my plant grow faster?
Pruning doesn’t magically increase the speed of growth, but it can redirect growth into branching and a fuller shape.
Healthy light, watering, and nutrition are still the real MVPs.
Can I propagate what I prune off?
Often, yesespecially with common vining plants. Use healthy cuttings, remove lower leaves, and root them in water or
a suitable propagation medium. (Just don’t propagate diseased material.)
Conclusion
Pruning is one of the simplest ways to keep houseplants healthy and attractiveand it’s much less scary once you know
the rules: prune most plants during active growth (late winter through spring is prime time), keep winter pruning light,
cut just above nodes, sanitize your tools, and never remove too much at once.
Treat pruning like a conversation, not a one-time argument: small, intentional cuts + better light + steady care = a
plant that looks fuller, grows better, and stays comfortably inside the boundaries of your home and your sanity.
Bonus: of Real-World Pruning Experiences (So You Feel Less Alone)
Here’s the part nobody tells you: most “pruning anxiety” isn’t about the scissors. It’s about the emotional bond you’ve
formed with a plant that has witnessed your late-night snacks, your awkward video calls, and your ongoing debate about
whether that corner is “bright indirect light” or “plant deception.”
A classic scenario: the pothos that became a legend in your home. At first, it was adorabletwo vines, a few shiny leaves,
living its best life. Then one day you realize it has climbed a bookshelf, looped around a lamp, and is now flirting with
the ceiling fan. The first trim feels dramatic, like you’re betraying a friend. But after you cut back to a few healthy
nodes near the pot and move it to brighter light, something almost magical happens: new growth pops out below the cut,
and suddenly the plant looks fuller at the base instead of like a green jump rope.
Another common experience: the “leggy hero plant” that survived winter but looks… stretched. You prune it back and expect
immediate success, but the plant just sits there, quietly judging you. That’s usually a light issue, not a pruning issue.
Once you reposition it (or add a grow light) and keep care steady, the new growth shows up where you wanted it all along.
Pruning didn’t failit just needed backup.
Then there’s the emotional roller coaster of pruning a rubber plant or indoor tree. You stand there with pruners like a
stylist about to cut bangs: confident in theory, terrified in practice. The best trick is to start with one cut, step back,
and live with it for a day. Plants aren’t going anywhere (except toward the window). Small, staged pruning sessions keep
you from overcorrectingand your plant from going into shock.
Many plant parents also discover that grooming is the gateway habit. You remove a few yellow leaves, wipe dust off the
foliage, and suddenly the plant looks 30% better with 3% effort. That little win builds confidence for bigger pruning later.
Bonus: cleaning and grooming makes pests easier to spot before they become a full-blown infestation.
Finally, root pruning stories tend to start with, “It won’t come out of the pot.” If you’ve ever wrestled a rootbound plant
like it owes you money, you know the moment. Once you finally free it, you see a dense spiral of roots and almost no soil.
Trimming back a portion of the root mass (and repotting with fresh mix) can be a genuine reset. The plant often responds with
stronger, healthier growthbecause it finally has space and nutrients again.
The biggest takeaway from these experiences is simple: pruning is rarely the whole solution. It’s part of a system that
includes light, watering, and patience. But it’s also the part that gives you the fastest visible improvementso yes, you
should absolutely learn it. Your plants (and your ceiling fan) will thank you.