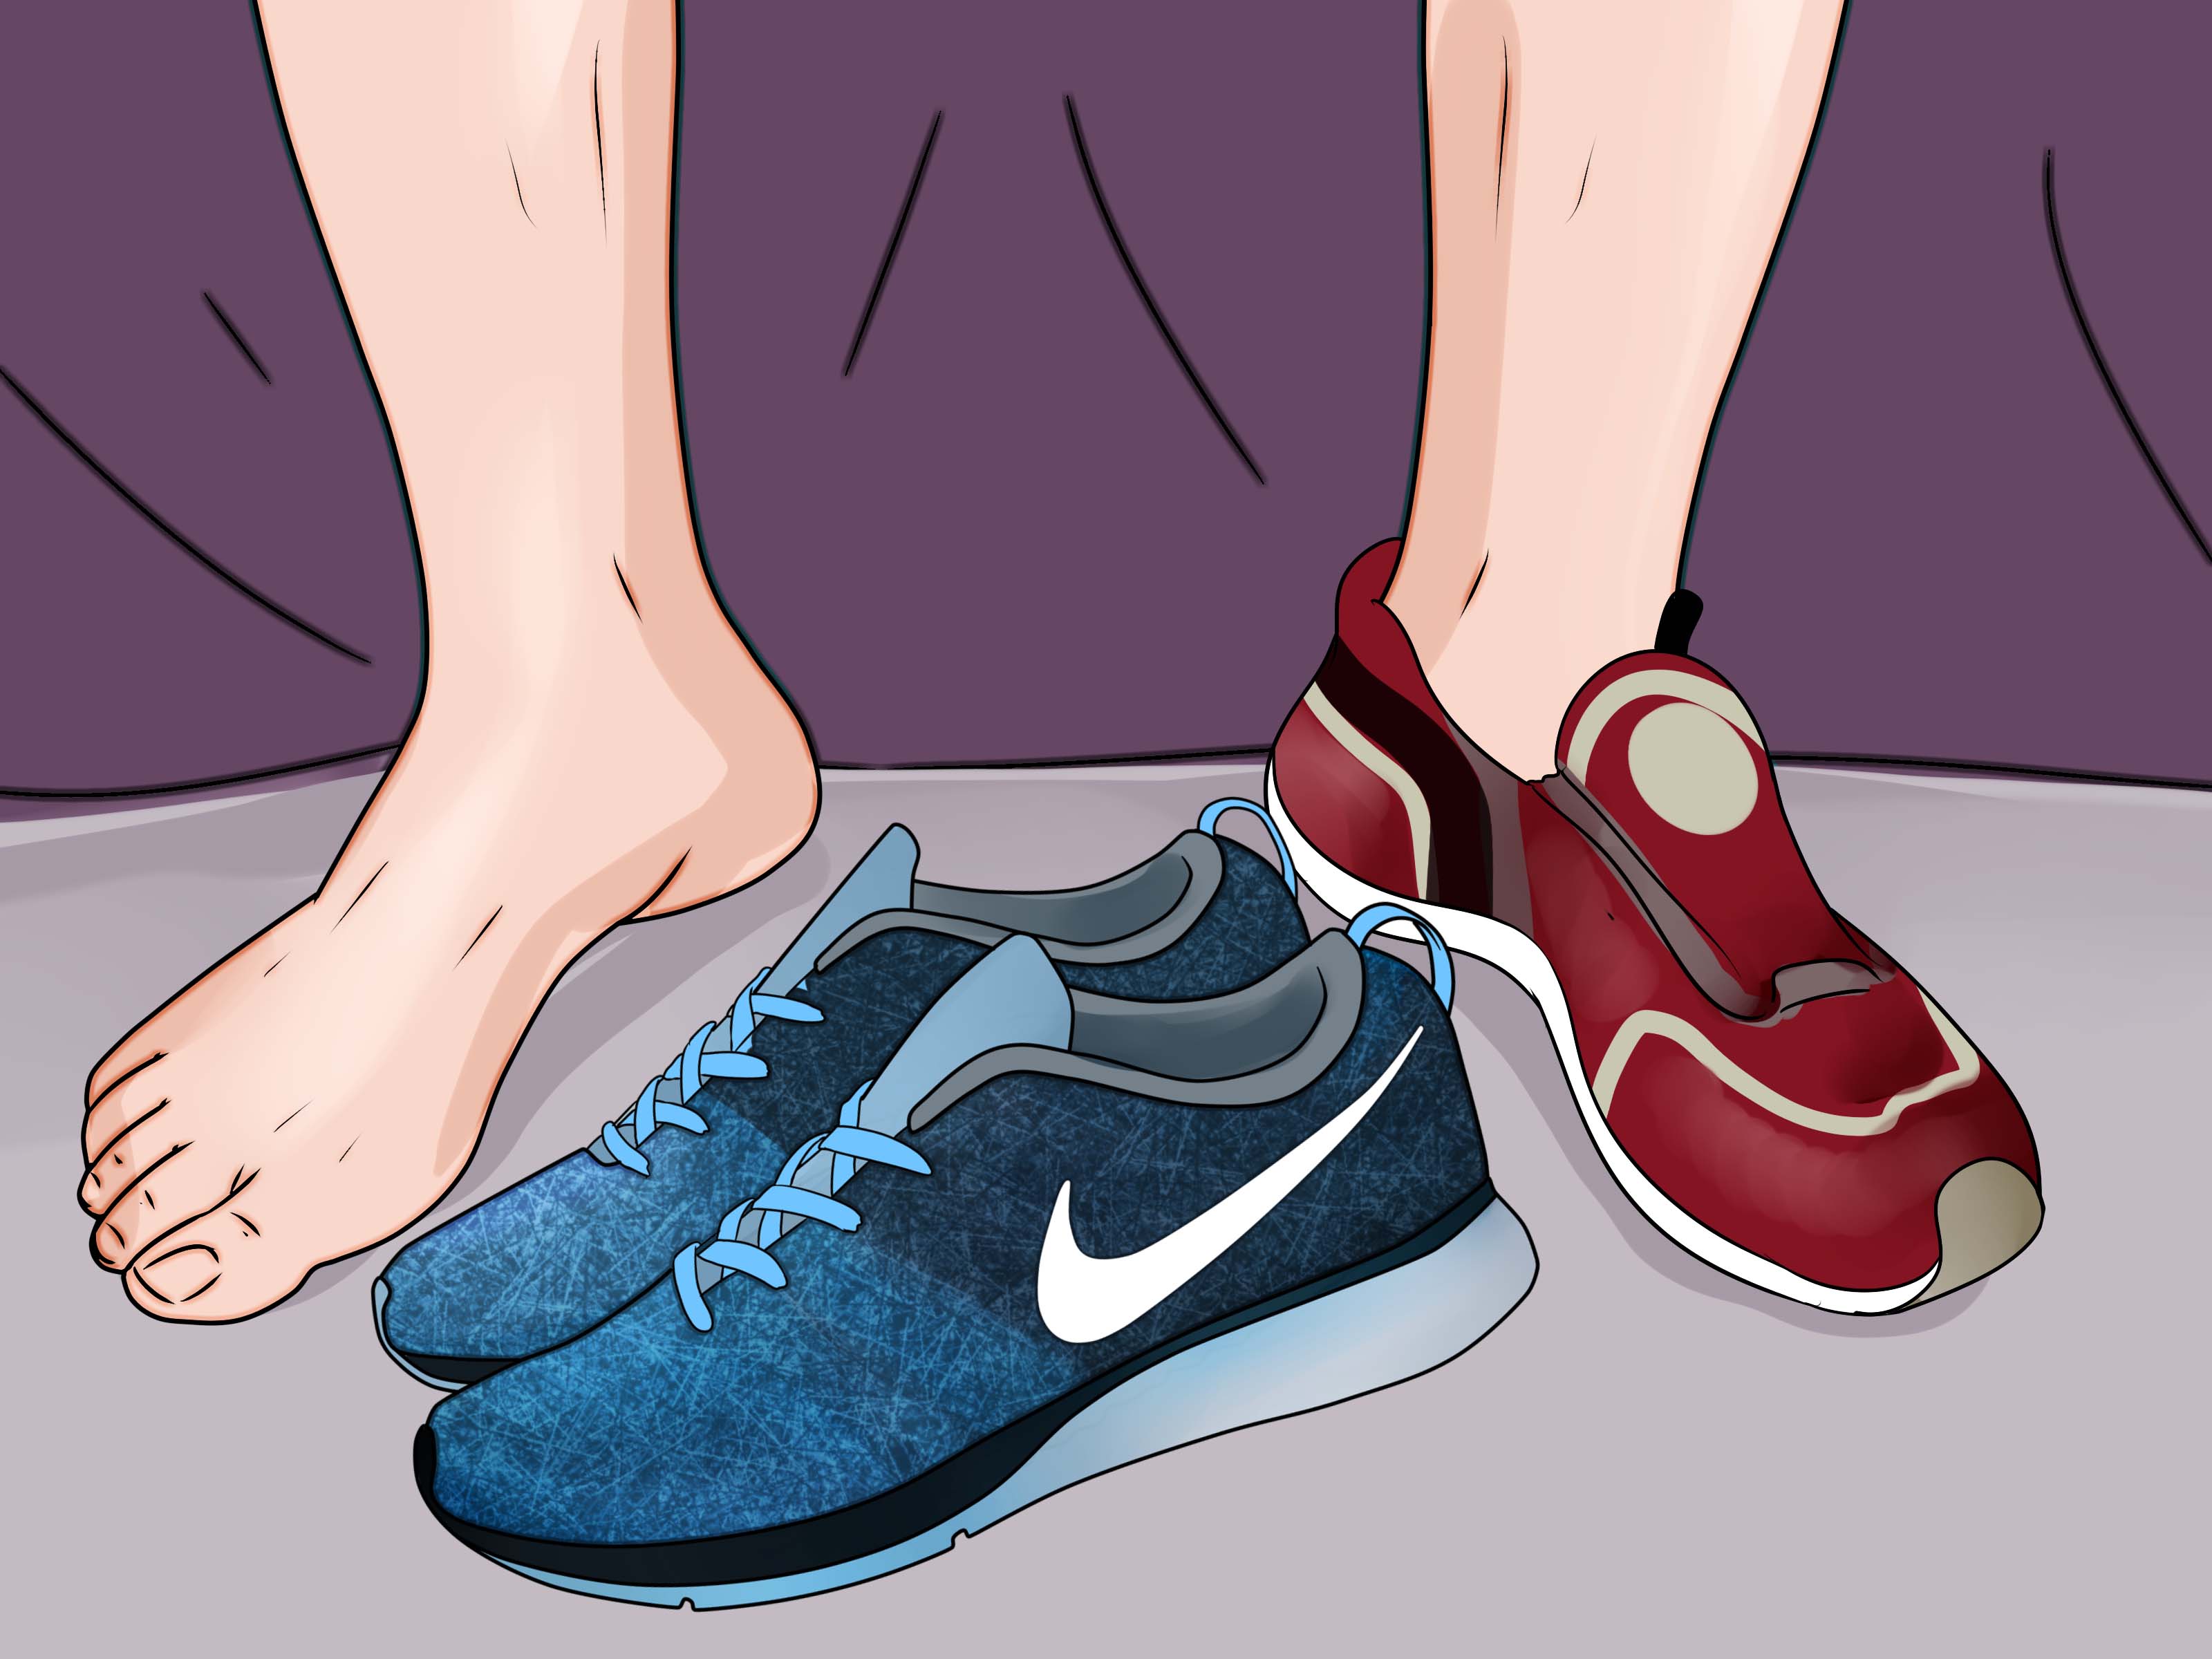
Foot blisters are tiny drama queens. One minute you are walking, running, hiking, traveling, or breaking in a new pair of shoes like a confident adult. The next minute, your heel feels as if it has filed a formal complaint against your entire lifestyle. The good news? Most foot blisters are preventable when you understand what causes them and take a few practical steps before friction turns your skin into a water balloon.
Blisters usually form when repeated rubbing, heat, pressure, and moisture cause the upper layers of skin to separate. Fluid collects in that space as the body tries to protect the irritated area. This is why blisters often show up on heels, toes, the balls of the feet, and anywhere shoes or socks create extra movement. Whether you are a runner, hiker, nurse, traveler, athlete, busy parent, theme-park warrior, or someone who simply bought shoes that looked better online, learning how to prevent foot blisters can save you pain, time, and a surprising amount of limping.
This guide breaks down 14 practical steps to prevent foot blisters, plus real-world experience-based advice you can use before your next long walk, workout, work shift, or vacation.
Why Foot Blisters Happen
Foot blisters are most often caused by friction. When your skin repeatedly rubs against a shoe, sock, seam, insole, or another toe, the skin becomes stressed. Add sweat, heat, swelling, poor shoe fit, or long hours on your feet, and the risk climbs quickly. Moist skin is especially vulnerable because it softens and breaks down more easily. That is why cotton socks, wet shoes, and sweaty feet can turn an ordinary walk into a blister-making factory.
Pressure also matters. A shoe that is too tight can pinch the toes. A shoe that is too loose can allow the heel to slide. Both situations create friction. Foot shape, bunions, hammertoes, high arches, flat feet, and calluses can also change how pressure lands on the skin. The goal of blister prevention is simple: reduce rubbing, control moisture, improve fit, and protect hot spots before they become painful.
How to Prevent Foot Blisters: 14 Steps
1. Wear Shoes That Fit Properly
The first rule of blister prevention is not glamorous, but it works: wear shoes that actually fit your feet. Shoes that are too tight squeeze the toes and create pressure points. Shoes that are too loose allow your foot to slide, especially at the heel. Both can cause friction blisters.
For everyday shoes, there should be enough room to wiggle your toes without your foot swimming around. For athletic shoes, many people need about a thumb’s width of space between the longest toe and the front of the shoe, especially because feet can swell during exercise. The heel should feel secure, not trapped, and not slipping with every step like it is trying to escape.
2. Shop for Shoes Later in the Day
Feet naturally swell as the day goes on, especially after walking or standing. Buying shoes in the morning may lead to a pair that feels perfect at breakfast and brutally tight by dinner. Try on shoes in the afternoon or evening when your feet are closer to their largest daily size.
Bring the socks you plan to wear with the shoes. Running shoes should be tested with running socks. Hiking boots should be tested with hiking socks. Dress shoes should be tested with the kind of socks or hosiery you will actually wear. Your feet are not fooled by wishful thinking, and neither are blisters.
3. Break In New Shoes Slowly
New shoes may look innocent, but they need a trial period. Wear them around the house first, then for short errands, then for longer outings. Do not wear brand-new shoes for a marathon, wedding, vacation walking tour, or full work shift unless you enjoy learning lessons the hard way.
A simple break-in plan works well: wear new shoes for 30 to 60 minutes the first day, then gradually increase wear time. Pay attention to any rubbing, tightness, heel slipping, or toe pressure. If you feel a hot spot, stop early and fix the issue with padding, lacing adjustments, different socks, or a better-fitting shoe.
4. Choose Moisture-Wicking Socks
Socks are not just foot pajamas. They are blister-prevention equipment. Moisture-wicking socks made from synthetic fibers, merino wool, nylon, polyester, acrylic blends, or technical performance materials help pull sweat away from the skin. This keeps feet drier and reduces friction.
Avoid cotton socks for long walks, running, hiking, or sweaty workdays. Cotton absorbs moisture and holds it close to the skin, which can increase rubbing. If your feet sweat heavily, pack an extra pair of socks and change halfway through the day. Dry socks can feel like a luxury spa treatment when your feet are on mile eight of a city tour.
5. Make Sure Socks Fit Smoothly
Even great socks can cause trouble if they bunch, wrinkle, slide, or have thick seams in the wrong places. Socks should fit snugly without squeezing the toes. The heel pocket should sit on your heel, not halfway up your ankle or under your arch.
Before a long activity, pull socks on carefully and smooth out wrinkles. Check toe seams, especially if you often get blisters on the tops or sides of your toes. Seamless or low-seam socks may help people with sensitive skin, toe deformities, or frequent rubbing.
6. Try Double-Layer Socks for Repeated Blisters
If you keep getting blisters despite wearing good socks, double-layer socks may help. These socks are designed so the two layers rub against each other instead of your skin taking the punishment. Some hikers and runners also wear a thin liner sock under a thicker outer sock for the same reason.
The key is fit. Doubling socks can make shoes tighter, which may create new pressure points. Test the system before a big event. Your blister-prevention strategy should not create a different blister in a more creative location.
7. Keep Feet Dry
Dry feet are more resilient than damp feet. Sweat, rain, puddles, and wet socks can soften the skin and increase blister risk. For long walks or workouts, use moisture-wicking socks, breathable shoes, and sock changes when needed.
Some people benefit from foot powder or a drying agent, especially in warm weather. Apply a small amount before putting on socks, focusing on sweaty areas such as between the toes and under the arch. Do not overdo it; too much powder can clump and create grit, which is basically sandpaper with a marketing budget.
8. Use Lubricant on High-Friction Areas
Anti-chafing balm, petroleum jelly, or sports lubricant can reduce rubbing on areas that often blister. Common spots include heels, the sides of the big toes, the little toes, and the balls of the feet. Lubricants are especially useful before running, hiking, dancing, or wearing shoes that are comfortable but not exactly saintly.
Apply a thin layer before activity. Reapply during very long events if needed. Keep in mind that lubricant can make some socks slide or collect debris, so test it during a short outing before relying on it for a long-distance adventure.
9. Protect Hot Spots Early
A hot spot is a tender, warm, irritated area that appears before a blister forms. This is your foot sending a polite but urgent email. Do not ignore it. Stop, take off your shoe, inspect the area, dry the skin, and apply protection.
Moleskin, blister pads, hydrocolloid bandages, athletic tape, paper tape, or gel toe sleeves can help reduce friction. For moleskin, cut a donut-shaped pad so the irritated area sits in the center without direct pressure. For tape, apply it smoothly without wrinkles. Wrinkled tape can become the villain of the story.
10. Check the Inside of Your Shoes
Sometimes the problem is not your foot; it is something lurking inside the shoe. Rough seams, worn insoles, pebbles, sand, folded sock edges, loose stitching, or damaged heel liners can create rubbing. Before long walks or workouts, run your hand inside each shoe and feel for anything sharp, rough, or uneven.
Replace worn insoles if they are curling, compressed, cracked, or sliding around. A good insole can improve cushioning and reduce pressure, but it should not crowd the shoe. If adding an insole makes the toe box too tight, choose a different insole or a roomier shoe.
11. Adjust Your Lacing Technique
Shoelaces are more powerful than they look. If your heel slips, try a heel-lock or runner’s loop lacing technique to secure the back of the foot. If the top of your foot feels squeezed, skip a set of eyelets over the tender area to reduce pressure. If your toes need more space, loosen the front laces while keeping the ankle secure.
Good lacing reduces unnecessary movement without cutting off circulation. Your shoes should feel secure, not like tiny foot prisons. After lacing, walk around for a few minutes and check whether your heel stays stable and your toes remain comfortable.
12. Match Shoes to the Activity
Different activities create different blister risks. Running shoes are designed for repetitive forward motion. Hiking boots provide traction and support on uneven ground. Work shoes may need cushioning and slip resistance. Dress shoes may look elegant but often have less room, less cushioning, and more friction-prone materials.
Choose footwear based on what you are doing, not just how the shoes look. For hiking, prioritize a stable fit, moisture management, and enough toe room for downhill walking. For running, consider gait, distance, sock choice, and how your feet swell. For travel, choose shoes that are already proven comfortable for long walking days.
13. Build Up Activity Gradually
Blisters often happen when your feet are asked to do too much too soon. A sudden jump from short walks to a full-day hike can overwhelm the skin, muscles, and joints. Gradual conditioning helps your feet adapt to pressure and movement.
If you are training for a race, backpacking trip, military-style march, or active vacation, increase mileage slowly. Test shoes, socks, tape, and blister supplies during trainingnot on the big day. Your feet should not meet your blister-prevention plan for the first time at mile 12.
14. Carry a Small Blister Prevention Kit
A small kit can save your day. Pack moleskin, hydrocolloid blister bandages, paper tape, small scissors, antiseptic wipes, spare socks, and a travel-size lubricant or powder. Keep it in your gym bag, hiking pack, suitcase, work locker, or car.
The best time to use blister supplies is before the blister fully forms. If you wait until the skin is already raised, painful, and filled with fluid, you are in damage-control mode. Prevention is faster, cheaper, and much less dramatic.
What to Do If You Already Have a Blister
If a blister forms, protect it and avoid popping it when possible. The intact skin over a blister acts as a natural barrier against infection. Cover the blister with a bandage, blister pad, or moleskin to reduce pressure and rubbing. Switch shoes if your current pair continues to irritate the area.
If a blister breaks, wash the area gently with soap and water, keep the loose skin in place if it is clean, apply a protective bandage, and change the dressing daily. Watch for signs of infection such as increasing redness, warmth, swelling, pus, red streaks, worsening pain, or fever.
People with diabetes, poor circulation, nerve problems, immune system conditions, or recurring foot wounds should be extra cautious. Even a small blister can become serious if sensation or healing is impaired. In those cases, contact a healthcare professional or podiatrist promptly instead of trying to tough it out.
Common Blister Prevention Mistakes
Wearing Cotton Socks for Long Activities
Cotton may be comfortable for lounging, but it is not ideal for sweaty, repetitive activity. It holds moisture and can increase rubbing. Choose technical socks instead.
Ignoring the First Hot Spot
A hot spot is an early warning. Stopping for two minutes to tape your heel is much better than limping for two days because you wanted to “push through.”
Using New Shoes for a Big Event
New shoes need testing. Even expensive shoes can cause blisters if the fit, seams, or stiffness do not match your feet.
Overtightening Laces
Tighter is not always better. Overly tight laces can create pressure on the top of the foot and toes. Aim for secure, even tension.
Forgetting That Feet Change
Foot size and shape can change with age, weight changes, pregnancy, activity level, injury, and swelling. Measure your feet occasionally, especially before buying athletic or work shoes.
Best Products and Tools for Preventing Foot Blisters
You do not need a suitcase full of foot gadgets, but a few reliable tools can help. Moisture-wicking socks are the foundation. Moleskin is useful for pressure points. Hydrocolloid blister bandages can cushion and protect irritated skin. Paper tape is lightweight and gentle for known hot spots. Anti-chafing balm can reduce rubbing. Gel toe caps or sleeves may help with toe blisters caused by overlapping toes or shoe pressure.
For people with recurring blisters, insoles or orthotics may help redistribute pressure. A podiatrist can evaluate foot structure, gait, calluses, shoe wear patterns, and recurring blister locations. Sometimes the fix is not more padding; it is better alignment, better shoe shape, or a different activity-specific footwear setup.
Experience-Based Tips: What Actually Helps in Real Life
After reading every blister-prevention tip on the planet, the real test is what happens when your feet are hot, sweaty, tired, and negotiating with gravity. Experience teaches a few lessons that sound simple but matter enormously.
First, your feet will usually tell you the truth early. That tiny rub on your heel during the first 10 minutes of a walk is not “probably fine.” It is a preview. Many people get blisters because they ignore the preview and wait for the full feature film. The smartest move is to stop immediately, adjust the sock, retie the shoe, apply tape, or switch shoes. It feels annoying in the moment, but it saves the rest of the day.
Second, the perfect shoe for one person may be the villain for another. A friend may swear by a certain running shoe, hiking boot, sandal, or work shoe, but your foot shape gets the final vote. Wide toes, narrow heels, high arches, flat feet, bunions, and long second toes all change how shoes behave. If a shoe causes repeated blisters in the same place, do not keep blaming your feet. The shoe may simply be wrong for you.
Third, sock changes are underrated. On long walking days, especially during travel or hiking, changing into dry socks can feel almost magical. It reduces moisture, refreshes the skin, and gives you a chance to inspect hot spots before trouble starts. Keep a spare pair in a small bag. They weigh almost nothing and can rescue your mood faster than another overpriced airport coffee.
Fourth, prevention works best when tested before the important day. Do not try new tape, new insoles, new socks, and new shoes all at once during a race, work event, or vacation. If something goes wrong, you will not know which item caused the problem. Test one change at a time during shorter walks. Your feet are excellent reviewers, but they need a reasonable return policy.
Fifth, blister kits are most useful when they are easy to reach. A blister pad buried at the bottom of a suitcase is basically decorative. Keep supplies in an outer backpack pocket, purse, running belt, car console, desk drawer, or hiking hip pocket. When a hot spot appears, you want the fix in your hand quickly.
Finally, respect recovery. If you already have a blister, continuing to rub it day after day can delay healing and increase infection risk. Switch shoes, cushion the area, and reduce the activity that caused it when possible. Feet are hardworking, loyal, and rarely dramatic unless pushed too far. Treat them well, and they will carry you through workouts, vacations, errands, long shifts, and dance floors without turning every step into a personal grudge.
Conclusion
Learning how to prevent foot blisters is mostly about preparation. Wear shoes that fit, choose moisture-wicking socks, keep feet dry, break in new footwear, protect hot spots early, and carry a small prevention kit. These steps may seem minor, but together they reduce the friction, heat, pressure, and moisture that cause most foot blisters.
Blisters are common, but they do not have to be your permanent walking companion. With smart footwear, better socks, early action, and a little foot awareness, you can walk farther, run more comfortably, hike with confidence, and survive a long day on your feet without limping like you lost a duel with your sneakers.
Note: This article is for general educational purposes and is not a substitute for professional medical advice. If you have diabetes, poor circulation, nerve damage, signs of infection, severe pain, or recurring unexplained blisters, consult a qualified healthcare professional or podiatrist.