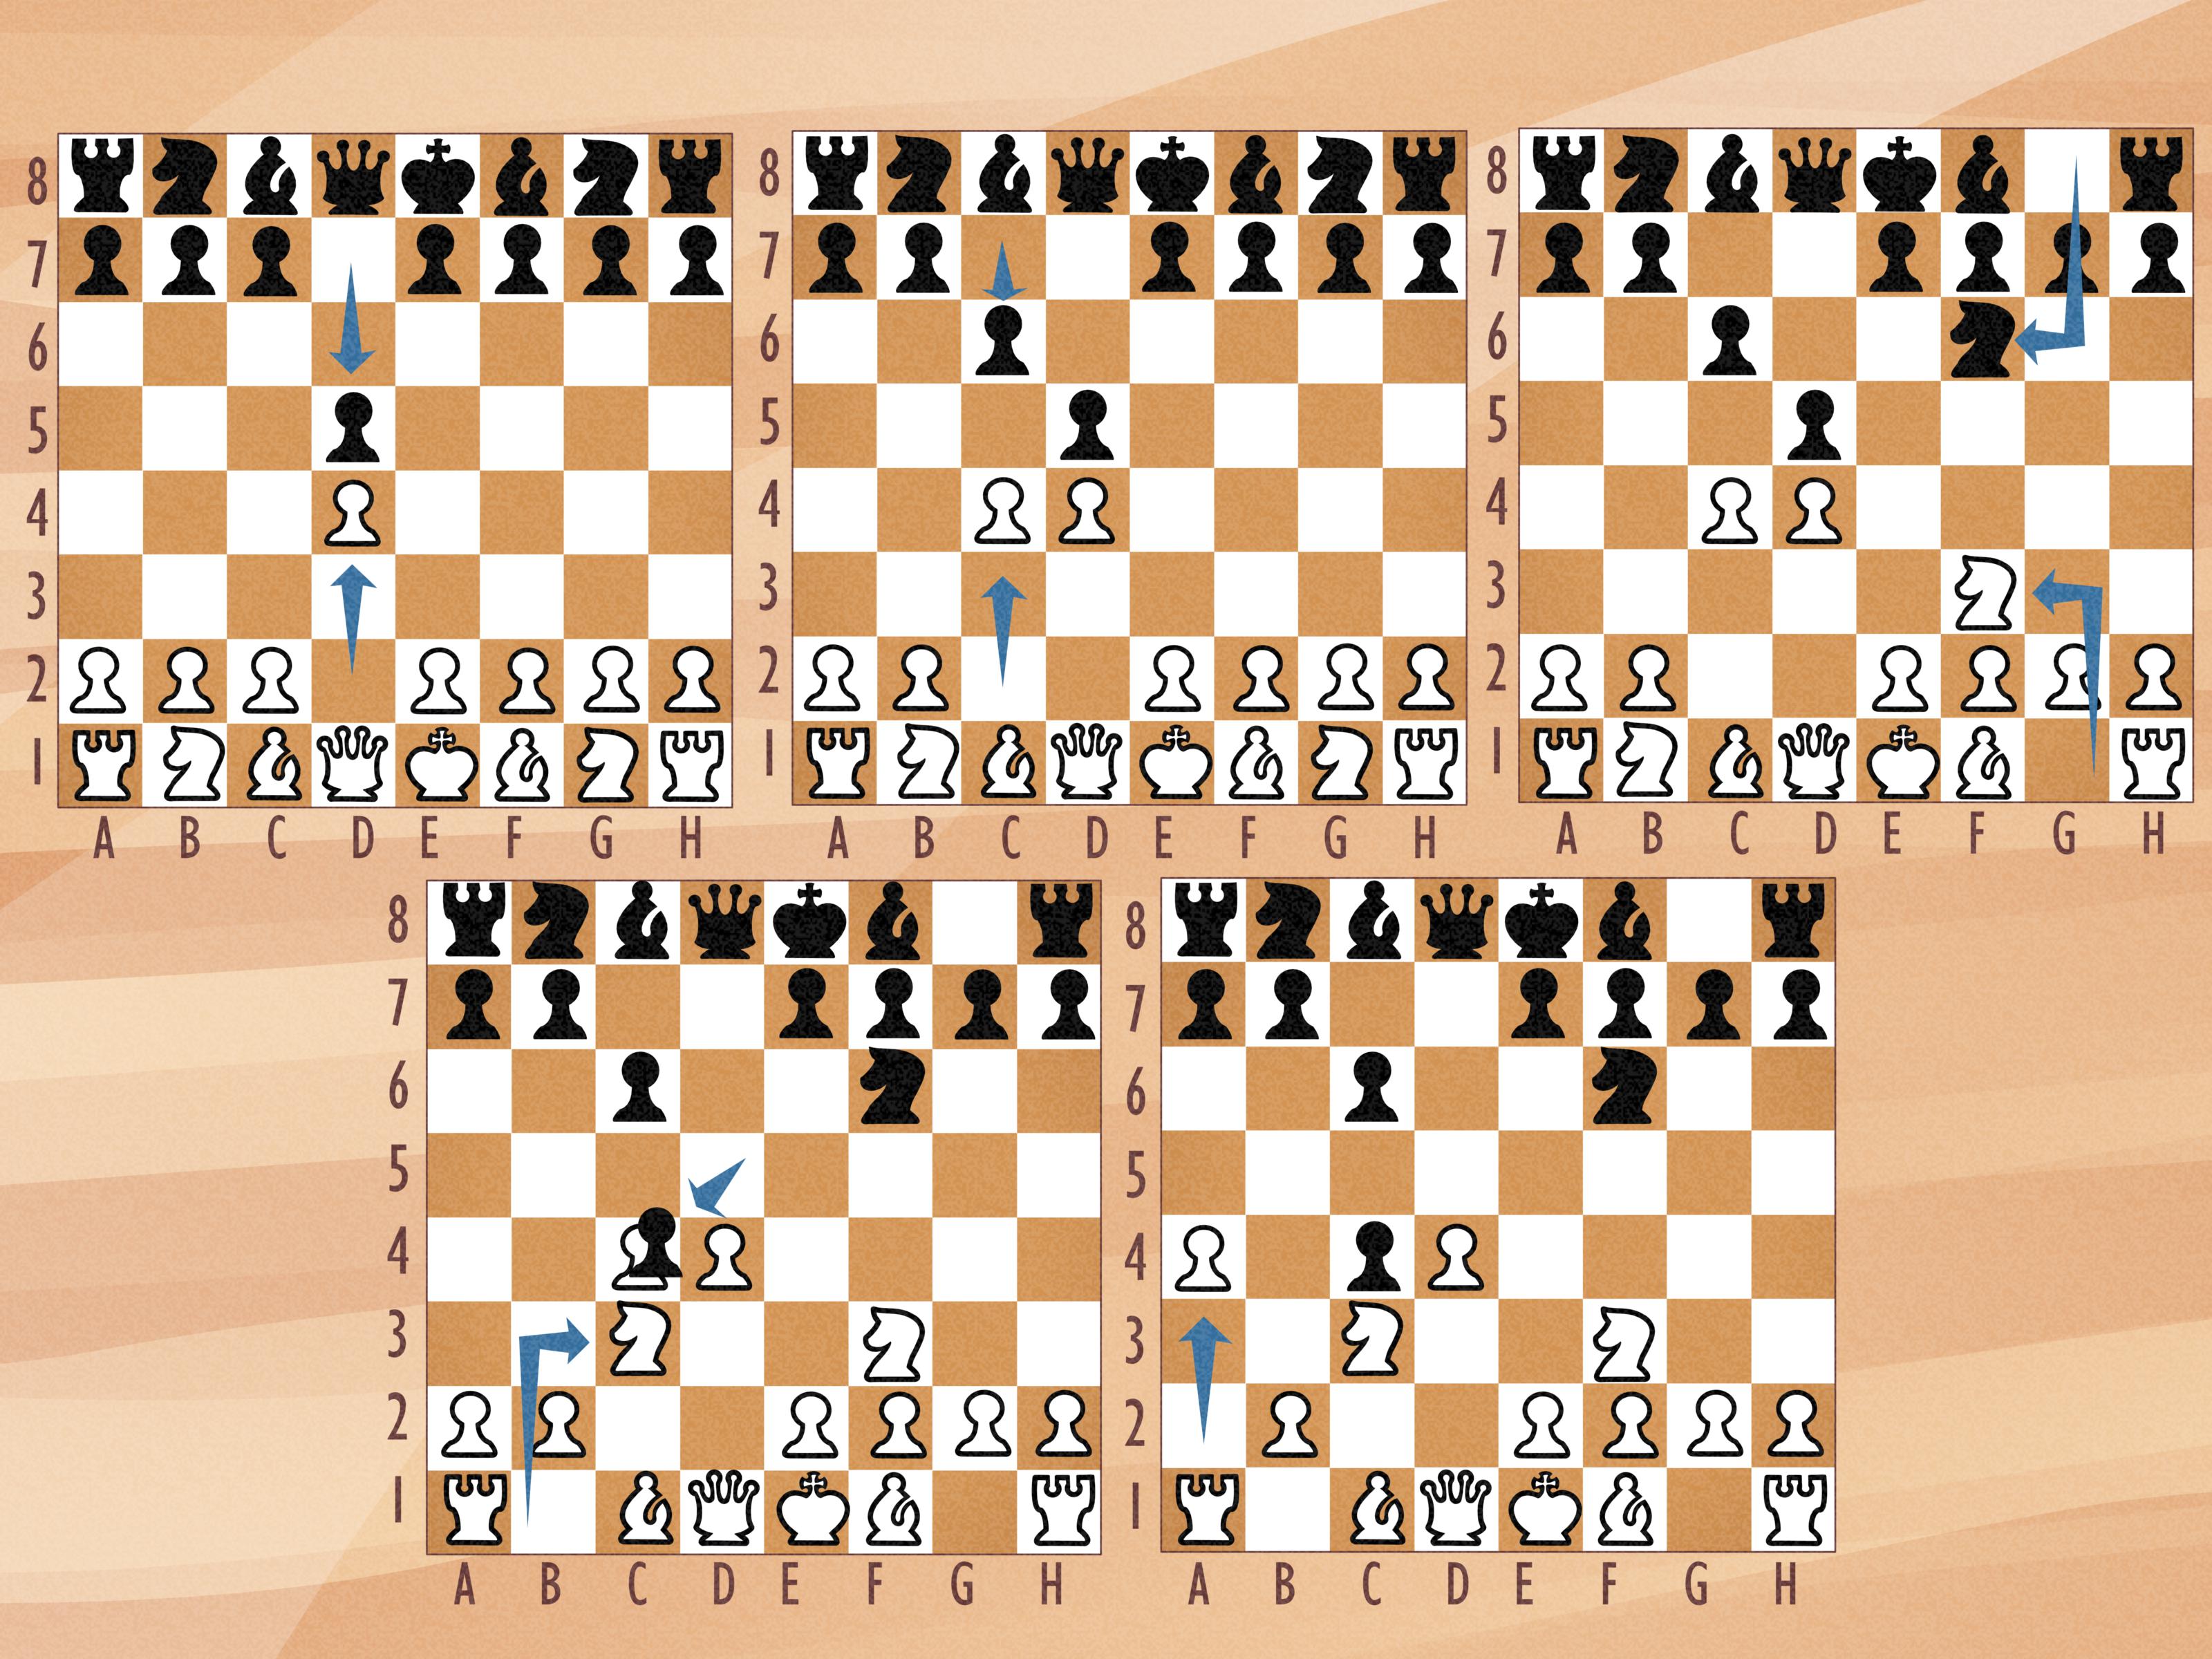
The Queen’s Gambit is one of those chess openings that sounds more dangerous than it initially looks. Nobody launches a queen across the board, no royal piece is sacrificed, and there is usually no dramatic checkmate on move seven. Instead, White offers a humble c-pawn to challenge Black’s control of the center. It is less “medieval ambush” and more “carefully negotiated real-estate dispute.”
Beginning with 1.d4 d5 2.c4, the Queen’s Gambit gives White space, active development, and several long-term strategic plans. Black can accept the offered pawn, defend the center, or choose one of several related systems. This guide explains the key moves, major variations, typical pawn structures, and practical strategies you need to play the Queen’s Gambit confidently.
What Is the Queen’s Gambit?
The Queen’s Gambit begins with the following moves:
1.d4 d5 2.c4
White’s first move places a pawn in the center and opens lines for the dark-squared bishop and queen. Black responds by establishing an equal central presence. White then plays 2.c4, attacking Black’s d5-pawn with a flank pawn.
The underlying idea is simple: White would gladly exchange the c-pawn for Black’s central d-pawn. If that exchange occurs under favorable conditions, White may build a broad center with e4 and d4. Central pawns generally influence more important squares than wing pawns, so the proposed trade can benefit White strategically.
Is the Queen’s Gambit a Real Gambit?
Technically, White offers a pawn, but the Queen’s Gambit is not a reckless sacrifice. Black often cannot keep the extra pawn safely without spending time and weakening the queenside. White can usually recover it while developing pieces or building a powerful center.
That makes the Queen’s Gambit different from openings in which a pawn is permanently sacrificed for a quick attack. Here, the “gambit” is usually temporary, positional, and remarkably well behaved. It probably files its taxes early.
The Three Main Responses to the Queen’s Gambit
After 1.d4 d5 2.c4, Black has several playable responses. The three most important systems are the Queen’s Gambit Accepted, Queen’s Gambit Declined, and Slav Defense.
1. Queen’s Gambit Accepted: 2…dxc4
Black accepts the gambit by capturing the c4-pawn:
1.d4 d5 2.c4 dxc4
Black temporarily gives up the d5-square and challenges White to prove that central space provides enough compensation. White should not panic or rush the queen out to recover the pawn. A calm continuation is:
3.Nf3 Nf6 4.e3 e6 5.Bxc4
White develops naturally, opens the light-squared bishop, and recaptures on c4 without wasting time. Another ambitious plan is 3.e4, immediately creating a large pawn center, although this requires more theoretical knowledge.
White’s usual goals in the Queen’s Gambit Accepted are to develop quickly, regain the pawn under favorable conditions, and use the central majority to gain space. Black generally wants to challenge the center with …c5 or …e5 before White becomes too comfortable.
A common beginner mistake is treating the c4-pawn as an emergency. It is not a smoke alarm. White can often leave it alone for a few moves while developing knights and preparing to recapture it efficiently.
2. Queen’s Gambit Declined: 2…e6
The Queen’s Gambit Declined begins:
1.d4 d5 2.c4 e6
Black reinforces the d5-pawn and maintains a solid central position. The main drawback is that the pawn on e6 temporarily restricts Black’s light-squared bishop.
A classical development pattern is:
3.Nc3 Nf6 4.Bg5 Be7 5.e3 O-O 6.Nf3
White develops pieces, pins the f6-knight, prepares to castle, and keeps several central options available. Black normally aims for …Nbd7, …c6, and eventually the freeing move …c5 or …e5.
The Queen’s Gambit Declined is famous for rich strategic battles. White may have slightly more space and easier development, while Black has a sturdy position with few immediate weaknesses. Neither side is likely to win by waving a tactical wand. Good planning matters.
3. Slav Defense: 2…c6
The Slav Defense starts with:
1.d4 d5 2.c4 c6
Like the Queen’s Gambit Declined, the Slav reinforces the d5-pawn. The difference is that Black uses the c-pawn rather than the e-pawn, leaving the light-squared bishop free to develop outside the pawn chain.
A common continuation is:
3.Nf3 Nf6 4.Nc3
Black may continue with 4…dxc4, 4…e6, or 4…a6. If Black adds …e6, the game may enter the Semi-Slav Defense, a solid but highly complex system that can produce both quiet positional games and extremely sharp complications.
Against the Slav, White should continue developing while watching Black’s plan. Immediate pressure on the center, moves such as Qb3, and timely exchanges on d5 are all possible depending on the exact variation.
Key Moves for White
Develop the Queen’s Knight to c3
The move Nc3 increases pressure on d5, supports a future e4 advance, and places the knight on a natural central square. It is one of White’s most common early moves in Queen’s Gambit positions.
However, some variations favor Nf3 first. Move order matters because an early Nc3 can allow the Nimzo-Indian Defense when Black has not yet committed to …d5. Once the game has clearly entered Queen’s Gambit territory, both knight moves are usually part of White’s development.
Develop the Dark-Squared Bishop Before Playing e3
White often develops the bishop to g5 or f4 before closing its diagonal with e3. On g5, the bishop pins a knight on f6 and increases pressure on Black’s central defenses. On f4, it controls useful squares and supports positional pressure.
Playing e3 too early is not necessarily bad, but it may leave the c1-bishop temporarily unemployed. Chess pieces are not decorative furniture; give them a job whenever possible.
Prepare the e4 Pawn Break
One of White’s ideal achievements is building a center with pawns on d4 and e4. This is not always possible immediately because Black pressures the center and controls e4. White may need Nf3, Nc3, e3, and sometimes Qc2 or Bd3 before advancing.
A successful e4 break can provide more space and attacking chances. A badly timed e4 break can simply lose a pawn. Before pushing, calculate Black’s captures and checks rather than relying on enthusiasm alone.
Castle and Connect the Rooks
The Queen’s Gambit rewards development. White normally brings out the minor pieces, castles kingside, moves the queen when necessary, and connects the rooks. Delaying king safety to launch an unsupported attack often gives Black time to strike in the center.
Essential Pawn Structures and Strategic Plans
The Carlsbad Structure
The Carlsbad pawn structure commonly appears in the Exchange Variation:
1.d4 d5 2.c4 e6 3.Nc3 Nf6 4.cxd5 exd5
White has pawns on a2, b2, and d4 against Black’s queenside pawns on a7, b7, c7, and d5. This structure gives White one of the best-known strategic plans in chess: the minority attack.
The Minority Attack
White advances the queenside pawns with moves such as Rb1, b4, and b5. The purpose is not to checkmate Black on the queenside. White wants to exchange pawns and leave Black with a backward or isolated pawn, usually on c6.
Once that weakness appears, White can pressure it with rooks, knights, and the queen. The plan is slow but logical: create a target, increase the pressure, and prevent counterplay. It is positional cooking rather than tactical fast food.
Black is not required to sit politely while White reorganizes the queenside. Black may seek kingside activity, prepare …c5, place a knight on e4, or generate pressure against White’s king. White must balance the minority attack with defensive awareness.
The Isolated Queen’s Pawn
Queen’s Gambit positions frequently produce an isolated pawn on d4. An isolated queen’s pawn has no friendly pawns on adjacent files that can defend it. This creates both strengths and weaknesses.
The isolated pawn provides space, controls important squares such as c5 and e5, and can support active piece play. The side with the isolated pawn often wants to attack before pieces are exchanged. The defending side usually wants to blockade the pawn, trade pieces, and target it in an endgame.
If White has an isolated d-pawn, pieces should be active. A knight on e5, bishops aimed at the kingside, and a rook on the open c- or e-file may provide dynamic compensation. Passively protecting the pawn forever is a reliable way to make every piece miserable.
Hanging Pawns
Connected pawns on c4 and d4 without neighboring pawns are known as hanging pawns. They control space and may advance to create tactical threats, but they can become targets if blocked.
The side with hanging pawns should seek active play and consider a well-timed d5 advance. The opponent tries to restrain the pawns and attack them with multiple pieces. Understanding this structure is more useful than memorizing twenty moves that lead to it.
Important Alternatives Black May Choose
The Tarrasch Defense
After 1.d4 d5 2.c4 e6 3.Nc3 c5, Black immediately challenges White’s center. The Tarrasch Defense gives Black active piece play but often leads to an isolated d-pawn. White can aim to blockade that pawn, while Black uses open lines and central activity.
The Chigorin Defense
The move 2…Nc6 develops a piece and adds pressure to d4, but it blocks Black’s c-pawn. The Chigorin Defense creates active and less conventional positions. White should develop normally, support the center, and avoid assuming that the unusual move is automatically weak.
The Albin Countergambit
After 1.d4 d5 2.c4 e5, Black offers a pawn and seeks immediate central activity. White can accept with 3.dxe5, but must study Black’s ideas involving …d4, rapid development, and tactical pressure.
The best practical reaction is calm calculation. Greed becomes dangerous when White attempts to protect every extra pawn while leaving pieces asleep on their original squares.
Common Queen’s Gambit Mistakes
Trying to Win the c4-Pawn Immediately
In the Queen’s Gambit Accepted, White should normally recover the pawn through development rather than repeated queen moves. Bringing the queen out early may expose it to attacks and cost valuable time.
Memorizing Moves Without Understanding the Position
A memorized variation becomes useless as soon as an opponent chooses an unfamiliar move. Learn why pieces belong on certain squares, which pawn breaks matter, and what weaknesses each side wants to create.
Pushing e4 Without Preparation
The e4 advance is attractive, but Black may respond with …dxe4, …c5, or tactical pressure against White’s center. Count attackers and defenders before making the move.
Ignoring Black’s Central Breaks
Black’s position may look passive in the Queen’s Gambit Declined, but moves such as …c5 and …e5 can rapidly free the pieces. White should monitor these breaks and decide whether to prevent, provoke, or answer them.
Launching a Minority Attack on Autopilot
The minority attack is not mandatory in every Queen’s Gambit position. If Black has a strong kingside initiative, White may need to defend or create central counterplay first. A strategic plan is a tool, not a legally binding contract.
A Practical Queen’s Gambit Repertoire for Beginners
A manageable repertoire should focus on reliable setups rather than an encyclopedia of variations.
Against 2…e6, White can play Nc3, Nf3, Bg5, e3, Bd3, and castle kingside. White can then choose between the Exchange Variation with cxd5 and maintaining tension in the center.
Against 2…dxc4, White can develop with Nf3 and e3, recover the pawn with Bxc4, and prepare to castle. This approach is strategically clear and avoids unnecessary pawn-chasing adventures.
Against 2…c6, White can use Nf3, Nc3, and e3 or choose an active bishop development with Bg5. The main goal is to develop smoothly while preparing pressure against Black’s center.
Against rare responses, follow sound opening principles: control central squares, develop minor pieces, protect the king, and avoid moving the same piece repeatedly without a concrete reason.
How to Study the Queen’s Gambit Effectively
Start by learning one dependable line against each major Black setup. Then study complete games played by strong Queen’s Gambit specialists. Pause before important moves and predict what each player will do.
Classify the resulting pawn structure after every opening practice game. Ask whether the position contains a Carlsbad structure, an isolated queen’s pawn, hanging pawns, or a symmetrical center. This connects opening moves to middlegame plans.
Review your own games without an engine first. Identify where you stopped understanding the position. An engine can later reveal tactical errors, but it may recommend a move without teaching why a human player would choose it.
Practice with slower time controls when learning the opening. Blitz is entertaining, but it can turn strategic study into a contest to see who can misplace a knight faster.
Practical Experiences From Playing the Queen’s Gambit
The first practical lesson many players learn is that the Queen’s Gambit rarely produces the same position twice. One opponent accepts the pawn, another builds a defensive wall with …e6, and the next plays an unusual move on move two with the confidence of someone who has either prepared deeply or clicked the wrong square. A useful repertoire therefore needs ideas that survive different move orders.
In early games, it is tempting to focus entirely on recovering the c4-pawn. This often leads to awkward queen moves and neglected development. A better experience comes from treating the pawn as temporarily unavailable. Develop Nf3, play e3, bring the bishop to c4, and castle. When the pawn returns naturally, White has gained time and coordination rather than merely restored the material balance.
Another recurring experience is reaching a pleasant position and then having no idea what to do. White may complete development, enjoy slightly more space, and still drift for several moves. That is where pawn structures become practical road maps. In a Carlsbad structure, White can prepare b4-b5. With an isolated d-pawn, White should seek active piece play. Against a backward c6-pawn, rooks belong on the c-file. Once the structure is recognized, the position becomes less mysterious.
The minority attack also teaches patience. The first time a player pushes b4 and b5, the plan may feel painfully slow. No checks appear, no pieces are sacrificed, and nobody gasps dramatically. Then Black’s c6-pawn becomes weak, a knight finds c5, and the endgame begins to favor White. The reward arrives several moves after the plan starts, which is precisely why the idea is so educational.
Playing the Queen’s Gambit as Black provides equally valuable insight. The Queen’s Gambit Declined shows that a slightly restricted position can remain healthy if the pawn structure is solid and the freeing break is prepared carefully. Black’s light-squared bishop may look unhappy at first, but moves such as …b6, …Bb7, …Nbd7, and …c5 can bring the entire position to life.
Real games also reveal that opening labels matter less than accurate decisions. A player may know the name “Semi-Slav Meran” and still lose a pawn to a simple fork. Another player may forget the variation’s name but develop correctly, castle, and find the right central break. Vocabulary is helpful; board awareness is better.
A productive post-game routine is to record the first move where you felt uncertain. Compare that position with a database of master games, examine two or three common plans, and add a brief note to your repertoire. Avoid attempting to memorize every engine recommendation. A small collection of understandable positions is more useful than a digital warehouse filled with moves you cannot explain.
Over time, the Queen’s Gambit improves more than opening knowledge. It teaches how to create weaknesses, use open files, evaluate pawn breaks, improve a poorly placed piece, and convert small advantages. Those skills transfer to nearly every opening. Even when the Queen’s Gambit does not produce fireworks, it trains the kind of strategic thinking that makes future fireworks possible.
Conclusion
Learning how to play the Queen’s Gambit begins with understanding the purpose of 2.c4. White challenges Black’s central pawn and seeks space, development, and favorable pawn structures rather than a cheap opening trap.
Against the Queen’s Gambit Accepted, develop efficiently and recover the pawn without rushing. Against the Queen’s Gambit Declined, build pressure and prepare useful central or queenside breaks. Against the Slav, respect Black’s solid center while developing actively. Most importantly, study the structures that arise after the opening.
The Queen’s Gambit is reliable enough for elite competition and logical enough for improving players. Learn the plans, review complete games, and practice regularly. Your queen may not perform a dramatic gambit, but your c-pawn will become surprisingly good at starting arguments.