Curds and whey may sound like something that belongs in a nursery rhyme, but this humble dairy duo is also one of the simplest kitchen science projects you can actually eat. With just milk, heat, and an acid such as lemon juice or vinegar, you can separate creamy white curds from pale golden whey in less time than it takes to explain why Little Miss Muffet was sitting on a tuffet in the first place.
Learning how to make curds and whey is useful whether you want a beginner-friendly fresh cheese, a homemade ricotta-style topping, a quick paneer-like curd for cooking, or a clever way to understand how milk proteins behave. The process is easy, but the results depend on a few important details: the type of milk you choose, the temperature you heat it to, how much acid you add, and how long you drain the curds.
This guide walks you through the method in four clear steps, then gives you troubleshooting tips, flavor ideas, storage advice, and practical experience-based notes so your first batch does not turn into dairy confetti. Good news: even if it does, it will probably still taste pretty great.
What Are Curds and Whey?
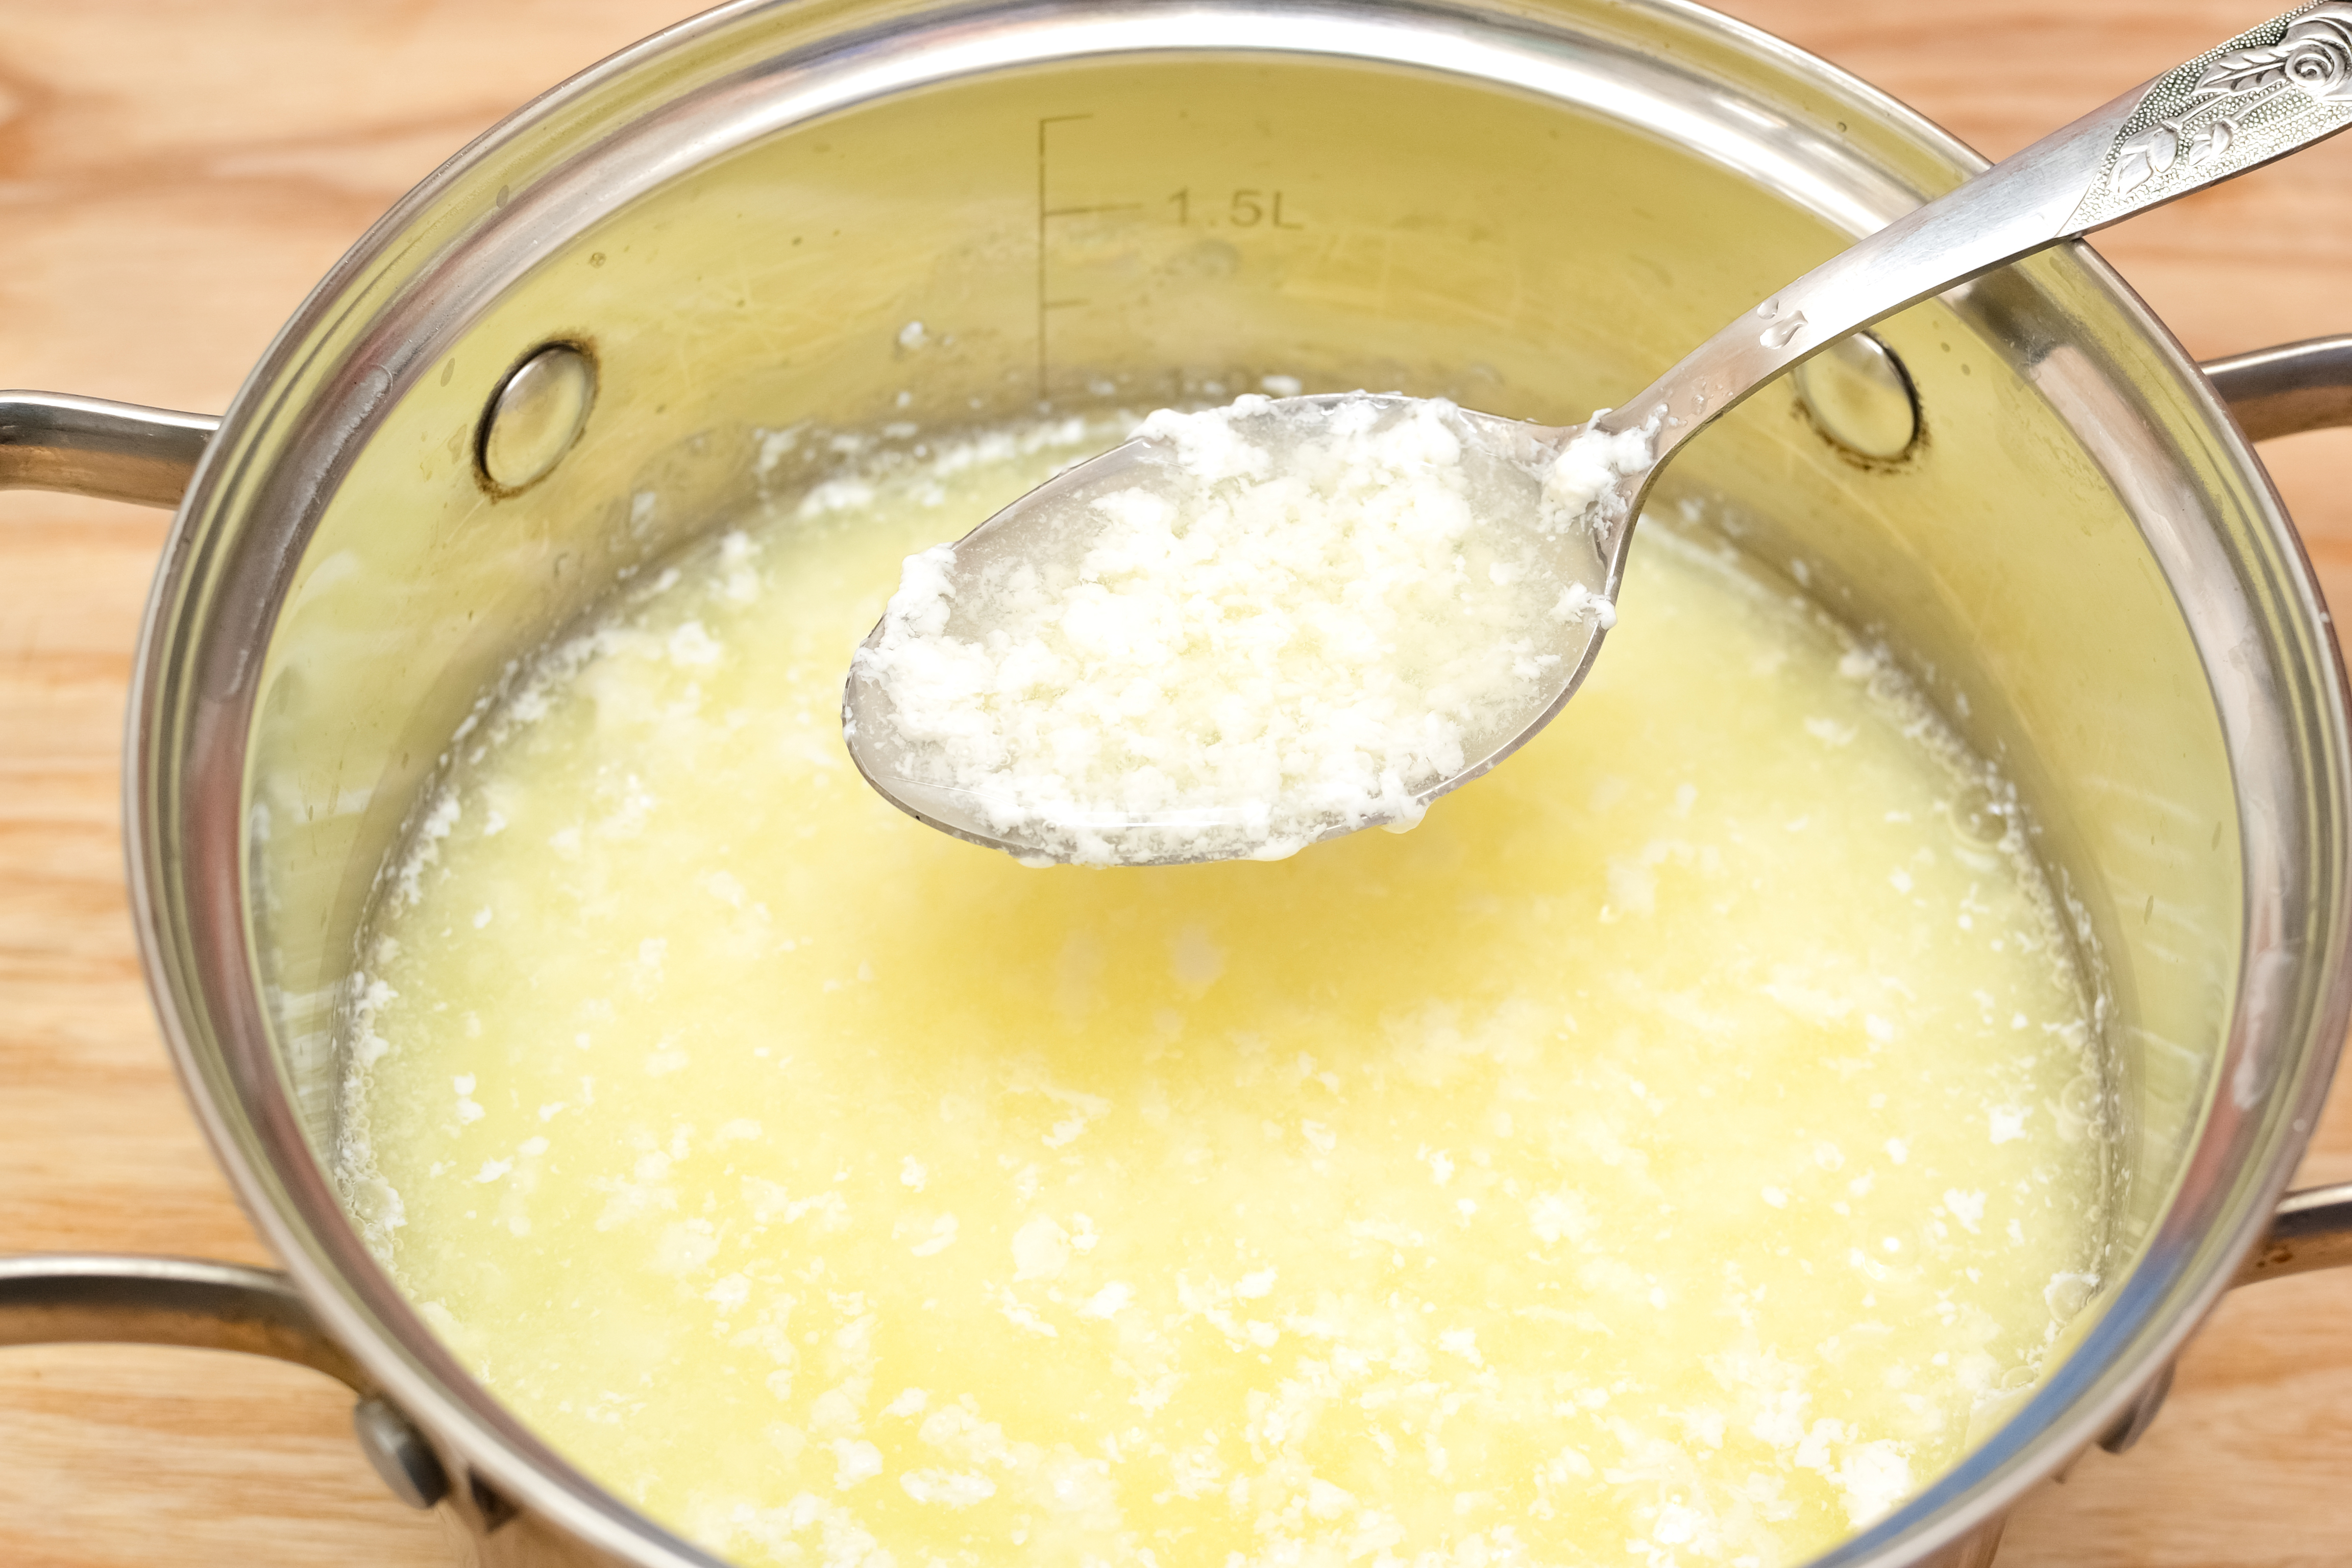
Curds are the solid clumps that form when milk proteins coagulate. Whey is the liquid left behind after those curds separate. In simple terms, curds are the soft, white, protein-rich part; whey is the thin, yellowish liquid that drains away.
The main protein involved in curd formation is casein. In fresh milk, casein proteins stay suspended in liquid. When you add acid, the milk’s pH drops, and those proteins begin clumping together. Heat helps the reaction happen faster and encourages firmer curds. That is why warm milk plus lemon juice or vinegar can transform from ordinary milk into curds and whey right before your eyes.
This is the same basic idea behind many fresh cheeses. Ricotta-style cheese, paneer, farmer’s cheese, queso fresco, and cottage cheese all rely on separating milk solids from whey, though each has its own details, texture, seasoning, and finishing method.
Ingredients You Need
For a small beginner batch, gather the following:
- 4 cups whole milk, preferably pasteurized but not ultra-pasteurized
- 2 to 4 tablespoons fresh lemon juice or distilled white vinegar
- 1/4 teaspoon fine salt, optional
- Cheesecloth, butter muslin, a clean thin kitchen towel, or a fine-mesh strainer
- A medium saucepan
- A cooking thermometer
- A slotted spoon
- A bowl to catch the whey
Best Milk for Curds and Whey
Whole milk gives the richest, softest curds because it contains more fat. Two-percent milk can work, but the curds may be slightly leaner and less creamy. Skim milk is less reliable for a beginner because it often creates smaller, drier curds.
Avoid ultra-pasteurized or UHT milk when possible. Ultra-high heat processing changes milk proteins, which can make curd formation weak, grainy, or disappointing. Regular pasteurized milk is the better choice for fresh homemade curds.
Lemon Juice vs. Vinegar
Lemon juice gives curds a bright, gentle tang. Vinegar is more neutral and predictable, especially distilled white vinegar. Both work well. If you want curds for sweet dishes, lemon juice is lovely. If you plan to use the curds in savory recipes, vinegar gives you a cleaner blank canvas.
How to Make Curds and Whey in 4 Steps
Step 1: Heat the Milk Gently
Pour the milk into a clean saucepan and place it over medium-low heat. Stir often so the milk does not scorch on the bottom. Heat it until it reaches about 175°F to 185°F. The milk should be steaming and just shy of a simmer, not angrily boiling like it has personal problems.
A thermometer is your best friend here. Too cool, and the milk may not separate well. Too hot, and the curds can turn rubbery or taste cooked. If you do not have a thermometer, look for steam, tiny bubbles around the edge of the pan, and a slightly foamy surface.
Step 2: Add the Acid
Turn off the heat. Add 2 tablespoons of lemon juice or vinegar and stir slowly for 5 to 10 seconds. Then stop stirring and let the milk sit undisturbed for 5 minutes.
You should see white curds separating from yellowish whey. If the liquid still looks mostly milky after 5 minutes, add another tablespoon of acid, stir gently once or twice, and wait another 5 minutes. Repeat only if necessary. Too much acid can make the curds sour and squeaky.
Step 3: Let the Curds Rest
Once curds have formed, let the pot rest for 10 to 15 minutes. This gives the proteins time to finish gathering into soft clumps. The curds should look tender and cloud-like, while the whey should look thinner and more translucent than milk.
For larger, softer curds, avoid stirring during the rest. For smaller, firmer curds, stir gently once or twice. Think of curds as shy guests at a party: if you poke them too much, they fall apart.
Step 4: Strain and Season
Line a colander with cheesecloth or a clean thin towel and set it over a bowl. Carefully ladle or pour the curds and whey into the lined colander. Let the whey drain into the bowl.
For soft spoonable curds, drain for 5 to 10 minutes. For thicker curds, drain for 20 to 30 minutes. For a firmer fresh cheese, gather the cloth around the curds and press gently. Add a small pinch of salt if desired.
Do not throw away the whey just yet. It can be used in pancakes, bread dough, smoothies, soups, oatmeal, or as a tangy liquid for cooking grains. Because acid whey is tart, start by replacing only part of the liquid in a recipe until you know how strong your batch tastes.
How to Tell When Curds and Whey Are Done
Your curds and whey are ready when the mixture clearly separates into white solids and pale yellow liquid. The whey should not look like regular milk. It may be cloudy, but it should be thinner than the milk you started with.
The curds should hold together softly when scooped with a spoon. They do not need to look identical. Homemade curds are charmingly irregular, like tiny dairy snowdrifts. If the curds are too fine, the milk may have been stirred too much, heated too aggressively, or acidified too slowly.
Food Safety Tips for Homemade Curds and Whey
Fresh curds are a moist dairy food, so cleanliness matters. Wash your hands, use clean utensils, and sanitize equipment that touches the milk. Use pasteurized milk, especially when serving children, pregnant people, older adults, or anyone with a weakened immune system.
Refrigerate homemade curds promptly. Do not leave them at room temperature for more than 2 hours, or more than 1 hour if your kitchen is above 90°F. Store curds in a covered container in the refrigerator and use them within 3 to 5 days. Keep whey refrigerated and use it within a few days, or freeze it in small portions for cooking later.
Common Mistakes and Easy Fixes
The Milk Did Not Curdle
The most common reason is ultra-pasteurized milk. The second most common reason is not enough acid. Warm the milk again gently, add another tablespoon of lemon juice or vinegar, and let it rest. If nothing happens, your milk may simply not be a good candidate for curd making.
The Curds Are Too Sour
You probably added more acid than needed. Next time, start with less and add more only if the whey still looks milky. You can also rinse drained curds briefly under cool water to soften the sharpness, especially if you plan to press them into a paneer-style cheese.
The Curds Are Rubbery
The milk may have boiled or the curds may have cooked too long after separating. Use gentler heat and remove the pan from the burner before adding acid. Tender curds come from patience, not from treating the saucepan like a volcano exhibit.
The Curds Are Too Wet
Drain them longer. For thicker curds, tie the cheesecloth into a bundle and let it hang over a bowl for 30 to 60 minutes. For a firm sliceable curd, place a small plate on top and add light weight for another hour.
How to Use Homemade Curds
Fresh curds are mild, creamy, and flexible. Use them as a spread on toast with honey, herbs, or cracked pepper. Spoon them over pasta with olive oil and lemon zest. Add them to scrambled eggs, baked potatoes, grain bowls, or salads. For a quick dessert, pair them with berries and a drizzle of maple syrup.
If you drain the curds longer and press them, they can become firm enough to cube. These firmer curds can be pan-seared and added to vegetable dishes, wraps, soups, or rice bowls. They will not melt like mozzarella, which is actually useful when you want them to keep their shape.
How to Use Leftover Whey
Whey is too useful to toss. It adds gentle tang and extra dairy flavor to many recipes. Try it in:
- Pancake or waffle batter
- Bread, rolls, or pizza dough
- Smoothies
- Soups and stews
- Oatmeal or porridge
- Mashed potatoes
- Rice, quinoa, or other cooked grains
Remember that whey from acid-set curds tastes tart. It is different from sweet whey produced in some rennet-based cheesemaking. If the flavor is strong, dilute it with water or milk in recipes.
Flavor Variations
Herbed Curds
Stir chopped chives, parsley, dill, basil, or thyme into drained curds. Add a pinch of salt and black pepper. This makes a fresh spread for crackers, toast, sandwiches, or roasted vegetables.
Sweet Breakfast Curds
Leave the curds unsalted and spoon them into a bowl with berries, sliced peaches, honey, cinnamon, or toasted nuts. It tastes like breakfast decided to put on a cardigan and become wholesome.
Garlic-Lemon Curds
Add lemon zest, a tiny grated garlic clove, salt, and olive oil. Serve with warm pita, grilled vegetables, or roasted potatoes.
Pressed Cooking Curds
Drain the curds thoroughly, wrap them in cloth, and press them under a weighted plate. Slice or cube the firm curd and pan-sear it for salads, curries, wraps, or rice bowls.
Experience Notes: What Making Curds and Whey Teaches You
The first time you make curds and whey, the process can feel almost suspiciously simple. You pour milk into a pot, warm it, add lemon juice, and suddenly the milk separates as if it has received very specific instructions from a dairy wizard. That instant transformation is the fun part, but the real learning comes from noticing the small details.
One important experience is that milk choice matters more than beginners expect. A carton labeled ultra-pasteurized may look perfectly normal, but it often resists forming strong curds. You can heat it carefully, add lemon juice politely, wait with great optimism, and still end up with a pot of cloudy disappointment. Regular pasteurized whole milk is far more dependable. When the milk is right, the curds form quickly and look plump instead of dusty or broken.
Another lesson is that more acid is not always better. It is tempting to squeeze in extra lemon juice when the curds seem slow, but too much acid can make the final curds taste sharp. The best approach is to add acid gradually. Let the milk rest before judging it. Curds often keep forming while the pot sits quietly, so patience can save the flavor.
Temperature is another detail you learn by doing. Milk that is barely warm may not separate cleanly. Milk that boils can create tougher curds. The sweet spot is hot and steamy but controlled. A thermometer removes the guesswork, but after a few batches, you begin to recognize the signs: steam rising, small bubbles around the edge, and a surface that looks active but not wild.
Draining time also changes everything. Five minutes gives you soft curds that spoon beautifully over toast or fruit. Thirty minutes gives you thicker curds for spreads. Pressing turns them into a firmer block you can slice. This is where homemade curds become personal. Some cooks love a loose ricotta-like texture. Others want a firmer paneer-style result. The same basic method can produce both.
You also discover that whey is not waste. At first, it may seem like an awkward leftover, but it quickly earns a place in the kitchen. Use it in pancakes and they become slightly tangy and tender. Add it to bread dough and it brings flavor. Stir it into soup and it adds body. Once you start saving whey, pouring it down the drain feels like throwing away a secret ingredient.
Finally, making curds and whey builds confidence. It shows that homemade food does not always require fancy tools or complicated techniques. Sometimes the best kitchen projects begin with a saucepan, a quart of milk, and the willingness to watch closely. Even imperfect curds can be seasoned, spread on toast, folded into eggs, or spooned over roasted vegetables. In other words, this is a forgiving recipe. It may be science, but it is friendly sciencethe kind that rewards you with cheese.
Conclusion
Making curds and whey at home is one of the easiest ways to turn everyday milk into something fresh, useful, and surprisingly satisfying. In just four stepsheat the milk, add acid, rest the curds, and strainyou can create soft homemade curds and a bowl of tangy whey for cooking. The method is simple, but the small choices matter: use pasteurized milk that is not ultra-pasteurized, heat gently, add acid gradually, and drain according to the texture you want.
Whether you serve the curds with fruit, herbs, toast, pasta, or vegetables, this beginner-friendly dairy project is practical and fun. It is also a wonderful reminder that great cooking often starts with understanding one basic transformation. Milk becomes curds and whey, your kitchen smells cozy, and suddenly you are the sort of person who makes fresh cheese. Not a bad identity upgrade for a few cups of milk.