Learning how to hold a knife may not sound as glamorous as mastering beef Wellington or flipping an omelet without redecorating the ceiling, but it is one of the most important kitchen skills you can build. A good knife grip makes cooking safer, faster, cleaner, and far less stressful. It helps you slice tomatoes instead of squashing them, dice onions instead of chasing them across the cutting board, and chop herbs without turning them into green confetti paste.
The good news? You do not need chef-school tuition, a dramatic white jacket, or the ability to shout “Yes, Chef!” under pressure. You only need a sharp knife, a stable cutting board, and a few simple hand positions. This guide explains how to hold a kitchen knife step by step, how to use the claw grip with your guiding hand, common mistakes to avoid, and practical ways to build confidence every time you cook.
Why Proper Knife Grip Matters
A knife is not just a sharp piece of metal with a handle. In the kitchen, it is an extension of your hand. When you hold it correctly, the blade feels balanced and controlled. When you grip it poorly, the knife can wobble, slip, or force you to use too much pressure.
Proper knife handling helps in three big ways: safety, precision, and comfort. Safety comes first because your fingertips are lovely and should remain attached. Precision matters because evenly cut food cooks more evenly. Comfort matters because chopping a pile of vegetables should not feel like a hand workout designed by a villain.
Most professional cooks rely on some version of the pinch grip for a chef’s knife. This grip gives more control than simply wrapping all five fingers around the handle. However, beginners can start with a secure handle grip and gradually move toward the pinch grip as confidence grows.
Start With the Right Knife and Setup
Choose a Knife That Fits the Job
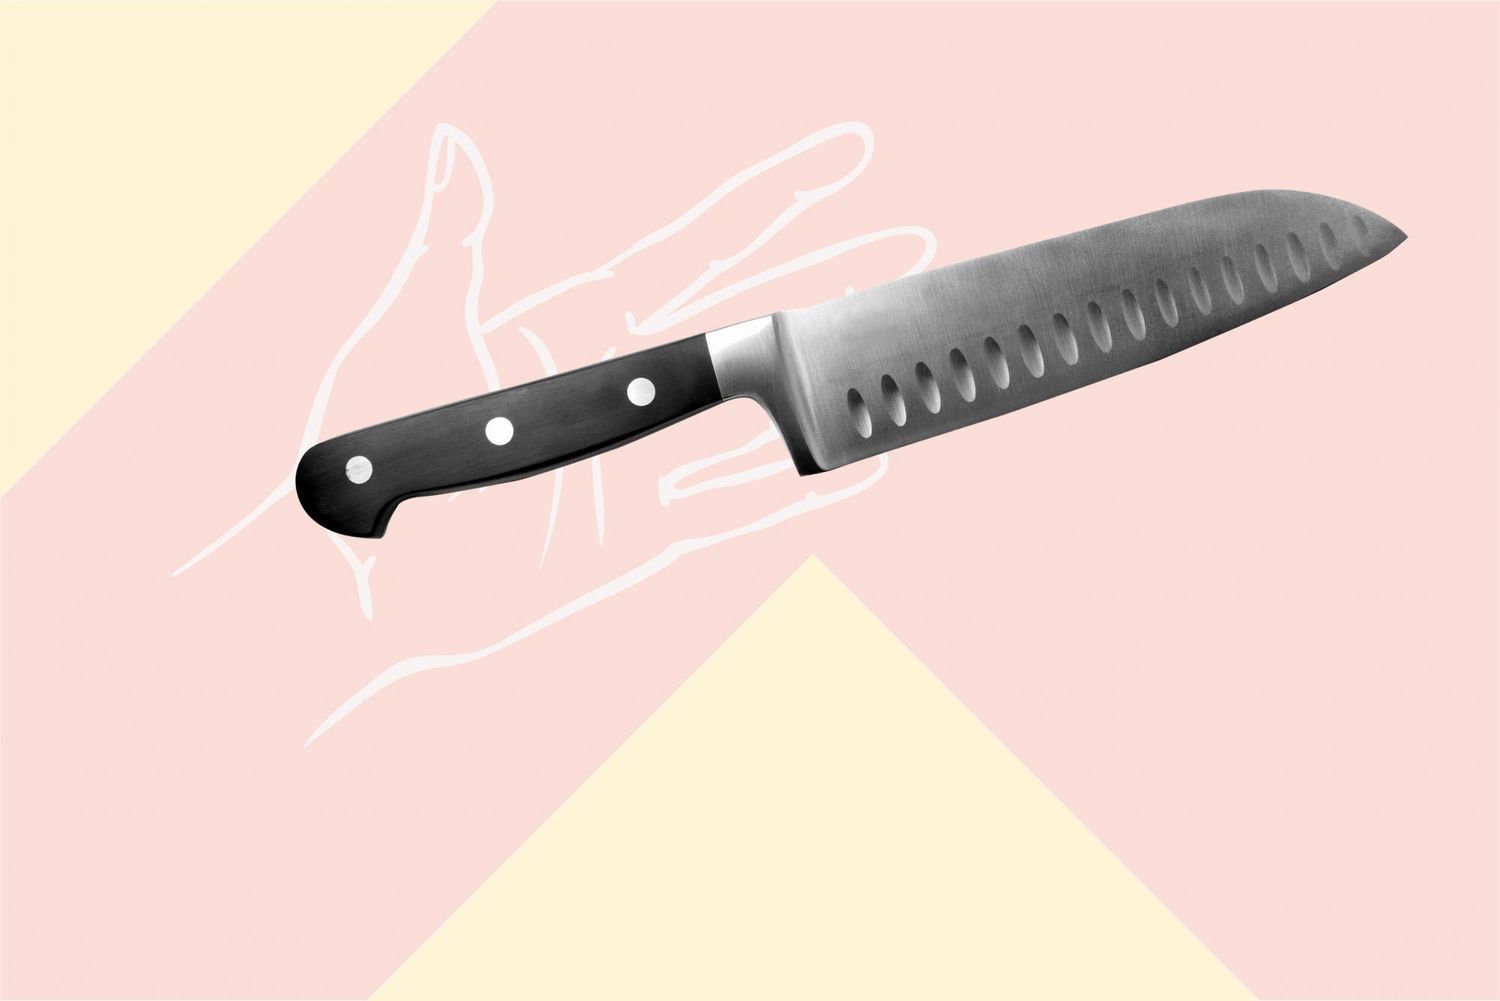
For most everyday prep, a chef’s knife is the best place to start. An 8-inch chef’s knife is common, but a 6-inch knife may feel more comfortable for smaller hands or nervous beginners. A santoku knife is another excellent choice for slicing, dicing, and chopping vegetables. A paring knife is better for small hand-held tasks like peeling fruit, while a serrated knife is ideal for bread and delicate foods with tough skins, such as ripe tomatoes.
The best knife is not always the biggest or most expensive one. It is the knife that feels balanced, sharp, and comfortable in your hand. If you feel like you are wrestling a tiny swordfish, try a smaller blade.
Use a Stable Cutting Board
Before you touch the knife, secure your cutting board. A sliding board is one of the fastest ways to turn dinner prep into kitchen chaos. Place a damp paper towel or thin kitchen towel under the board to keep it from moving. Use a board large enough for your ingredient and your knife strokes.
Wood and plastic cutting boards are common choices because they are gentler on knife edges than glass, stone, or ceramic surfaces. Avoid cutting directly on plates, countertops, or anything harder than the blade. Your knife will not thank you, and neither will your dinner.
Keep the Knife Sharp
A sharp knife is safer than a dull one because it cuts with less force. A dull knife makes you push harder, and when it finally slips, it tends to slip with enthusiasm. Hone your knife regularly to maintain the edge, and sharpen it when honing no longer helps. If the knife crushes tomatoes, skids off onion skin, or makes you saw through carrots like lumber, it is time for maintenance.
How to Hold a Knife: The Basic Handle Grip
The handle grip is the simplest way to hold a kitchen knife. It is comfortable, familiar, and useful for beginners. It may not offer as much control as the pinch grip, but it is much better than holding the knife too far back or placing your index finger on top of the blade.
Step-by-Step Handle Grip
- Wrap your hand around the handle. Your fingers should circle the handle naturally.
- Keep your thumb on one side of the handle. Do not let it drift onto the blade edge.
- Hold close to the blade. Your hand should sit near the front of the handle, not at the very end.
- Relax your grip. Firm is good. White-knuckle panic is not.
- Keep your wrist straight. A neutral wrist gives better control and reduces strain.
The handle grip works well for simple cuts, especially if you are new to cooking. But once you want better accuracy, smoother chopping, and more control, it is time to learn the pinch grip.
How to Hold a Knife Like a Chef: The Pinch Grip
The pinch grip, also called the blade grip, is widely taught because it gives you more control over the knife. Instead of controlling the blade from the handle alone, your thumb and index finger lightly pinch the blade near the handle. This brings your hand closer to the knife’s balance point.
Step-by-Step Pinch Grip
- Place the knife on the cutting board. Keep the blade facing away from your body.
- Put your thumb on one side of the blade. Position it near the heel of the knife, where the blade meets the handle.
- Place your index finger on the opposite side of the blade. Bend it slightly so it rests comfortably against the blade, not underneath the sharp edge.
- Wrap your remaining three fingers around the handle. Your middle, ring, and pinky fingers provide support.
- Relax your hand. The grip should feel controlled, not cramped.
- Test the balance. Lift the knife slightly. It should feel steady, as if your hand and the blade are working together.
At first, the pinch grip may feel strange, especially if you have always held knives by the handle only. That is normal. It is a little like switching from typing with two fingers to using proper keyboard position. Awkward today, faster tomorrow.
What to Do With Your Other Hand: The Claw Grip
Your knife hand gets most of the attention, but your guiding hand is just as important. The guiding hand holds the food steady and protects your fingertips. The safest and most useful position is called the claw grip.
Step-by-Step Claw Grip
- Place the food flat on the cutting board. If the ingredient is round, cut a small flat side first so it does not roll.
- Curl your fingertips inward. Imagine making a gentle claw shape with your hand.
- Tuck your thumb behind your fingers. Your thumb should not stick out near the blade.
- Use your knuckles as a guide. The side of the knife blade can lightly touch your front knuckles.
- Move your guiding hand backward as you cut. Keep your fingertips tucked as the food gets smaller.
The claw grip may look dramatic, like you are pretending to be a very cautious lobster, but it works. Your knuckles guide the blade while your fingertips stay behind the safety line.
The Basic Cutting Motion
Once your knife hand and guiding hand are in position, focus on the cutting motion. Good knife work is not about hacking downward. It is about smooth, controlled movement.
For Slicing
Use a forward-and-down motion. Let the blade glide through the food. The tip of the knife may stay near the board while the heel rises and falls slightly. This works well for onions, cucumbers, peppers, celery, and many vegetables.
For Chopping
Use a gentle rocking motion with a chef’s knife. Keep the tip of the blade close to the board and lift the handle up and down. This is useful for herbs, garlic, and smaller piles of ingredients.
For Dicing
First slice the food into even pieces, then stack or line up the pieces and cut across them. Uniform cuts help food cook evenly. Carrots cut into similar sizes roast better. Onion pieces of the same size soften at the same rate. Tiny detail, big dinner improvement.
Common Knife-Holding Mistakes to Avoid
Mistake 1: Pointing Your Index Finger Along the Spine
Many beginners place the index finger on top of the knife spine because it feels like it adds control. In reality, it can make the knife less stable and strain the finger. A proper pinch grip gives better control without forcing one finger to steer the entire blade.
Mistake 2: Holding the Knife Too Far Back
Gripping the end of the handle reduces control and makes the knife feel heavier. Move your hand closer to the blade. You want to guide the knife, not operate it from another zip code.
Mistake 3: Pressing Down With Your Free Hand
Never place your free hand on top of the blade to force a cut. If something is too hard to cut safely, stop and reassess. Use a sharper knife, a more stable surface, or a better technique.
Mistake 4: Using a Dull Knife
A dull knife encourages bad habits: pushing too hard, sawing aggressively, and losing control. A sharp knife should do most of the work. Your job is to guide it.
Mistake 5: Cutting Round Foods Without Creating a Flat Side
Onions, potatoes, apples, zucchini, and carrots can roll. Cut a thin slice off one side first, then place the flat side down. Flat food is cooperative food.
Knife Safety Tips Every Home Cook Should Know
- Never catch a falling knife. Step back and let it fall. The floor can be repaired. Your hand is less convenient.
- Carry a knife with the blade pointed down. Keep it close to your side and announce yourself in a busy kitchen.
- Wash knives by hand. Dishwashers can dull blades and damage handles.
- Do not leave knives loose in the sink. Someone may reach in and find the blade the painful way.
- Store knives safely. Use a knife block, magnetic strip, drawer insert, or blade guards.
- Use separate cutting boards for raw meat and ready-to-eat foods. This helps reduce cross-contamination.
- Wash cutting boards, knives, and counters after raw meat, poultry, seafood, or eggs. Hot, soapy water is your friend.
How to Practice Holding a Knife
Practice does not need to be fancy. Start with easy, inexpensive ingredients. A cucumber is a friendly beginner vegetable. Celery is great for practicing straight slices. Potatoes are useful because you can cut a flat side and practice stability. Onions teach multiple skills at once, though they may also make you cry, because apparently dinner prep needed emotional depth.
Beginner Practice Drill
- Set a damp towel under your cutting board.
- Place a cucumber on the board and cut off one end.
- Use the pinch grip with your knife hand.
- Use the claw grip with your guiding hand.
- Slice slowly into even rounds.
- Focus on smooth motion, not speed.
- Repeat with celery, carrots, or zucchini.
Speed comes later. Accuracy comes first. The fastest cook in the room is not the one chopping like a movie montage; it is the one who stays calm, keeps the knife sharp, and does not have to stop every two minutes to chase runaway vegetables.
How Different Knives Change Your Grip
The pinch grip works beautifully with a chef’s knife and many santoku knives, but not every knife is held exactly the same way. A paring knife may use a smaller handle grip because it is often used for close, delicate work. A serrated bread knife requires a gentle sawing motion rather than a rocking chop. A Chinese vegetable cleaver can also use a pinch grip, but because the blade is taller, your hand position may feel slightly different.
The key is control. No matter the knife, your grip should feel stable, your fingers should stay away from the edge, and the food should rest securely on the cutting board.
Simple Troubleshooting: What If It Feels Awkward?
If Your Hand Feels Tense
You may be gripping too hard. Try relaxing your fingers and letting the knife rest more naturally in your hand. A knife should be held firmly, not strangled.
If the Knife Wobbles
Move your hand closer to the blade and check your pinch grip. Make sure your thumb and index finger are opposite each other near the heel of the blade.
If Food Slips Around
Create a flat surface on the food, dry slippery ingredients with a towel, and make sure your cutting board is stable.
If Your Cuts Are Uneven
Slow down. Watch the distance between each cut. Use your knuckles as a guide and move your claw hand backward in small, steady steps.
Real-Life Experience: What Learning to Hold a Knife Actually Feels Like
Anyone who has learned proper knife skills knows the first few tries can feel oddly unnatural. The pinch grip looks simple in photos, but the first time you place your thumb and index finger on the blade, your brain may send a polite complaint: “Excuse me, why are we touching the sharp thing?” That hesitation is normal. The trick is remembering that you are not touching the cutting edge. You are pinching the safe upper part of the blade near the handle, where the control happens.
One of the most common beginner experiences is over-gripping. People hold the knife as if it is about to leap from their hand and sprint out the door. After a few minutes, the wrist tightens, the shoulder rises, and chopping half an onion feels like a gym session. The better approach is to hold the knife securely but calmly. Think of holding a pen, not a hammer. You guide it; you do not crush it.
Another real-world lesson comes from cutting round ingredients. A potato, onion, or apple can roll at the worst possible moment. Many beginners try to hold the food more tightly, but that often puts fingertips closer to the blade. The safer experience is to pause and create a flat side. Once the ingredient sits firmly on the board, the whole task feels easier. It is one of those tiny kitchen habits that makes you wonder why nobody taught it earlier.
The claw grip also takes practice. At first, curled fingertips may feel slow and awkward. You may cut one slice, stop, move your hand, cut another slice, and feel like the world’s most cautious salad maker. That is fine. With repetition, the movement becomes smoother. Your knuckles begin to act like a quiet little fence for the blade, and your fingertips stay safely tucked away. This is the point where chopping starts to feel less scary and more rhythmic.
Many home cooks also discover that a sharp knife changes everything. With a dull knife, cutting a tomato can feel like negotiating with a water balloon. With a sharp knife and a proper grip, the blade glides through cleanly. The same is true for onions, herbs, peppers, and carrots. Better grip plus sharper blade equals less force, less slipping, and better-looking food.
Confidence builds through small wins. Start with soft ingredients like cucumbers, zucchini, or celery. Then move to onions and potatoes. Try slicing slowly before dicing quickly. Over time, you will notice that your cuts become more even, your prep gets faster, and your body feels more relaxed. You may even begin to enjoy chopping vegetables. That is when you know the technique has clicked.
The best experience-based advice is simple: do not rush the learning stage. Professional cooks look fast because they have repeated the same motions thousands of times. A beginner should focus on safe, steady, repeatable movements. Speed is a side effect of good technique, not the goal. Keep your board stable, your knife sharp, your grip relaxed, and your guiding hand in a claw. Do that consistently, and your kitchen prep will improve more than any gadget can promise.
Conclusion
Knowing how to hold a knife is one of the foundation skills of cooking. The pinch grip gives you control, the claw grip protects your fingers, and a stable cutting board keeps the whole process safer. Add a sharp blade, smooth cutting motion, and a little practice, and you will notice the difference immediately.
You do not have to become a professional chef to use a knife well. You only need to build smart habits: hold the knife close to the blade, tuck your guiding fingers, cut on a secure surface, and slow down until the motion feels natural. With time, chopping becomes less intimidating and more satisfying. And yes, your onions may still make you cry, but at least your knife skills will look fantastic while it happens.