Growing mint is one of the easiest ways to feel like a gardening genius. You plant a small sprig, give it a little water, blink twice, and suddenly it is auditioning to take over the neighborhood. Mint is hardy, fragrant, fast-growing, and useful in everything from iced tea and fruit salad to homemade sauces and calming herbal infusions. It is also famous for being a tiny green escape artist, which means the secret to growing mint successfully is not simply helping it thrive. The real trick is helping it thrive politely.
Whether you want to grow mint in a container, on a patio, in a raised bed, or indoors near a sunny window, this guide will walk you through the entire process. You will learn how to choose the right variety, plant it correctly, water it without drowning it, harvest it for the best flavor, and keep it from turning your garden into a mint-scented jungle. The good news is that mint is very forgiving. The better news is that once you understand its habits, you can enjoy fresh leaves for months with very little fuss.
Why Mint Is So Easy to Grow
Mint is a perennial herb, which means it can come back year after year in many climates. It grows from underground stems called rhizomes, and those rhizomes spread quickly through moist soil. This is why mint can fill a container beautifully, but it is also why gardeners often warn beginners not to plant mint directly into open garden beds unless they are ready for a long-term relationship.
Most mint plants prefer full sun to partial shade, moist but well-drained soil, and regular harvesting. They are not fussy plants, but they do have opinions. Mint dislikes bone-dry soil, soggy roots, cramped indoor light, and being ignored until it flowers and becomes leggy. Treat it like a leafy herb that wants steady moisture and frequent trimming, and it will reward you with lush, aromatic growth.
Choose the Best Mint Variety
Before planting, decide what kind of mint you want to grow. Different varieties have slightly different flavors, scents, and best uses. Some are sweet and classic, while others bring citrus, chocolate, apple, or spicy notes. If you have room, grow more than one type, but keep each variety in its own container so the flavors and roots do not tangle into one mysterious mint situation.
Peppermint
Peppermint has a strong, cooling flavor and is excellent for tea, desserts, and homemade syrups. It often has a sharper taste than spearmint, so a little goes a long way. Peppermint usually grows vigorously and appreciates consistent moisture.
Spearmint
Spearmint is milder, sweeter, and very popular for everyday cooking. It is wonderful in salads, lemonade, sauces, and fresh herb blends. If you are growing mint for kitchen use and are not sure where to start, spearmint is a friendly first choice.
Chocolate Mint
Chocolate mint has a rich aroma with hints of cocoa and peppermint. It is fun in hot chocolate, desserts, and fruit dishes. The plant itself is attractive, often with darker stems, making it a nice container herb for patios and balconies.
Apple Mint and Pineapple Mint
Apple mint has soft, slightly fuzzy leaves and a gentle fruity fragrance. Pineapple mint, a variegated form, is especially pretty with green-and-cream foliage. These varieties are great for gardeners who want mint that looks ornamental as well as useful.
Where to Grow Mint
The best place to grow mint is usually in a pot. A container gives the plant enough room to flourish while keeping its roots under control. Mint can be grown in the ground, but only if you are willing to manage its spread with barriers, regular digging, or a dedicated area where it cannot crowd out other plants.
Growing Mint in Containers
For most home gardeners, containers are the easiest and safest option. Choose a pot at least 10 to 12 inches wide with drainage holes. A larger pot, such as a 14- to 16-inch container, gives the plant more room and reduces how often you need to water. Use a quality potting mix rather than heavy garden soil. Potting mix drains better, holds enough moisture, and keeps roots from sitting in compacted dirt.
Place the container where the plant receives at least four to six hours of sunlight. In hot regions, morning sun and afternoon shade can help prevent stress. On a balcony or patio, mint often grows beautifully near a wall or railing where it gets bright light without roasting all day.
Growing Mint in the Ground
If you plant mint in the ground, choose a spot where spreading will not become a problem. Some gardeners place mint in a buried container with the rim slightly above the soil line. This helps restrict the rhizomes, though it is not a perfect prison. Mint is determined. It has ambition. Check around the planting area regularly and pull any wandering shoots before they settle in and start paying rent.
Growing Mint Indoors
Mint can grow indoors if it gets enough light. A bright south- or west-facing window is helpful, and a small grow light can make a big difference during darker months. Use a container with drainage holes, keep the soil lightly moist, and rotate the pot every few days so the plant does not lean dramatically toward the window like it is trying to escape.
Best Soil for Mint
Mint grows best in rich, moist, well-drained soil. It can adapt to a range of soil types, but dry soil leads to weak growth and tough leaves. If you are planting outdoors, improve the soil with compost before planting. Compost helps hold moisture while improving drainage, which is exactly the balance mint enjoys.
A slightly acidic to neutral soil is generally suitable for mint. For container growing, use a lightweight potting mix. Avoid using dense garden soil in pots because it can compact, drain poorly, and make watering unpredictable. Mint likes moisture, but it does not want to sit in a swamp. Think “damp sponge,” not “forgotten bucket.”
How to Plant Mint Step by Step
- Start with a healthy plant or cutting. Mint is easier to grow from transplants, divisions, or stem cuttings than from seed. Seeds may not produce plants identical to the parent variety.
- Choose a container with drainage. A pot at least 10 inches wide is a good starting point. Bigger is better if you want a fuller harvest.
- Fill the pot with potting mix. Leave about an inch of space at the top so water does not overflow.
- Plant at the same depth. Set the mint plant so the top of the root ball is level with the surrounding soil.
- Water thoroughly. Water until moisture drains from the bottom of the pot, then let the top inch of soil begin to dry slightly before watering again.
- Place in bright light. Give mint full sun in mild climates or partial shade in hot afternoon conditions.
- Pinch the tips. Once the plant begins growing, pinch or cut the top leaves to encourage branching.
Watering Mint the Right Way
Mint needs consistent moisture to produce tender, flavorful leaves. Container-grown mint dries out faster than mint in the ground, especially during warm weather. Check the soil with your finger. If the top inch feels dry, water deeply. If it still feels moist, wait a bit.
Overwatering can cause root problems, yellow leaves, and weak growth. The goal is steady moisture, not constant saturation. During summer, outdoor containers may need water every day or every other day, depending on heat, wind, and pot size. Indoor mint usually needs less frequent watering.
Sunlight and Temperature
Mint grows well in full sun to partial shade. In cooler climates, full sun often produces the best growth. In hot climates, afternoon shade can protect leaves from wilting or scorching. If your mint looks pale and stretched, it may need more light. If the leaves look crispy around the edges despite regular watering, it may be getting too much intense heat.
Mint is a hardy perennial in many regions and can survive cold winters outdoors, especially when planted in the ground. Potted mint is more exposed to freezing temperatures, so in colder climates you can move containers to a sheltered spot, mulch the surface, or bring the plant into an unheated garage during the harshest weather.
Fertilizing Mint
Mint is not a heavy feeder. Too much fertilizer can produce lots of leafy growth with weaker flavor. If you plant it in good potting mix or compost-enriched soil, it may not need much extra feeding. For container plants, apply a balanced, diluted liquid fertilizer every four to six weeks during active growth, or refresh the pot with compost at the beginning of the season.
If your mint is growing slowly, has pale leaves, or has been in the same pot for a long time, it may need nutrients or fresh soil. Repotting every year or two keeps the roots from becoming overcrowded and gives the plant a fresh start.
How to Prune Mint for Bushy Growth
Pruning is one of the most important parts of growing mint. Regular cutting keeps the plant compact, leafy, and productive. Without pruning, mint can become tall, woody, and less flavorful. It may also flower, which is pretty for pollinators but can reduce leaf quality for the kitchen.
Start pinching back the tips when the plant is about 4 to 6 inches tall. Cut just above a set of leaves. This encourages side shoots, making the plant fuller. If the plant becomes leggy, cut stems back by one-third to one-half. Mint usually responds with enthusiastic new growth, as if nothing dramatic happened.
How and When to Harvest Mint
You can begin harvesting mint once the plant has enough stems to spare. For small plants, take only a few leaves at a time. For established plants, cut entire stems just above a leaf node. Harvest in the morning after the dew dries but before the day becomes hot. This is when the leaves often have their best aroma.
For the strongest flavor, harvest before the plant flowers. If flower buds appear, pinch them off unless you want to leave some blooms for bees and other pollinators. Frequent harvesting is not harmful. In fact, it is one of the best ways to keep mint healthy and bushy.
How to Propagate Mint
Mint is wonderfully easy to propagate. Take a 4- to 6-inch stem cutting, remove the lower leaves, and place the stem in a glass of water. Set it in bright indirect light. Within a week or two, roots usually appear. Once the roots are a couple of inches long, plant the cutting in moist potting mix.
You can also divide mint by lifting the plant, separating rooted sections, and replanting them in new containers. Division is useful when a pot becomes overcrowded. It also gives you extra plants to share with friends, neighbors, or anyone who has ever said, “I wish I had fresh mint.” Be careful, though. Giving someone mint is a little like giving them a puppy with leaves.
Common Mint Problems and Fixes
Yellow Leaves
Yellow leaves can be caused by overwatering, poor drainage, nutrient deficiency, or lack of light. Check the soil first. If it is soggy, let it dry slightly and make sure the pot drains well. If the plant is rootbound, repot it into fresh mix.
Leggy Growth
Leggy mint usually needs more sunlight or more frequent pruning. Move the plant to a brighter location and trim long stems to encourage branching.
Brown, Crispy Edges
Crispy edges often mean the plant is drying out between waterings or receiving too much harsh afternoon sun. Water more consistently and consider moving the pot to a spot with light afternoon shade.
Pests
Mint is generally trouble-free, but aphids, spider mites, flea beetles, and other small pests may appear. Spray leaves with water to knock off insects, prune heavily infested stems, and keep the plant healthy with good airflow. If needed, use a mild insecticidal soap according to label directions.
Rust or Leaf Spots
Mint rust and fungal leaf spots can occur when leaves stay wet or airflow is poor. Water at the soil level, avoid crowding, remove affected leaves, and prune to improve circulation. If a plant is badly infected, it is often best to discard it and start fresh with clean cuttings or new plants.
How to Keep Mint from Taking Over
Mint control is not optional. It is the main event. The easiest method is to grow mint in a pot. Keep the pot on a patio, deck, balcony, or paved area so stems cannot root into nearby soil. If placing a pot on garden soil, check the drainage holes because roots may sneak out and establish themselves below.
If you grow mint in a bed, install deep edging or plant it in a buried container. Cut back runners as soon as you see them. Do not toss mint stems into areas where they can root. When composting mint, make sure the plant material dries out or breaks down fully before using the compost around garden beds.
Using Fresh Mint in the Kitchen
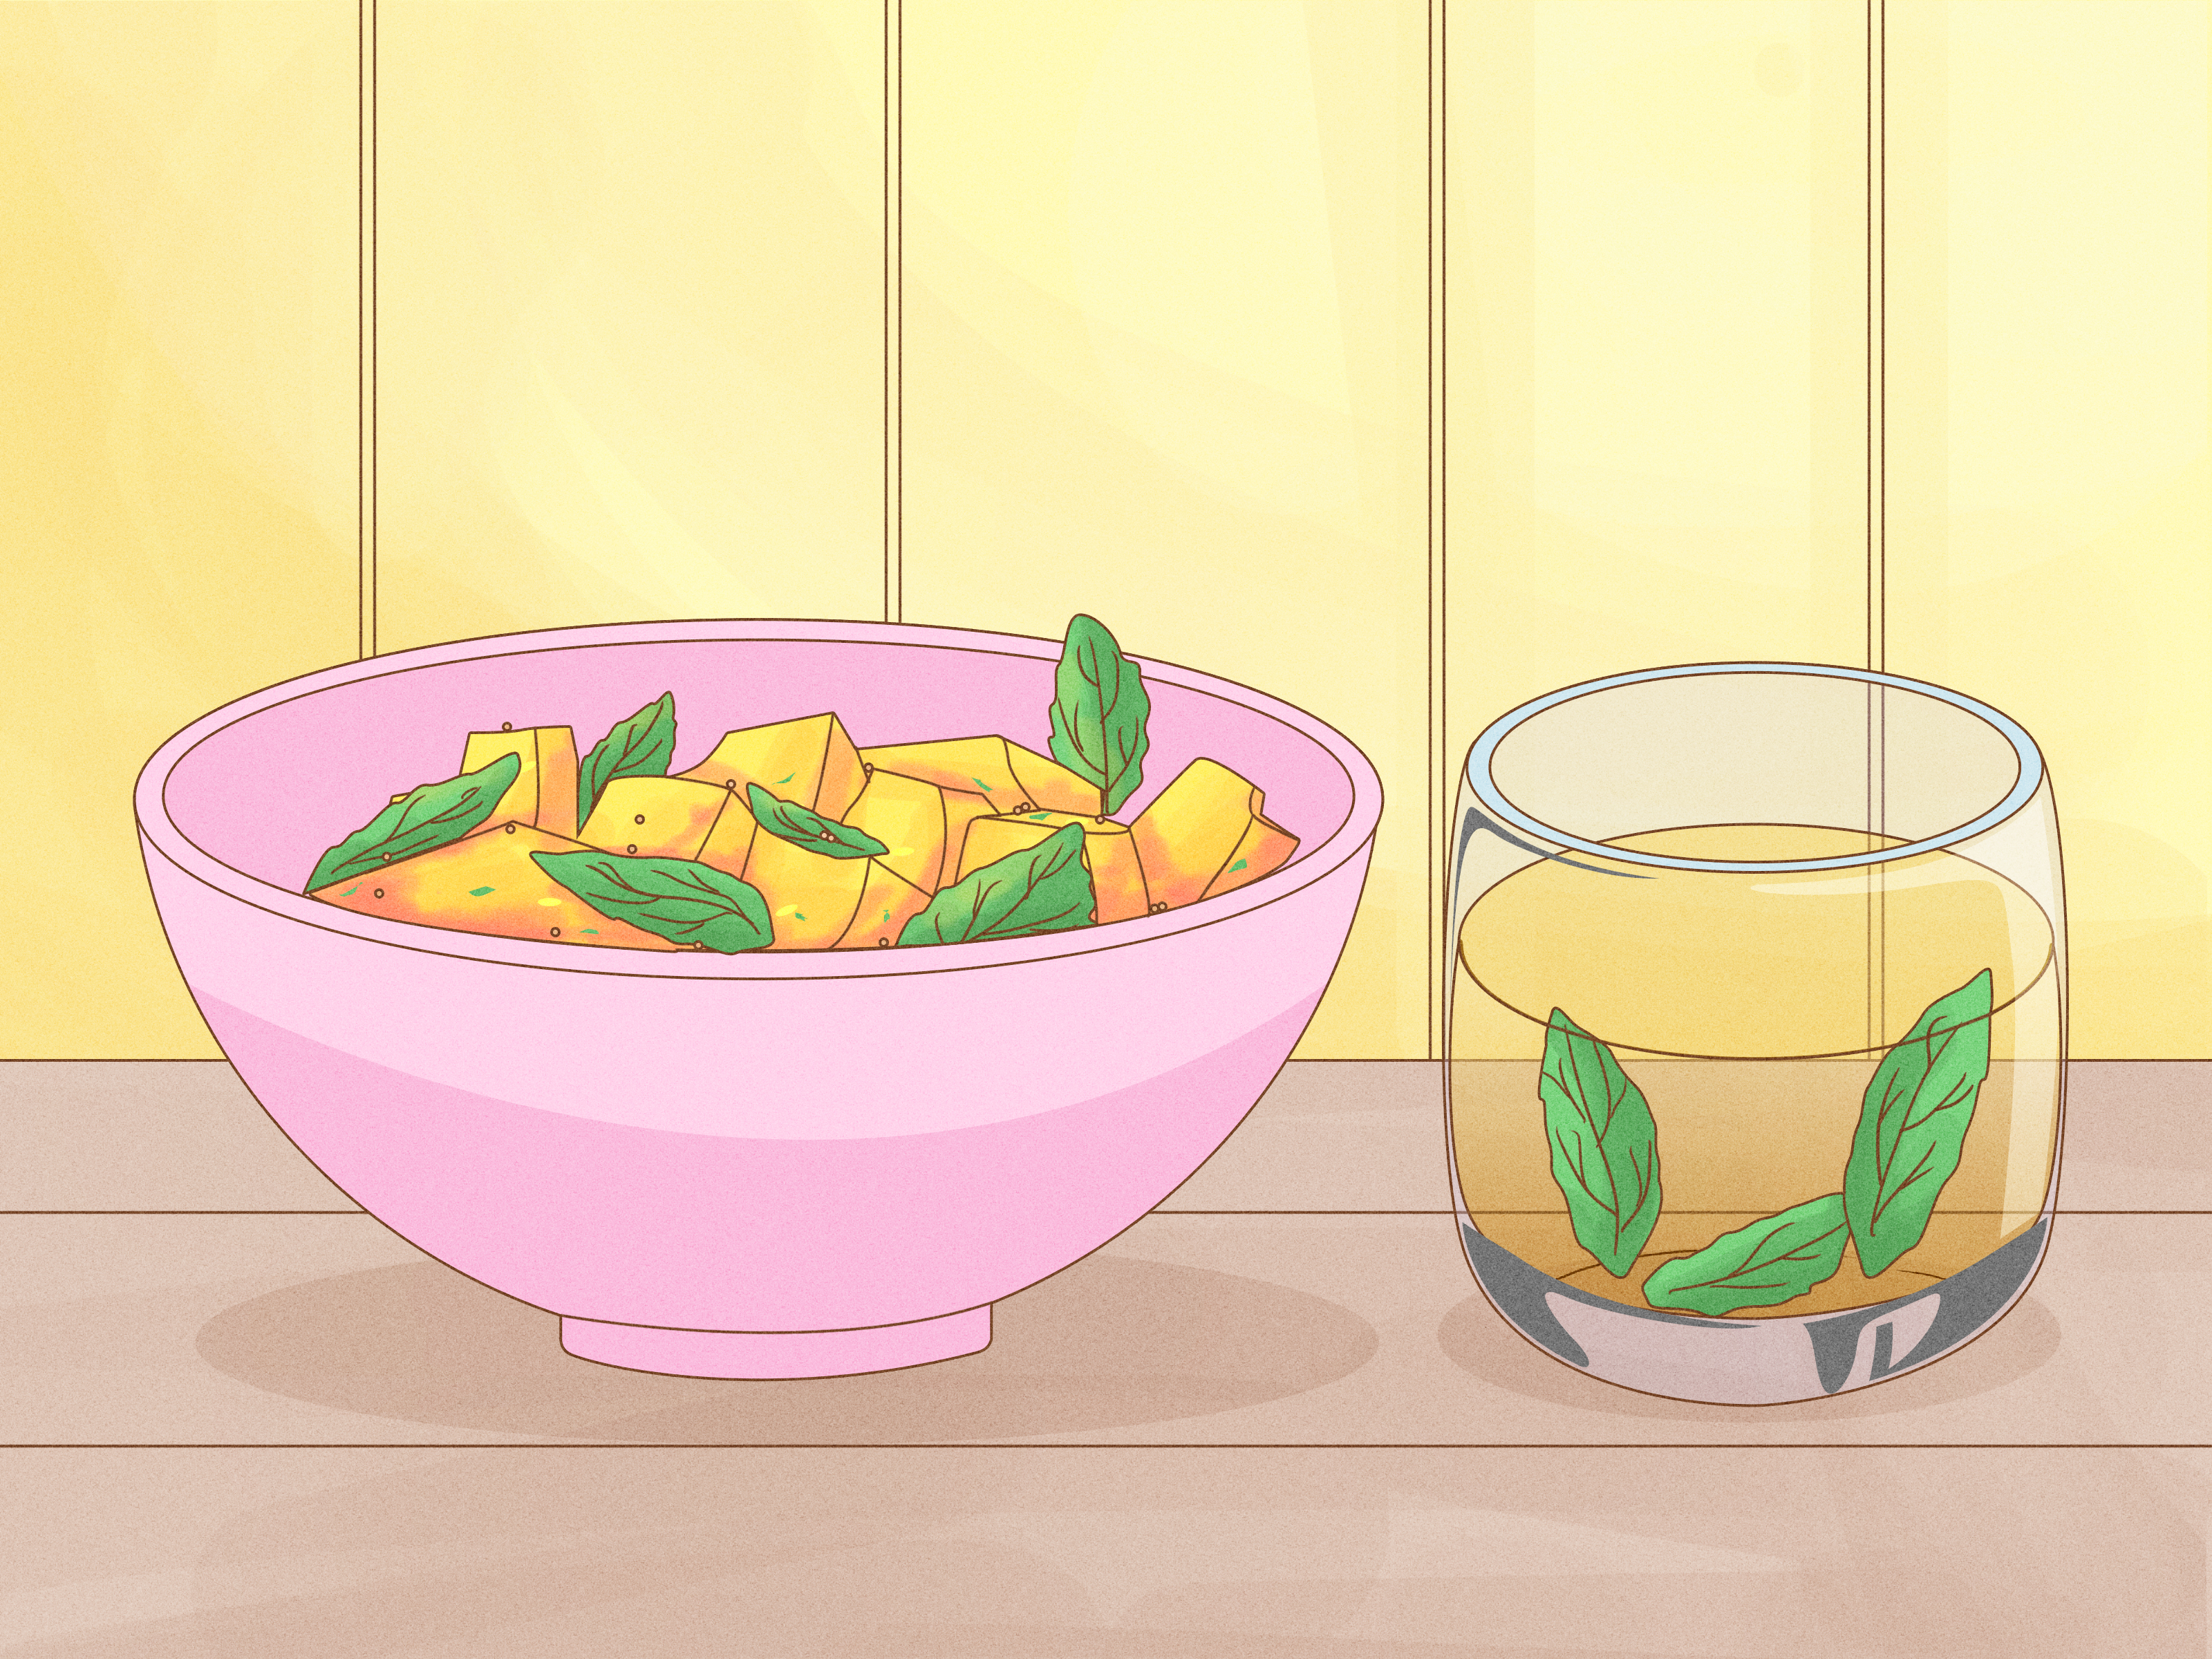
Fresh mint is one of the most versatile herbs you can grow. Add it to iced tea, lemonade, cucumber water, fruit salad, yogurt, smoothies, grain bowls, spring rolls, peas, potatoes, and homemade dressings. Spearmint pairs beautifully with vegetables and light sauces, while peppermint shines in desserts and warm drinks.
To store fresh mint, place stems in a glass of water like a small bouquet and keep it in the refrigerator, loosely covered with a bag. You can also wrap leaves in a slightly damp paper towel and store them in a container. For longer storage, dry mint leaves or freeze chopped mint in ice cube trays with water.
Seasonal Care for Mint
Spring
Spring is the best time to plant, divide, or repot mint. Trim away dead stems from the previous season and refresh containers with compost or new potting mix. As new growth appears, begin pinching tips to encourage a full plant.
Summer
Summer is peak harvest season. Water regularly, especially in containers, and cut stems often. If the plant tries to flower, pinch off buds for better leaf production. Move pots into partial shade if extreme heat causes wilting.
Fall
In fall, harvest generously before cold weather slows growth. You can dry or freeze extra leaves. Cut plants back after growth declines, but avoid overfeeding late in the season.
Winter
Outdoor mint may die back to the ground and return in spring. Potted mint can be protected in a sheltered location. Indoors, growth may slow because of lower light, so water less often and avoid heavy pruning until brighter days return.
Real-World Experiences: What Growing Mint Teaches You
The first experience many gardeners have with mint is surprise. A plant that looked small and harmless in April can become a leafy fountain by June. This is both delightful and slightly alarming. Mint teaches you that easy plants still need strategy. If you plant it in a container from the beginning, you get all the joy without the future workout of pulling runners from the vegetable bed.
One practical lesson is that mint tastes best when it is harvested often. Many beginners wait too long because they are afraid of hurting the plant. In reality, mint responds well to trimming. The more you cut it correctly, the more side shoots it produces. A small weekly harvest for tea, salads, or infused water can keep the plant compact and productive. Think of harvesting as grooming, not stealing.
Another common experience is learning how quickly containers dry out. A mint plant in a small black plastic pot on a sunny patio may wilt by late afternoon, even if it looked perfect in the morning. Moving the plant to a larger container, using quality potting mix, and watering deeply can solve the problem. In very hot areas, a spot with morning sun and afternoon shade often works better than all-day exposure.
Indoor mint brings its own lessons. It may survive on a windowsill, but it will not thrive in a dark corner just because you really, really want fresh mint near the kitchen sink. If stems stretch and leaves become small, the plant is asking for more light. A brighter window or simple grow light can turn a sad indoor mint plant into a useful little herb patch.
Growing mint also teaches patience with flavor. Young leaves are tender and bright, while older leaves can be stronger and sometimes tougher. Leaves harvested before flowering usually taste fresher. If your mint becomes woody or bland, cut it back and let new growth emerge. That fresh flush of leaves is often the best part of the season.
Finally, mint teaches gardeners to share. A healthy plant produces plenty of cuttings, and those cuttings root easily in water. You can give rooted mint to friends in small pots, use it as a simple homemade gift, or keep a backup plant in case your main container struggles. Just include one friendly warning: “Keep it in a pot unless you want a mint empire.” It is funny because it is true.
Conclusion
Learning how to grow mint is simple, rewarding, and a little empowering. This herb does not demand expert skills, fancy equipment, or perfect conditions. Give it bright light, moist well-drained soil, regular pruning, and a container of its own, and it will produce fresh, fragrant leaves for much of the year. The key is control. Mint is generous, but it is also adventurous, so growing it in a pot is usually the smartest choice.
Whether you choose peppermint for tea, spearmint for cooking, chocolate mint for desserts, or apple mint for its soft fragrance, the basic care remains the same. Start with a healthy plant, water consistently, harvest often, and refresh or divide the plant when it becomes crowded. With a little attention, your mint will stay lush, flavorful, and ready whenever your lemonade, salad, or kitchen experiment needs a cool green upgrade.
{ "meta_title": "How to Grow Mint: Easy Planting and Care Guide", "meta_description": "Learn how to grow mint in pots or gardens with simple tips for planting, watering, pruning, harvesting, and controlling spread.", "sapo": "Want fresh mint without letting it take over your garden? This complete guide shows you how to grow mint successfully in containers, raised beds, or indoors. Learn the best soil, sunlight, watering routine, pruning method, harvesting tips, and simple ways to control mint’s famously energetic roots. Whether you love peppermint tea, spearmint lemonade, or fragrant herbs on the patio, this guide helps you grow healthy, flavorful mint with confidence.", "keywords": [ "how to grow mint", "growing mint in pots", "mint plant care", "how to harvest mint", "mint growing tips", "container herb gardening", "fresh mint leaves" ]}