Kitchen grease has a special talent for showing up everywhere except the pan where it started. It floats from sizzling bacon, jumps from bubbling sauces, settles on the microwave door, clings to the range hood, and somehow lands on the refrigerator handle even though the fridge did absolutely nothing wrong. If your appliances feel sticky, look dull, or carry that “we cooked fried chicken three Tuesdays ago” aroma, it is time for a proper degreasing session.
The good news: you do not need a hazmat suit, a chemistry degree, or a dramatic soundtrack. Learning how to degrease kitchen appliances comes down to choosing the right cleaning method for the surface, giving grease enough time to loosen, and wiping with the kind of patience usually reserved for assembling flat-pack furniture. This guide covers four practical ways to remove kitchen grease from appliances, including gentle dish soap, baking soda paste, vinegar solutions, and commercial degreasers.
Before you start, remember the golden rule: grease is easier to remove when it is softened, not when it has been ignored until it has achieved fossil status. Warm water, mild detergent, microfiber cloths, and a little dwell time can make a shocking difference. Also, always check your appliance manual first, especially for stainless steel, glass cooktops, fingerprint-resistant finishes, and self-cleaning ovens. Your appliances have boundaries. Respect them.
Why Kitchen Appliances Get Greasy So Quickly
Grease spreads because cooking oils become tiny airborne droplets when heated. Those droplets land on nearby surfaces and mix with dust, steam, food splatter, fingerprints, and everyday kitchen traffic. Over time, the residue becomes tacky and harder to remove. That is why the top of a refrigerator, the control panel of a stove, the underside of a microwave, and the range hood often become the greasiest spots in the kitchen.
Grease is not just a cosmetic issue. Sticky residue can trap crumbs, attract pests, dull stainless steel, create unpleasant odors, and make buttons, vents, and handles feel unpleasant. On cooking appliances, old grease can smoke when reheated. Around food-prep areas, cleaning before sanitizing is also important because dirt and grease can prevent sanitizers or disinfectants from working properly.
Before You Degrease: Set Up for Success
Start by turning off and unplugging small appliances such as air fryers, toasters, blenders, coffee makers, and countertop ovens. Let hot surfaces cool until they are safe to touch. Remove loose crumbs, food bits, trays, racks, and filters before applying any liquid cleaner. Dry debris is easier to collect before it becomes greasy mud.
Use microfiber cloths whenever possible. They grab residue without scratching most surfaces and help reduce streaks on stainless steel. Avoid steel wool, harsh scouring pads, abrasive powders, and aggressive scraping tools unless the appliance manual specifically allows them. For stainless steel, wipe with the grain rather than in circles. For touch screens and control panels, apply cleaner to the cloth first instead of spraying directly onto electronics.
Never mix cleaning chemicals. Vinegar and bleach, ammonia and bleach, and random “cleaning cocktails” from the internet are not clever shortcuts; they are bad ideas wearing a DIY hat. Work in a ventilated area, wear gloves if your skin is sensitive, and rinse food-contact surfaces after using any cleaner that requires rinsing.
Way 1: Degrease with Hot Water and Dish Soap
The simplest method is often the most reliable. Dish soap is designed to break down oils, which makes it excellent for routine appliance degreasing. This approach is ideal for refrigerator doors, microwave exteriors, stovetop backsplashes, range knobs, dishwasher fronts, air fryer baskets, toaster trays, and painted or coated appliance surfaces.
Best For
Light to moderate grease, fingerprints, fresh splatter, appliance handles, exterior doors, removable trays, knobs, and plastic or painted surfaces.
How to Do It
- Mix a few drops of mild dish soap into a bowl of warm water.
- Dip a microfiber cloth into the solution and wring it out well.
- Wipe the greasy surface, working in small sections.
- For sticky spots, hold the warm cloth over the area for 30 to 60 seconds to soften the grease.
- Rinse with a clean damp cloth.
- Dry immediately with a soft towel to prevent streaks and water spots.
For stainless steel appliances, keep the cloth damp rather than dripping, and wipe in the direction of the grain. On fingerprint-resistant stainless finishes, mild soap, warm water, and a soft cloth are often the safest choice. Skip abrasive pads and strong acidic cleaners unless the manufacturer says they are safe.
Example: Cleaning a Greasy Refrigerator Handle
Refrigerator handles collect cooking oil, lotion, buttered-toast evidence, and mystery fingerprints. Wrap a warm, soapy microfiber cloth around the handle and let it sit briefly. Wipe from top to bottom, then clean the underside where fingers naturally grip. Rinse with a second cloth and dry. The handle should feel smooth, not tacky.
Way 2: Use Baking Soda Paste for Stubborn Grease
Baking soda is useful when grease has thickened into a stubborn film. It adds gentle abrasion, which helps lift grime without the harshness of many scouring powders. The trick is to use it carefully. Baking soda can leave a gritty residue if not rinsed well, and it may be too abrasive for delicate or glossy finishes if you scrub aggressively.
Best For
Stubborn stovetop splatter, greasy drip trays, removable burner parts, oven racks, microwave turntables, air fryer baskets, and small sticky spots on durable surfaces.
How to Make the Paste
Mix three parts baking soda with one part water until it forms a spreadable paste. For extra grease-cutting power on removable parts, add one small drop of dish soap. Do not turn the mixture into a bubble festival. You are cleaning appliances, not auditioning for a foam party.
How to Use It
- Apply the paste to the greasy area.
- Let it sit for 10 to 15 minutes so the residue can soften.
- Wipe gently with a damp nonabrasive sponge or microfiber cloth.
- Rinse thoroughly to remove all baking soda residue.
- Dry the surface completely.
For oven racks and range hood filters, soak them first in hot water with dish soap, then use baking soda paste on remaining greasy patches. For glass cooktops, avoid rough scrubbing. Use a cleaner recommended for glass or ceramic cooktops if burnt-on residue remains.
Example: Degreasing an Air Fryer Basket
Air fryers are tiny convection ovens with big opinions about oil. Remove the basket and tray after the appliance cools. Soak them in warm, soapy water. If sticky grease remains around the corners, apply baking soda paste and let it sit. Use a soft brush or non-scratch sponge, rinse well, and dry completely before reassembling.
Way 3: Try Diluted Vinegar for Film, Odors, and Steam Cleaning
White vinegar can help cut light grease, dissolve some mineral film, and reduce odors. It is especially handy for microwave steam cleaning and wiping certain appliance interiors. However, vinegar is acidic, so it is not right for every surface. Avoid using it on natural stone, unsealed surfaces, some rubber components, and any appliance finish that warns against acidic cleaners.
Best For
Microwave interiors, mild greasy film, odor control, glass turntables, some stainless steel surfaces when diluted and approved, and cleaning routines where you want a simple household solution.
How to Use Vinegar Safely
- Mix equal parts white vinegar and warm water in a bowl or spray bottle.
- Apply to a cloth rather than spraying directly into seams, vents, or control panels.
- Wipe the surface gently.
- Follow with a clean damp cloth.
- Dry immediately to reduce streaking.
For microwave grease, place a microwave-safe bowl with one cup of water and one to two tablespoons of white vinegar inside the microwave. Heat until the mixture steams, then leave the door closed for a few minutes. The steam softens splatter on the walls and ceiling. Carefully remove the bowl, then wipe the interior with a damp cloth. If your microwave smells like last night’s garlic noodles, this method is a small miracle with a power cord.
When Not to Use Vinegar
Do not use vinegar on marble, granite, limestone, or other acid-sensitive stone around built-in appliances. Be cautious with rubber gaskets and specialty appliance coatings. On stainless steel, always test a hidden spot first and dry immediately. If the manufacturer recommends only mild soap and water, follow that advice.
Way 4: Use a Commercial Degreaser for Heavy Buildup
When grease has moved from “annoying” to “architectural,” a commercial degreaser may be the best tool. Degreasing sprays and appliance cleaners are formulated to break down oily residue faster than water alone. They are useful for range hoods, stovetop backsplashes, greasy appliance sides, oven doors, and the floor area behind or under a stove.
Best For
Heavy grease on range hoods, appliance exteriors near the stove, backsplashes, oven doors, removable metal filters, and areas behind or beside cooking appliances.
How to Use a Degreaser Correctly
- Read the product label before using it.
- Confirm it is safe for the appliance surface.
- Ventilate the kitchen.
- Spray the cleaner onto a cloth or directly onto the surface only when the label allows it.
- Let it sit for the recommended dwell time.
- Wipe away loosened grease.
- Rinse food-contact surfaces if the label requires rinsing.
- Dry the area thoroughly.
If you want a safer product option, look for cleaners that meet recognized safer-chemistry or food-equipment standards. This is especially useful in homes with kids, pets, asthma concerns, or sensitive skin. “Stronger” is not always better. The best degreaser is the one that removes grease without damaging the finish, leaving residue, or making your kitchen smell like a science lab with commitment issues.
Example: Cleaning a Greasy Range Hood Filter
Remove the filter according to the appliance manual. Fill a sink or basin with hot water and dish soap. Add baking soda if the filter is extremely greasy. Soak the filter for 10 to 20 minutes, then gently brush it with a non-scratch brush. For severe buildup, use a degreaser approved for the filter material. Rinse well, dry completely, and reinstall only when no moisture remains.
How to Degrease Specific Kitchen Appliances
Stovetop and Cooktop
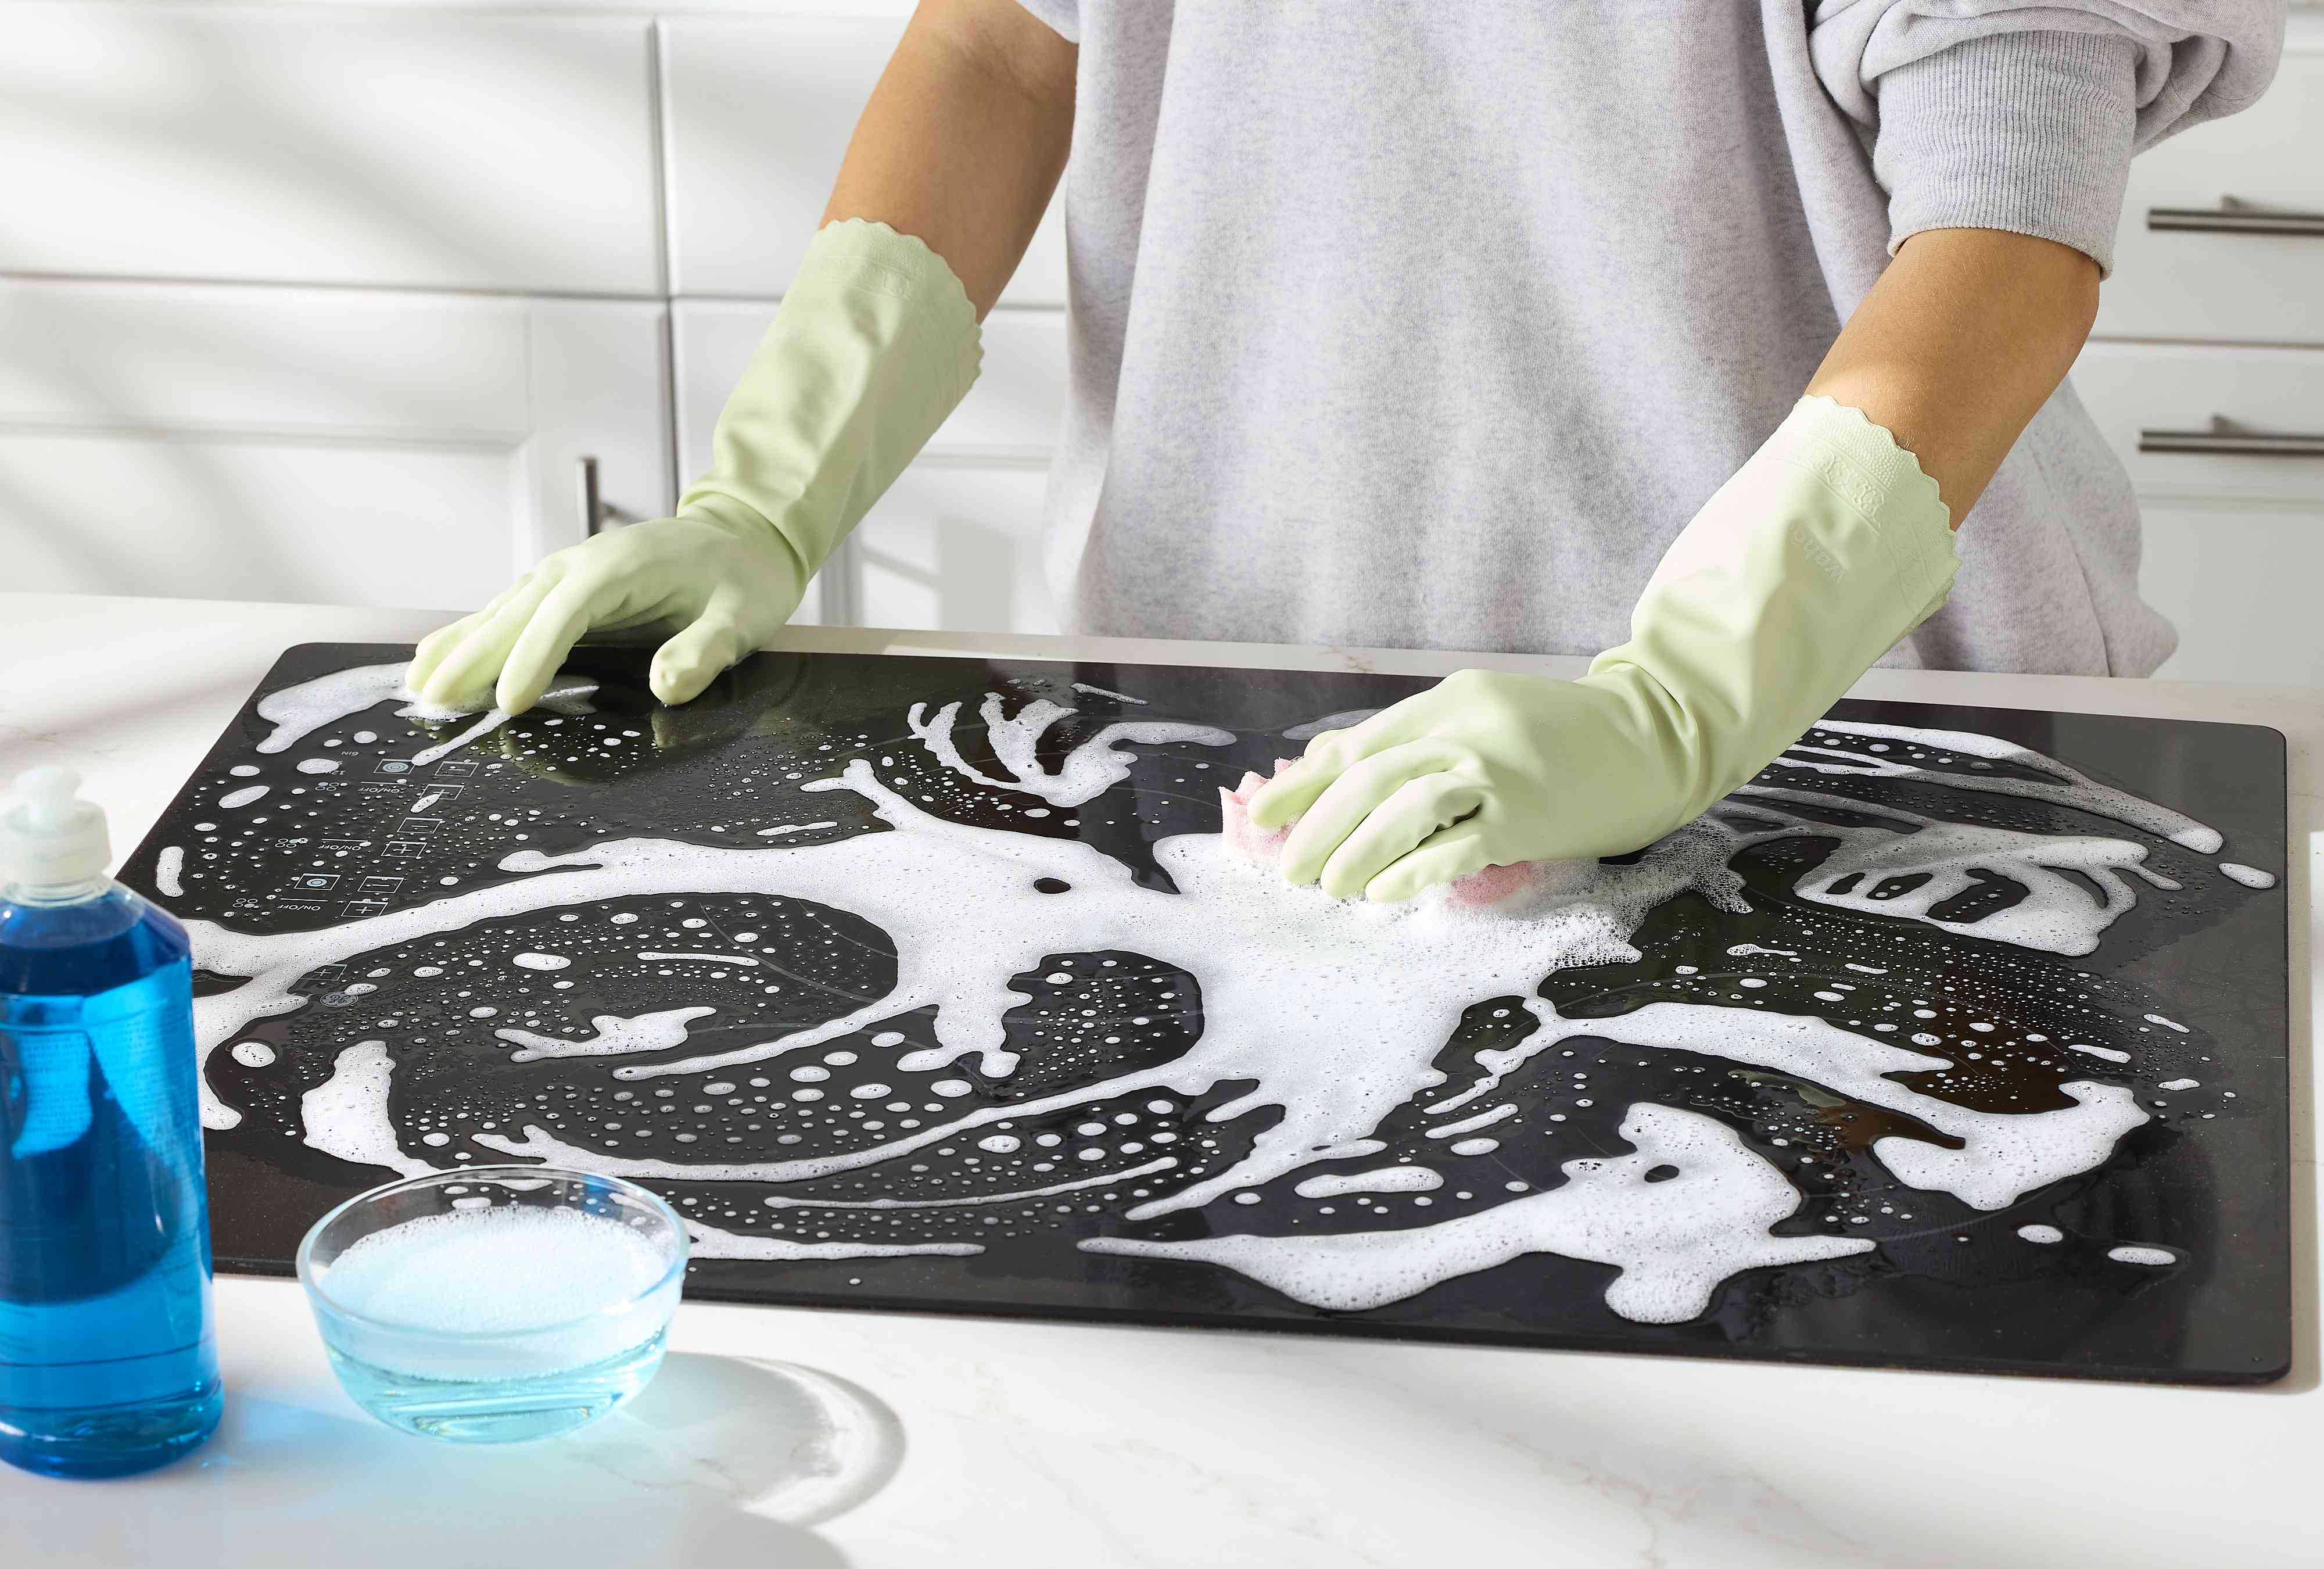
For gas stovetops, remove grates and burner caps once cool. Soak removable parts in warm, soapy water. Wipe the surface with dish soap solution, then use baking soda paste for stubborn splatter. For glass cooktops, use a cleaner made for glass or ceramic surfaces and avoid abrasive scrubbing. A razor scraper may be allowed for some glass cooktops, but only if the manufacturer recommends it.
Oven Door and Oven Racks
For light grease on the oven door, use warm, soapy water first. If residue remains, apply baking soda paste and let it sit before wiping. Remove racks and wash them by hand unless your manual says otherwise. If using a self-clean cycle, remove racks first and follow the manufacturer’s instructions. Self-cleaning cycles can create heat, smoke, and odors, so ventilation matters.
Microwave
Steam is your friend here. Heat a bowl of water with a small amount of vinegar or lemon juice until the interior steams. Let it sit, then wipe from ceiling to sides to floor. Wash the turntable separately in warm, soapy water. Do not spray cleaner into vents or control panels.
Dishwasher Exterior and Edges
The dishwasher door can become greasy from nearby cooking and frequent handling. Use mild dish soap and warm water on the exterior. Clean the edges and gasket gently with a damp cloth. Avoid flooding the control panel. If the dishwasher interior smells greasy, check and clean the filter according to the manual.
Refrigerator Exterior
Grease often settles on the top of the refrigerator and around handles. Use warm, soapy water and a microfiber cloth. For stainless steel, wipe with the grain and dry immediately. If the top of the fridge is sticky, let a damp cloth sit on the area briefly before wiping.
Toaster and Countertop Oven
Unplug the appliance and let it cool. Remove the crumb tray and wash it separately. Wipe the exterior with a damp, soapy cloth. Do not immerse the appliance or let liquid run into openings. For baked-on grease inside a countertop oven, follow the manual and avoid spraying chemicals near heating elements.
Common Degreasing Mistakes to Avoid
The first mistake is using too much water. Appliances have seams, vents, motors, wiring, and control boards. A damp cloth is usually safer than a dripping sponge. The second mistake is scrubbing too hard. Grease may be stubborn, but scratches are forever. Use time and the right cleaner instead of brute force.
The third mistake is skipping the rinse step. Soap, baking soda, vinegar, and degreasers can leave residue if not removed. Residue attracts more dirt, which means your “clean” appliance becomes sticky again faster. The fourth mistake is forgetting to dry. Drying prevents streaks, water spots, and discoloration on certain metal finishes.
Finally, do not sanitize a greasy surface before cleaning it. Sanitizing works best after crumbs, dirt, and grease are removed. Think of it like painting a wall: you would not paint over peanut butter. At least, one hopes not.
A Simple Weekly Degreasing Routine
A weekly routine keeps grease from becoming a weekend-destroying monster. After heavy cooking, wipe the stovetop, backsplash, microwave handle, and nearby appliance fronts with warm, soapy water. Once a week, clean range knobs, refrigerator handles, and the top of the microwave. Once a month, inspect the range hood filter, oven door, toaster tray, and the sides of appliances near the stove.
Keep a small degreasing kit under the sink: mild dish soap, baking soda, white vinegar, microfiber cloths, a non-scratch sponge, a soft brush, gloves, and one trusted commercial degreaser. With those basics, you can handle almost every greasy appliance situation without turning your kitchen into a cleaning product museum.
Real-World Experiences: What Actually Works When Appliances Are Greasy
Experience teaches one thing quickly: kitchen grease rewards procrastination by becoming more dramatic. A fresh splatter on a stove can disappear with one warm, soapy wipe. The same splatter after two weeks may require soaking, paste, careful scrubbing, rinsing, drying, and a quiet moment of regret. The easiest way to degrease kitchen appliances is not to wait until the grease has developed a personality.
One of the most effective habits is wiping appliances while they are slightly warm but not hot. After cooking, let the stovetop cool until it is safe, then wipe it with a damp cloth and a little dish soap. Warmth softens oil, so the grease lifts faster. This is especially useful around burner edges and the backsplash area behind the stove. Waiting until the next morning often turns a five-minute wipe-down into a full negotiation.
Another lesson: handles are sneaky. Refrigerator handles, microwave buttons, oven pulls, and dishwasher edges often look fine from a distance but feel sticky up close. In many kitchens, these are the first areas guests touch and the last areas people remember to clean. A warm microfiber cloth wrapped around a handle for one minute can loosen the film beautifully. Follow with a rinse cloth and dry towel, and the appliance instantly feels cleaner.
Range hood filters are where optimism goes to be tested. They may look acceptable from below, but once removed, the grease buildup can be impressive in the way a horror movie villain is impressive. Soaking is the secret. Hot water, dish soap, and patience do most of the work. Scrubbing immediately wastes energy and bends delicate mesh. Let the filter sit, brush gently, rinse thoroughly, and allow it to dry completely before reinstalling.
For stainless steel, the biggest improvement usually comes from technique, not fancy products. Wiping with the grain and drying immediately can make the difference between “clean and shiny” and “why does this look like a raccoon polished it?” Too much cleaner causes streaks. Too little drying causes spots. A damp cloth with mild soap, followed by a clean damp cloth and a dry microfiber towel, is often enough.
Baking soda paste works best when treated as a softening treatment, not sandpaper. Let it sit. Give it time. Then wipe gently. This is especially helpful on removable trays, greasy air fryer baskets, and small stubborn spots around stove grates. If the paste is rubbed too aggressively on delicate finishes, it can dull the surface. The goal is to persuade the grease to leave, not punish the appliance for hosting it.
Vinegar steam is the microwave rescue method that feels almost unfairly easy. A bowl of water with a splash of vinegar can soften sauce explosions, butter splatter, and mystery ceiling dots. After steaming, most residue wipes away without heroic scrubbing. The only catch is to avoid overdoing the vinegar and to be careful when removing the hot bowl. Steam cleans, but steam also reminds you that physics has sharp elbows.
Commercial degreasers earn their place when buildup is heavy, especially near stoves and vents. Still, label directions matter. Some cleaners need dwell time; others require rinsing; some are not safe for certain surfaces. The best results come from matching the product to the appliance and testing a small hidden area first. Used correctly, a good degreaser can turn a greasy appliance from “rental house before photos” to “respectable adult kitchen” in minutes.
The final experience-based tip is simple: clean in layers. Remove crumbs first. Wash with soap. Treat stubborn grease. Rinse. Dry. Do not jump straight to the strongest cleaner. Most appliance grease is not a boss battle; it is just oil, dust, and time. Break the job into steps, and your kitchen will look brighter, smell fresher, and feel less like every dinner you have ever cooked is still hanging around for emotional support.
Conclusion
Degreasing kitchen appliances is less about scrubbing harder and more about cleaning smarter. Hot water and dish soap handle everyday grease. Baking soda paste helps with stubborn residue. Diluted vinegar and steam work well for film and microwave messes. Commercial degreasers are useful for heavy buildup when used according to the label. Add good habits, gentle tools, and regular wipe-downs, and grease has far fewer places to hide.
Whether you are cleaning a stainless steel refrigerator, a splattered stovetop, a smoky range hood, or an air fryer basket that has seen things, the same principles apply: loosen the grease, wipe gently, rinse thoroughly, and dry completely. Your appliances will look better, smell fresher, and perform their kitchen duties without wearing last week’s dinner as a glossy little jacket.