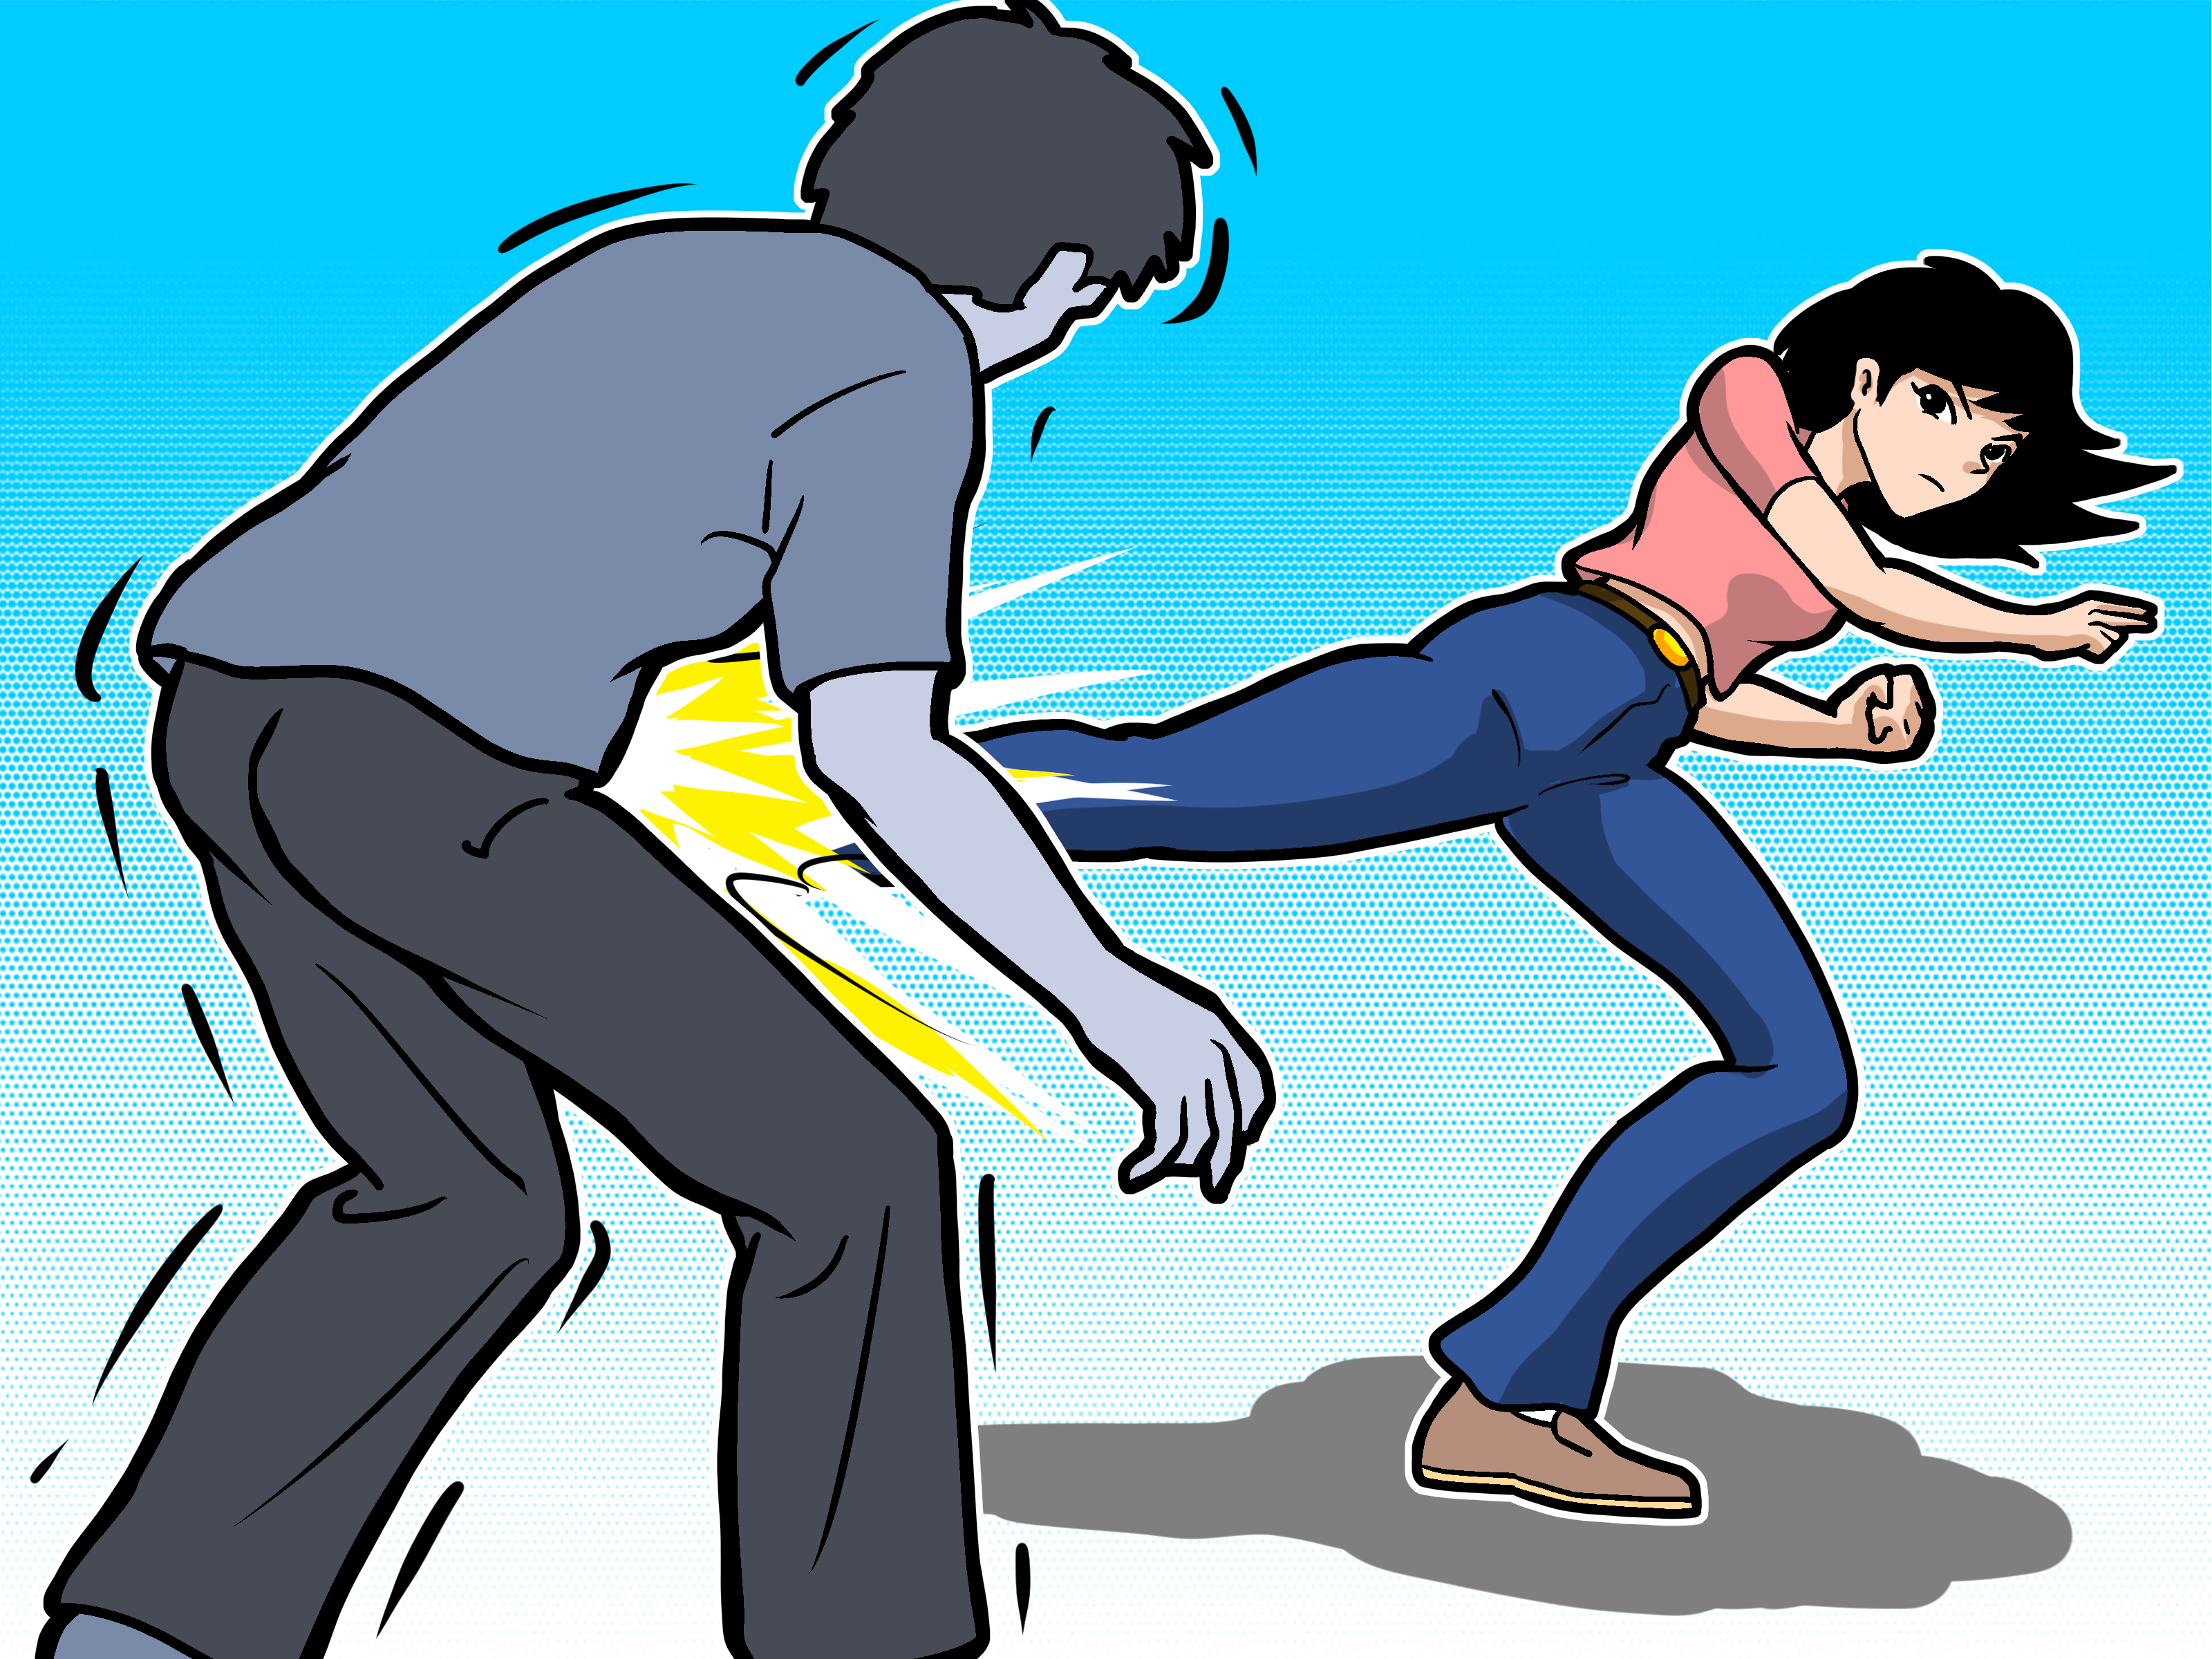
Note: This article is for lawful personal safety education, not for starting fights, “testing moves” on unsuspecting friends, or becoming the dramatic villain in a parking-lot security video. Practice only with consent, under qualified instruction when possible, and use physical defense only when you reasonably believe you must escape immediate danger.
A bear hug from behind sounds almost cute until it happens without your permission. Then it becomes less “family reunion” and more “human forklift with bad intentions.” In self-defense, a rear bear hug is dangerous because it can pin your arms, lift you, drag you, or turn into a takedown. The goal is not to win a cage match, prove a point, or deliver a movie-trailer speech. The goal is simple: stay on your feet, make yourself hard to move, create space, turn toward the threat, and escape to safety.
This guide breaks down how to defend against a bear hug from behind in seven practical steps. The advice synthesizes common principles taught in self-defense, Krav Maga, grappling, public safety, and personal safety education: awareness first, base before strikes, gross-motor movements over fancy finger tricks, and escape over ego. Think of it as a fire drill for your body. You hope you never need it, but if the smoke alarm goes off, you do not want to be reading the manual.
What Is a Bear Hug from Behind?
A bear hug from behind happens when someone wraps both arms around your torso from the rear. Your arms may be trapped inside the hug, or they may be free. The attacker may squeeze, lift, pull you backward, drag you to another location, or hold you still for someone else. In grappling terms, this resembles a body lock. In personal safety terms, it is a serious control position because your back is turned, your balance is compromised, and your attacker has already closed the distance.
The danger increases if your feet leave the ground. Once lifted, you have fewer options, and a fall onto pavement can cause severe injury. That is why the first priority is not striking. The first priority is becoming heavy, stable, and difficult to move. You are not trying to become graceful. You are trying to become a stubborn refrigerator.
Before the 7 Steps: The Self-Defense Mindset
Good self-defense begins before contact. Stay alert in transitional spaces such as parking lots, building entrances, elevators, stairwells, gas stations, and the moment you are loading a car trunk. These are places where your attention naturally drifts and your hands may be full. Keep your head up, notice who is nearby, and trust the little internal alarm that says, “This feels off.” That alarm is not paranoia; it is your nervous system doing unpaid security work.
If someone makes you uncomfortable, create distance early. Use a strong verbal boundary such as, “Stop,” “Back up,” or “Do not touch me.” Move toward light, people, open doors, or staff. If a physical grab happens anyway, do not freeze while trying to remember a 27-step martial arts sequence named after a jungle animal. Use simple movements that protect your balance and buy you a few seconds to get away.
How to Defend Against a Bear Hug from Behind: 7 Steps
Step 1: Drop Your Weight Immediately
The second you feel arms lock around you from behind, bend your knees and drop your hips. Widen your stance if possible. Your feet should feel rooted, not narrow and polite like you are standing in line for coffee. Lowering your center of gravity makes it harder for the attacker to lift or drag you. It also gives you a better base for your next move.
A common mistake is standing tall and trying to pull the attacker’s hands apart with arm strength. That often fails, especially if the person behind you is larger. Instead, squat slightly, shift your hips back or down, and make your body heavy. If the attacker wanted a quick lift, you have just turned yourself from “carry-on luggage” into “grand piano.”
Step 2: Build a Stable Base and Protect Your Balance
Once your weight drops, spread your feet about shoulder-width or wider. If you can step one foot slightly outside the attacker’s foot, do it. This helps prevent being lifted straight up and gives you a better angle to turn. Keep your chin tucked enough to protect your neck and avoid throwing your head backward blindly unless you have trained that movement safely.
Your base matters because panic makes people flail. Flailing burns energy and can make you easier to move. A strong base lets you feel where the attacker’s pressure is going. Are they pulling you backward? Driving you forward? Lifting? Turning? Your body can answer faster than your brain if your feet are connected to the ground.
Step 3: Make Noise and Create a Mental Shock
Use your voice. Shout clear commands like, “Let go!” “Back off!” or “Help!” This serves three purposes. First, it draws attention. Second, it helps break your own freeze response. Third, it tells witnesses that this is not a friendly hug, playful wrestling, or a weirdly intense team-building exercise.
Do not waste breath on long speeches. This is not the time for, “Excuse me, sir, I would like to discuss boundaries.” Keep it short, loud, and direct. Noise can create a moment of hesitation, and in self-defense, a moment is not small. A moment is a doorway.
Step 4: Use Simple Disruptions to Loosen the Grip
After you lower your base, use simple, gross-motor disruptions. Depending on your position and local laws, these may include shifting your hips, stepping on the attacker’s foot, bumping backward with your hips, or striking downward toward the hands or arms to create space. If your arms are free, short rear elbows may help loosen the hold. If your arms are pinned, focus on dropping weight, shifting laterally, and using your lower body first.
Fine-motor techniques, such as peeling fingers one at a time, are difficult under stress. Your heart rate spikes, your hands may shake, and the attacker is not going to stand still like a tutorial partner who has rent due at the dojo. Use big movements. Think: drop, shift, stomp, bump, turn.
Step 5: If You Are Being Lifted, Hook a Leg or Lower Your Weight Hard
If your feet start leaving the ground, act immediately. Try to hook one of your legs around one of the attacker’s legs. Even partial leg contact can make lifting harder and may force the attacker to put you down. If you cannot hook a leg, keep dropping your weight and bending forward enough to make your body awkward to hoist.
The goal is not to perform a fancy takedown. The goal is to prevent being slammed or carried. A person who can lift you cleanly has more control over where you land. A person whose leg is tangled, balance is broken, and grip is slipping has a much harder time turning you into a highlight reel you did not consent to star in.
Step 6: Turn Toward the Opening
As soon as the grip loosens, rotate toward the gap. If you can control one of the attacker’s hands or wrists while turning, do so. Turn your hips and shoulders together rather than twisting only your neck. You want to face the attacker quickly because having your back exposed invites another grab.
A useful concept is “turn and face.” Once you face the attacker, you can use your hands, feet, voice, and movement more effectively. You can also see whether the person is alone, whether there is a weapon, and where your exit is. Self-defense improves dramatically when your eyeballs are pointed at the problem.
Step 7: Create Distance and Escape
When you have space, leave. Move toward people, light, open businesses, traffic, security desks, or any safer location. Keep your hands up in a protective position as you back away or angle out. Continue using your voice: “Stay back!” or “Call 911!” If you are injured, threatened, or followed, contact emergency services as soon as you can do so safely.
Do not hang around to see whether the attacker has learned a valuable lesson. You are not the final chapter in their personal growth journey. You are a person going home. Escape is the win.
Arms Pinned vs. Arms Free: What Changes?
If Your Arms Are Pinned
When your arms are trapped inside the bear hug, your first tools are your legs, hips, weight, voice, and body angle. Drop low, widen your base, step to the side if possible, and use foot stomps or hip movement to disrupt balance. If the attacker’s head is very close and you have trained safely, some systems teach using the back of the head carefully as a disruption. However, this can injure you as well, so it should not be your first experiment during an actual emergency.
Once the grip loosens, slide your arms out or rotate toward the opening. The moment your arms are available, use them to protect your head, frame against the attacker, and move away.
If Your Arms Are Free
If your arms are outside the hold, you have more options. You may be able to strike backward with short elbows, push down on the attacker’s hands, or frame against their arms while dropping your weight. Still, do not skip the base. Many people try to elbow first and get lifted because their feet are too close together. Base first, disruption second, turn third, escape always.
Common Mistakes to Avoid
Mistake one: trying to out-muscle the grip. Grip strength is powerful when someone has both arms locked around your torso. Use body mechanics, not a gym-bro tug-of-war.
Mistake two: standing upright. Tall posture helps the attacker lift you. Lower posture helps you stay grounded.
Mistake three: forgetting to turn. Even if you loosen the hold, you are still in danger if your back remains exposed. Face the attacker or escape at an angle.
Mistake four: treating the technique like choreography. Real attacks are messy. Your steps may not happen perfectly. The principles matter more than the exact order: base, disrupt, turn, run.
Mistake five: practicing too hard too soon. Self-defense practice should be progressive. Start slowly, use consent, wear pads when appropriate, and avoid full-force head, neck, or joint impact. Training injuries are a silly way to become less prepared.
How to Practice Safely
Practice with a trusted partner who understands the goal. Begin with light pressure. The partner wraps from behind; you drop your weight and build a base. Reset. Then add a small step to the side. Reset. Then add a turn. Reset. Only after the movement is smooth should you increase resistance.
Use verbal cues in practice. Say “Stop!” or “Let go!” out loud. It may feel awkward at first, but using your voice is a skill. Many people freeze because they have never practiced making noise under pressure. The first time you shout should not be during a real emergency.
Work both versions: arms pinned and arms free. Practice in normal shoes, not only barefoot on mats. Practice near a wall carefully, because walls change your options. Practice with different body types if possible. A technique that works against your cousin who weighs 120 pounds and cooperates like a golden retriever may feel different against a larger, resisting person.
When Not to Use Physical Defense
Physical defense is for immediate danger. If someone is annoying, rude, drunk, or invading your space but you can safely leave, leaving is better. If a weapon is involved, the situation becomes much more dangerous, and compliance may be safer depending on the circumstances. Property can be replaced. Your spine is a limited-edition item.
Self-defense laws vary by state, and “reasonable force” depends on the facts. Your actions should be focused on stopping the threat and escaping, not punishing the attacker. Once you are safe, seek help, document what happened, and report the incident if appropriate.
Real-World Examples
Example 1: Parking Lot Grab
Imagine someone grabs you from behind while you are loading groceries. Your arms are pinned. You drop your weight, widen your stance, yell “Let go!” and stomp down toward the attacker’s foot. The grip loosens for a second. You rotate toward the opening, pull free, and run toward the store entrance while shouting for help. Did you look elegant? Absolutely not. Did you create space and move toward safety? That is the trophy.
Example 2: Party or Bar Restraint
Someone grabs you from behind “as a joke” and will not release you. You loudly say, “Let go now.” If they continue, you lower your base, turn toward them as soon as possible, and move away. In social situations, strong verbal boundaries matter because they clarify consent and alert people nearby that the contact is unwanted.
Example 3: Being Lifted
If someone starts to lift you, hook one leg around theirs or drop your weight aggressively while bending your knees. Your priority is to stop the lift before it becomes a slam or carry. Even a clumsy leg hook can disrupt the attacker’s balance enough to force a reset.
Extra Experience-Based Guidance: What Training Teaches That Articles Cannot
Reading about how to defend against a bear hug from behind is useful, but training reveals the tiny details that words cannot fully deliver. The first surprise is how quickly the grab happens. In a calm article, seven steps feel neat. In real life, the whole thing may begin with confusion: “Who is touching me?” That half-second of shock is normal. Good practice reduces the time between shock and action.
The second surprise is that balance matters more than strength. Beginners often try to pry the hands apart. They strain, shrug, and pull, then discover that the attacker’s locked arms are not the weak point. When they learn to drop their hips, widen their feet, and step off-center, the situation changes. Suddenly the attacker has to carry awkward weight instead of upright weight. That is the magic of body mechanics: it lets smaller people become inconvenient.
The third lesson is that your voice may feel trapped too. Many people are embarrassed to yell in practice. They laugh, whisper “stop,” or look around to see if anyone heard them. But in an emergency, embarrassment is not invited to the meeting. A loud voice can bring witnesses, startle the attacker, and activate your own body. Practicing volume is part of practicing self-defense.
The fourth lesson is that every hold is slightly different. Sometimes your arms are pinned high. Sometimes they are pinned low. Sometimes the attacker is taller, shorter, stronger, off to one side, or moving backward. That is why principles beat memorized choreography. Lower your center. Protect your balance. Disrupt the grip. Turn toward space. Leave. These ideas adapt better than a perfect sequence that only works when the attacker behaves like a helpful assistant in a YouTube studio.
The fifth lesson is that escape feels better than domination. New students sometimes ask, “What do I do after I break free?” The best answer is often: run. In movies, the hero stays for round two. In real life, round two may include weapons, friends, hard surfaces, legal consequences, and medical bills with the personality of a loan shark. Creating distance is not cowardly. It is strategy wearing running shoes.
The sixth lesson is that safe practice matters. A rear bear hug drill can go wrong if partners use too much force too soon. Necks, ribs, knees, and backs deserve respect. Start slow. Communicate. Tap or say “stop” if something hurts. A good partner gives realistic resistance without treating practice like a championship final. The goal is skill, not collecting bruises like loyalty points.
The seventh lesson is emotional. Being grabbed from behind can feel invasive and frightening even in a controlled class. That reaction is valid. Quality self-defense training should never shame someone for freezing, feeling anxious, or needing a slower pace. Confidence grows through repetition, clarity, and respect. You are not trying to become fearless. Fear is useful. You are learning to act while fear is riding in the passenger seat yelling unhelpful directions.
Finally, the best self-defense habit is prevention. Park under lights when you can. Keep one ear open if using headphones. Have keys ready before reaching your car. Avoid letting strangers close distance without a reason. Ask for an escort if a place feels unsafe. These habits are not guarantees, and being attacked is never the victim’s fault. They are simply layers of protection. A bear hug defense is one tool; awareness, boundaries, community, and escape planning are the rest of the toolbox.
Conclusion
Learning how to defend against a bear hug from behind is really learning how to take back control in a bad moment. The seven steps are simple on purpose: drop your weight, build your base, use your voice, disrupt the grip, prevent the lift, turn toward the opening, and escape. You do not need to be a black belt to understand the concept, but you do need practice to make it reliable.
Remember the golden rule: escape is success. If you get away, call for help, and make it home, you did exactly what self-defense is meant to do. No trophy required. No slow-motion replay necessary.