If you want a crochet stitch that looks impressive but behaves nicely for beginners, the blanket stitch deserves a gold star, a cup of tea, and maybe its own little yarn basket. The crochet blanket stitch is a textured, cozy pattern built with simple stitches: mostly single crochet and double crochet. It creates a soft, slightly bumpy fabric that works beautifully for baby blankets, throws, scarves, washcloths, and even chunky winter cowls.
Despite the name, this is not the same as the hand-sewn blanket stitch often used around fleece edges. In crochet, “blanket stitch” usually refers to a repeating stitch pattern made by working one single crochet and two double crochets into the same stitch, then skipping stitches to create a tidy rhythm. Think of it as the crochet version of a dependable friend: easygoing, good-looking, and not too needy.
This guide walks you through how to crochet a blanket stitch in 12 clear steps. You will learn what supplies to use, how to start your foundation chain, how to work the first row, how to repeat the pattern, how to keep your edges straight, and how to finish your project neatly.
What Is the Crochet Blanket Stitch?
The crochet blanket stitch is a beginner-friendly stitch pattern that uses a repeating group of stitches. Most versions begin with a foundation chain in a multiple of three. The basic repeat is simple: skip two stitches, then work one single crochet and two double crochets into the next stitch. This creates a dense, warm, softly textured fabric with a subtle shell-like appearance.
The beauty of this stitch is its balance. Single crochet keeps the fabric grounded and firm, while double crochet adds height and drape. Together, they create a stitch pattern that is faster than plain single crochet but less holey than many lacy crochet stitches. That makes it especially useful for blankets, where warmth and texture matter.
Supplies You’ll Need
Before you begin, gather your materials. You do not need a dragon’s hoard of craft suppliesalthough no crocheter has ever been judged for owning “just one more skein.”
Recommended Materials
- Medium weight yarn, such as worsted weight yarn, for an easy beginner sample
- A crochet hook that matches your yarn label recommendation
- Scissors
- Yarn needle for weaving in ends
- Stitch markers, optional but helpful for beginners
- Measuring tape if you are making a blanket to a specific size
For practice, choose a smooth, light-colored yarn. Dark yarn may look elegant, but it can make stitches harder to see, especially if you are crocheting at night while pretending one more row will only take five minutes.
Common Crochet Abbreviations
Most crochet patterns use abbreviations. Here are the terms you will need for this blanket stitch tutorial:
- ch: chain
- sc: single crochet
- dc: double crochet
- st: stitch
- sk: skip
- rep: repeat
How to Crochet a Blanket Stitch: 12 Steps
Step 1: Choose the Right Yarn and Hook
Start with yarn that feels comfortable in your hands. Worsted weight yarn is a smart choice for beginners because it is thick enough to see clearly but not so bulky that it becomes awkward. Pair it with the hook size suggested on the yarn label. If your stitches feel too tight, go up a hook size. If your fabric looks loose and floppy, go down a hook size.
For a soft throw blanket, acrylic yarn is affordable, washable, and widely available. Cotton works well for dishcloths and lightweight blankets, while wool blends add warmth and bounce. The blanket stitch looks good in solid colors, stripes, variegated yarn, and even gentle ombré yarns.
Step 2: Make a Slip Knot
Create a slip knot and place it on your hook. The loop should be snug enough to stay on the hook but loose enough to slide easily. If your slip knot is gripping the hook like it has trust issues, loosen it slightly before continuing.
Hold the hook in your dominant hand and the working yarn in your other hand. There is no single “perfect” grip. Some crocheters hold the hook like a pencil, while others hold it like a knife. Use the grip that gives you control without making your hand tense.
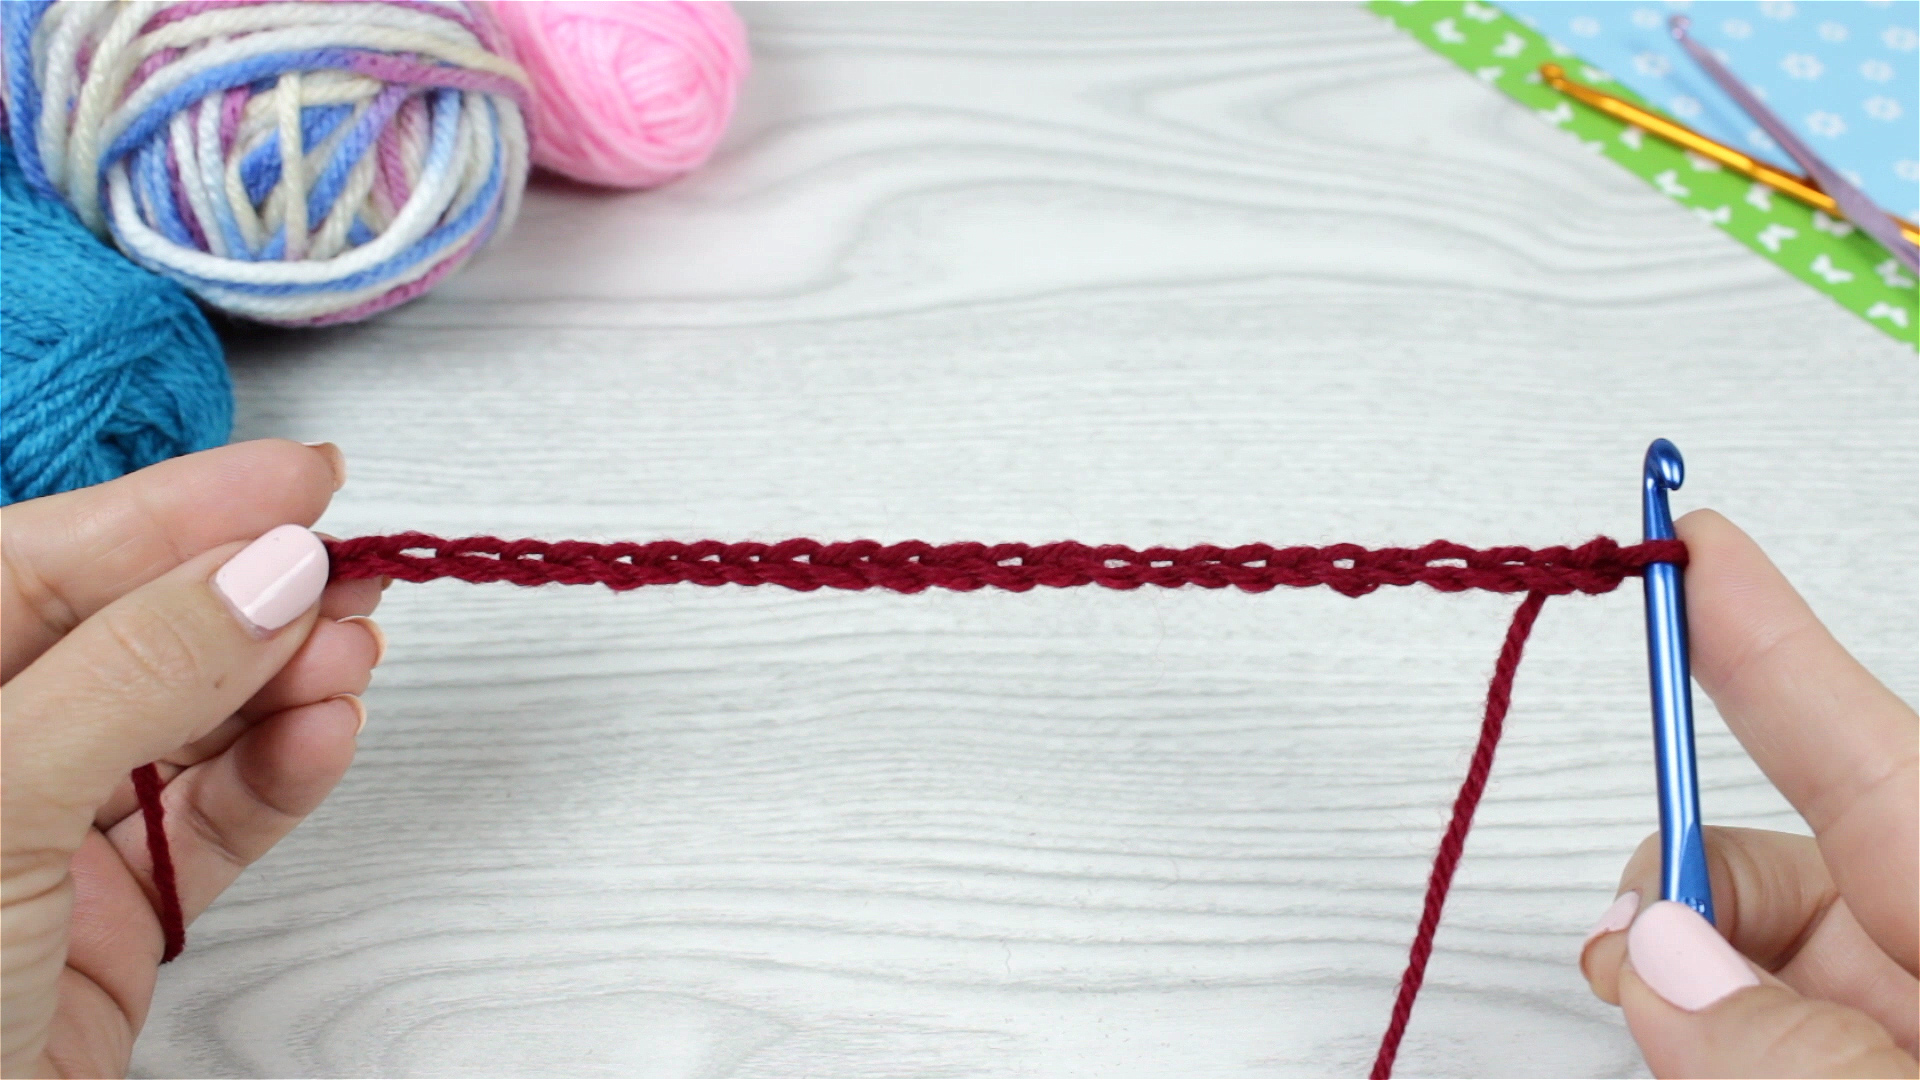
Step 3: Crochet a Foundation Chain in a Multiple of Three
The classic crochet blanket stitch begins with a foundation chain in a multiple of three. For a practice swatch, chain 18, 21, or 24. For a larger blanket, chain until you reach the width you want, making sure the number of chains is divisible by three.
Try not to make the foundation chain too tight. A tight starting chain can make the first row frustrating and may cause the bottom edge to pull inward. If your chain is usually tight, use a hook one size larger just for the foundation chain, then switch back to your regular hook for the first row.
Step 4: Work Two Double Crochets in the Third Chain from the Hook
Count three chains from your hook. Insert your hook into the third chain and work two double crochets into that same chain. This creates the first textured group of the row.
To make a double crochet, yarn over, insert the hook into the chain, yarn over and pull up a loop. You should have three loops on the hook. Yarn over and pull through two loops, then yarn over again and pull through the remaining two loops. Repeat once more in the same chain.
Step 5: Skip Two Chains
After making the two double crochets, skip the next two chains in your foundation chain. Skipping stitches creates space for the stitch group and keeps the pattern aligned. This step is small but important. If you forget to skip stitches, your row will grow wider faster than a yarn sale shopping cart.
Beginners may find it helpful to point to the chains as they count: skip one, skip two, work in the next. Accuracy matters more than speed.
Step 6: Work One Single Crochet and Two Double Crochets in the Next Chain
In the next chain, work one single crochet and two double crochets all into the same chain. This is the main blanket stitch repeat.
To make a single crochet, insert your hook into the chain, yarn over, pull up a loop, yarn over again, and pull through both loops on the hook. Then work two double crochets into that same chain. The single crochet anchors the group, and the double crochets add height and texture.
Step 7: Repeat Across the Foundation Chain
Continue the repeat across the row: skip two chains, then work one single crochet and two double crochets in the next chain. Repeat until you reach the final chains of the row.
Your row should begin to show a gentle clustered texture. Do not worry if the first row curls a little. Crochet has a flair for drama at the beginning, but the fabric usually relaxes as you add more rows.
Step 8: Finish the First Row with a Single Crochet
When you reach the end of the foundation chain, work one single crochet in the final chain. This helps create a neat edge and sets up the next row properly.
At this point, pause and check your work. The stitch groups should be evenly spaced. If something looks off, count your repeats. It is much easier to fix a mistake in row one than to discover it after you have crocheted enough fabric to cover a small sofa.
Step 9: Chain Two and Turn
Chain two, then turn your work. In many blanket stitch patterns, the turning chain does not count as a stitch. This means you will work into the first single crochet from the previous row rather than skipping it.
Because turning chain rules can vary by pattern, always follow the instructions for the specific project you are making. For this tutorial, the chain two simply gives your row height and keeps the edge flexible.
Step 10: Work Two Double Crochets in the First Single Crochet
Look for the first single crochet from the previous row. Work two double crochets into that stitch. This begins the second row and keeps the texture stacked correctly.
The trick to the blanket stitch is learning where to place each new cluster. After the first row, you generally work your single crochet and two double crochets into the single crochet from the row below. The double crochets from the previous row are skipped. Once you see the pattern, it becomes wonderfully rhythmic.
Step 11: Repeat the Blanket Stitch Pattern Across the Row
Skip the next two double crochets. In the next single crochet, work one single crochet and two double crochets. Continue across the row in this pattern: skip two double crochets, then work one single crochet and two double crochets in the next single crochet.
At the end of the row, work one single crochet into the turning chain or end space, depending on how your edge appears. The goal is a straight side edge with no accidental increases or decreases. If your blanket is slowly turning into a trapezoid, your edge stitches are probably the culprits.
Step 12: Repeat Row Two Until Your Project Is the Desired Size
Repeat row two for as long as you want. For a dishcloth, stop after a small square. For a scarf, keep going until it is long enough to wrap comfortably. For a blanket, continue until your project reaches the desired length.
When finished, cut the yarn, leaving a tail of several inches. Pull the tail through the final loop to fasten off. Use a yarn needle to weave in the loose ends on the back of the work. If you want a polished finish, add a simple single crochet border around the entire piece.
Simple Blanket Stitch Pattern
Here is the basic pattern written in standard American crochet terms:
Tips for Keeping Your Blanket Stitch Neat
Count Your Stitches Early
Counting may not be glamorous, but it saves projects. Check your stitch count after the first row and again after the second row. Once the pattern is established, you can relax a little. The blanket stitch is repetitive, but the edges still need attention.
Use Stitch Markers on the Edges
If your edges are uneven, place stitch markers in the first and last stitch of each row. This helps you see where to begin and end. Stitch markers are tiny plastic superheroes, especially when your yarn is fuzzy or your lighting is more “romantic restaurant” than “craft studio.”
Watch Your Tension
Consistent tension makes the blanket stitch look tidy. If some rows are tight and others are loose, your fabric may ripple. Try to hold the yarn the same way throughout the project. If your hands get tired, take breaks. Crochet should not feel like an arm-wrestling match with a sheep.
Make a Gauge Swatch
If you are making a blanket to a specific size, crochet a small swatch first. Measure how many stitch repeats and rows fit into four inches. This helps you estimate the correct starting chain and avoid surprise sizing. A swatch may feel like extra work, but it is cheaper than making a “baby blanket” that turns into a queen-size bedspread.
Best Projects for the Crochet Blanket Stitch
The blanket stitch is versatile because it creates a fabric that is warm, textured, and attractive on both sides. It works especially well for:
- Baby blankets
- Lap blankets
- Full-size throws
- Scarves and cowls
- Dishcloths and washcloths
- Pillow covers
- Pet blankets
For baby blankets, choose soft, washable yarn. For home décor throws, consider a neutral color or a modern stripe pattern. For dishcloths, use cotton yarn because it absorbs water well and holds up to repeated washing.
Common Mistakes and How to Fix Them
Your Edges Are Getting Wider
If the piece is widening, you may be adding extra stitches at the beginning or end of rows. Review the turning chain and make sure you are not working into the wrong space. Use stitch markers to identify the correct edge stitches.
Your Edges Are Getting Narrower
If the project is shrinking, you may be missing the final single crochet at the end of the row. This is one of the most common beginner mistakes. Count your stitch groups and check the last stitch before turning.
Your Fabric Is Too Stiff
A stiff blanket stitch usually means your hook is too small or your tension is too tight. Try going up one hook size. The stitch should have body, but it should not feel like crocheted cardboard.
Your Stitch Pattern Looks Messy
Messy texture often happens when the stitch groups are placed in the wrong stitch. Remember the rule: after the first row, the cluster usually goes into the single crochet from the previous row, while the two double crochets are skipped.
How to Customize the Blanket Stitch
Change Colors Every Few Rows
Stripes look fantastic in blanket stitch. You can change colors every row, every two rows, or every four rows. For fewer ends to weave in, carry the yarn up the side if the color changes are close together, then cover the edge with a border.
Use Chunky Yarn for a Fast Blanket
Chunky yarn makes the blanket stitch grow quickly. It is perfect for cozy throws and last-minute gifts. Just remember that bulky yarn can create a heavier fabric, so choose a hook that gives the blanket enough drape.
Add a Border
A border gives your project a finished look. A single crochet border is clean and simple. A half double crochet border adds softness. A shell border adds a decorative edge if you want something a little fancier.
Experience Notes: What I Learned While Crocheting the Blanket Stitch
The first time many crocheters try the blanket stitch, they expect it to be complicated because the finished texture looks more advanced than it really is. That is part of its charm. It gives you the satisfaction of a beautiful pattern without requiring a secret handshake from the Crochet Masters Club. Once the repeat clicks, the stitch becomes almost meditative.
One of the most useful lessons is to start with a small swatch before jumping into a full blanket. A swatch lets you test yarn, hook size, tension, and color. It also gives you a safe place to make mistakes. If you accidentally skip the wrong stitch on a swatch, no one has to know. The yarn will not tell. Probably.
Another experience-based tip is to choose yarn that shows stitch definition. Very fuzzy yarn can hide the single crochets, which are the anchor points for the next row. If you are new to this stitch, save the fuzzy, fluffy, cloud-like yarn for later. Start with a smooth worsted weight yarn in a light or medium color. You will be able to see exactly where your hook should go.
Edge control is the biggest challenge for beginners. The middle of the row is easy because the repeat is obvious: skip two double crochets, work into the single crochet. The row ends require more attention. If your sides are not straight, place a stitch marker at each edge. It feels like a tiny step, but it prevents a surprising amount of crochet chaos.
The blanket stitch is also a great project for practicing relaxed tension. If you grip the yarn too tightly, the fabric can feel stiff. If your tension is too loose, the stitch pattern may look uneven. The sweet spot is a comfortable, steady tension that lets the hook glide through the stitches. A good rule: if your shoulders are up by your ears, take a break.
Color changes are another fun way to learn. A two-color blanket stitch project can look modern and polished, especially with wide stripes. For a baby blanket, soft pastels create a gentle look. For a living room throw, cream, gray, navy, sage, or terracotta can feel stylish and cozy. The stitch has enough texture to keep solid colors interesting, so you do not need complicated colorwork to make the project shine.
Finally, the blanket stitch teaches patience in the best way. It is repetitive enough for a relaxing evening project but detailed enough to keep your hands engaged. You can crochet while listening to an audiobook, watching a favorite show, or sitting with family. By the time the blanket grows across your lap, you may discover the real magic of crochet: you started with one loop on a hook, and somehow you made comfort you can fold.
Conclusion
Learning how to crochet a blanket stitch is a practical and rewarding step for any beginner or returning crocheter. With only basic stitches, you can create a textured fabric that looks polished, feels cozy, and works for many different projects. The key is simple: start with a foundation chain in a multiple of three, repeat the single crochet and double crochet cluster correctly, and pay attention to your edges.
Once you understand the rhythm, the blanket stitch becomes one of those patterns you will return to again and again. It is fast enough for gifts, pretty enough for home décor, and forgiving enough for real life. In other words, it is the crochet equivalent of a warm blanket and a reliable friendonly with fewer opinions about your yarn stash.