Stucco is like the linen shirt of exterior finishes: stylish, textured, breathable, and somehow able to collect every speck of dust within a three-block radius. Because stucco is porous and slightly rough, dirt, pollen, mildew, algae, cobwebs, hard-water stains, and mystery smudges can cling to it like they signed a long-term lease.
The good news? You do not need to attack your home with industrial-strength rage, a screaming pressure washer, and the confidence of someone who has watched exactly one DIY video. In fact, the safest way to clean stucco is usually gentler than people expect. With the right cleaner, a soft-bristled brush, careful rinsing, and patience, you can make exterior stucco look fresh again without gouging the finish or pushing water where it does not belong.
This guide explains how to clean stucco in 12 practical steps, including how to prepare the surface, choose the best stucco cleaner, remove mold and mildew stains, rinse correctly, and maintain your exterior walls so they stay bright longer.
Why Stucco Needs Special Cleaning
Traditional stucco is typically made from a mixture of sand, cement, lime, and water. That combination creates a hard, durable exterior, but the texture also traps grime. Smooth siding may shed dirt easily, but stucco has little valleys, ridges, bumps, and pockets where debris can hide. If your house sits near trees, sprinklers, heavy traffic, coastal air, or shaded areas, buildup can happen even faster.
Common stucco stains include:
- Dirt and dust: Usually gray or brown and most visible on light-colored stucco.
- Algae and mildew: Often green, black, or dark brown, especially in damp or shaded areas.
- Efflorescence: White, powdery mineral deposits that appear when moisture moves salts to the surface.
- Rust stains: Orange or reddish streaks from metal fixtures, irrigation, or fasteners.
- Spider webs and insect debris: The glamorous side of homeownership no brochure mentions.
The goal is to clean the stucco surface without damaging the finish, forcing water behind the wall, discoloring the coating, or harming nearby landscaping.
Tools and Supplies You Will Need
Before cleaning exterior stucco, gather your supplies. A little preparation prevents mid-project panic, such as discovering your garden hose is too short while standing in wet shoes and regretting your life choices.
- Garden hose with spray nozzle
- Bucket
- Soft-bristled brush or soft masonry brush
- Extension pole for high areas
- Garden sprayer or pump sprayer
- Mild exterior siding cleaner, oxygen bleach cleaner, or stucco-safe cleaning solution
- Rubber gloves and safety glasses
- Plastic sheeting or drop cloths for plants and fixtures
- Ladder, if needed, used safely on stable ground
- Low-pressure pressure washer or soft-wash equipment, optional
How to Clean Stucco: 12 Steps
Step 1: Inspect the Stucco Before Cleaning
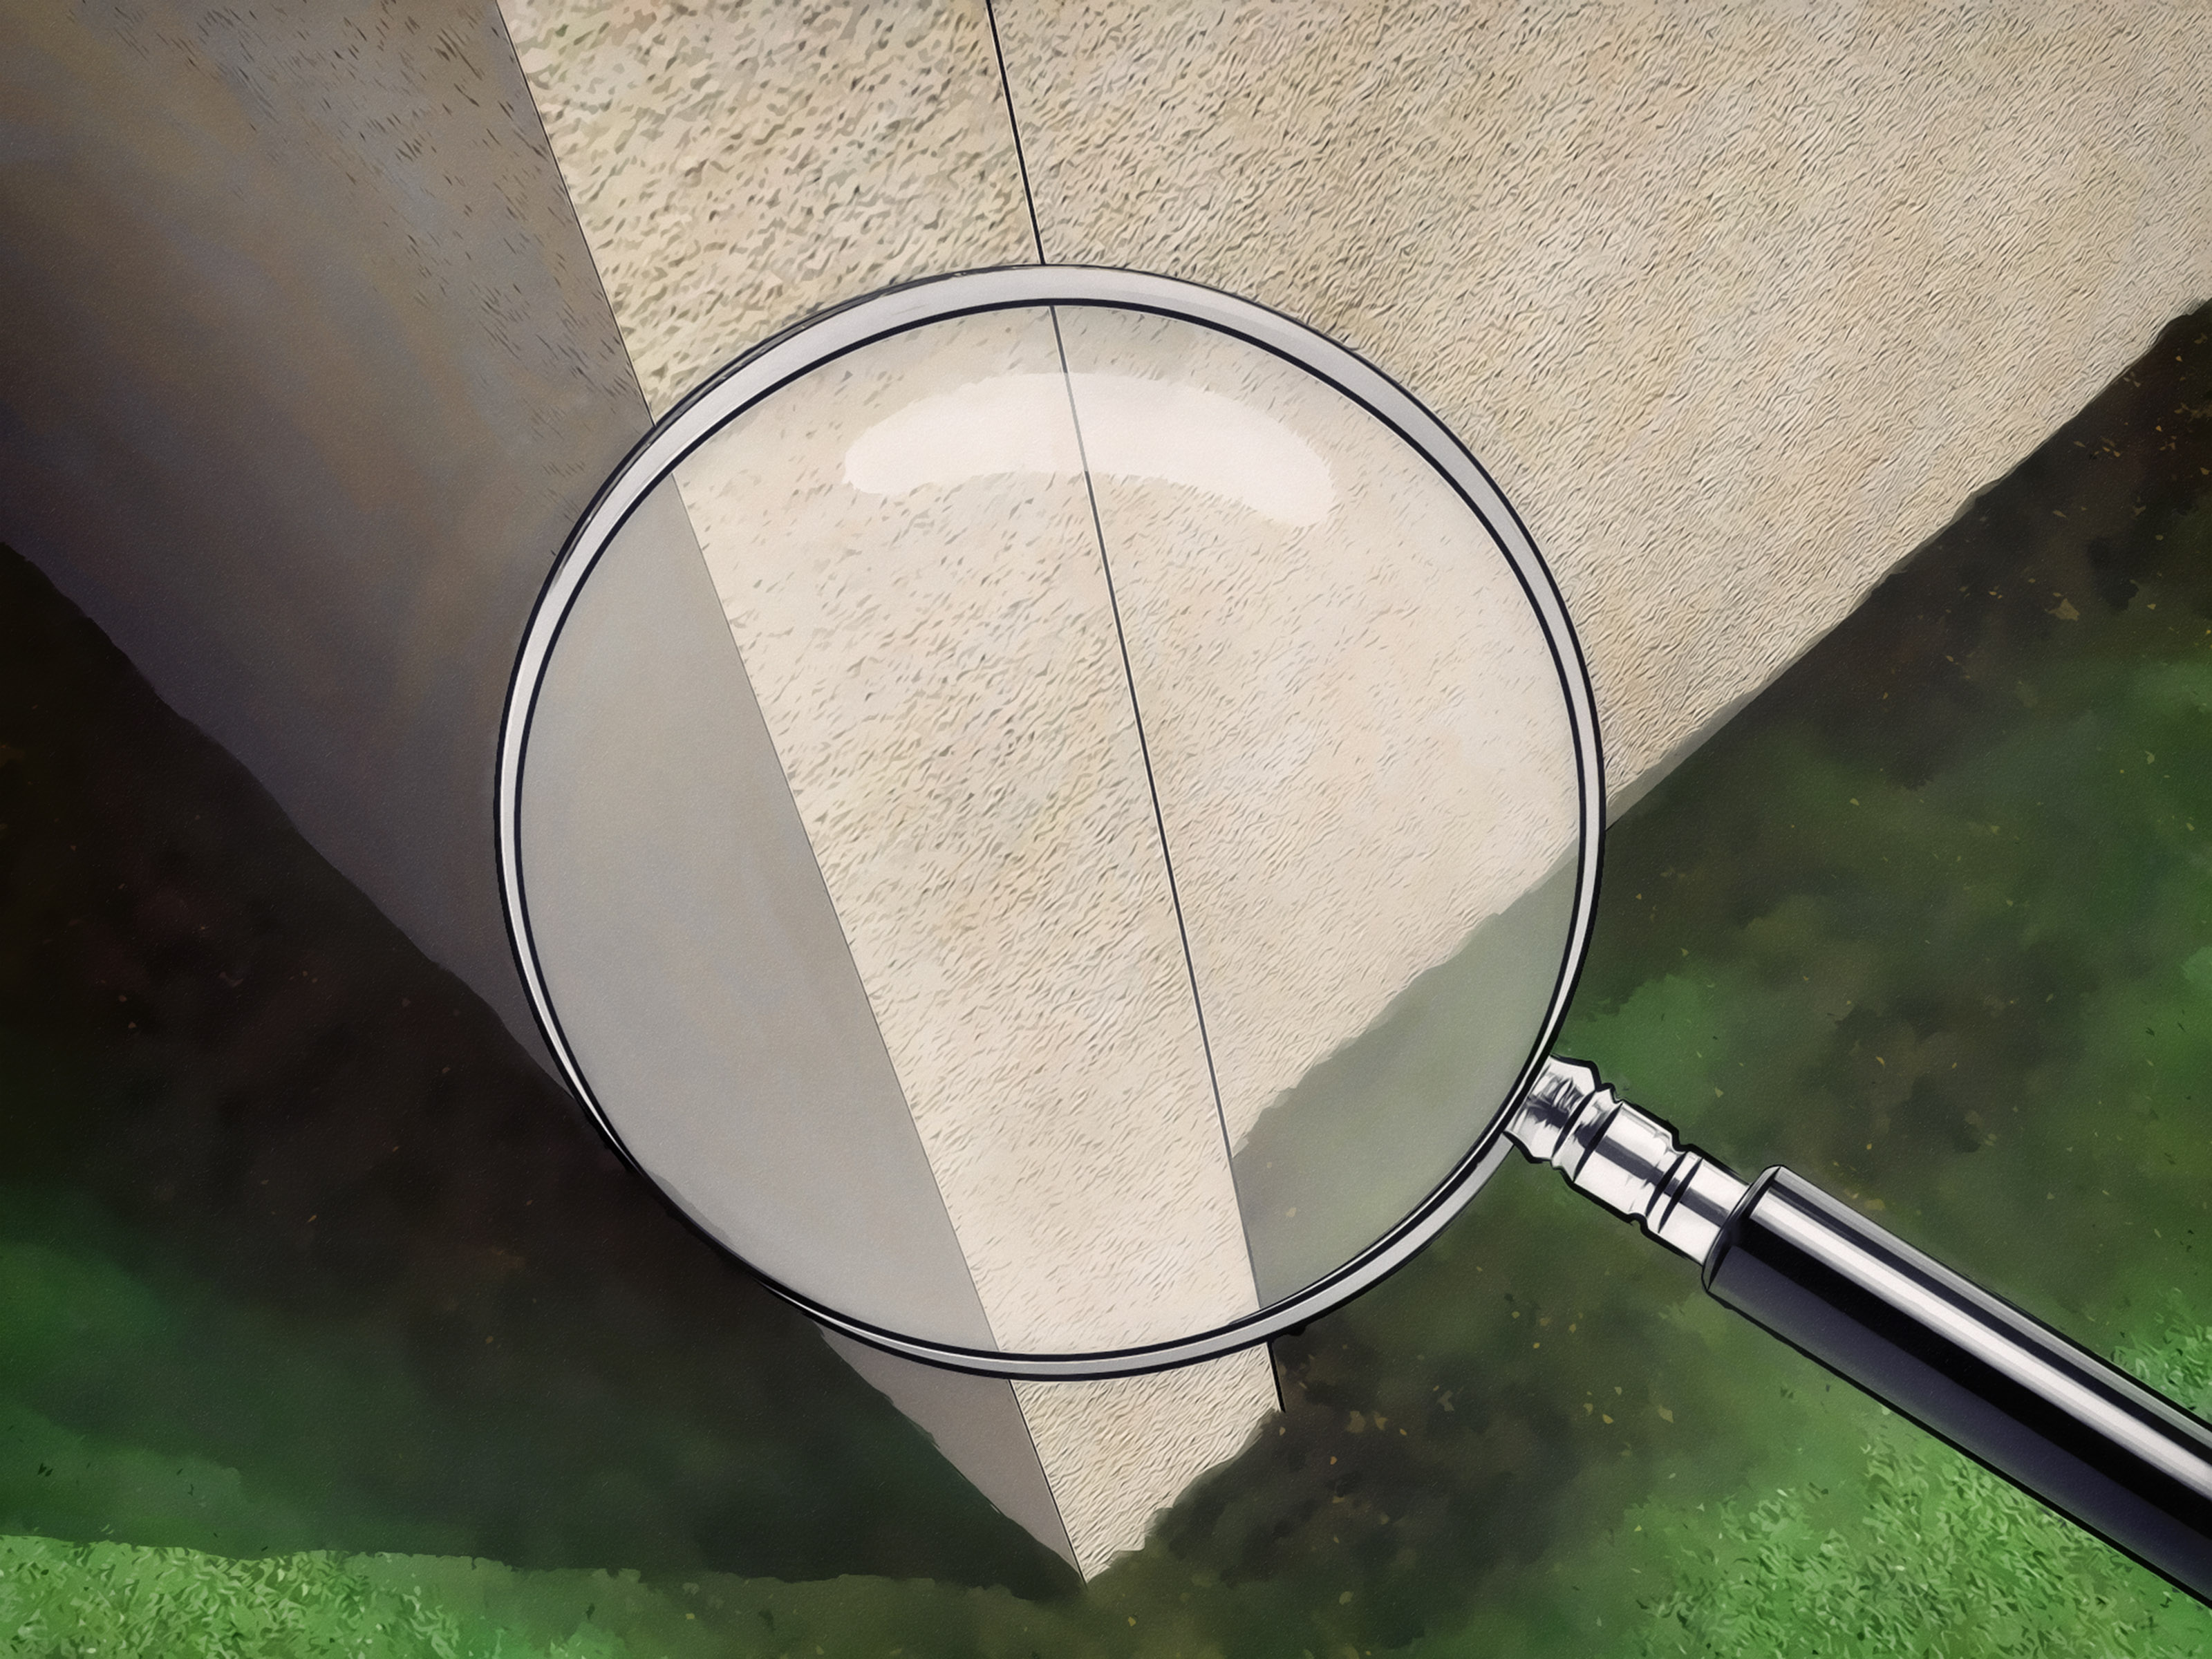
Start by walking around the house and inspecting the stucco closely. Look for cracks, loose patches, flaking paint, bulging areas, missing sealant around windows, and dark spots that may indicate moisture problems. Cleaning damaged stucco too aggressively can make small issues worse.
Hairline cracks are common, but wider cracks should be repaired before heavy washing. If you see soft areas, bubbling coatings, or water stains near windows and doors, pause the cleaning project and consider having the surface checked. Stucco is tough, but it is not waterproof armor. It performs best when cracks and joints are sealed properly.
Step 2: Remove Loose Dirt, Webs, and Debris
Dry cleaning first makes wet cleaning easier. Use a soft brush, broom, or vacuum attachment to remove cobwebs, leaves, loose dirt, and insect nests. Work from the top down so falling debris does not dirty areas you already cleaned.
Avoid wire brushes or stiff metal tools. They can scratch the surface, remove finish, and leave marks that are more annoying than the dirt you started with. Stucco cleaning is not a medieval jousting match. Gentle wins.
Step 3: Protect Plants, Windows, Lights, and Outlets
Water nearby plants before you begin, especially if you are using any cleaning solution. Damp leaves and soil are less likely to absorb cleaner. Cover delicate shrubs, flowers, exterior outlets, light fixtures, doorbells, cameras, and painted wood trim with plastic sheeting where needed.
Do not seal plants under plastic for too long on a hot day. They can overheat quickly. Cover them while applying cleaner, then uncover and rinse them again after the stucco is washed.
Step 4: Pre-Wet the Stucco Surface
Use a garden hose to wet the stucco before applying cleaner. Pre-wetting helps reduce absorption so dirty water and cleaning solution do not soak too deeply into the porous surface. Start low and work upward while wetting, then clean in manageable sections.
Pre-wetting also helps prevent streaking. Dry stucco can grab cleaner unevenly, which may leave patchy results. Think of this step as warming up before exercise, except the wall is doing the workout and you are holding the hose like a responsible adult.
Step 5: Mix a Stucco-Safe Cleaning Solution
For general dirt, use a mild exterior siding cleaner or a small amount of gentle dish soap mixed with water. For algae, mildew, moss, and darker organic stains, an oxygen bleach cleaner is often a safer first choice because it can brighten and clean without the harshness of chlorine bleach.
If using a commercial exterior cleaner, follow the label exactly. More cleaner does not mean better cleaning. It often means more rinsing, more residue, and more opportunity to irritate your skin, damage plants, or discolor surfaces.
If using chlorine bleach for stubborn mildew, dilute it properly and never mix it with ammonia, vinegar, or other cleaners. Mixing cleaners can create dangerous fumes. Wear gloves, use eye protection, and work in a well-ventilated outdoor area.
Step 6: Test a Small Hidden Area
Before treating a large wall, test your cleaning solution on a small, inconspicuous area. Wait several minutes, scrub lightly, rinse, and check for discoloration, chalking, surface damage, or unwanted changes in texture.
This step is especially important for painted stucco, colored stucco, older stucco, synthetic stucco, or areas that have been patched. Different finishes respond differently, and a five-minute test can save you from creating a giant “oops” spot on the front of your house.
Step 7: Apply Cleaner From Bottom to Top
Apply your cleaner with a pump sprayer, garden sprayer, sponge, or soft brush. Work in sections small enough that the cleaner will not dry before you rinse. Applying cleaner from bottom to top helps reduce streaking because dirty runoff does not drag dry lines down the wall.
Let the solution dwell for the time recommended on the product label. For mild dirt, a few minutes may be enough. For algae or mildew, the cleaner may need more contact time. Keep the surface damp during the dwell period, but do not let cleaner bake onto the wall in direct sun.
Step 8: Scrub Gently With a Soft-Bristled Brush
Use a soft-bristled brush and light pressure to loosen grime. Scrub in circular motions or gentle back-and-forth passes. Focus on stained areas, textured pockets, and shady spots where organic growth tends to collect.
If a stain does not move, do not immediately scrub harder. Reapply cleaner, allow more dwell time, and try again. Heavy scrubbing can wear down the finish, especially on older or painted stucco. The goal is to persuade the dirt to leave, not interrogate the wall until it confesses.
Step 9: Rinse Thoroughly From Top to Bottom
After scrubbing, rinse the wall thoroughly with clean water. This time, work from top to bottom so residue flows down and away. Keep rinsing until the water runs clear and no cleaner remains in the texture.
Rinsing is not optional. Leftover cleaner can attract dirt, leave streaks, irritate plants, or affect paint and coatings. Pay extra attention around window trim, ledges, corners, and decorative bands where suds may hide.
Step 10: Use a Pressure Washer Only With Caution
You can clean stucco with a pressure washer, but it must be done carefully. Use low pressure, a wide-angle nozzle, and keep the spray at a safe distance from the surface. Never blast directly into cracks, vents, window seams, electrical fixtures, or door openings. Aim downward or straight-on where appropriate, not upward under the finish.
Soft washing is often a better approach than high-pressure washing. Soft washing relies more on cleaning solution and low pressure, which is helpful for textured surfaces like stucco. If you are not confident with the equipment, hire a professional. A pressure washer can remove grime quickly, but it can also chew into stucco quickly. It is a tool, not a magic wand.
Step 11: Treat Stubborn Stains Separately
Not all stains respond to the same cleaner. If a stain remains after general washing, identify it before trying something stronger.
- Green or black organic stains: Usually algae, mildew, or moss. Use an oxygen bleach cleaner or mildew remover labeled safe for exterior masonry or stucco.
- White powdery stains: Usually efflorescence. Brush dry first, then use a masonry-safe cleaner if needed.
- Rust stains: Use a rust remover designed for masonry. Avoid random acidic cleaners unless the label says they are safe for stucco.
- Grease or soot: Use a masonry degreaser or exterior cleaner, then rinse well.
Always test specialty cleaners before applying them widely. Some stain removers can change color, dull paint, or etch surfaces if used incorrectly.
Step 12: Let the Stucco Dry and Check Your Results
Allow the stucco to dry completely before judging the final result. Wet stucco often looks darker, so stains may appear worse or better than they really are until the wall dries. Depending on humidity, shade, and temperature, drying may take several hours or longer.
Once dry, inspect the wall again. Touch up missed areas, note any cracks that need repair, and check whether gutters, sprinklers, or landscaping are causing repeat staining. Cleaning is satisfying, but preventing grime from returning is where the real curb-appeal magic happens.
How Often Should You Clean Stucco?
Most homes benefit from a light rinse or gentle cleaning once or twice a year. Homes in humid climates, coastal areas, dusty neighborhoods, or shaded lots may need more frequent attention. A full deep clean is usually needed when dirt becomes visible, mildew appears, or the color looks dull.
Do a quick visual inspection every few months. Look near the base of walls, under roof overhangs, around gutters, below windows, and behind shrubs. These areas collect moisture and debris first.
Common Mistakes to Avoid When Cleaning Stucco
Using Too Much Pressure
High pressure can chip, gouge, or crack stucco. It can also force water behind the surface, which may create bigger problems than dirty walls. Start gentle and increase only if the surface can handle it.
Letting Cleaner Dry on the Wall
Cleaning solution that dries before rinsing may leave streaks or residue. Work in sections and avoid cleaning in direct, hot sunlight when possible.
Mixing Cleaning Chemicals
Never mix bleach with ammonia, vinegar, or other cleaners. Dangerous gases can form. Use one product at a time, follow the label, and rinse thoroughly before switching products.
Ignoring Cracks
Cleaning cracked stucco without repair can allow more moisture to enter. Inspect first, patch when needed, and keep sealant around openings in good condition.
Scrubbing With Harsh Brushes
Metal brushes, abrasive pads, and aggressive scraping can scar stucco. Use soft bristles and patience. Your wall should look clean, not sanded by a raccoon with ambition.
Best Homemade Cleaner for Stucco
For light dirt, a simple mixture of warm water and mild dish soap can work well. Add a small amount of soap to a bucket of water, apply it with a soft brush, scrub gently, and rinse thoroughly. This is a good option for dust, pollen, and minor grime.
For organic growth, oxygen bleach mixed according to label directions is often effective. It can help remove algae, mildew, and moss stains without the same plant-damaging risk associated with stronger chlorine bleach solutions. Still, you should rinse plants before and after cleaning.
For serious mildew, use a cleaner labeled for mold and mildew on exterior masonry or stucco. Do not guess with harsh chemicals. Stucco may look rugged, but the finish can be sensitive to acids, strong solvents, and high alkalinity.
Can You Clean Painted Stucco the Same Way?
Painted stucco requires extra care. Paint can chalk, fade, peel, or lift if scrubbed too hard or blasted with high pressure. Use a mild cleaner, soft brush, and low-pressure rinse. If the paint is already peeling, wash gently and plan for surface preparation before repainting.
If you are cleaning stucco before painting, make sure the surface dries completely. Painting damp stucco can trap moisture and shorten the life of the coating. Also repair cracks, remove chalky residue, and prime patched or bare areas as recommended by the paint manufacturer.
Experience Notes: What Cleaning Stucco Looks Like in Real Life
In real-world stucco cleaning, the biggest surprise is usually how much patience matters. Many homeowners expect instant results the moment water hits the wall. Sometimes that happens, especially with dust or fresh pollen. But older algae, mildew, and soil stains often need dwell time. The cleaner has to sit long enough to loosen the grime. Scrubbing too soon can feel like trying to wipe dried oatmeal off a wall with a feather. Technically possible, emotionally unnecessary.
Another practical lesson is that shade changes everything. The north side of a house, areas behind shrubs, and walls under deep eaves often collect the most mildew because they stay damp longer. These sections may need a stronger cleaner or a second pass. Meanwhile, sunny walls may only need a quick wash and rinse. Treat each wall like its own little weather system.
Sprinklers are also repeat offenders. If irrigation water hits stucco every morning, stains will come back faster. Hard water can leave mineral marks, and constant moisture encourages algae. After cleaning, adjust sprinkler heads so they water plants, not the house. Your stucco does not need hydration. It is not training for a marathon.
One useful approach is to clean a test section near the least visible side of the house. Apply cleaner, wait, scrub, rinse, and let it dry. That small area tells you how the finish responds and how much effort the full job will require. It also helps you avoid overcleaning. Many stucco walls look dramatically better after a gentle wash, even if they are not restored to brand-new perfection.
Working in sections makes the job less overwhelming. Instead of thinking, “I have to clean the whole house,” focus on one wall or one stained area. Keep the surface wet, rinse thoroughly, then move on. This prevents dried cleaner marks and keeps the project organized. It also gives you small victories, which are important when your Saturday has turned into a wall-washing adventure.
Finally, the best stucco cleaning results come from maintenance, not heroics. A quick rinse after pollen season, trimming vines away from walls, cleaning bird droppings promptly, and fixing cracks early can prevent the need for aggressive cleaning later. Stucco can last beautifully for many years, but it rewards gentle, regular care. Treat it well and it will keep your home looking crisp, warm, and quietly impressive without demanding a dramatic renovation.
Conclusion
Cleaning stucco is not complicated, but it does require the right touch. Start by inspecting the wall, removing loose debris, protecting plants and fixtures, and pre-wetting the surface. Use a stucco-safe cleaner, let it dwell, scrub gently with a soft-bristled brush, and rinse thoroughly. For tougher stains, choose the correct treatment instead of reaching for the harshest product in the garage.
The safest strategy is simple: clean gently, work slowly, rinse well, and keep water out of cracks and openings. With these 12 steps, your stucco exterior can look brighter, cleaner, and better maintained without turning your weekend into a home-improvement horror movie.
Note: This content is written for general home-maintenance education. For severely cracked stucco, widespread mold, synthetic stucco systems, or suspected moisture damage, consult a qualified exterior contractor before cleaning.