An airbrush can produce buttery gradients, razor-thin lines, realistic weathering, and finishes so smooth they make ordinary paintbrushes quietly question their career choices. Unfortunately, dried paint inside an airbrush gun can turn that precision instrument into an expensive metal kazoo.
Regular airbrush cleaning prevents clogs, sputtering, sticky triggers, uneven spray patterns, and mysterious paint bubbles in the color cup. The good news is that routine cleanup usually takes only a few minutes. A complete deep cleaning requires more care, but it should not involve dismantling every microscopic part after every color change.
This guide explains how to clean an airbrush gun safely, what supplies to use, which components need attention, and how to avoid damaging the delicate needle and nozzle.
Why Cleaning an Airbrush Gun Matters
Paint travels through an extremely narrow passage before leaving the nozzle as a fine mist. Even a tiny amount of dried pigment can disrupt that process. The result may be tip-dry, spattering, poor paint flow, bubbling in the cup, or an airbrush that releases air but stubbornly refuses to release paint.
Manufacturers generally recommend flushing an airbrush between colors, cleaning it at the end of every painting session, and performing a more thorough cleaning when performance problems appear. Leaving paint inside the airbrush for extended periods is one of the most common causes of internal blockages.
A good cleaning routine also protects expensive replacement parts. Airbrush needles and nozzles are precision components. Cleaning them carefully is considerably cheaper than turning them into modern art with pliers.
What You Need to Clean an Airbrush
Gather your supplies before beginning so that you are not holding a paint-covered needle while searching the house for a cotton swab.
- The cleaner recommended for your paint
- Clean water for water-based acrylic paint
- An airbrush cleaning pot or suitable waste container
- Lint-free cloths or shop towels
- Non-shedding cotton swabs or foam swabs
- Soft airbrush cleaning brushes
- The nozzle wrench supplied with your airbrush, if required
- A shallow tray or cleaning mat for small parts
- Airbrush-safe lubricant
- Protective gloves and eye protection when handling solvents
Purpose-made brushes are available in several diameters for cleaning color cups and narrow paint passages. Use them gently. Their job is to loosen residue, not perform an archaeological excavation inside the nozzle.
Choose the Right Airbrush Cleaner
The correct cleaner depends on the material you sprayed. The word “paint” covers several chemical families, and they do not all respond to the same cleaning solution.
Water-Based Acrylic Paint
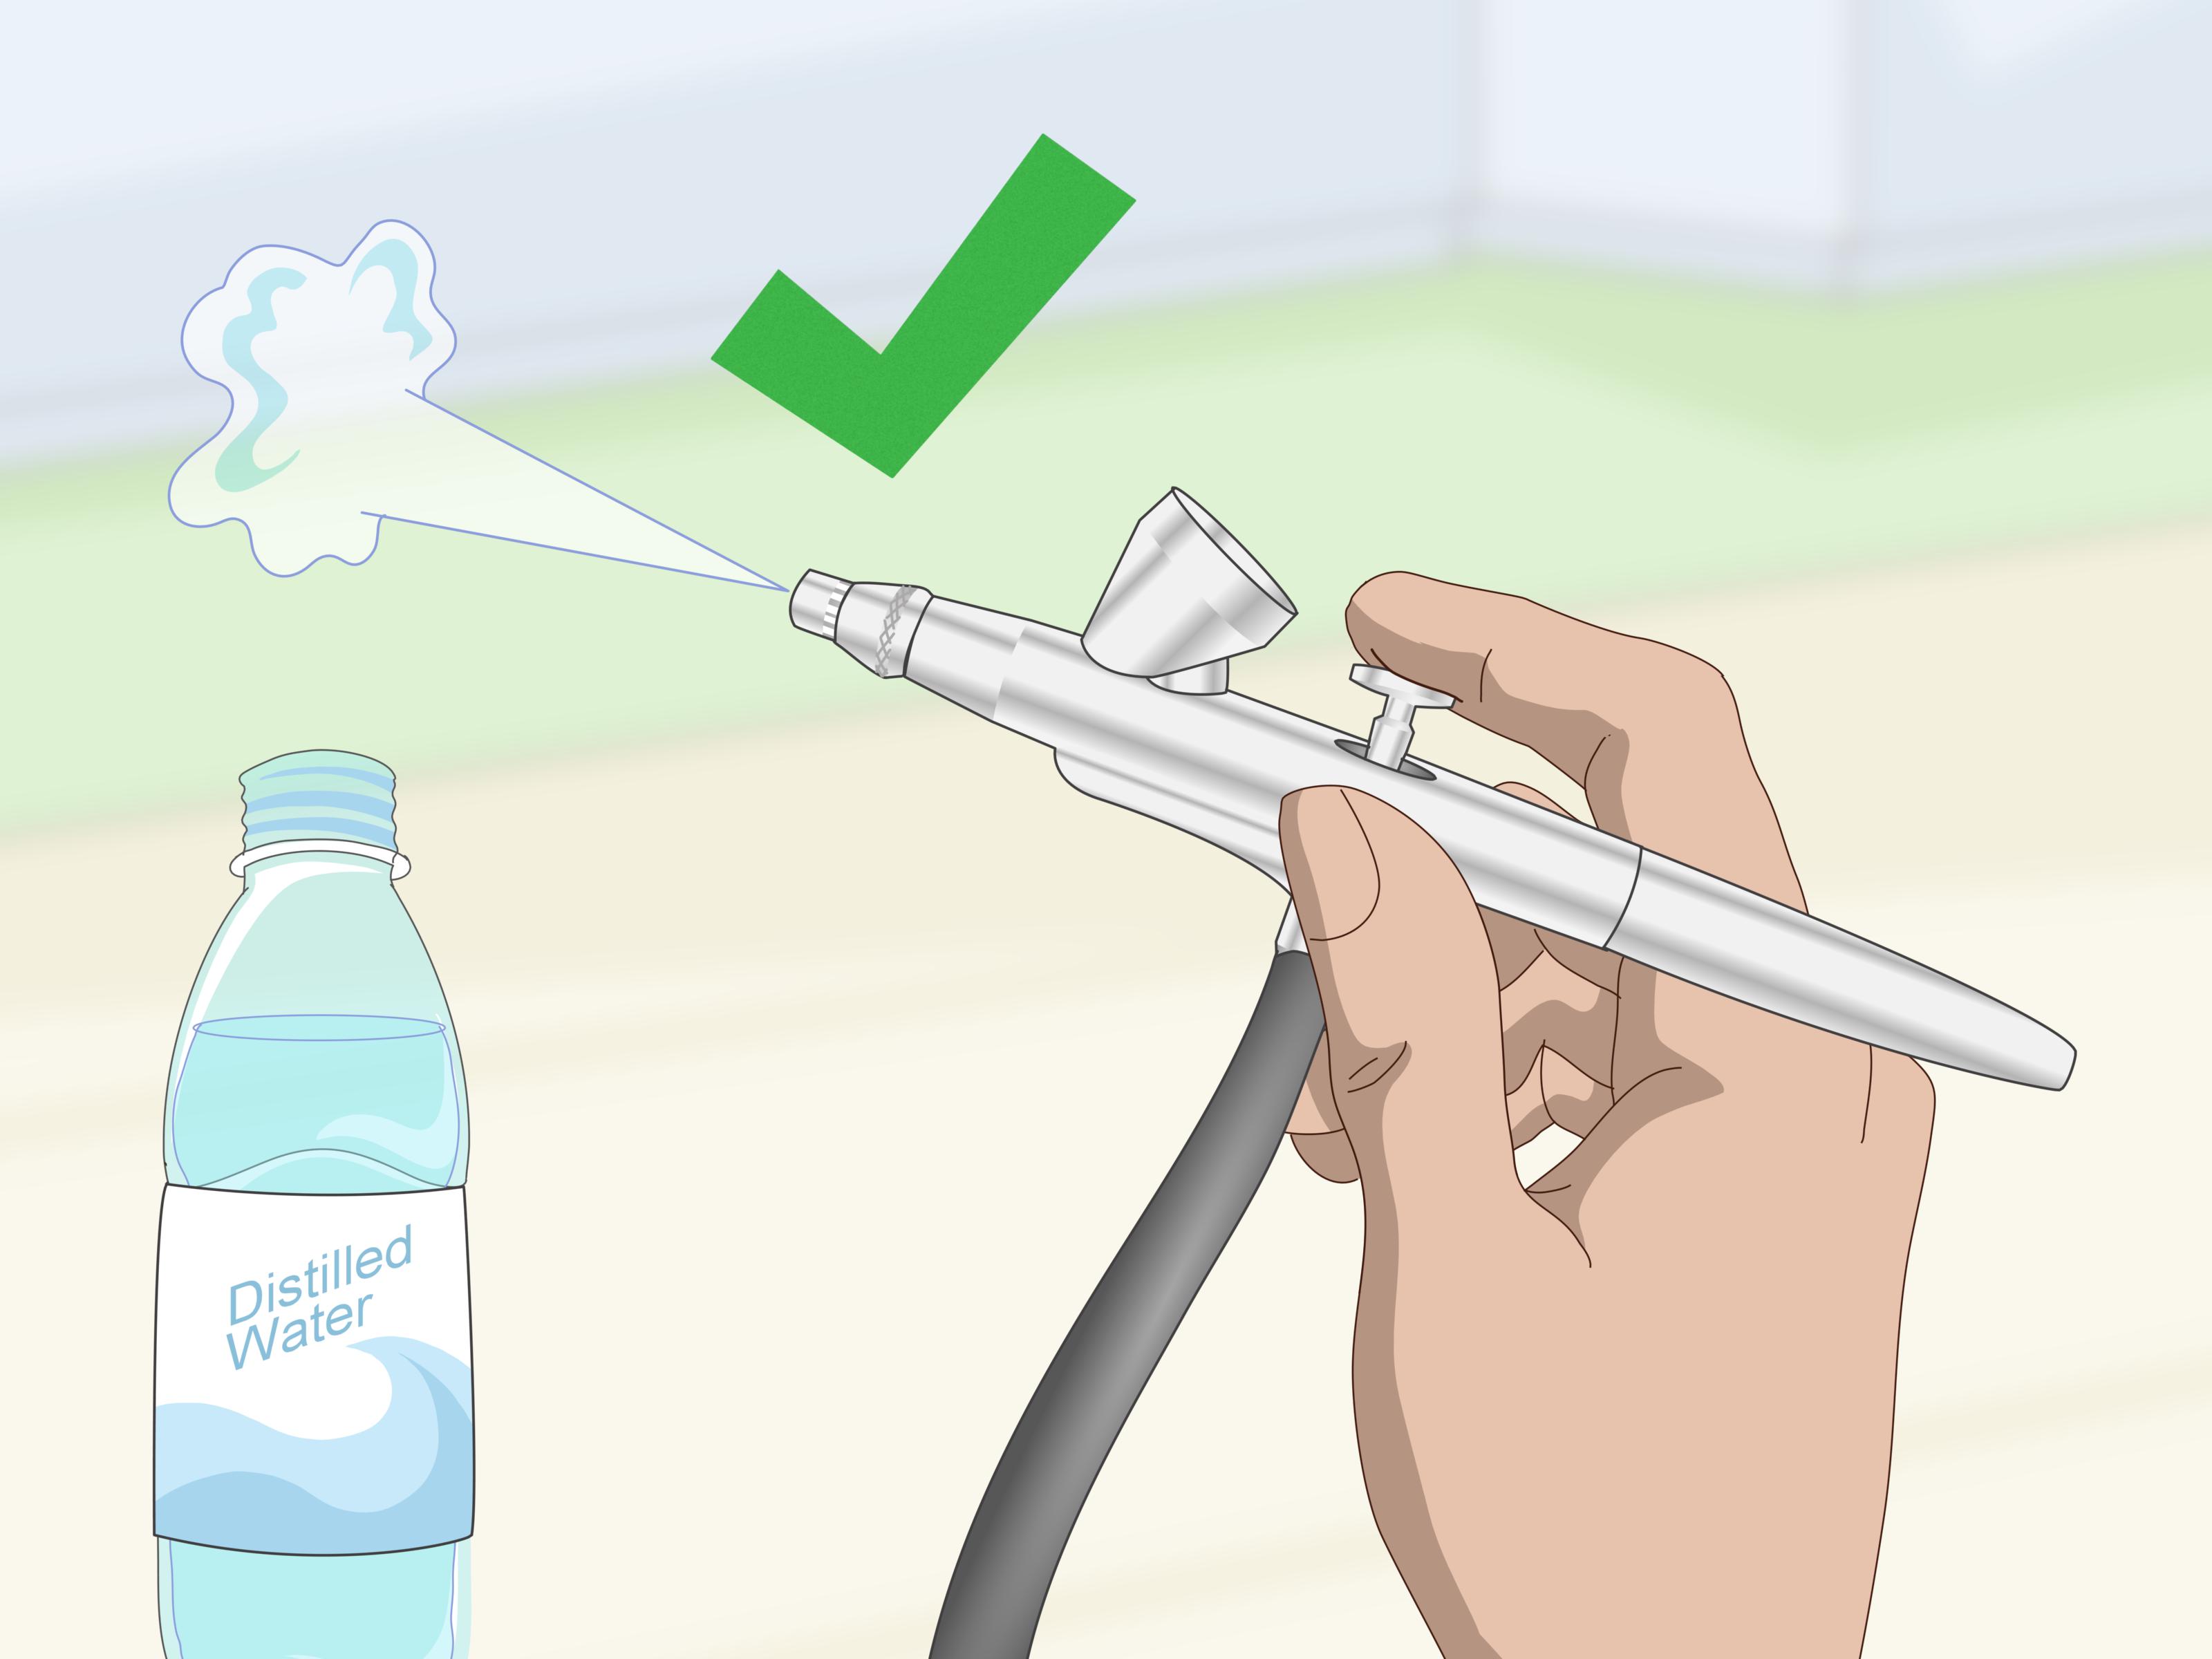
Remove most wet acrylic paint with water, then finish with a compatible airbrush cleaner. Distilled water can reduce mineral residue, especially in areas with hard tap water. Once acrylic paint has cured, water alone may not remove it.
Enamel and Lacquer Paint
Use the thinner or cleaning solvent recommended by the paint manufacturer. Do not assume that a powerful solvent is automatically a better choice. An aggressive cleaner may damage rubber seals, O-rings, coatings, or plastic components in an airbrush that was not designed for it.
Ink, Dye, Makeup, and Food Color
Use a product approved for both the sprayed material and the intended application. A cleaner suitable for model lacquer is obviously not suitable for equipment used with cake coloring or cosmetic products. Keep food and cosmetic airbrush tools separate from hobby-paint equipment.
Some cleaners are formulated to remove paint while lubricating compatible mechanisms. For stubborn residue, manufacturers may recommend soaking only removable metal parts such as the nozzlenot the complete airbrush body.
How to Clean an Airbrush Gun Step by Step
Step 1: Empty the Remaining Paint
Pour usable paint back into its container only when it has not been contaminated with cleaner, dried debris, or another color. Otherwise, transfer it to an appropriate waste container.
For a gravity-feed airbrush, wipe the color cup with a lint-free towel. For a siphon-feed model, detach the paint bottle and wipe the pickup tube and bottle connection.
Step 2: Perform an Initial Rinse
Add a small amount of the appropriate cleaner or water to the cup. Use a soft brush to loosen paint around the cup walls without jabbing the bottom opening. Empty the dirty liquid into your waste container.
Repeat this process until most visible paint has disappeared. Removing concentrated paint before spraying cleaner through the airbrush prevents unnecessary clouds of colored mist.
Step 3: Flush the Paint Passage
Add fresh cleaner, reconnect or leave the air supply connected, and spray into an airbrush cleaning pot. Continue until the liquid appears clear.
Some artists use controlled backflushing to loosen paint inside the front passage. This involves partially restricting airflow at the air cap so bubbles return into the cup. Only use this technique if the airbrush manufacturer permits it. Work at low pressure and never crush or tightly block a delicate needle cap with metal tools.
For an ordinary color change, a careful flush may be all that is necessary. Constantly removing the nozzle between colors creates more opportunities to bend, cross-thread, or lose it.
Step 4: Disconnect the Air Supply
Turn off the compressor and release remaining pressure. Disconnect the air hose before removing the needle or other internal components. This prevents accidental trigger operation and keeps the airbrush stable while you work.
Place the airbrush over a shallow tray or cleaning mat. Airbrush parts possess a supernatural ability to roll off tables and enter another dimension.
Step 5: Remove and Clean the Needle
Unscrew the rear handle and loosen the needle-chucking nut. Carefully withdraw the needle according to the instructions for your model.
Hold the needle by its blunt end. Moisten a lint-free cloth with cleaner and wipe from the rear toward the sharp point. Do not wipe toward your fingers, twist the tip, or press the needle against the work surface. Even a barely visible bend can distort the spray pattern.
Inspect the needle under good lighting. Dried paint often forms a thin ring near the tip. If residue remains, allow the cleaner a little time to soften it rather than scraping aggressively.
Step 6: Clean the Needle Cap and Nozzle Cap
Remove the protective needle cap and nozzle cap by hand unless the manual specifies another method. Soak or wipe these removable parts with compatible cleaner, then use a soft brush to remove paint from their openings.
Dried paint inside the needle cap can redirect airflow and cause spattering. Clean it thoroughly, but avoid enlarging the opening with wire, drill bits, sewing needles, or improvised tools.
Step 7: Clean the Nozzle Carefully
The nozzle is usually the most fragile and most expensive tiny object in the entire assembly. Some airbrushes use threaded nozzles, while others use compression-fit or self-centering designs. Consult the model manual before attempting removal.
If removal is required, retract or remove the needle first. Use only the supplied wrench and apply minimal pressure. Once removed, soak the nozzle briefly in compatible cleaner and gently clear softened residue with a suitable microbrush.
Never force a cleaning needle through the nozzle. A scratched, cracked, flared, or enlarged nozzle may cause bubbling, poor atomization, and an off-center spray pattern. Iwata specifically warns that certain compression-fit nozzle assemblies should not be separated or treated like threaded nozzles.
Step 8: Clean the Paint Channel and Cup
Use a damp cleaning brush to wipe the paint cup and accessible paint channel. Insert brushes only into passages they fit comfortably. If a brush must be forced, it is too large.
Do not push dirty residue deeper into the airbrush. Work from the cup toward an open end whenever possible, wiping the brush between passes.
Step 9: Clean Bottles and Feed Tubes
For a siphon-feed or side-feed airbrush, wash the bottle, lid, vent hole, pickup tube, and connector. A blocked bottle vent can prevent paint from feeding even when the airbrush itself is spotless.
Run a properly sized soft brush through removable tubes. Rinse everything with fresh cleaner, then allow the components to dry.
Step 10: Apply Lubricant Sparingly
Use only lubricant made for airbrushes and apply a nearly invisible amount where the manufacturer recommends. Common locations include part of the needle shaft or trigger mechanism.
Keep lubricant away from the needle tip, nozzle interior, and paint path. Excess oil can contaminate paint, create adhesion defects, or collect dust. Avoid general-purpose machine oil and penetrating products unless your manufacturer explicitly approves them.
Step 11: Reassemble the Airbrush
Install the nozzle and caps without overtightening. Guide the clean needle into position slowly. Stop immediately if you feel unusual resistance; forcing the needle can split the nozzle.
Tighten the needle-chucking nut finger-tight, reinstall the handle, and operate the trigger to confirm smooth movement.
Step 12: Test With Clean Water or Cleaner
Reconnect the air supply and spray a small amount of compatible rinse liquid into the cleaning pot. Check for an even spray and smooth trigger action.
When finished, spray air briefly to remove excess liquid from the paint passage. Store the airbrush in a holder or protective case where the needle cannot be struck.
Safety Rules for Solvent-Based Cleaning
Clean solvent-based paints in a well-ventilated area away from cigarettes, flames, heaters, sparks, and hot surfaces. Wear suitable gloves and eye protection, avoid breathing vapors, and review the cleaner’s safety data sheet. OSHA and NIOSH guidance emphasizes ventilation, minimizing inhalation and skin contact, using appropriate protective equipment, and controlling ignition sources around flammable solvents.
Do not spray large quantities of cleaner into an open room. A cleaning pot captures much of the liquid and overspray, but it does not replace proper ventilation.
Collect used solvent and contaminated paint according to the product label and local regulations. Paints and cleaners with flammable, corrosive, reactive, or toxic properties may require household hazardous-waste disposal rather than a trip down the sink.
Common Airbrush Cleaning Mistakes
Soaking the Entire Airbrush
Immersing the complete airbrush may expose the air valve, seals, packing, lubricant, and coated surfaces to chemicals they were not designed to tolerate. Soak only approved removable parts. Grex and Vallejo both specifically caution against soaking the whole airbrush.
Overtightening the Nozzle
A tiny threaded nozzle needs surprisingly little torque. Overtightening can strip threads or snap the nozzle, leaving the threaded section inside the body.
Using Too Much Lubricant
Lubricant should improve movement, not transform the airbrush into a salad dressing dispenser. Excess product can migrate into the paint path and cause spray or adhesion problems.
Deep-Cleaning After Every Color
Frequent unnecessary disassembly increases wear and the likelihood of losing or damaging delicate parts. Flush between colors and reserve nozzle removal for end-of-session maintenance, confirmed buildup, or troubleshooting.
Allowing Cleaner to Evaporate Inside the Cup
Cleaner containing dissolved paint can leave a concentrated residue when it evaporates. Empty it, rinse with fresh solution, and spray the airbrush dry before storage.
Airbrush Troubleshooting After Cleaning
| Problem | Likely Cause | What to Check |
|---|---|---|
| Air comes out, but no paint sprays | Blocked nozzle, loose needle chuck, or blocked bottle vent | Confirm needle movement, clean the nozzle, and inspect the vent hole |
| Paint bubbles in the cup | Air leak or obstruction near the nozzle | Check nozzle seating, cap cleanliness, and damaged seals |
| Airbrush sputters | Tip-dry, thick paint, low pressure, or residue in the cap | Clean the needle tip, thin paint correctly, and inspect the front assembly |
| Trigger feels sticky | Dried paint or excessive, unsuitable lubricant | Clean the needle shaft and use only a trace of airbrush lubricant |
| Spray pulls to one side | Bent needle, damaged nozzle, or uneven cap buildup | Inspect precision parts under bright light and replace damaged components |
How Often Should You Clean an Airbrush?
- Between colors: Empty the cup and flush until the spray runs clear.
- After each session: Flush thoroughly, wipe the needle, and clean the front cap assembly.
- When performance declines: Inspect and clean the nozzle and paint channel.
- Periodically: Perform model-specific maintenance and inspect seals, threads, the trigger, and the needle.
Paint formulation also affects cleaning frequency. Properly reduced airbrush paint generally creates less tip buildup and clogging than thick, poorly strained material. Paint makers such as GOLDEN emphasize suitable viscosity and formulations designed to reduce tip buildup.
Experience-Based Lessons From the Cleaning Bench
The first lesson experienced airbrush users learn is that immediate cleaning is dramatically easier than heroic cleaning. Wet paint may rinse away in two minutes. The same paint, forgotten during a phone call, snack break, or “brief” trip to the hardware store, can form a rubbery skin in the cup and a stubborn plug inside the nozzle. The best cleaning tool is often not a brush or solvent; it is simply good timing.
Another practical lesson is to separate routine flushing from deep cleaning. Beginners sometimes disassemble the entire airbrush whenever they change colors. That feels responsible, but it introduces unnecessary risk. A nozzle dropped onto a hard floor can cost more than several bottles of paint, while a bent needle may create frustrating spray problems that look exactly like poor thinning or incorrect pressure. Most color changes need only an efficient flush. Save major surgery for the end of a session or when the airbrush gives you a genuine reason.
A common real-world scenario involves an airbrush that sprays perfectly before cleaning and poorly afterward. The cleaner is rarely haunted. More often, the needle was not fully seated, the chucking nut remained loose, the nozzle cap was installed incorrectly, or a tiny thread was overtightened. Reassembly should therefore be slow and deliberate. Lay parts in removal order, work over a tray, and never apply force merely because a component “should probably fit.”
Cleaner compatibility is another lesson that tends to arrive after an unpleasant experiment. A strong solvent may remove paint rapidly but leave a seal swollen, a coating dulled, or the trigger behaving like it has been dipped in maple syrup. Keeping separate, clearly labeled cleaners for acrylics and solvent-based coatings prevents accidental chemical roulette. The paint label and airbrush manual should settle the decisionnot whichever bottle happens to be closest.
Over-lubrication also causes memorable trouble. A generous drop feels helpful, yet lubricant can migrate toward the nozzle and mix with paint. On a model car, helmet, illustration, or nail-art surface, contamination may produce fisheyes or weak adhesion. Experienced users apply so little lubricant that it is closer to a film than a drop.
Good organization makes cleaning faster. A small tray, bright task light, dedicated cloth, cleaning pot, and labeled microbrushes eliminate much of the frustration. Keep a spare needle and nozzle for important projects, but do not treat replacements as permission to be careless. Precision parts reward the gentle approach.
Finally, watch what comes out of the airbrush. A clear cup does not necessarily mean the internal passage is clean. Spray fresh cleaner onto a white paper towel or into a clear cleaning pot. A faint tint reveals remaining pigment immediately. Continue flushing until the output is clear and consistent. This simple visual check prevents yesterday’s black paint from making an uninvited cameo in today’s carefully mixed yellow.
Conclusion
Learning how to clean an airbrush gun is less about aggressive scrubbing and more about using the right cleaner, acting before paint dries, and treating precision components gently. Empty the paint, rinse the cup, flush the passage, clean the needle and front assembly, lubricate sparingly, and test the spray after reassembly.
A few minutes of maintenance after each painting session can prevent most clogs and performance problems. Your airbrush will spray more consistently, its delicate parts will last longer, and you can spend your next session painting instead of interrogating a blocked nozzle under a magnifying glass.
Note: Airbrush designs vary. Always follow the manufacturer’s manual when removing a nozzle, selecting a solvent, lubricating internal parts, or replacing seals.