Note: This article is based on Stanley 1913 care guidance plus U.S. hygiene and food-safety recommendations for cleaning, drying, and preventing microbial buildup in reusable drinkware.
Your Stanley cup may be your hydration sidekick, your desk decoration, your gym buddy, and, depending on the day, your emotional support tumbler. But here is the tiny problem hiding under all that stainless-steel confidence: if you do not clean it properly, your cup can become a cozy little resort for mold, bacteria, biofilm, and mystery smells that have no business joining your morning ice water.
The good news? Learning how to clean a Stanley cup is simple. You do not need a laboratory, a hazmat suit, or a dramatic farewell ceremony for your favorite tumbler. You just need warm water, mild dish soap, a few small brushes, patience with the lid parts, and a healthy respect for the places moisture likes to hide.
This guide explains how to clean your Stanley cup daily, how to deep clean the lid, straw, silicone gasket, and tumbler body, how to prevent mold and bacteria, and what to do when your cup already smells like a forgotten gym bag. Let’s rescue your hydration hero before it turns into a science fair project.
Why Stanley Cups Can Grow Mold and Bacteria
Stanley cups are built for everyday use, but everyday use is exactly why they need regular cleaning. Your hands touch the handle, lid, straw, and mouthpiece. Your mouth touches the straw. Your cup may sit in a car, on a desk, in a backpack, or beside a sink. Add moisture, warmth, and time, and you have the perfect invitation for bacteria and mold.
The biggest issue is not usually the stainless-steel tumbler itself. Stainless steel is relatively easy to wash. The real troublemakers are the small parts: the straw, lid grooves, silicone seal, rotating cover, mouthpiece opening, and underside of the lid. These spots hold droplets, residue, and tiny bits of drink ingredients. If you drink only water, buildup can still happen. If you add coffee, tea, electrolyte powder, smoothies, juice, or flavored water, the risk rises because sugar and residue give microbes more to snack on.
How Often Should You Clean a Stanley Cup?
For daily use, wash your Stanley cup at least once a day. If you use it for anything besides plain water, wash it after each use. Coffee, milk-based drinks, sports drinks, and sugary beverages should never sit in the cup for hours and then receive the classic “quick rinse and hope” treatment. Hope is not a cleaning product.
A Simple Cleaning Schedule
Daily: Wash the cup, straw, and lid with warm water and mild dish soap. Scrub the inside of the tumbler and rinse thoroughly.
Every few days: Take apart removable lid pieces, clean under the silicone gasket, scrub the straw, and air-dry everything completely.
Weekly: Do a deeper clean, especially if you use your Stanley cup heavily, take it to the gym, leave it in the car, or fill it with drinks other than water.
Immediately: Deep clean if you notice a musty smell, slippery film, dark specks, cloudy residue, strange taste, or visible mold.
What You Need to Clean a Stanley Cup
You do not need fancy supplies. In fact, Stanley recommends gentle cleaning and warns against harsh chemicals like bleach or chlorine because they may damage sealing parts on some products. Always check your specific Stanley care instructions, because product designs can vary.
Basic Cleaning Supplies
- Mild dish soap
- Warm water
- Soft sponge or dishcloth
- Long bottle brush
- Straw cleaning brush
- Small detail brush or clean toothbrush
- White vinegar for odor and buildup
- Baking soda for gentle deodorizing
- Clean drying rack or clean towel for air-drying
Avoid steel wool, abrasive pads, harsh scouring powder, chlorine bleach, and strong chemical cleaners. They can scratch surfaces, damage finishes, or weaken seals. Scratches also make it easier for grime to cling later, which is exactly the opposite of the goal.
How to Clean a Stanley Cup Daily
The best cleaning routine is the one you will actually do. A daily wash takes only a few minutes and prevents the dramatic lid inspection that ends with you whispering, “What is that?”
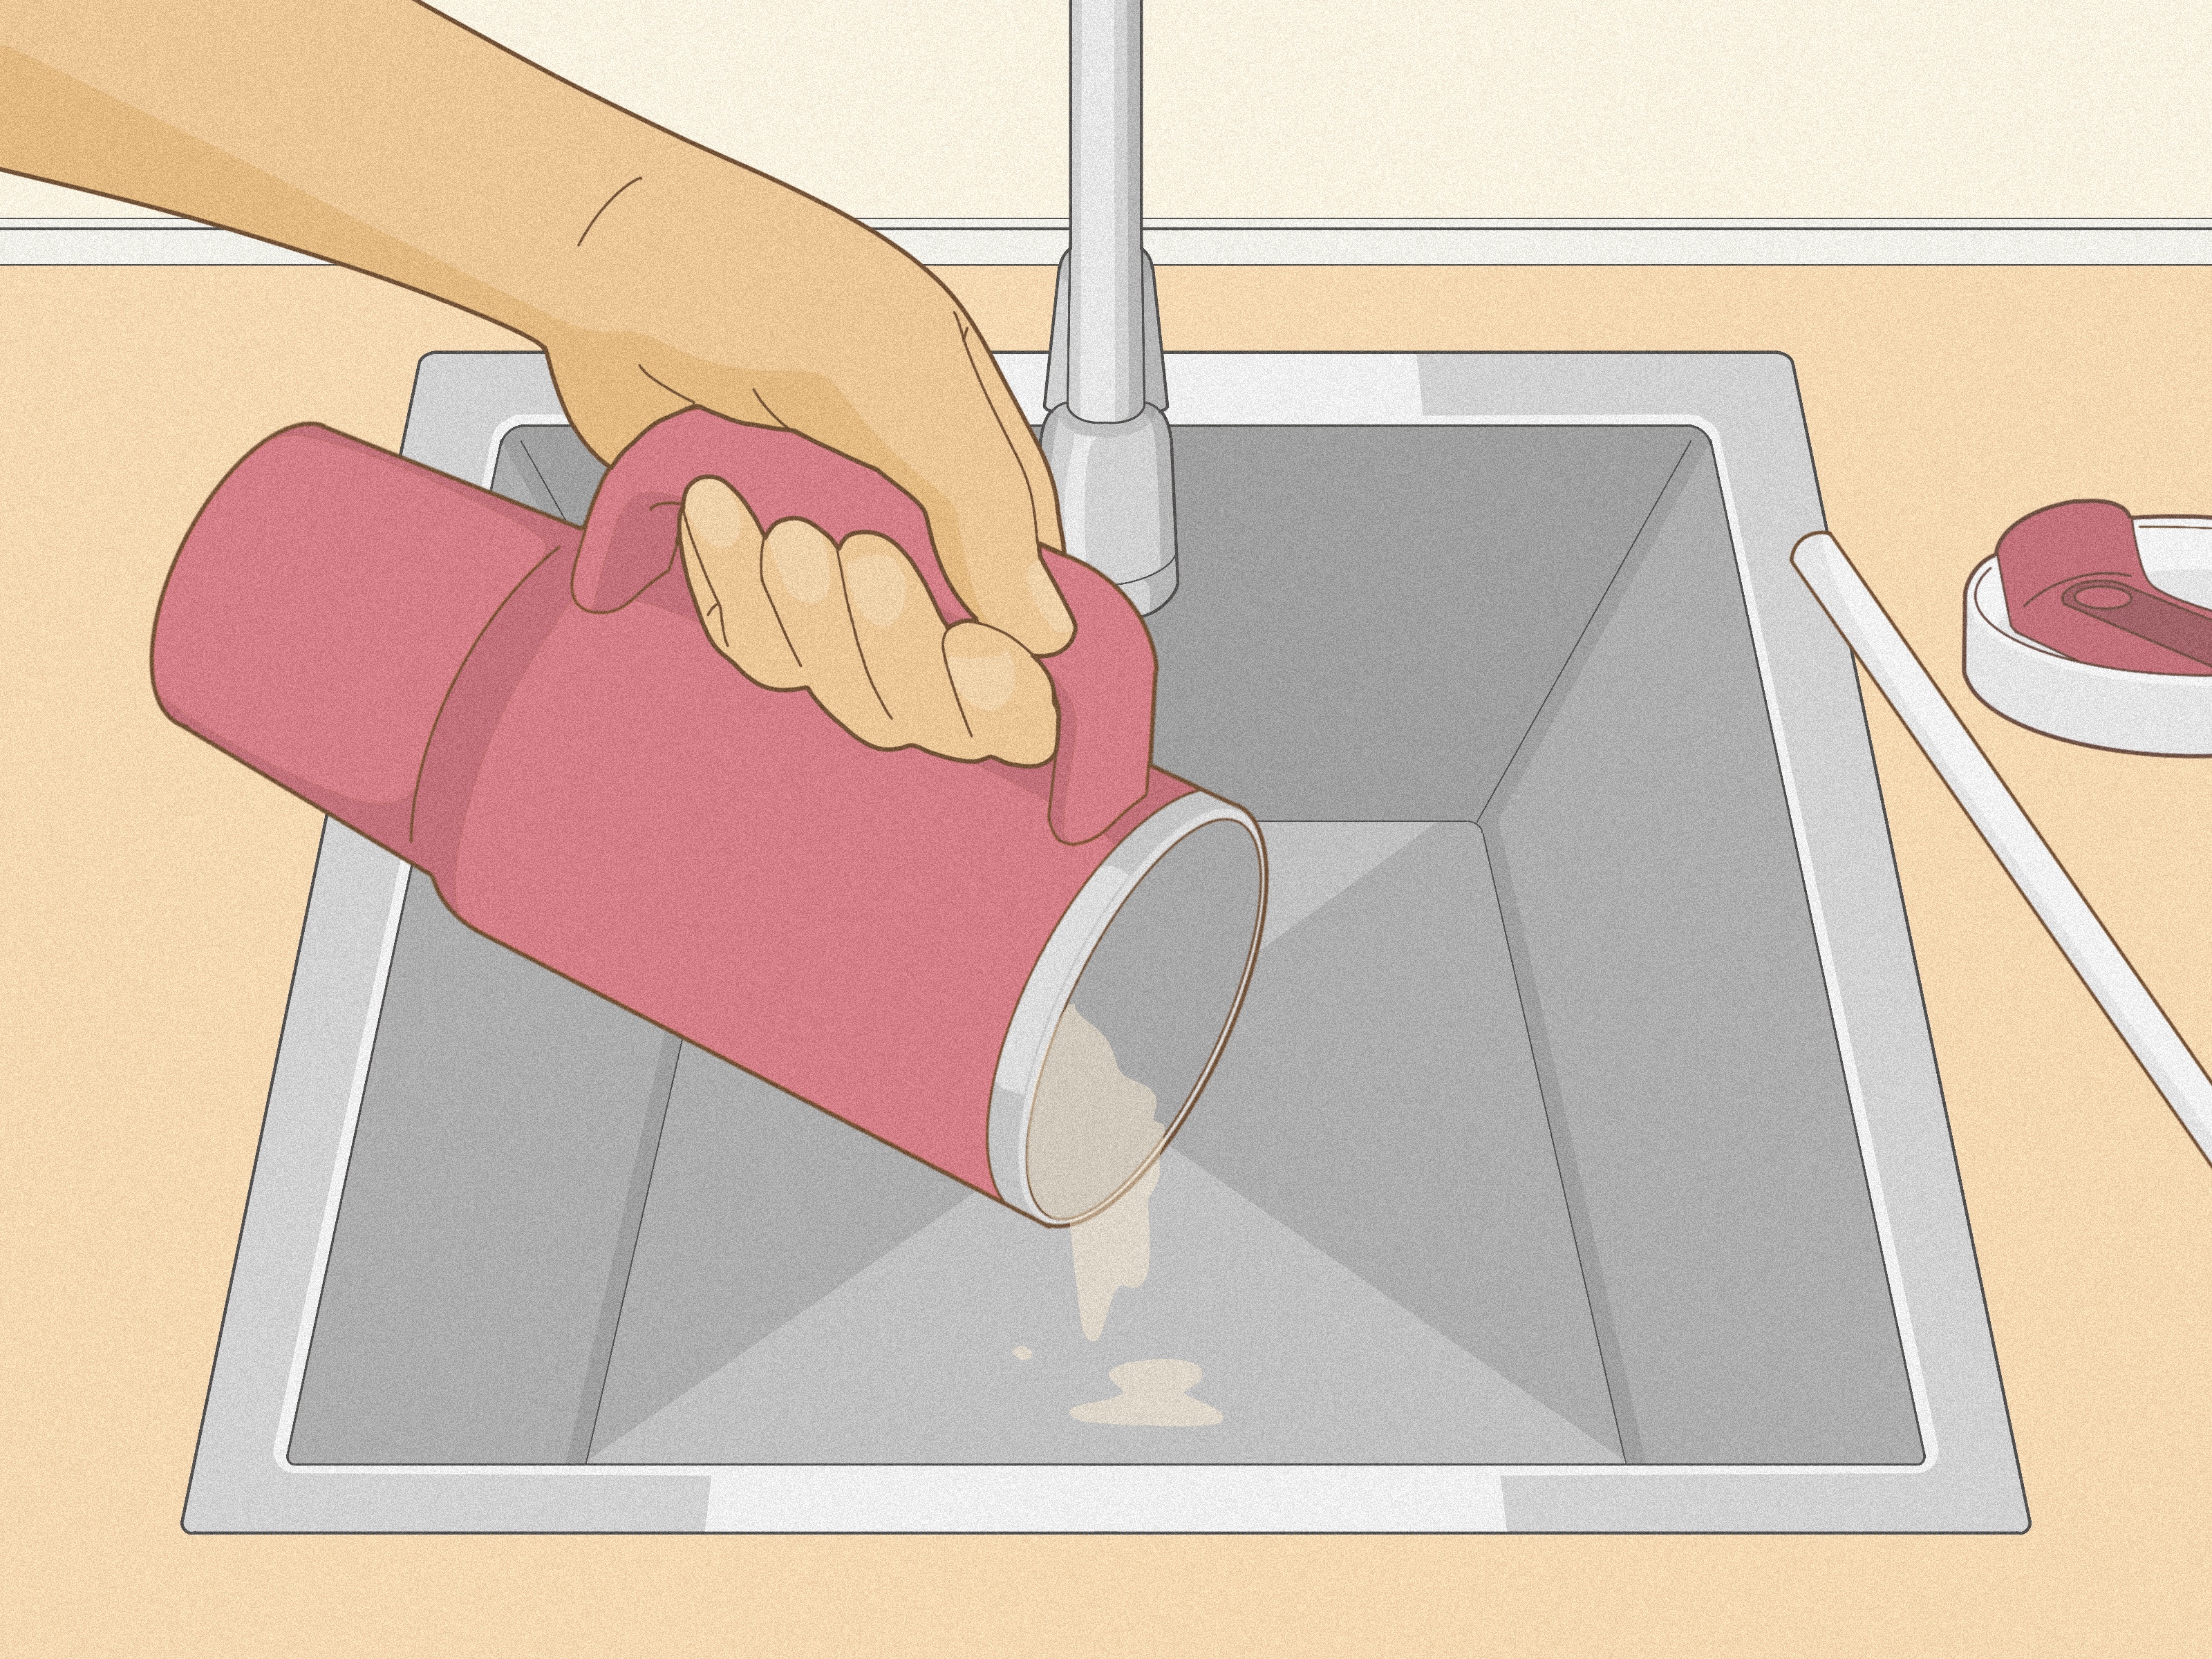
Step 1: Empty the Cup
Pour out any leftover liquid. Do not let old water, coffee, or flavored drinks sit overnight. Even plain water can collect bacteria from your mouth and hands after repeated sipping.
Step 2: Take Off the Lid and Remove the Straw
Separate the straw from the lid. If your Stanley lid has removable parts, take them apart according to the product instructions. The more pieces you separate, the better you can reach hidden grime.
Step 3: Rinse Everything with Warm Water
Rinse the tumbler, straw, and lid under running water. This removes loose residue before you start scrubbing. Do not simply fill the cup, swirl, and call it clean. That is a rinse, not a wash.
Step 4: Wash with Mild Dish Soap
Add a few drops of dish soap to the cup with warm water. Use a bottle brush to scrub the inside walls and bottom. Pay attention to the bottom edge, where residue can settle like it is paying rent.
Step 5: Scrub the Straw
Run a straw brush through the full length of the straw. Soap and water need physical scrubbing to remove residue. If you use cream, protein drinks, or sweet beverages, straw cleaning is not optional.
Step 6: Clean the Lid Carefully
Use a small brush to scrub around the mouth opening, slider, grooves, and underside of the lid. If the lid has a silicone gasket, clean around it. If the gasket is removable, remove it gently and wash both the gasket and the groove beneath it.
Step 7: Rinse Thoroughly
Rinse until no soap remains. Soap residue can affect taste and may leave a slippery feeling that makes you think the cup is still dirty.
Step 8: Air-Dry Completely
Place the tumbler upside down on a drying rack. Let the lid, straw, and gasket dry separately. Do not reassemble the cup while parts are damp. Mold loves trapped moisture, so drying is not a cute bonus step; it is part of cleaning.
How to Deep Clean a Stanley Cup
A deep clean is useful once a week, after sticky drinks, after illness, or whenever your cup smells off. Deep cleaning focuses on odor, stains, hidden buildup, and the small parts that daily washing may miss.
Deep Clean with Vinegar
White vinegar is helpful for odor and mineral buildup. Fill the tumbler with a mixture of warm water and white vinegar. A common approach is equal parts vinegar and water for a stronger odor-fighting soak, or a smaller amount of vinegar for light cleaning. Let it sit for 10 to 30 minutes, then scrub with a bottle brush and rinse very thoroughly.
For hard-to-reach Stanley products such as flasks and thermoses, Stanley recommends a method using uncooked rice and distilled white vinegar: add rice and vinegar, shake, let sit briefly, shake again, rinse, and leave open to dry. For a wide-mouth Stanley tumbler, a brush is usually easier, but the principle is the same: gentle friction plus a mild acidic cleaner helps loosen residue.
Deep Clean with Baking Soda
If the cup smells stale, add one or two tablespoons of baking soda to warm water inside the tumbler. Let it sit for 15 to 30 minutes, scrub, and rinse. Baking soda is useful for deodorizing, but it still needs scrubbing to remove biofilm and residue.
Deep Clean the Lid and Gasket
The lid deserves special attention because it has more hiding places than the body of the cup. Remove the straw. Remove the silicone seal if your model allows it. Soak the lid pieces in warm, soapy water for several minutes. Then scrub the grooves, sipping area, and underside with a small brush.
If you see dark spots under the gasket, do not ignore them. Remove the gasket carefully, clean the groove, wash the gasket on all sides, rinse well, and let it dry completely before putting it back.
Can You Put a Stanley Cup in the Dishwasher?
Many Stanley products are dishwasher safe, but you should always check the care instructions on your specific cup or the markings on the bottom. If your model is dishwasher safe, separate the cup, lid, straw, and removable parts before washing. Place small pieces in a utensil basket or mesh dishwasher bag so they do not fall into the dishwasher filter.
Even when the dishwasher is allowed, hand washing can be better for detailed cleaning. Dishwashers are convenient, but they may not fully scrub under a gasket or inside a narrow straw. Think of the dishwasher as a helpful teammate, not a mind reader.
How to Remove Mold from a Stanley Cup
If you find mold, stop drinking from the cup until it is cleaned. Visible mold, black specks, musty odor, slimy film, or strange taste are all signs that your Stanley cup needs immediate attention.
Mold Removal Steps
- Disassemble the cup completely, including straw, lid, and removable gasket.
- Rinse all parts with warm water.
- Wash with mild dish soap and scrub every surface.
- Use a straw brush inside the straw and a small brush in lid grooves.
- Soak parts in a vinegar and water solution for extra odor and mold control.
- Scrub again after soaking.
- Rinse thoroughly with hot water.
- Air-dry every part completely before reassembling.
If mold remains embedded in a damaged gasket, cracked lid, or scratched plastic part, consider replacing that part. Cracks and deep scratches are difficult to clean reliably, and they can keep collecting grime.
Common Stanley Cup Cleaning Mistakes
Only Rinsing with Water
A rinse is better than nothing, but it does not remove oils, residue, or biofilm effectively. Soap and scrubbing matter.
Forgetting the Straw
The straw may look clean from the outside while hiding buildup inside. Use a straw brush daily if you sip through it daily.
Leaving the Lid Assembled
The silicone gasket and lid grooves are prime hiding spots. If you never remove the gasket, you may never see the problem until it smells like a basement with ambition.
Reassembling While Wet
Drying is essential. If you snap the lid back together while moisture is trapped inside, mold prevention becomes much harder.
Using Harsh Chemicals
Bleach may be used in some food-safety settings for sanitizing surfaces, but Stanley specifically warns against bleach or chlorine on its products because harsh chemicals can damage sealing parts. For Stanley cups, stick with mild soap, warm water, vinegar, baking soda, and proper scrubbing unless the manufacturer says otherwise.
How to Prevent Mold and Bacteria in a Stanley Cup
Prevention is easier than rescue cleaning. Here are practical habits that keep your Stanley cup fresh.
Wash It Before First Use
New does not mean clean. Wash your Stanley cup, lid, and straw before the first sip.
Do Not Let Drinks Sit Overnight
Old drinks create odor and residue. Empty the cup at the end of the day, especially if it held anything sweet, creamy, or flavored.
Store It Open
When not in use, store the tumbler with the lid off so air can circulate. A closed, damp cup is basically a tiny greenhouse for bad smells.
Use Separate Brushes
Keep a bottle brush and straw brush near the sink. If the tools are easy to reach, you are more likely to use them.
Clean After Being Sick
If you used your Stanley cup while sick, deep clean it before using it again. Pay extra attention to the straw and mouthpiece.
Be Careful with Smoothies and Protein Drinks
Thick drinks cling to straws, lids, and corners. Wash immediately after use. Protein residue plus a warm car equals a smell you will remember for emotional reasons.
Experience-Based Tips: What Actually Works in Real Life
After using large insulated tumblers regularly, one lesson becomes clear: the cup does not usually get gross all at once. It happens quietly. One busy morning, you refill it without washing. One afternoon, you leave iced coffee in it while running errands. One evening, you rinse the straw but skip the lid because dinner is happening and life is loud. Then, a week later, the lid smells strange even though the cup looks clean. That is the moment many people discover that “looks clean” and “is clean” are not the same thing.
The most practical habit is to make Stanley cup cleaning part of your nightly kitchen reset. When plates go into the dishwasher and counters get wiped, empty the tumbler, remove the straw, pop off the lid, and wash the pieces. It feels annoying for the first few days, then it becomes automatic. The trick is not motivation; it is convenience. Keep a straw brush in a visible place. If the brush is buried in a drawer under takeout chopsticks and birthday candles, you will not use it.
Another real-world tip: clean the lid before it smells. Once odor settles into a silicone gasket, it can take several rounds of washing and vinegar soaking to fully remove. A five-minute lid cleaning every few days is much easier than trying to defeat a mystery smell that has developed a personality.
For people who use their Stanley cup for plain water, daily washing may feel excessive. But the straw still touches your mouth, the handle still touches your hands, and the lid still collects moisture. A quick daily wash with soap is a small price to pay for water that tastes like water, not yesterday’s errands.
If you use your Stanley cup for iced coffee, clean it sooner rather than later. Coffee oils cling to surfaces, cream can sour, and sugar can leave sticky residue. A cup that held iced vanilla latte at 8 a.m. should not still be wearing that latte at 8 p.m. Rinse it as soon as you finish, then wash it properly when you get home.
For gym use, be extra strict. Gym bags, car cup holders, locker rooms, and sweaty hands add more opportunities for bacteria to travel. Wash the outside of the cup too, especially the handle and bottom. People often focus only on the inside, but the outside touches plenty of questionable surfaces.
Parents should also treat kids’ tumblers with extra caution. Children may backwash, chew straws, drop lids, share cups, or leave drinks unfinished. A child’s Stanley-style cup should be taken apart and washed thoroughly every day. If the straw has bite marks or the lid has cracks, replace the part when possible.
The best experience-based advice is simple: never trust a closed lid to dry itself. After washing, leave the lid upside down, remove the straw, and keep the gasket separate until dry. Moisture trapped under silicone is one of the biggest reasons mold appears. Airflow is free, effective, and wildly underrated.
Finally, do not feel embarrassed if you find mold. It happens to careful people, busy people, clean people, and people who own too many water bottles because one was not enough for their personality. The fix is to clean thoroughly, adjust your routine, and stay consistent. Your Stanley cup is built to be used, but it is also built to be washed.
Conclusion
Cleaning a Stanley cup is not complicated, but it does require consistency. Wash it daily with warm water and mild dish soap, scrub the straw, take apart the lid, clean around the silicone gasket, and let every piece dry completely. For deep cleaning, use vinegar or baking soda, avoid harsh chemicals, and replace damaged parts that cannot be cleaned well.
The real secret to preventing mold and bacteria is not a magic cleaning hack. It is a routine. Treat your Stanley cup like a dish you drink from every day, because that is exactly what it is. Clean it well, dry it fully, and your favorite tumbler can keep doing its job: making hydration feel slightly more stylish than drinking from a boring glass.