Building your first PC can feel like volunteering to assemble a spaceship with a screwdriver and blind optimism. The good news? It is not nearly as scary as it looks. Modern PC building is more like adult LEGO with more expensive consequences and fewer mysterious extra pieces. If you can follow instructions, stay organized, and resist the urge to force a cable into a port it clearly hates, you can absolutely do this.
This beginner-friendly guide walks you through how to build a PC step by step, from choosing compatible parts to installing Windows and drivers. Whether you are building a gaming PC, a school-and-work machine, or a do-it-all desktop, the process is mostly the same. The secret is not magic. It is preparation, patience, and reading the motherboard manual like it owes you money.
Why Build a PC Instead of Buying One?
A custom PC gives you more control over performance, cooling, storage, noise, looks, and upgrade options. You decide where to spend your budget. Want a stronger graphics card for gaming? Great. Need more storage for video editing? Easy. Prefer a case that does not look like it is trying to launch itself into orbit? Also valid.
Another big advantage is upgradability. When you build your own computer, you learn what every part does and where it lives. That makes future upgrades far less intimidating. Today it is “How do I build a PC?” Tomorrow it is “I fear nothing, and I just installed a new NVMe SSD before breakfast.”
What Parts Do You Need to Build a PC?
Before you touch a screwdriver, make sure your parts list makes sense. A basic desktop PC build usually includes:
Core Components
CPU, motherboard, CPU cooler, RAM, storage, power supply, case, and either a graphics card or a processor with integrated graphics. You will also need an operating system, usually Windows 11, plus a monitor, keyboard, and mouse.
Do Not Ignore Compatibility
This is where first-time builders either become heroes or accidentally order a motherboard and CPU that cannot even make eye contact. Your CPU must match the motherboard socket and chipset. Your case must fit your motherboard size and your graphics card length. Your power supply must provide enough wattage and the right power connectors. Your RAM must be the right generation for the board, and your cooler must support your CPU socket.
Compatibility tools can save you from expensive drama. Build planners from sites like PCPartPicker, Corsair, and Micro Center are useful for catching obvious issues before you buy. They are not a replacement for reading specifications, but they are excellent training wheels.
Tools and Supplies You Should Have Ready
You do not need a laboratory. You need a clean, well-lit workspace and a little common sense.
- A Phillips-head screwdriver
- Your motherboard manual
- Small containers for screws
- Thermal paste if your cooler does not include it
- A USB drive for Windows installation media
- Zip ties or Velcro straps for cable management
Try to build on a hard surface instead of carpet. Before handling parts, touch an unpainted metal surface on the case to reduce static risk. That tiny step is boring, but boring is often what keeps expensive parts alive.
How to Build a PC Step by Step
Step 1: Prepare Your Case and Workspace
Open the case, remove both side panels, and set aside the accessory box full of screws and brackets. Check whether the motherboard standoffs are already installed in the correct positions for your motherboard size. If they are wrong, fix them now. This matters because a misplaced standoff can cause the kind of problem that inspires new vocabulary.
Step 2: Install the CPU on the Motherboard
Place the motherboard on its box or another nonconductive surface. Open the CPU socket, line up the alignment marker on the processor, and gently place it into the socket. Gently means gently. If it does not drop into place, it is not aligned. Do not push. Do not bargain with it. Do not “just see if it fits.” Close the retention mechanism once it is seated properly.
Step 3: Install the CPU Cooler
Some coolers come with thermal paste pre-applied. If yours does not, add a small pea-sized amount to the center of the CPU. Then install the cooler according to the manufacturer’s instructions. Air coolers are common and beginner-friendly, while all-in-one liquid coolers take a bit more planning for radiator placement and tubing clearance.
Connect the cooler fan to the correct CPU fan header on the motherboard. Miss this step, and your brand-new PC may boot straight into a panic attack.
Step 4: Install the RAM
Open the RAM slot latches, line up the notch in the memory stick, and press straight down until it clicks into place. If you are using two sticks of memory on a board with four slots, the motherboard manual will usually tell you to use the recommended paired slots, often A2 and B2. This is one of those tiny details that has an annoying habit of affecting performance and stability.
Step 5: Install the M.2 SSD
If you are using an M.2 NVMe SSD, install it now while the motherboard is still outside the case. Remove the heatsink or retaining screw if needed, slide the drive into the M.2 slot at an angle, then secure it. Easy. Tiny. Slightly nerve-racking. Very normal.
Step 6: Put the Motherboard in the Case
If your motherboard does not have a preattached I/O shield, install that in the case first. Then lower the motherboard into the case, aligning the rear ports with the I/O opening and the board with the standoffs. Screw it down evenly, but do not overtighten. You are securing a motherboard, not sealing a submarine hatch.
Step 7: Install the Power Supply
Mount the power supply in the case, usually at the bottom rear. If the case has a vent and dust filter underneath, position the PSU fan downward so it can pull in cool air. Modular power supplies make life easier because you only connect the cables you need.
At minimum, route the 24-pin motherboard power cable and the CPU power cable. Depending on your build, you will also need PCIe or 12V-2×6/12VHPWR-style GPU power connections, SATA power, and possibly extra fan or controller power cables.
Step 8: Install SATA Drives, Case Fans, and Front-Panel Cables
If you have 2.5-inch or 3.5-inch SATA drives, mount them now and connect both SATA data and SATA power. Install any extra case fans and connect them to the proper fan headers or hub.
Then comes the famous front-panel connector stage, also known as “Why are these wires so tiny?” Connect the power switch, reset switch, power LED, USB headers, front audio, and any other case cables using the motherboard manual. This is normal. Everyone squints here.
Step 9: Install the Graphics Card
Remove the correct expansion slot covers from the back of the case. Insert the graphics card into the primary PCIe x16 slot on the motherboard until it clicks, then screw it into the case. Connect the required power cable from the PSU.
Before buying your GPU, always check clearance. Some modern cards are enormous. “Will it fit?” is not a philosophical question. It is a very practical one.
Step 10: Double-Check Everything
Before powering on, inspect your build carefully.
- CPU cooler firmly mounted
- RAM fully seated
- Motherboard power connected
- CPU power connected
- GPU fully seated and powered
- Front-panel connectors attached
- Storage connected
- No loose screws inside the case
This is the part where patience saves the day. Most “my new PC will not turn on” problems are caused by one missed cable, one slightly unseated RAM stick, or one front-panel connector that wandered into the wrong pins like a tourist with no map.
First Boot: What to Do When the PC Powers On
Connect your monitor to the graphics card if you installed one. Then power on the PC. If all goes well, the system should post and take you into the BIOS or UEFI firmware screen. If it does not, do not panic. Reseat the RAM, verify the CPU power cable, recheck the monitor connection, and confirm that the power supply switch is on. Yes, that switch gets everybody eventually.
Enter BIOS or UEFI
In BIOS, confirm that your CPU, RAM, and storage are detected. Check temperatures to make sure the cooler is working properly. Then set your memory profile if you want the RAM to run at its rated speed. On Intel systems, this is usually XMP. On AMD systems, this may be EXPO. Save settings and reboot.
Also set the boot order so your USB installer runs first when you are ready to install Windows.
Install Windows and Essential Drivers
Windows 11 remains the standard choice for most new builds. Microsoft’s minimum requirements include a compatible 64-bit processor with at least two cores, 4GB of RAM, 64GB of storage, and UEFI firmware with Secure Boot capability. For a brand-new custom PC, create installation media on a USB drive using Microsoft’s official tool, then boot from that USB and follow the installer prompts.
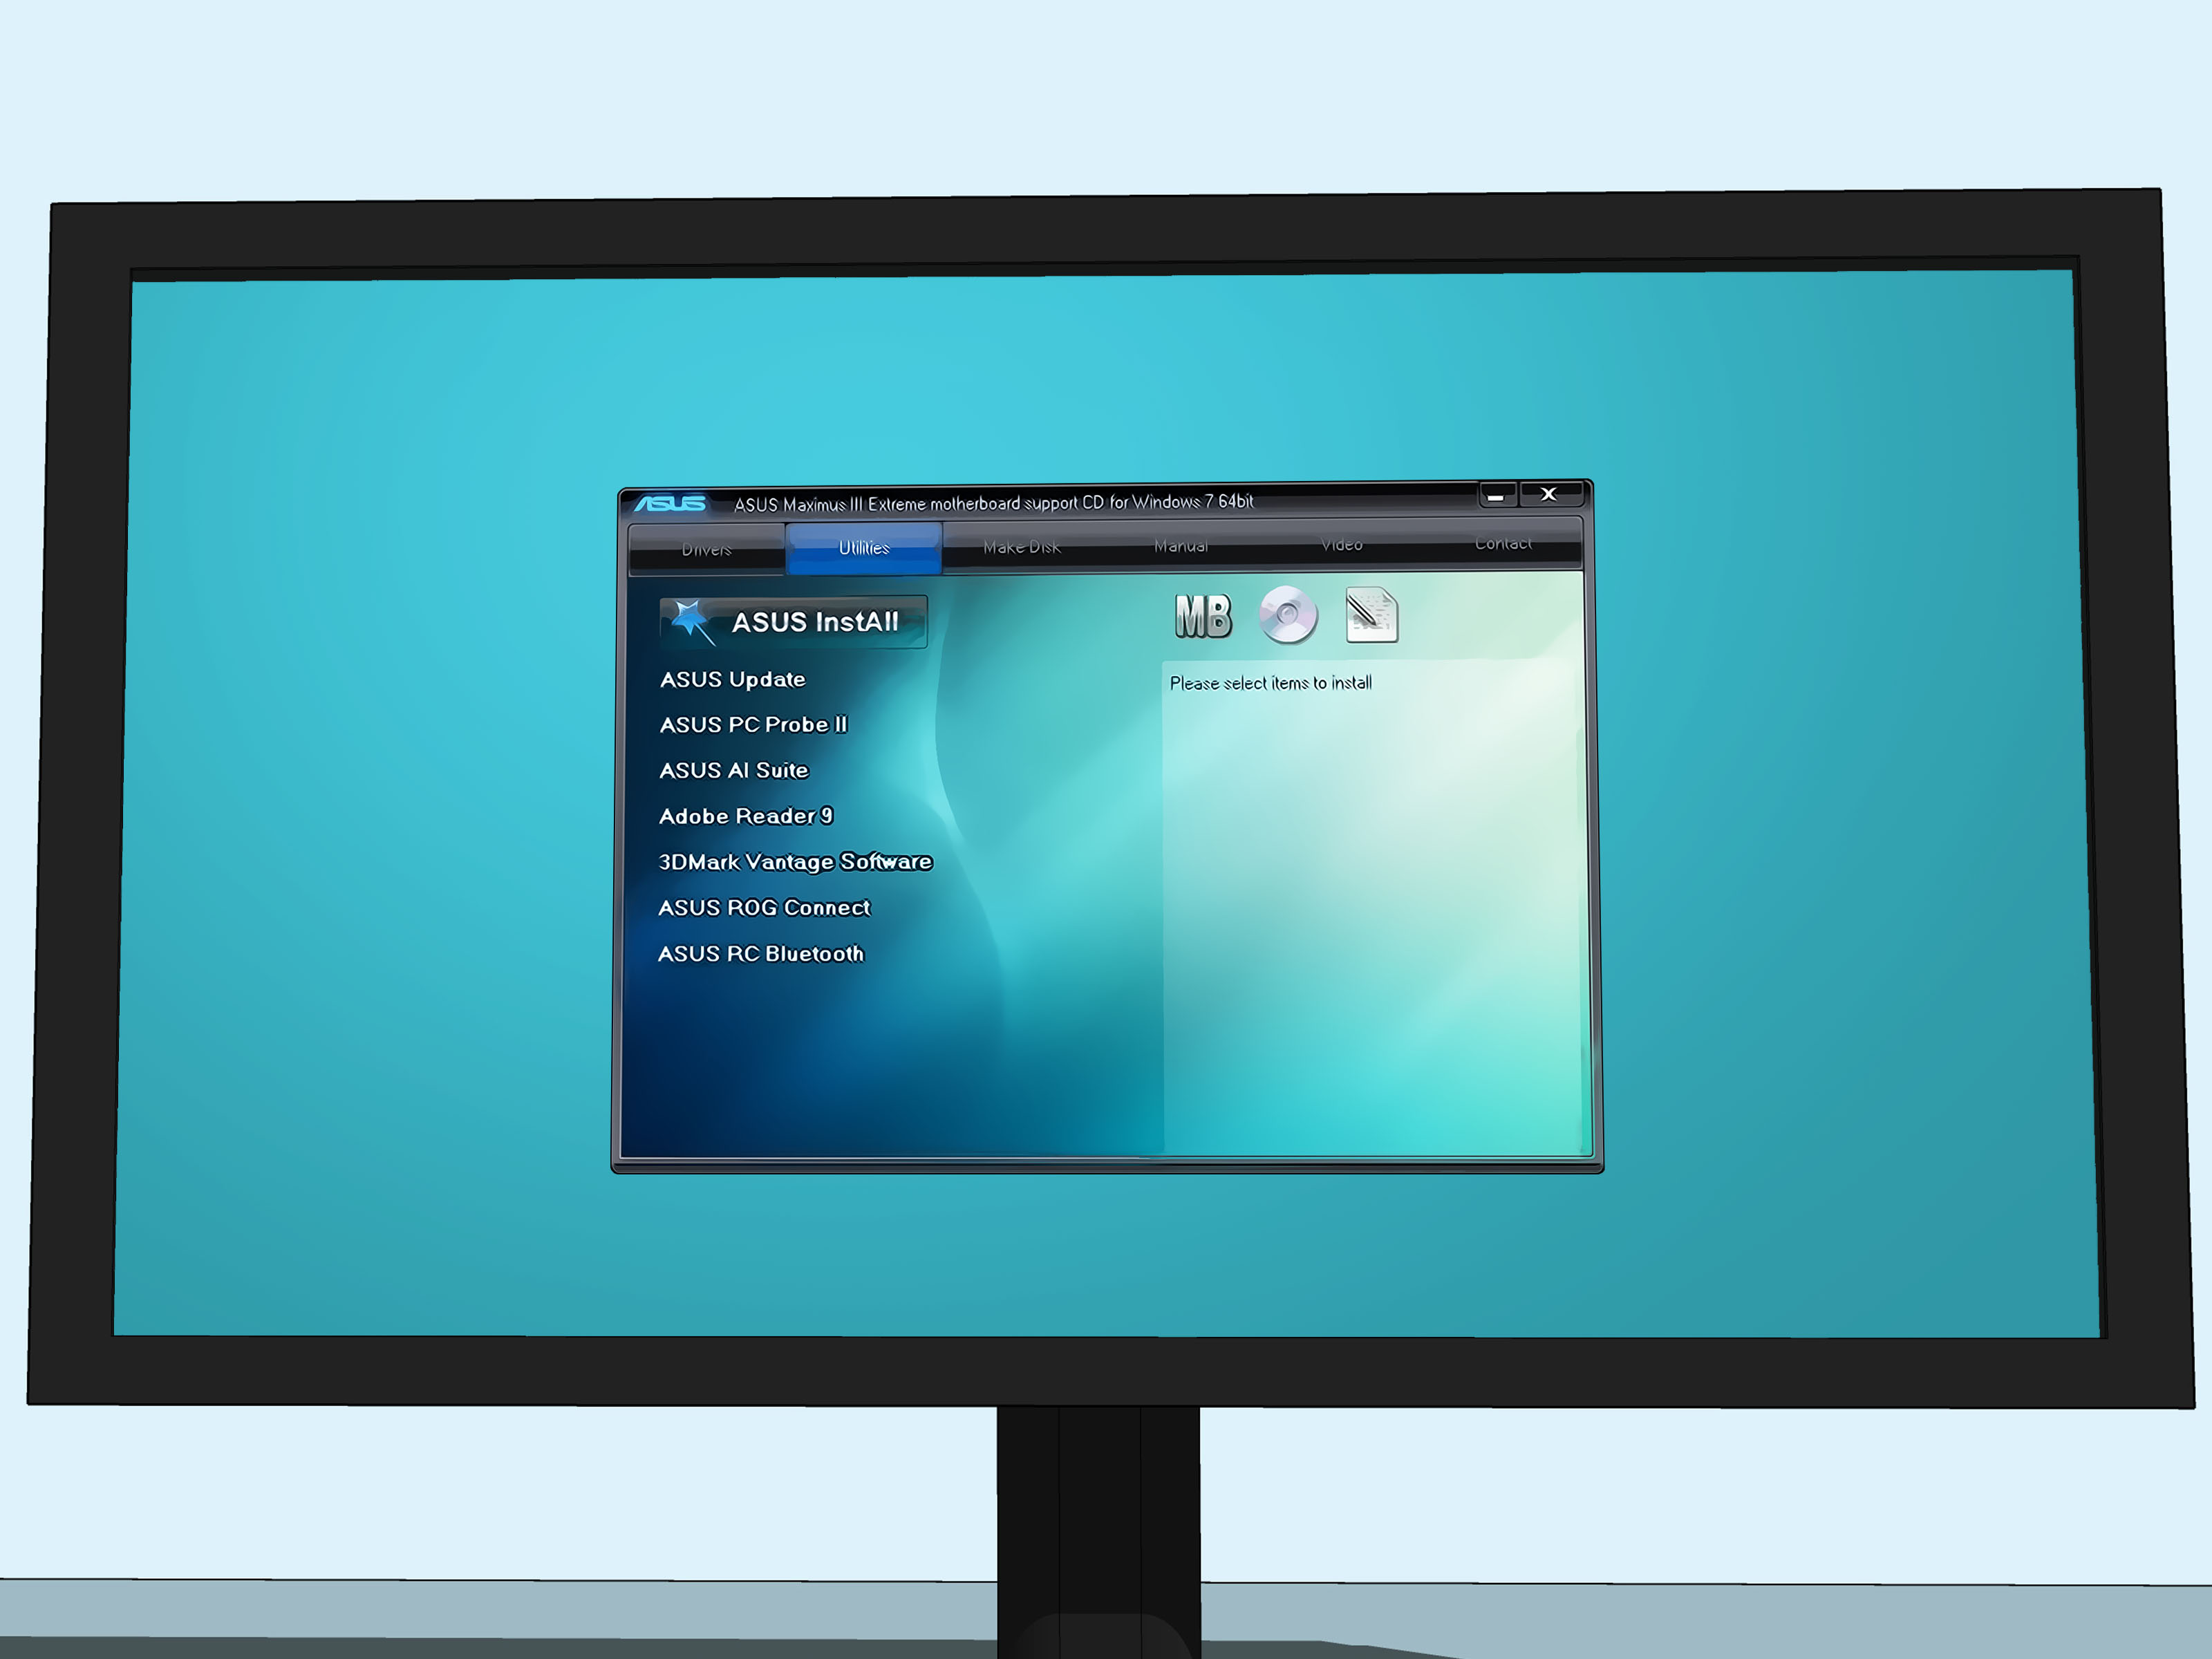
After Windows installs, do not stop there. Install your motherboard drivers, GPU drivers, Wi-Fi or Ethernet drivers if needed, and run Windows Update. A fresh build without updated drivers is like buying a sports car and forgetting the tires.
Common Beginner PC Building Mistakes to Avoid
Skipping the Motherboard Manual
Every motherboard is a little different. Fan headers, RAM slot priority, M.2 lane sharing, BIOS features, and front-panel pin layouts all vary. The manual is not optional. It is your side quest map and your escape plan.
Choosing a Weak Power Supply
Do not cheap out on the PSU. Buy a reputable unit with enough wattage for your current build and some room for future upgrades. A bargain-bin power supply is a bold choice in the same way juggling chainsaws is a bold hobby.
Ignoring Airflow
A nice-looking case still needs decent airflow. Make sure you have a sensible fan setup, especially if you are using a powerful CPU or GPU. Heat is the enemy of stability, performance, and quiet operation.
Forgetting About Future Upgrades
Think ahead. Maybe you do not need 4TB of storage or a monster GPU today, but a roomy case, a solid PSU, and an upgrade-friendly motherboard can make your next improvement much easier.
What the First Build Experience Really Feels Like
The funny thing about a first PC build is that it rarely feels smooth in the moment, even when it is going perfectly. At the start, you are excited. You lay out the parts, admire the motherboard, and think, “This is going to be awesome.” Twenty minutes later, you are staring at a front-panel connector diagram that looks like it was designed by a puzzle-loving goblin. Welcome. You are officially building a PC.
Most beginners go through the same emotional sequence. First comes confidence. Then confusion. Then mild suspicion that the RAM is somehow judging you. Then, after a little trial and error, things begin to click. Literally. One of the best moments is seating a RAM stick correctly for the first time. It takes more pressure than people expect, and when it snaps into place, you suddenly feel like you have been accepted into a secret club.
Another common experience is second-guessing every step. Did I add enough thermal paste? Did I add too much? Is the cooler tight enough? Is that cable supposed to bend like that? This is completely normal. Building a PC teaches you that care is good, but overthinking can make simple steps feel much scarier than they are. If you follow the manuals and stay methodical, most problems are solvable.
Then comes cable management, the stage where optimism meets physics. At first, you think, “I will make this look clean and elegant.” Ten minutes later, you are gently persuading one stubborn cable bundle to sit behind the motherboard tray while pretending you are still in control. The truth is, your first build does not need showroom-level cable routing. It just needs safe airflow, secure connections, and a side panel that closes without requiring a wrestling referee.
The biggest emotional moment is the first boot. You press the power button and hold your breath like the PC can smell fear. If the fans spin and the screen lights up, you feel like a wizard. If nothing happens, you feel like a raccoon who somehow got access to premium computer parts. But even failed first boots are part of the experience. Many new builders discover that troubleshooting is not a sign they failed. It is a normal part of the build process. A loose RAM stick, a missed CPU power cable, or the monitor being plugged into the wrong port can all cause startup issues, and none of them mean you are bad at this.
What beginners usually remember most is not the stress. It is the payoff. Once the system is running, the whole machine feels different because you built it. Every upgrade later feels easier. Every fan sound makes more sense. Every benchmark, game launch, school project, or editing session feels a little more satisfying because you know what is inside the case and how it got there. A first PC build is not just a way to get a computer. It is a crash course in patience, problem-solving, and the deeply satisfying art of turning a pile of parts into something useful. Also, it gives you forever bragging rights, which is clearly the most important spec of all.
Final Thoughts
Learning how to build a PC for beginners is not about memorizing every connector on Earth. It is about understanding the flow: choose compatible parts, install the core components carefully, double-check connections, boot into BIOS, install Windows, and finish with drivers and updates. Once you do it once, the mystery fades fast.
So take your time, keep the manuals close, and remember this golden rule of PC building: if something seems like it needs a heroic amount of force, it probably does not. Build smart, stay patient, and enjoy the moment your machine powers on and proves you can, in fact, build your own computer.