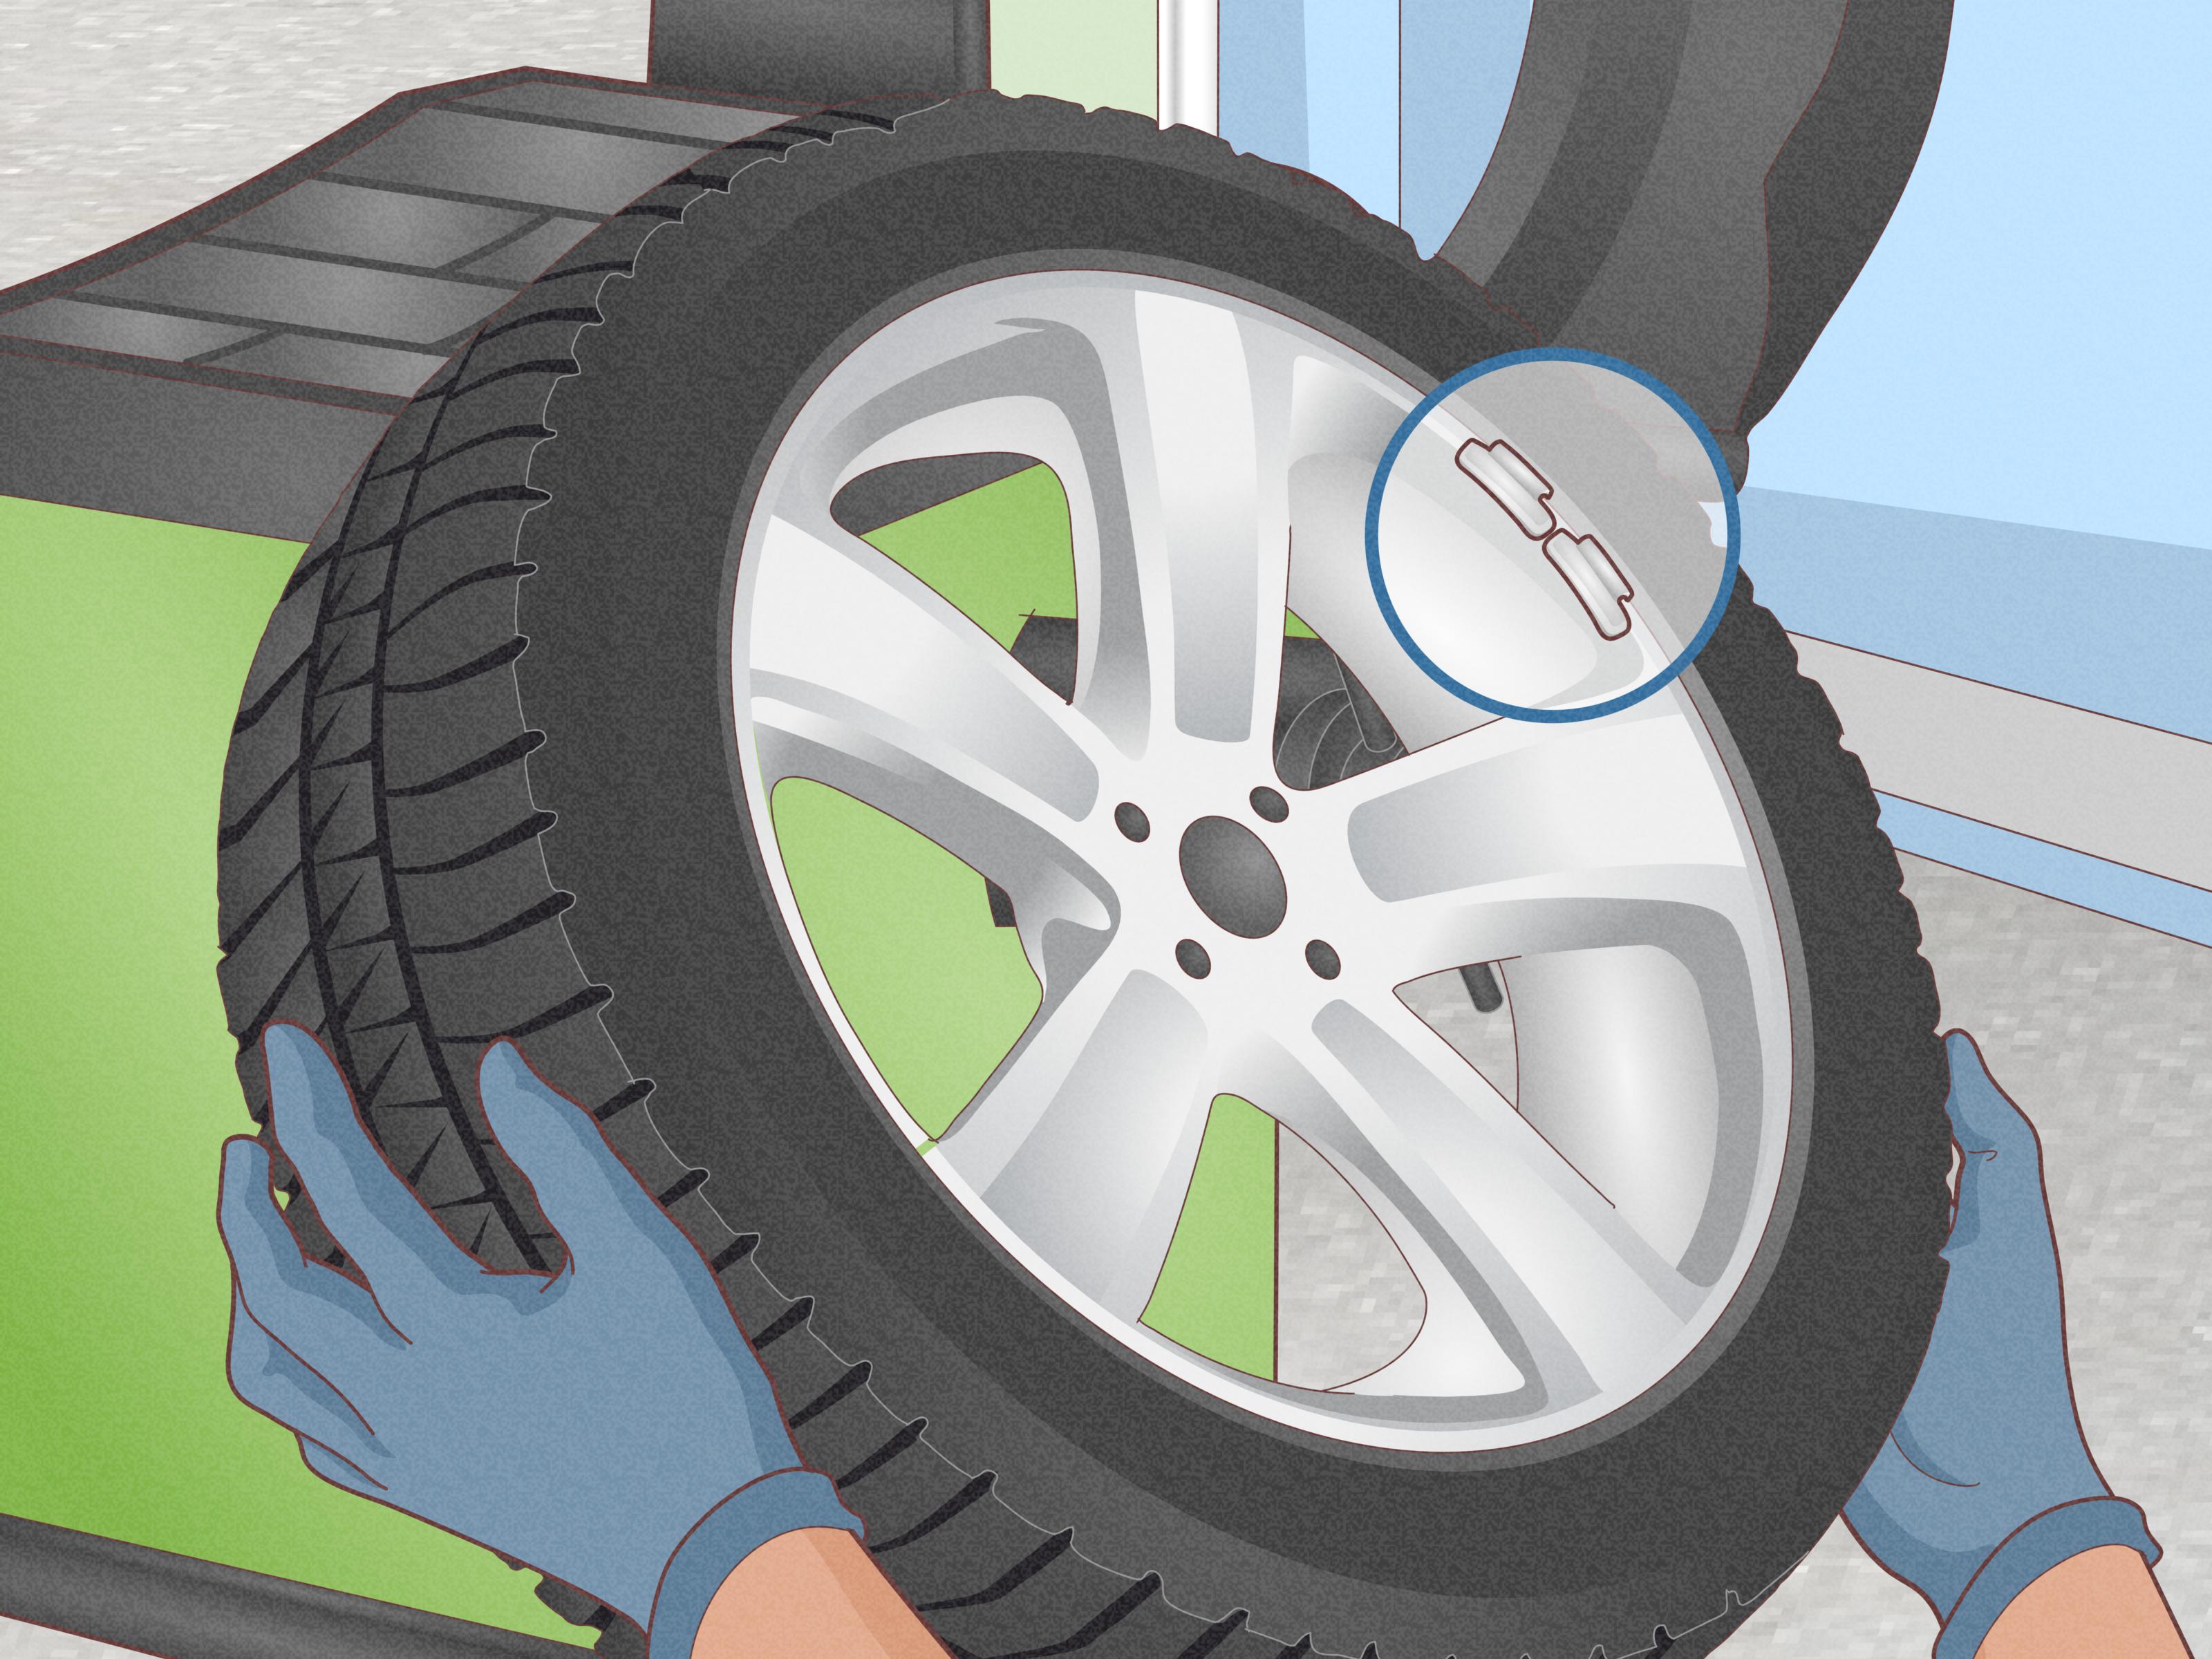
If your steering wheel starts shimmying like it drank two cold brews and a double espresso, your tires may be out of balance. It is one of those sneaky car problems that starts small, then slowly turns every drive into an audition for “Most Annoying Vibration of the Year.” The good news: in some cases, you can balance your tires at home. The less-fun news: not every wheel problem is a simple DIY fix, and sometimes your car is trying to tell you, politely but firmly, to visit a shop.
This guide walks you through how to balance your tires at home, what tools you need, when DIY makes sense, and when to wave the white flag and let a professional balancer take over. You will also learn the difference between tire balancing, wheel alignment, and tire rotation, because those three services get mixed up more often than socks in a college dorm laundry room.
What Tire Balancing Actually Means
Tire balancing is the process of making sure the weight of the tire-and-wheel assembly is distributed as evenly as possible. Even a tiny heavy spot can cause a noticeable vibration once the wheel starts spinning at speed. That vibration may show up in the steering wheel, the seat, the floor, or all three if your car is feeling dramatic.
When a wheel is balanced correctly, it spins smoothly instead of wobbling, hopping, or sending tiny shockwaves through the suspension. That matters for comfort, of course, but also for tire wear. A tire that is out of balance can wear unevenly, shorten tread life, and create extra stress on suspension parts over time. In plain English: bad balance can make your car feel worse now and cost you more later.
Can You Really Balance Tires at Home?
Yes, but with an important asterisk the size of a spare tire.
You can do a basic static balance at home if you have the right tool, patience, and enough common sense to stop before turning a simple garage project into an interpretive dance with a floor jack. Home balancing is most realistic when you are working with a wheel that is already mounted and you are using a bubble balancer or similar manual balancing stand.
DIY balancing makes sense when:
- You have a dedicated wheel balancer or bubble balancer.
- You are comfortable removing and reinstalling wheels safely.
- You are trying to correct a mild balance issue on a wheel that is otherwise in good condition.
- You want to fine-tune a wheel after a tire change on a simple setup.
DIY balancing is probably not the best move when:
- You suspect a bent rim, damaged tire, or separated belt.
- The vibration is severe, sudden, or appears after hitting a pothole.
- You are dealing with large wheels, low-profile tires, or performance vehicles that are extra sensitive to imbalance.
- You need dynamic balancing or road-force balancing, which usually requires professional equipment.
That distinction matters. A home balancer can help with a straightforward static imbalance, but it cannot diagnose every wheel-and-tire issue. Sometimes the problem is not balance alone. It could be alignment, incorrect tire pressure, a worn suspension part, a bent wheel, or a tire that is physically out of round.
Signs Your Tires May Need Balancing
Before you grab tools, make sure balance is actually the likely problem. Common clues include:
- Vibration in the steering wheel, especially as speed increases.
- Vibration in the seat or floor at cruising speeds.
- Uneven or choppy tread wear.
- A wheel weight that is visibly missing.
- A shake that started after installing new tires or hitting a road hazard.
If the car pulls to one side, the steering wheel is off-center, or the tire wear is heavily concentrated on one edge, that sounds more like an alignment issue than a pure balancing problem. If the wheel visibly wobbles or the tire has a bulge, stop right there. That is not a “watch one more tutorial and wing it” situation.
Tools and Supplies You Will Need
- Bubble balancer or portable wheel balancer
- Jack and jack stands
- Wheel chocks
- Lug wrench or breaker bar
- Torque wrench
- Adhesive wheel weights or clip-on weights that match your wheel type
- Weight removal tool or plastic scraper
- Cleaner and shop towels
- Tire pressure gauge
- Gloves and eye protection
One note that saves headaches: always use the tire pressure listed on your vehicle’s door placard or in the owner’s manual, not the maximum pressure molded into the tire sidewall. And when you reinstall the wheel, torque the lug nuts to the vehicle’s specified setting. “Pretty tight” is not a torque spec. It is a future problem in disguise.
How to Balance Your Tires at Home: Step-by-Step
1. Park safely and prep the vehicle
Park on a level surface. Set the parking brake. Chock the wheels that will stay on the ground. Break the lug nuts loose slightly before lifting the vehicle. Then raise the vehicle at the proper jack point and support it securely with jack stands. Never work under or around a vehicle supported only by a jack.
2. Remove the wheel and inspect it first
Take the wheel off and give it a careful inspection. Look for obvious damage, bulges, cracks, missing weights, or uneven tread wear. Check for stuck debris in the tread and mud packed inside the wheel barrel. Sometimes the “balancing problem” is a chunk of road grime acting like a tiny saboteur.
Also verify tire pressure before you go farther. Incorrect pressure can mimic or worsen vibration symptoms. If the tire is directional, confirm the rotation arrow. If it is asymmetric, make sure the outside sidewall is facing outward. An improperly installed tire can make diagnosis messy fast.
3. Remove old weights if you are starting from scratch
If you are rebalancing a wheel, remove the existing weights so you are not stacking new corrections on top of old guesses. Clean the wheel where new adhesive weights will go. Dirt, brake dust, and greasy residue are the enemies of accurate balancing and of weights staying put long enough to avoid embarrassing you in a parking lot.
4. Mount the wheel on the balancer
Set the wheel on the bubble balancer according to the tool’s instructions. The balancer must itself be level and stable. This part is boring, which is exactly why it matters. If your tool is not level, every result after that will be confidently wrong.
Let the wheel settle naturally. On a typical manual balancer, the heavy side will pull downward. Your job is to add weight opposite that heavy spot until the wheel sits evenly and the indicator shows a centered balance.
5. Add weight in small increments
Start with a small amount of weight, usually in quarter-ounce or similar increments depending on the weights you have. Place the weight opposite the heavy side. Then rotate the wheel slightly and let it settle again. If it still drops to the same position, add a little more weight. If it overshoots, remove some and try again.
This is not a race. It is more like seasoning soup. Add too much at once and suddenly you are spending twenty minutes undoing your own confidence.
6. Recheck from different positions
Once the indicator looks centered, rotate the wheel to several different positions and confirm it no longer wants to settle in one particular spot. A properly balanced wheel should remain neutral instead of dramatically choosing one favorite low point over and over again.
7. Reinstall the wheel correctly
Mount the wheel back on the hub and hand-thread the lug nuts first. Tighten them in a star pattern so the wheel seats evenly. Lower the vehicle and torque the lug nuts to the exact specification in the owner’s manual. Then set tire pressure to the vehicle placard specification.
8. Test drive and evaluate honestly
Take a careful test drive on a smooth road. If the vibration is gone or noticeably improved, you probably corrected the issue. If the shake remains, changes location, or gets worse at certain speeds, the wheel may need professional dynamic balancing, road-force balancing, or inspection for damage.
Common DIY Tire Balancing Mistakes
Ignoring the real cause
Not every vibration is a balancing issue. Bent wheels, worn bearings, damaged tires, warped brake rotors, and suspension problems can all create similar symptoms. If balancing does not help, stop guessing and inspect further.
Using the wrong pressure
Running tire pressure too high or too low changes how the tire behaves and can muddy your diagnosis. Use the vehicle placard recommendation, not whatever number looked exciting on the tire sidewall.
Skipping torque specs
Uneven or over-tightened lug nuts can create problems of their own. Always tighten in a star pattern and use a torque wrench. This is one of those “adulting is annoying, but necessary” moments.
Balancing a damaged wheel
If the rim is bent or the tire is out of round, adding weights may only mask the problem temporarily. A wheel can be balanced and still not roll smoothly if the assembly itself is damaged or distorted.
Expecting home balancing to match a road-force machine
Static balancing at home can be effective, but it is not identical to what a modern shop balancer can do. Professional machines can detect both static and dynamic imbalance, and road-force systems can identify force variation that a simple home setup cannot.
Tire Balancing vs. Alignment vs. Rotation
These are related, but they are not the same thing.
Tire balancing
Corrects uneven weight distribution in the wheel-and-tire assembly.
Wheel alignment
Adjusts the wheel angles so the vehicle tracks properly and the tires wear evenly.
Tire rotation
Moves tires from one position to another to even out wear over time.
A balanced tire can still be misaligned. An aligned car can still have an unbalanced wheel. And rotating tires without paying attention to pressure, balance, and wear patterns is like brushing your teeth while eating caramel. Nice effort, incomplete result.
When to Stop DIY and Go to a Shop
Home tire balancing is best for light correction and confident DIYers. A professional shop is the smarter choice when:
- The tire vibrates after you balanced it carefully.
- You notice cupping, bulges, sidewall damage, or unusual wear.
- A wheel appears bent.
- The vehicle still shakes after checking pressure and torque.
- You just mounted new tires and want the most precise result possible.
Professional balancing is usually faster, more precise, and better at catching hidden issues. There is no shame in handing the job over when the tool or the diagnosis goes beyond garage-level equipment. That is not defeat. That is wisdom with a socket set.
Final Thoughts
If you want a smoother ride, better tire wear, and fewer mysterious highway shimmies, learning how to balance your tires at home can be a useful DIY skill. For basic static imbalance, a home balancing setup can absolutely help. The key is to work carefully, prioritize safety, use the right pressure and torque specs, and know the difference between a simple imbalance and a bigger wheel or tire problem.
Done right, home tire balancing can save time, sharpen your maintenance skills, and help you catch issues before they become expensive. Done recklessly, it can turn into a very educational afternoon in the worst possible way. So take your time, trust the process, and let the bubble tell the truth.
Real-World DIY Tire Balancing Experiences
One of the most common first-time experiences with DIY tire balancing is realizing the job looks deceptively simple. You remove the wheel, set it on the balancer, and expect the answer to reveal itself like magic. Instead, the wheel drifts, settles, hesitates, and makes you question whether physics has a personal issue with you. That learning curve is normal. Most people discover that balancing is less about brute force and more about patience, consistency, and tiny adjustments.
Another common experience is finding out that the vibration you swore was a tire-balance issue was actually something else wearing a fake mustache. DIYers often report that after balancing one wheel, the car improves only slightly. That partial improvement can be useful. It tells you the imbalance was real, but maybe not the only problem. In many cases, the next discovery is low tire pressure, a slightly bent wheel, uneven lug torque, or a tire with irregular wear. In that sense, balancing at home becomes a diagnostic exercise as much as a repair.
People who enjoy hands-on maintenance also tend to mention how satisfying the process becomes once they slow down. The first few weight adjustments can feel random. Then suddenly a pattern emerges. You add a little weight, rotate the wheel, watch it settle, make a correction, and the wheel starts behaving neutrally. That moment is oddly rewarding. It is not flashy. No sparks, no engine roar, no dramatic movie soundtrack. Just a wheel that finally stops acting like it wants to roll downhill in every direction at once.
There is also a very relatable garage lesson that comes up again and again: cleaning matters more than expected. Adhesive weights do not like dirty wheels. Old brake dust, road film, and leftover adhesive turn a careful balancing job into a temporary one. Many DIYers learn this the hard way when a weight disappears after a short drive and the original vibration returns, now with a hint of personal insult. A few extra minutes spent cleaning the mounting surface usually saves a lot of repetition.
Another shared experience is discovering how sensitive modern vehicles can be. On older cars or simple trailer wheels, a basic static balance can make a dramatic difference right away. On newer vehicles with larger wheels, stiffer suspensions, and lower-profile tires, the margin for error feels much smaller. A setup that is “close enough” in the garage may still produce a noticeable tremor on the highway. That is why many experienced DIYers become practical rather than stubborn. They are happy to do basic balancing at home, but they also know when to book a professional dynamic or road-force balance and move on with life.
Perhaps the most useful experience of all is the confidence that comes from understanding the system better. Even when a DIYer ultimately goes to a tire shop, they go in smarter. They can describe the symptoms clearly, mention whether the shake is in the steering wheel or seat, explain what speed triggers it, and confirm they already checked pressure and torque. That usually leads to better diagnosis and less random parts-swapping. In other words, even if your at-home balance job ends with a professional follow-up, the effort was not wasted. You gained skill, saved guesswork, and learned how your vehicle talks when something is off. For a DIY mechanic, that is a win.