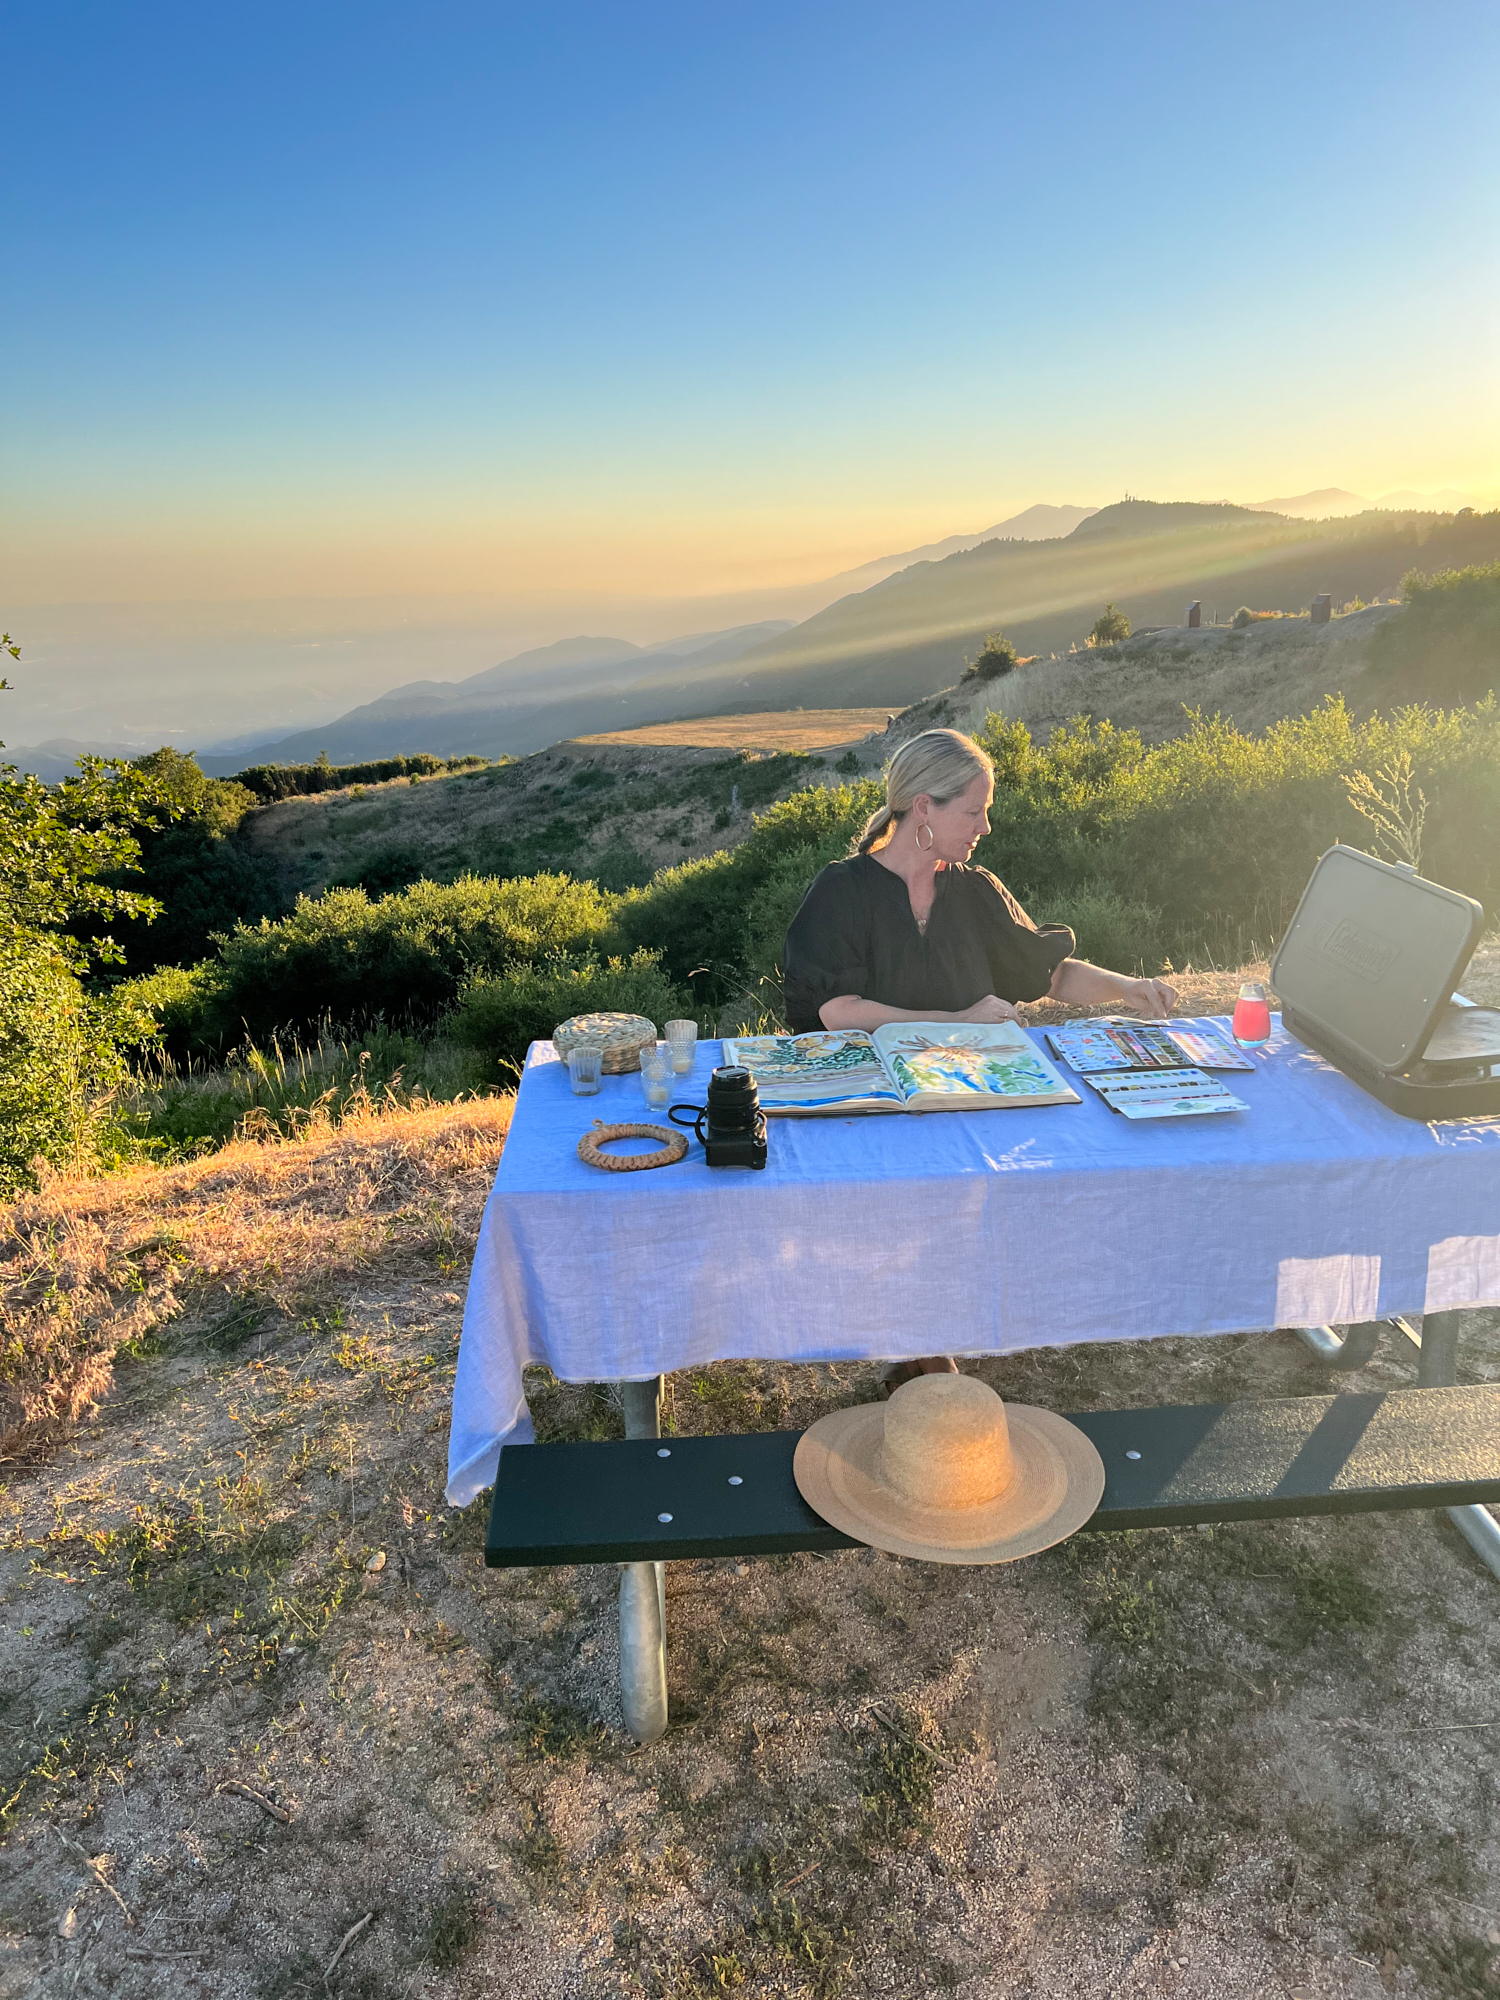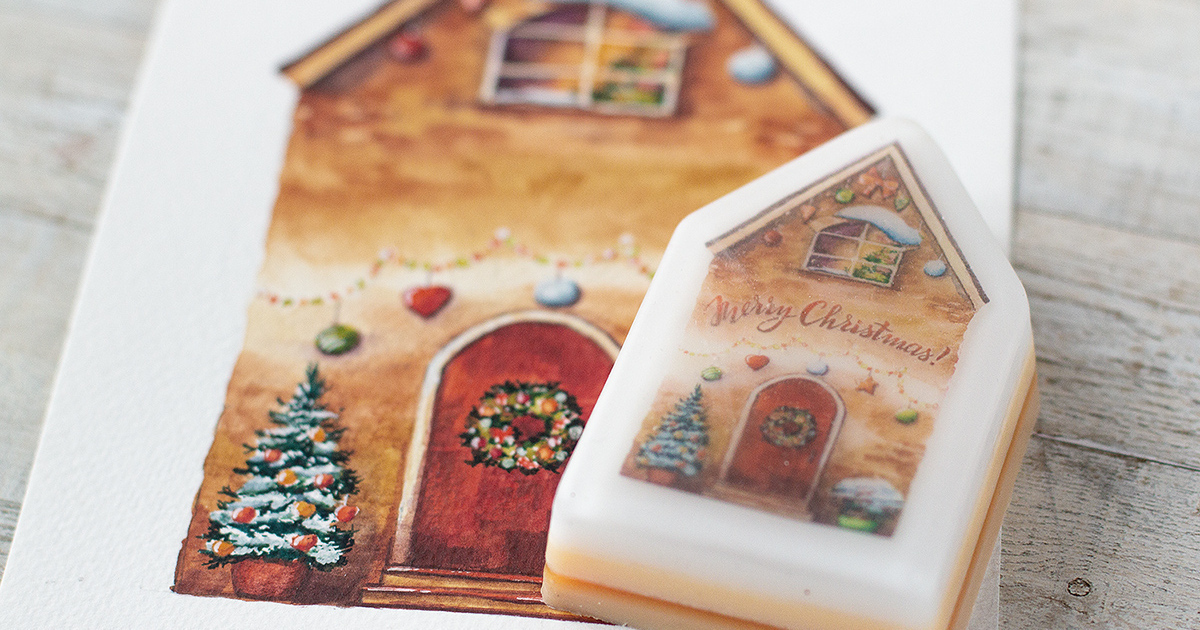
Some holiday ideas arrive politely, like a handwritten card. Others kick open the studio door wearing glitter boots. My festive Christmas soap houses belonged to the second group. The project began with a quiet watercolor session: soft snowy rooftops, candy-colored cottages, tiny windows glowing like someone inside had just made cocoa. Then, while washing my brushes, I looked at a bar of handmade soap and thought, “Wait a minute. What if the painting could become something people could actually hold, use, and gift?”
That tiny what-if turned into a joyful collision of watercolor art and handmade soap design. Instead of painting Christmas houses only on paper, I used watercolor-style planning, translucent color layering, soap-safe pigments, embeds, and holiday fragrance to create miniature soap cottages that look like they wandered out of a winter village. They are part craft project, part bath product, and part “please do not bite this even though it looks like candy.”
In this article, I’ll walk through the creative process behind these Christmas soap houses, from sketching watercolor ideas to choosing melt-and-pour soap bases, building layered details, and making each bar feel festive without turning the bathroom sink into Santa’s workshop after a snowstorm.
Why Watercolors and Soap Make a Surprisingly Perfect Pair
At first glance, watercolor painting and soapmaking seem like distant cousins who only meet at craft fairs. Watercolor is fluid, delicate, transparent, and unpredictable. Soapmaking is structured, measured, temperature-aware, and occasionally bossy. Yet the two share one big creative secret: both reward patience with beautiful layers.
Watercolor artists often build depth through washes, glazing, wet-on-wet effects, and gentle color transitions. Soapmakers use similar visual thinking when creating layered melt-and-pour soap, swirling mica, embedding shapes, or pouring translucent sections over opaque pieces. The materials are different, but the design language is familiar: light, shadow, contrast, texture, and timing.
For my festive Christmas soap houses, watercolor became the blueprint. I painted small cottage sketches first, focusing on rooflines, snow caps, gumdrop colors, peppermint trim, pine trees, glowing windows, and the soft blue-gray shadows that make a winter scene feel cozy instead of frozen-solid miserable.
Those sketches helped me decide which soap elements needed to be opaque, which could be translucent, and where color should be bold. A red door, for example, needed strong pigment. Snow on the roof looked better in creamy white soap. Window panes worked beautifully in translucent amber soap because they created the illusion of warm indoor light.
The Creative Concept: A Christmas Village You Can Wash With
The goal was not to make ordinary holiday soap with a snowflake stamped on top. Snowflakes are lovely, but they have had a very busy career. I wanted tiny houses with personality: a peppermint-roof bakery, a forest-green cabin, a frosted cottage with golden windows, and a little red house that looked like it might belong to an elf who keeps excellent spreadsheets.
The idea was to translate the charm of a watercolor Christmas village into soap form. That meant each soap house needed to feel handmade, slightly whimsical, and gift-worthy. I wanted them to look polished enough for a holiday basket but not so perfect that they lost the warmth of a human hand.
Design Details That Make the Houses Feel Festive
Small details carry the magic. A simple rectangle becomes a house when it has a peaked roof, a front door, and a few windows. Add snowy trim, candy cane stripes, and a shimmer of mica, and suddenly the soap looks like it should come with a tiny mailbox.
For the Christmas soap houses, I focused on:
- Snowy white rooftops made from opaque soap
- Warm window embeds using clear or amber-tinted soap
- Red, green, cream, gold, and icy blue color palettes
- Fine mica accents for sparkle without overdoing the disco-ball effect
- Holiday-inspired scents such as peppermint, vanilla, pine, orange, or cranberry
- Watercolor-style shading through soft, layered color choices
The finished soaps were not literal paintings. They were sculptural interpretations of watercolor ideas. Think of them as tiny bath-time cottages with better hygiene than most gingerbread houses.
Choosing the Right Soap Base
For this project, melt-and-pour soap base was the most practical choice. Cold process soap is wonderful, but it requires lye handling, longer curing time, and a deeper understanding of chemistry. Melt-and-pour soap, on the other hand, allows more immediate control over color, embeds, and layered designs. For a project with tiny windows and decorative roofs, that control matters.
Clear melt-and-pour base is excellent for window details, icy effects, and mica shimmer. White or goat milk-style bases are useful for snow, walls, and opaque cottage sections. A combination of both creates contrast, which is essential when building a recognizable house design.
Why Temperature Matters
Soap design can be dramatic in the way only melted craft materials can be dramatic. Pour too hot, and a carefully placed layer may melt into the layer below. Pour too cool, and the soap can set before it reaches the corners of the mold. The sweet spot depends on the base, but the larger lesson is simple: use a thermometer, work in small batches, and do not try to freestyle your way through hot soap like a holiday cowboy.
When creating soap houses, I poured details first, let them firm up, sprayed with rubbing alcohol to help layers adhere and reduce bubbles, then added the next color. This approach is slow, but it creates crisp features and cleaner shapes.
Using Watercolor Thinking to Plan Soap Colors
The biggest mistake in festive crafts is assuming every holiday color must shout at the same volume. Red! Green! Gold! Glitter! More red! Suddenly the project looks less like Christmas and more like a wrapping-paper explosion. Watercolor teaches restraint. A little color can do a lot when it is placed with intention.
For the soap houses, I borrowed three watercolor habits: building a palette first, testing combinations, and leaving “quiet” areas. In painting, white space helps the eye rest. In soap, cream-colored walls, snowy roofs, and pale blue shadows do the same thing. They let the red doors, green wreaths, and golden windows shine.
Colorants: Pretty Is Not Enough
Because soap touches skin, color choice is not only an artistic decision. It is also a safety and formulation decision. Soapmakers should use skin-safe colorants intended for soap or cosmetics, such as appropriate micas, pigments, oxides, or approved dyes. Craft paint and regular watercolor paint do not belong inside usable soap. They may be beautiful on paper, but your shower is not a museum wall.
Instead, I used watercolor as inspiration and relied on soap-safe colorants for the actual bars. Micas gave the windows and roof trim a gentle shimmer. Opaque pigments created stronger cottage walls. Clear soap base made colors appear brighter and more jewel-like, while white base softened them into pastel holiday tones.
How the Christmas Soap Houses Came Together
The process started with sketches. I painted several small watercolor cottages, each with a different personality. One had a peppermint-striped roof. Another had blue snow shadows and golden windows. A third looked like a forest cabin tucked between pine trees. Once the designs felt strong, I simplified them into shapes that could realistically be made with soap.
That last part is important. Watercolor can suggest a thousand tiny details with one brushstroke. Soap is less forgiving. A line that looks elegant on paper may become a blob if poured too thickly. The trick is to simplify without losing charm.
Step 1: Create the Basic House Shapes
I used silicone molds and hand-cut pieces to build the basic house forms. Rectangles became walls, triangles became roofs, and tiny squares became windows. For anyone trying this at home, flexible silicone molds are helpful because they release soap cleanly and reduce the risk of broken corners.
Thin slabs of colored soap can also be poured into a tray and cut into decorative pieces. This works well for doors, shutters, roof stripes, and snow trim. A small knife, soap cutter, or clay tool can help shape the details.
Step 2: Add the Windows, Doors, and Roofs
Windows were the most satisfying detail. I tinted clear soap with a small amount of warm yellow or amber colorant so the windows looked like they were glowing. The effect was simple but charming, like each tiny soap house had a fireplace and possibly a cat judging everyone from the windowsill.
For doors, I used stronger colors: cranberry red, evergreen, and deep cocoa brown. Roofs were mostly white with hints of blue or pearl mica to suggest snow. Some roofs got peppermint stripes, while others stayed soft and snowy.
Step 3: Use Mica for Painterly Finishing Touches
Mica can be mixed into soap, brushed lightly onto surfaces, or used sparingly between layers. For this project, I treated mica almost like watercolor pigment. A little gold on the windows, pearl on the roofline, or soft blue near the snow shadows helped create depth.
The key is restraint. Too much shimmer can flatten the design and make everything compete for attention. The goal was “holiday glow,” not “soap wearing a Vegas jacket.”
Adding Fragrance Without Overwhelming the Design
Scent is where holiday soap becomes emotionally dangerous. One whiff of peppermint vanilla and suddenly you are convinced you need to wrap everything in twine, bake cookies, and buy a plaid blanket. But fragrance needs balance.
For Christmas soap houses, I prefer cozy, familiar scents that match the visual theme. Peppermint works beautifully for candy-cane details. Pine or fir gives forest cabin energy. Vanilla adds warmth but can discolor some soap bases, so it is smart to test first or use a vanilla stabilizer when appropriate. Orange, cranberry, cinnamon, and clove can also feel festive, but strong spice notes should be used carefully and only at skin-safe usage rates.
Fragrance should support the design, not wrestle it to the ground. A delicate snowy cottage may not need a scent that enters the room fifteen minutes before the soap does.
Gift-Worthy Packaging Ideas for Christmas Soap Houses
Packaging turns handmade soap into a finished holiday gift. For these Christmas soap houses, I liked clear biodegradable bags, kraft boxes with window cutouts, paper belly bands, and small tags tied with cotton string. The packaging should protect the soap while allowing people to see the design. After all, if you made a tiny cottage with glowing windows, hiding it completely would be a craft crime.
Simple Packaging Details That Work
A watercolor-style label pairs beautifully with this project. You can paint a small house illustration, scan it, and use it as a label design. Add the soap name, scent, net weight, and ingredients if required for your product category and selling situation. If the soap is for personal gifting, a simple tag with the scent and a cheerful message is enough. If it is for sale, labeling should be taken seriously and checked against current U.S. requirements.
Some cute packaging names include “Snowy Cottage Soap,” “Peppermint Village Bar,” “Christmas Cabin Cleanser,” “Frosted Window Soap House,” and “Holiday Hearth Handmade Soap.” The names should feel festive, but avoid claims that make the product sound like a treatment for skin conditions unless it is legally formulated and labeled for that purpose.
Tips for Making Your Own Festive Soap Houses
If you want to try this project, begin with a simple design. A house with one roof, one door, and two windows is plenty. Once that works, add snow, trim, wreaths, trees, or stripes. Handmade soap design is a bit like decorating cookies: confidence grows after the first few, and so does the amount of stuff you think you can fit on top.
Practical Tips for Better Results
- Sketch the house before melting any soap.
- Use soap-safe colorants only.
- Work in small batches so details do not set too quickly.
- Spray layers with rubbing alcohol to reduce bubbles and help adhesion.
- Let each layer firm up before pouring the next one.
- Test fragrances for discoloration before making a full batch.
- Keep the design bold enough to read clearly after unmolding.
Most importantly, accept that the first few houses may be charmingly imperfect. A slightly crooked roof can look whimsical. A window that shifts a little can look handmade. A door that floats away into the wall, however, is probably a lesson in temperature control. We honor the lesson and make another batch.
Why Handmade Christmas Soap Feels So Special
In a season full of fast shopping and identical gift sets, handmade soap has a different kind of appeal. It is useful, beautiful, personal, and small enough to tuck into stockings, guest bathrooms, gift baskets, teacher gifts, or holiday market displays. A festive soap house adds an extra layer of delight because it feels like a miniature piece of art.
People often hesitate to use decorative soap because it looks “too pretty.” My answer is simple: use it anyway. Handmade soap is meant to be enjoyed. Let the little cottage sit by the sink for a few days, admire it, then let it do its job. Even the fanciest soap wants a career.
Experience Notes: What I Learned While Making Watercolor-Inspired Christmas Soap Houses
The biggest lesson I learned from combining watercolors and soap is that planning matters, but play matters more. My watercolor sketches gave me direction, but the soap had its own opinions. Some colors softened more than expected. Some translucent pieces looked magical in the mold and slightly shy after unmolding. A few windows shifted just enough to make the houses look surprised, which, honestly, felt seasonally appropriate.
I started with a watercolor palette of cranberry red, pine green, warm yellow, burnt sienna, icy blue, and soft gray. On paper, those colors blended beautifully. In soap, they needed translation. The red had to be stronger. The green needed less yellow. The blue worked best as a whisper, not a statement. This taught me that inspiration is not the same as duplication. A watercolor idea can guide a soap design without being copied exactly.
The most enjoyable part was creating the glowing windows. I used a clear soap base with a tiny amount of warm color, then cut little panes and placed them into the house shapes. When the light hit them, they looked like miniature lanterns. That one detail changed the whole project. Suddenly the houses had a story. They were not just decorative bars; they were tiny winter homes with imaginary people inside making soup, wrapping gifts, or pretending they did not hear the doorbell.
The most challenging part was patience. Soap layers need time. Watercolor layers need time. I, unfortunately, am sometimes powered by enthusiasm and coffee, neither of which is famous for patience. When I poured too soon, colors blurred. When I fussed too much, details moved. The best results came when I slowed down, cleaned my tools between pours, and treated each house like a small construction project.
I also learned that imperfection can be a design feature. Watercolor has blooms, soft edges, and unexpected textures. Soap has bubbles, tiny shifts, and handmade variation. Instead of fighting every irregularity, I began choosing which ones added charm. A soft edge around a snowy roof looked natural. A slightly uneven mica dusting looked like frost. A tiny bubble near the chimney looked like smoke if I was feeling generous and festive.
By the end, the project felt less like making soap and more like building a Christmas village from fragrance, color, and memory. It reminded me of paper crafts, cookie decorating, snowy postcards, and childhood holiday displays in shop windows. That is the real joy of this kind of handmade work: it gathers little pieces of nostalgia and turns them into something useful. A bar of soap may not last forever, but the process of making it can leave behind a surprisingly warm glow.
Conclusion
Combining watercolors and soap led me to a festive project that feels creative, practical, and wonderfully giftable. These Christmas soap houses prove that inspiration can jump from paper to mold when you understand color, layering, texture, and safe soapmaking materials. Watercolor gave the project softness and storytelling. Soapmaking gave it structure, scent, and everyday usefulness.
Whether you are a painter curious about handmade soap or a soapmaker looking for a holiday design twist, watercolor-inspired Christmas soap houses offer a playful way to blend two creative worlds. Start with a sketch, choose skin-safe colors, build simple shapes, and let the small details carry the magic. With a little patience and a reasonable amount of sparkle, you can create holiday soaps that look like they belong in a tiny snow-covered villageand still work beautifully by the sink.