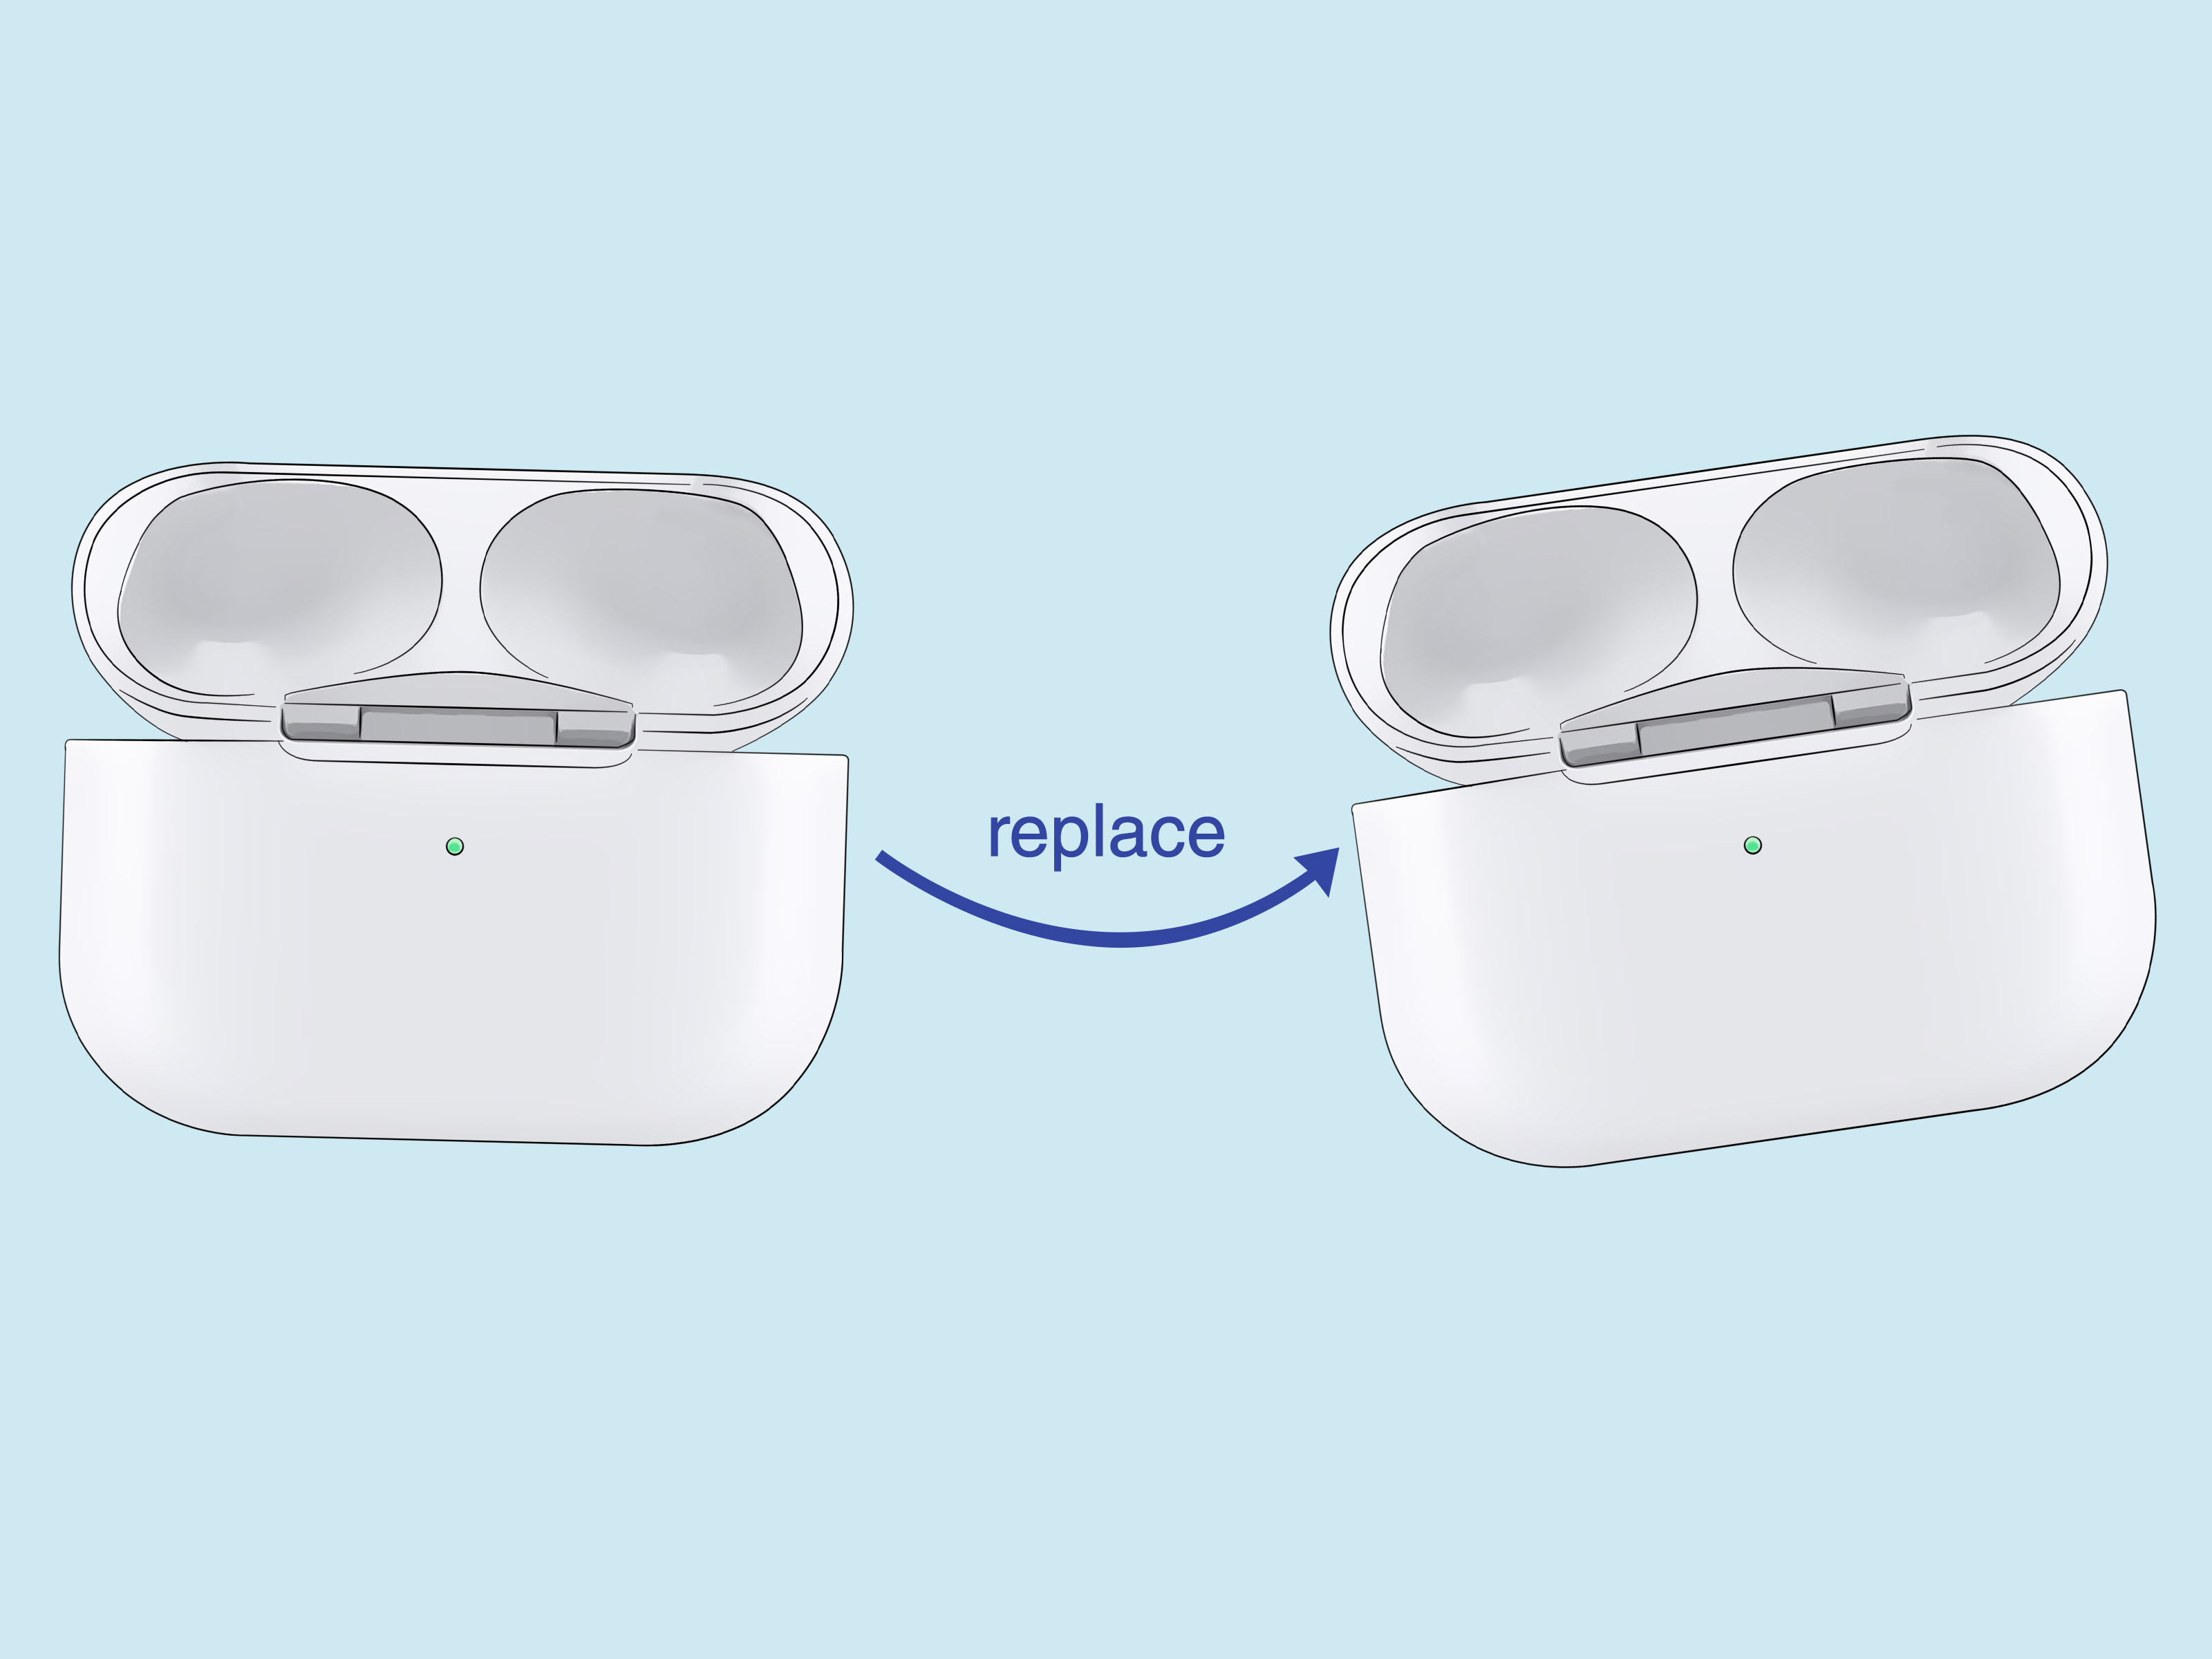
An AirPods charging case is supposed to be the dependable part of the package: put the earbuds inside, connect power, and let the little white box do its job. When the case refuses to charge, however, a tiny accessory can create a surprisingly large headache.
The good news is that an AirPods case not charging does not automatically mean its battery is dead. A loose cable, weak adapter, dirty port, thick protective cover, poor wireless alignment, temperature issue, or temporary software glitch can produce the same symptom. Follow these fixes in order and test one change at a time.
Confirm What Is Actually Failing
Three problems are commonly confused: the case is not receiving power, the case charges but the earbuds do not, or the case is charging even though its status light turns off. On many wireless cases, the light appears briefly and then goes dark while charging continues.
Open the case near your iPhone or iPad and check the battery card. You can also open Settings, tap Bluetooth, select the information button beside your AirPods, and review the case percentage. Note the number, wait 15 minutes, and check again. A rising percentage confirms that power is reaching the case.
12 Ways to Fix an AirPods Case That Will Not Charge
1. Charge It by Cable for at Least 15 Minutes
A fully drained case may not respond immediately. Connect it to a reliable wall outlet with the correct Lightning or USB-C cable, close the lid, and leave it charging for at least 15 minutes. Wired power is the best first test because it removes wireless alignment and charger compatibility from the equation.
If wired charging works but wireless charging does not, the battery is probably still functional. Focus next on the wireless pad, its adapter, case positioning, and possible interference.
2. Reconnect Everything Firmly
Disconnect the cable from the case, adapter, and outlet, then plug everything back in securely. A connector can look inserted without making reliable contact, especially when a protective cover prevents the plug from seating completely.
Test the outlet with another device. If you are using a laptop, monitor, car port, keyboard, or USB hub, switch to a wall adapter. Some shared ports supply limited or inconsistent power.
3. Test Another Cable
Charging cables often fail internally near the connector while looking perfect on the outside. Try a known-good cable that successfully charges another device. Inspect the plug for bending, discoloration, looseness, or debris.
If the case charges with the replacement cable, retire the old one. A cable that works only when twisted into a dramatic angle is not “mostly fine”; it is applying for retirement.
4. Try a Different Adapter and Outlet
A good cable cannot compensate for a damaged adapter. Connect the case to another compatible USB power adapter and a different wall outlet. This cross-test reveals whether the problem follows the AirPods case or remains with the original power setup.
Use Apple or another reputable, certified charging brand. Stop using any adapter that buzzes, smells burnt, has exposed wiring, or becomes unusually hot.
5. Clean the Charging Port Safely
Lint and dust can pack into a Lightning or USB-C port and prevent the plug from reaching the contacts. Shine a light into the port and inspect it carefully.
Remove loose debris with a clean, dry, soft-bristled brush. Do not pour liquid into the port or use pins, knives, paper clips, or other metal tools. If the connector looks bent, burned, corroded, or loose, professional service is safer than enthusiastic digging.
6. Remove the Protective Cover
A poorly fitted cover may block a cable from entering fully. Thick shells, metal keychain plates, magnetic rings, card holders, and decorative attachments can also interfere with wireless charging.
Remove the cover and test the bare AirPods case. If charging becomes reliable, replace the accessory with one designed for your exact case model.
7. Reposition the Case on the Wireless Pad
Wireless charging depends on coil alignment. Place the case flat, close the lid, and keep the status light facing up. Center it on the pad, then move it slightly if charging does not begin.
If the case works by cable but not on one particular pad, test another Qi-certified or compatible charger. The original pad, cable, or adapter may be the actual problem.
8. Remove Metal and Other Obstructions
Clear coins, keys, magnetic plates, metal decorations, and cards from the charger. Certified wireless chargers may stop power transfer when they detect a foreign metal object because that object can heat up.
Wipe the pad and the bottom of the case with a dry, lint-free cloth. If the charger flashes an error light, unplug it for a minute, reconnect it, and retry with the bare case centered on the surface.
9. Read the Status Light Correctly
With the AirPods inside, the light may show the earbuds’ status. With the earbuds removed, it generally shows the case battery. Green usually means fully charged, while amber means less than a full charge remains.
During wireless charging, the light may appear for only a few seconds. Use the battery percentage on an iPhone, iPad, or Mac for confirmation. The number is more useful than staring at the LED and hoping it develops conversational skills.
10. Let the Case Reach Room Temperature
Charging may pause when the case is too hot or too cold. Move it away from direct sunlight, a hot car, a heater, or freezing conditions. Remove the cover and allow it to return naturally to room temperature.
Disconnect the case if it becomes painfully hot, swells, smells unusual, or changes color. Do not place an overheated case in a refrigerator or freezer, where condensation can create additional damage.
11. Reset the AirPods
A reset can clear pairing or status-reporting glitches. Put both AirPods in the case, close the lid, and wait about 30 seconds. On your iPhone or iPad, open Bluetooth settings, tap the information button beside the AirPods, and choose Forget This Device.
For many earlier AirPods models, open the lid and hold the setup button on the back for about 15 seconds until the light flashes amber and then white. Some newer cases use a sequence of taps on the front instead, so confirm the reset method for your model. Reconnect the AirPods and check the battery percentage again.
12. Arrange Service or Replace the Case
If the case fails with several proven cables, adapters, outlets, and wireless chargers, the battery, port, or internal charging circuit may be damaged. Batteries also lose capacity as they age.
Contact Apple Support or an Apple Authorized Service Provider. The charging case may be serviceable or replaceable separately, which can cost less than purchasing an entirely new set of AirPods.
What If the Case Charges but the AirPods Do Not?
If the case percentage increases but one or both earbuds remain at zero, inspect the charging wells and the lower ends of the AirPods. Use a dry, lint-free cloth to remove visible debris, then confirm that each earbud drops fully into place and is held by the magnet.
Charge the case first, insert both AirPods, close the lid for at least 30 seconds, and reopen it near your iPhone. If only one side repeatedly fails, the issue is probably inside that charging well or on the corresponding earbud contact rather than in the external Lightning or USB-C port.
Common Reasons an AirPods Case Stops Charging
- Power problems: A dead outlet, weak USB port, damaged adapter, or unstable hub.
- Cable failure: Broken internal wiring or a worn connector.
- Port contamination: Compacted lint, dust, or corrosion.
- Wireless interference: Misalignment, a thick cover, metal objects, or a faulty pad.
- Temperature: Charging paused because the case is too hot or cold.
- Hardware wear: An aged battery, damaged port, liquid exposure, or failed circuitry.
The fastest diagnostic method is substitution. Change one variable at a time: cable, adapter, outlet, charging method, and protective cover. If the problem follows one accessory, you have likely found the cause. If the case fails in every setup, service is the logical next step.
Real-World Experiences: What Usually Solves the Problem
One common story begins with a case that charges only when the cable is pushed sideways. The owner assumes the port is worn out, but the actual problem is compressed pocket lint. The plug enters the opening yet stops slightly short of the contacts. After careful cleaning with a dry, soft-bristled brush, the connector sits flush and charging becomes stable. The lesson: a cable can appear connected without being fully seated.
Another familiar situation involves wireless charging that works at the office but fails at home. The case is fine; the home charging pad is connected to an old, low-output adapter. Replacing the adapter restores normal charging. Wireless power may look magical, but the pad still depends on a cable and power supply underneath the trick.
Protective covers create plenty of confusion. A rugged shell may add just enough thickness to make charging intermittent. Some covers also include metal keychain hardware, magnetic rings, or decorative plates. Removing the cover is an excellent test because it changes thickness, alignment, port access, and metal interference at once. When the bare case charges normally, the accessorynot the AirPodswas the obstacle.
A deeply discharged battery can be equally misleading. After weeks in a drawer, the case may show no light when first connected. Switching cables every minute prevents a proper test because the battery never receives uninterrupted power. Leaving the case on a proven wired charger for 15 to 30 minutes often produces the first response. Patience is not glamorous, but it is cheaper than replacing working hardware.
Software reporting can also create a false alarm. The case may be charging while the battery widget continues showing an old percentage. Opening the lid near the iPhone, reconnecting the AirPods, or performing a full reset can refresh the reading. That is why checking the percentage before and after a timed charge is more reliable than judging the case by one frozen number.
Temperature creates another pattern that looks like random failure. A case left in a parked car may accept power briefly, stop, and then work normally later indoors. The same can happen after the case sits beside a sunny window or charges under bedding where heat cannot escape. Owners sometimes respond by changing cables repeatedly, even though the case is protecting itself from an unsuitable temperature. The better approach is to disconnect it, remove the outer cover, place it in a dry room-temperature location, and wait. Once the case cools naturally, a normal wired charge often resumes. This is also a useful warning sign: if the case becomes abnormally hot again under ordinary conditions, discontinue use and arrange service instead of treating repeated overheating as a harmless personality trait.
Then there is the case that fails every sensible test: two cables, two adapters, several outlets, wired charging, wireless charging, cleaning, and resetting. At that point, more home experimentation rarely helps. Batteries and charging circuits can fail after years of use, drops, moisture, or repeated overheating. Professional diagnosis is not giving up; it is the correct final step after the easy causes have been eliminated.
How to Prevent Future Charging Problems
Store the case away from crumbs, loose coins, and keys. Inspect cables periodically and replace them when connectors become loose, bent, frayed, or discolored. Keep wireless pads clear of metal objects, use certified charging accessories, and avoid charging in extreme heat.
Do not worry if battery-management features occasionally delay a full charge. What matters is reliable charging and useful battery life, not forcing the case to display 100 percent at every opportunity.
Conclusion
When your AirPods case is not charging, start with the simple fixes: provide 15 minutes of uninterrupted wired power, reconnect everything, test another cable and adapter, clean the port safely, remove the cover, and correct wireless alignment. Then verify the battery percentage, allow the case to reach room temperature, and reset the AirPods when appropriate.
If the case still fails in multiple proven charging setups, the evidence points to battery, port, or internal-circuit damage. That is the moment to arrange servicenot the moment to attack the port with a sewing needle and optimism.