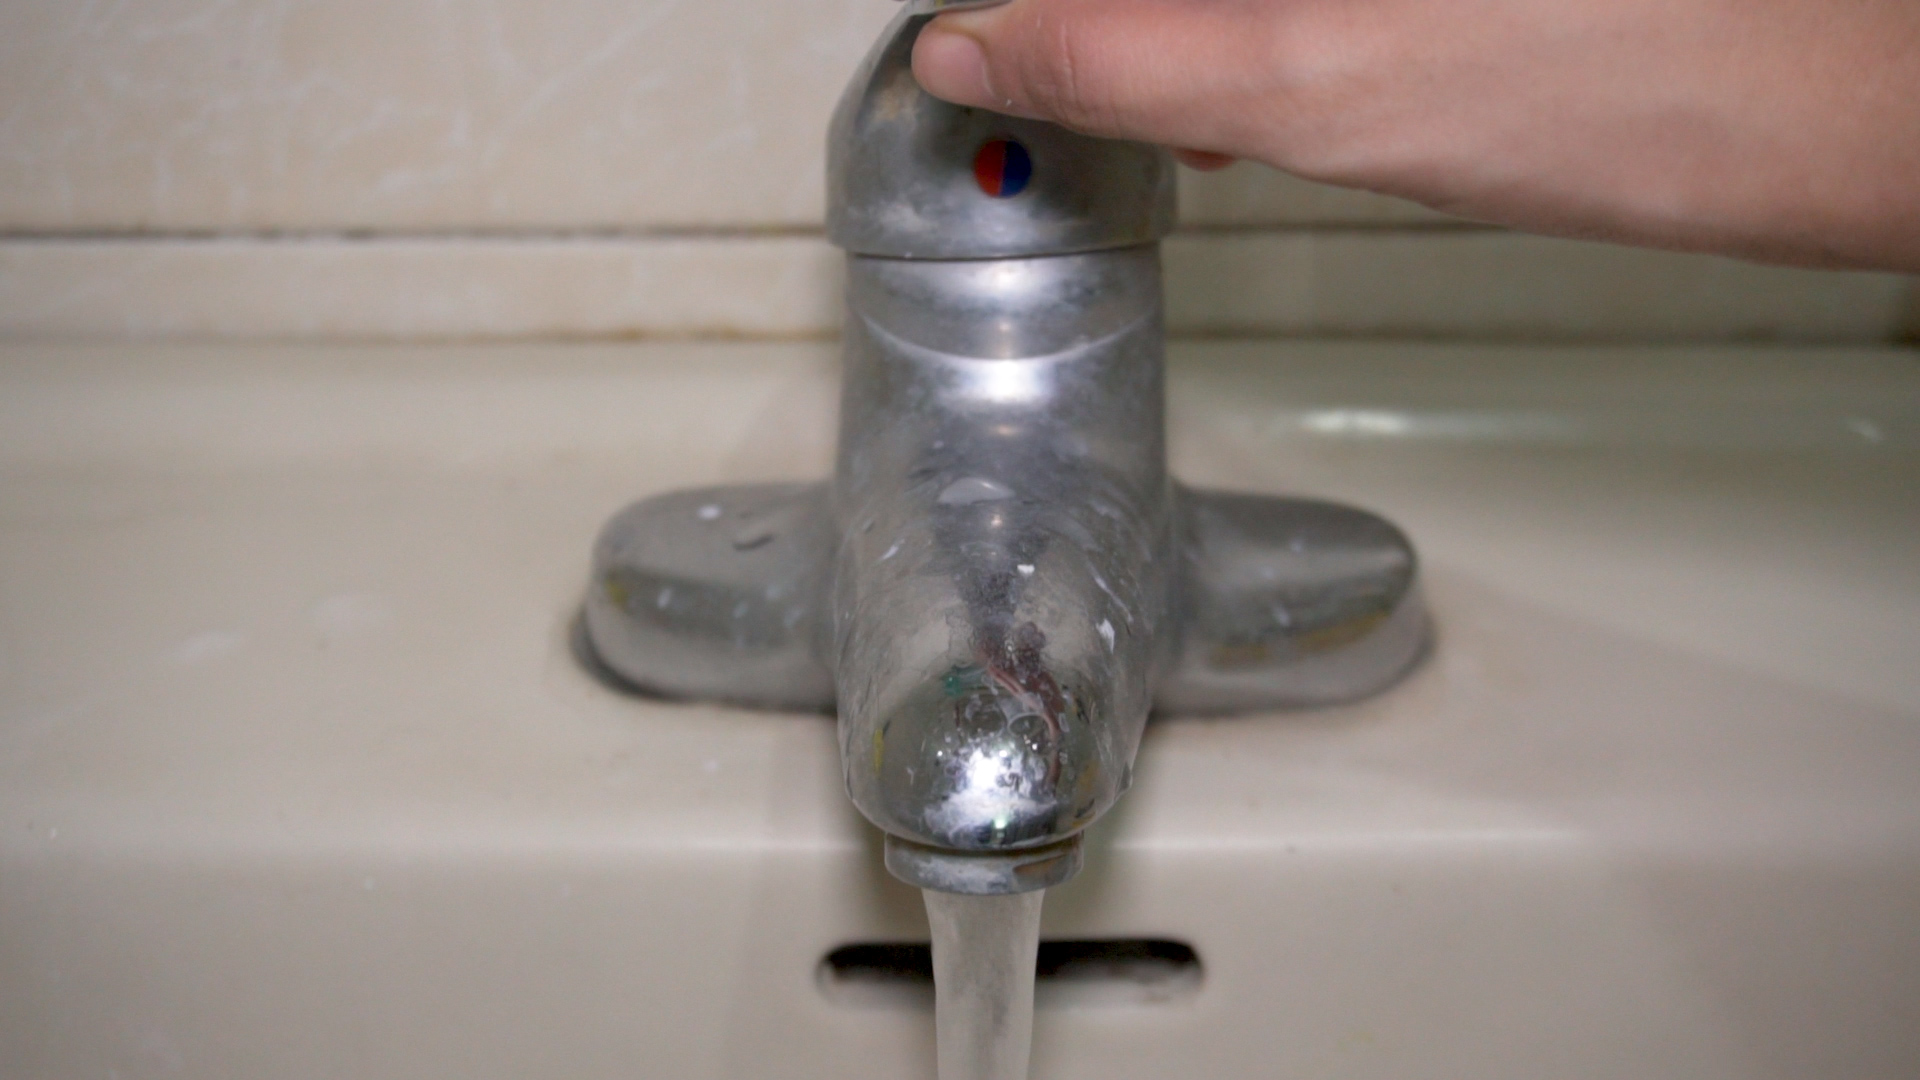
Standing water in a sink, tub, or shower has a special talent: it makes you feel like your plumbing is personally
offended by you. The good news? Most clogs are fixable with a handful of basic tools and a calm, methodical approach.
The even better news? If you film your process “video step” style, you’ll be less likely to skip the boring-but-important
parts (and more likely to avoid turning your bathroom into a splash zone).
This guide walks you through 12 practical video steps to unclog a drain with standing waterstarting with the simplest
fixes and moving toward the more “okay, we mean business” methods. Along the way, you’ll learn how to diagnose where the clog
probably is, which tool to use, and when it’s time to call in a pro (because sometimes adulthood is knowing when to outsource).
What You’ll Need (Your “On-Camera” Tool Kit)
- Rubber gloves and eye protection
- Old towels or rags + a small bucket
- Cup plunger (for sinks/tubs) or flange plunger (for toilets)
- Drain cover/strainer (for prevention later)
- Zip-it/drain hair tool (great for tubs/showers)
- Sink auger or hand-drain snake (25 ft is a common DIY size)
- Adjustable pliers or channel-locks (for P-trap slip nuts)
- Wet/dry vacuum (optional, but very effective for water removal)
- Flashlight (because clogs love the shadows)
Before You Start: A Fast Safety + Diagnosis Check
1) Don’t mix chemicalsand be cautious with drain cleaners
If you’ve already poured chemical drain cleaner into standing water, stop and read the label. The biggest risk isn’t
just “it didn’t work”it’s splashing caustic liquid when you plunge or snake. If you haven’t used chemicals yet, consider
starting with mechanical methods (plunger, hair tool, snake). They’re often more reliable and far less risky.
2) Figure out whether this is one drain… or the whole house
One clogged sink is usually a local problem (hair, grease, soap scum, food). But if multiple fixtures are backing up,
draining slowly, or making gurgling sounds, you may be dealing with a main line issue. That changes the gameand your best move
may be to stop running water and get professional help.
3) Protect surfaces and plan for “gross, but manageable”
Lay towels around the fixture, keep a bucket handy, and give yourself space to work. You’re not planning a disasterjust
acknowledging that water plus plumbing equals surprise.
How to Unclog a Drain with Standing Water: 12 Video Steps
Video Step 1: Stop the water and set the scene
What to do: Turn off the faucet. Tell everyone in the house to avoid using that sink/tub/shower for now.
If you’re tackling a bathroom sink, close the stopper (if it still moves) so you don’t drop tools into the drain like a slapstick comedian.
What to film: A quick “before” shot of the standing water level, plus your tools lined up. This makes troubleshooting easier later.
Video Step 2: Remove standing water (without rage-scooping)
Why this matters: Standing water makes plunging messy and makes it harder to see what you’re doing.
What to do: Bail it out with a cup into a bucket, or use a wet/dry vacuum set to wet mode. If using a vacuum,
create the best seal you can at the drain opening (a damp rag around the nozzle helps).
Pro tip: If the water is dark or smells foul, pause and consider whether you might be dealing with a bigger backup than a simple clog.
Video Step 3: Check the “top-of-the-drain” culprits first
What to do: Remove the sink stopper or tub strainer. Look for visible debris: hair mats, soap scum, food gunk,
or the mysterious “gray paste” that forms when soap meets… everything.
What to film: Close-up of what you pull out (optional, depending on your audience’s stomach strength).
Then show the drain opening clearlysometimes you can spot a clog right there.
Video Step 4: If it’s a kitchen sink, rule out the garbage disposal
What to do: If you have a disposal and the sink is full of standing water, don’t just flip the switch and hope.
First, turn off power at the switch and avoid putting your hand into the disposal. Use tongs or pliers to remove obvious debris.
Press the reset button on the bottom of the disposal (if it’s tripped). Some units can be manually turned with an Allen key from underneath.
What to film: The reset button location and a quick test (with water running only after you’ve cleared the issue).
Video Step 5: Plunge like you mean it (seal, pressure, rhythm)
Why plunging works: A plunger doesn’t “push the clog down.” It creates pressure changes that loosen and shift the blockage.
What to do: Add enough water to cover the plunger cup (ironic, yescontrolled water is helpful). Place the plunger directly over
the drain opening and form a tight seal. For bathroom sinks and tubs, seal the overflow opening with a wet rag,
or you’ll lose suction.
Plunge with firm, controlled strokes for 15–20 pumps, then break the seal and see if the water drops. Repeat a few rounds.
If the drain suddenly gulps like it just finished a sprint, you’re winning.
Video Step 6: Use a hair tool for tubs/showers (fastest “aha” step)
Best for: Shower and bathtub drains clogged with hair and soap scum.
What to do: Feed a zip-it/drain hair tool into the drain a few inches, twist gently, then pull it out slowly.
You’re aiming to hook and remove debris, not spear the plumbing like you’re fishing for compliments.
What to film: The tool going in, then the removal (again: optional close-up). Follow with a quick water test.
Video Step 7: Snake the drain (sink auger / hand snake basics)
Why this works: Snaking physically breaks up or retrieves clogs that plunging can’t budgeespecially deeper in the line.
What to do: Insert the snake into the drain opening and feed it slowly. Turn the handle as you advance.
When you feel resistance, keep turningthis can either break up the clog or latch onto it. Then retract the cable slowly.
Common mistake: Cranking aggressively while the cable isn’t advancing. You can kink the cable or just create a sad spiral of frustration.
Video Step 8: For tubs, snake through the overflow (it’s not weird, it’s smart)
Why this helps: Bathtub plumbing has curves that can make snaking from the drain opening less effective.
The overflow opening often gives a more direct path.
What to do: Remove the overflow cover plate (usually two screws). Carefully feed the snake into the overflow opening,
turning as you go. When you hit resistance, work the clog, then retract and remove debris.
What to film: Removing the plate, feeding the snake, then a water test. Bonus points if you show the “before” and “after” drain speed.
Video Step 9: Clean the P-trap (the “gross jar” under your sink)
Best for: Bathroom and kitchen sinks with stubborn clogs and standing water.
What to do: Place a bucket under the P-trap (the U-shaped pipe). Loosen the slip nuts with pliers or by hand.
Remove the trap carefully and empty it into the bucket. Clean out gunk, rinse the trap, and check that the washers are seated properly.
Reinstall snugly (hand-tight plus a gentle nudge with pliersdon’t overdo it).
What to film: The trap removal and the contents (if you dare), then reassembly and a leak check.
Video Step 10: Flush and verify (don’t declare victory too early)
What to do: Run water in stages. Start with a small stream, then increase flow.
If it’s draining well, finish with hot water to help move leftover residue.
Avoid pouring boiling water into PVC piping unless you’re sure your plumbing can handle itvery hot water is usually sufficient for flushing.
What to film: A steady stream draining smoothly, plus a quick check under the sink for leaks if you touched the P-trap.
Video Step 11: Know when it’s a bigger clog (multiple drains, gurgling, repeat backups)
Signs it may be beyond one fixture: Water backing up in more than one place, slow drains across the house,
gurgling sounds, or unpleasant sewer-like odors.
What to do: Stop running water and avoid flushing toilets if you suspect a main line issue. If your home has a
main cleanout and you know how to access it safely, a larger auger may be neededbut this is often the point where calling a plumber
is the smartest “DIY decision.”
What to film: A short explanation of the symptoms and why you’re stopping to prevent worse backup damage.
Video Step 12: Prevent the next standing-water surprise
Kitchen prevention: Don’t pour grease down the drain. Wipe pans with a paper towel before washing. Use a sink strainer for food scraps.
Bathroom prevention: Use a hair catcher in tubs/showers. Clean stoppers and strainers regularly. If your household sheds like a golden retriever in summer,
schedule quick hair removal weekly.
Maintenance option: Enzyme-based drain cleaners can help with ongoing buildup (especially soap scum and organic gunk),
but they’re not instant “clog nukes.” Think of them as flossing, not emergency surgery.
Troubleshooting: If the Drain Still Won’t Clear
If plunging made it worse
You may have shifted the clog into a tighter spot, or you might be losing suction through an overflow opening you didn’t seal.
Try again with the overflow sealed and a better plunger fit.
If the snake comes back clean
The clog could be beyond the snake’s reach, or you may be riding along the side of the pipe instead of contacting the blockage.
Reinsert slowly, turn consistently, and consider using the overflow route for tubs.
If it keeps clogging again within days
Repeat clogs can mean partial blockage, buildup along pipe walls, or a bigger issue in the branch line or main line.
This is where a pro inspection (and possibly a camera scope) can save money long-term by preventing repeated backups.
Real-World Experiences: What “Standing Water” Clogs Usually Teach You (Extra Notes)
Homeowners tend to remember their first standing-water clog the way people remember their first flat tire: not because it’s fun,
but because it’s oddly educational. And across a lot of real-world situations, the same patterns show up again and again.
First, standing water often tricks people into starting with the wrong tool. When you see a sink full of water, it’s tempting to reach
for the strongest chemical drain cleaner on the shelf like you’re calling in the cavalry. But many people eventually learn that
mechanical removal is usually faster, safer, and more predictable. The “aha” moment is realizing that most everyday clogs are physical
problemshair tangles, grease buildup, soap scum, food scrapsso physical tools (plunger, hair tool, snake) often solve them best.
Second, people frequently underestimate how much technique matters. Plunging is a perfect example. Many of the successful stories sound the same:
“I thought plunging didn’t work… until I sealed the overflow.” That little overflow opening can quietly sabotage suction, turning your plunging
session into cardio with zero results. Once you seal it and keep the plunger centered, the drain often clears in a few strong rounds.
It’s not magic; it’s physics finally getting a fair chance.
Third, kitchen sink clogs have a personality. They often build slowly over time, and grease is usually the sneaky villain.
People will say, “But I only poured a little oil down the drain.” Unfortunately, grease doesn’t behave like a polite liquid.
It cools, thickens, clings to pipe walls, and collects everything elselike a sticky nightclub bouncer that never lets debris leave.
The experience lesson here is simple: if your kitchen sink keeps getting sluggish, don’t just treat it like a one-time clog.
Change what goes into the drain and use strainers consistently, or the standing water will keep coming back for sequels.
Fourth, bathtub and shower clogs tend to be brutally honest. If you have long hair (or pets that get bathed, or kids who treat bath time like a spa day),
hair tools often pull out a clog that looks like it could have its own ZIP code. People are amazed by how quickly the drain improves after removing that
hair-and-soap “rope.” The practical takeaway: a five-minute weekly hair catch cleanup is easier than a 45-minute emergency unclog.
Fifth, the P-trap cleanup is the step many people fearbut later appreciate. The first time you remove a P-trap, it feels like you’re disarming a plumbing bomb.
But once you do it carefully with a bucket underneath, it becomes a confidence builder. A lot of “I can’t believe I fixed it myself” moments happen right here.
And even if the trap isn’t the main clog, cleaning it gives you a clean starting point for snaking deeper.
Finally, standing water sometimes teaches you when to stop. People who have dealt with a main line backup often describe the same warning signs:
multiple drains acting up, gurgling sounds, and water showing up where it shouldn’t. The experience lesson is that pushing harder isn’t always smarter.
Sometimes the best move is to stop using water and call a professional before a small problem turns into a much bigger (and much wetter) one.
In other words: being handy is greatbeing strategic is even better.
Wrap-Up: Your “Clean Drain” Checklist
- The standing water is gone, and the drain keeps up with normal flow
- No leaks under the sink (especially if you removed the P-trap)
- No gurgling, bubbling, or cross-fixture backups
- You’ve added a strainer/hair catcher to prevent repeat clogs
If you followed the 12 video steps and the drain still won’t clearor you’re seeing signs of a main line problemcalling a plumber
isn’t “giving up.” It’s choosing dry floors and peace of mind.