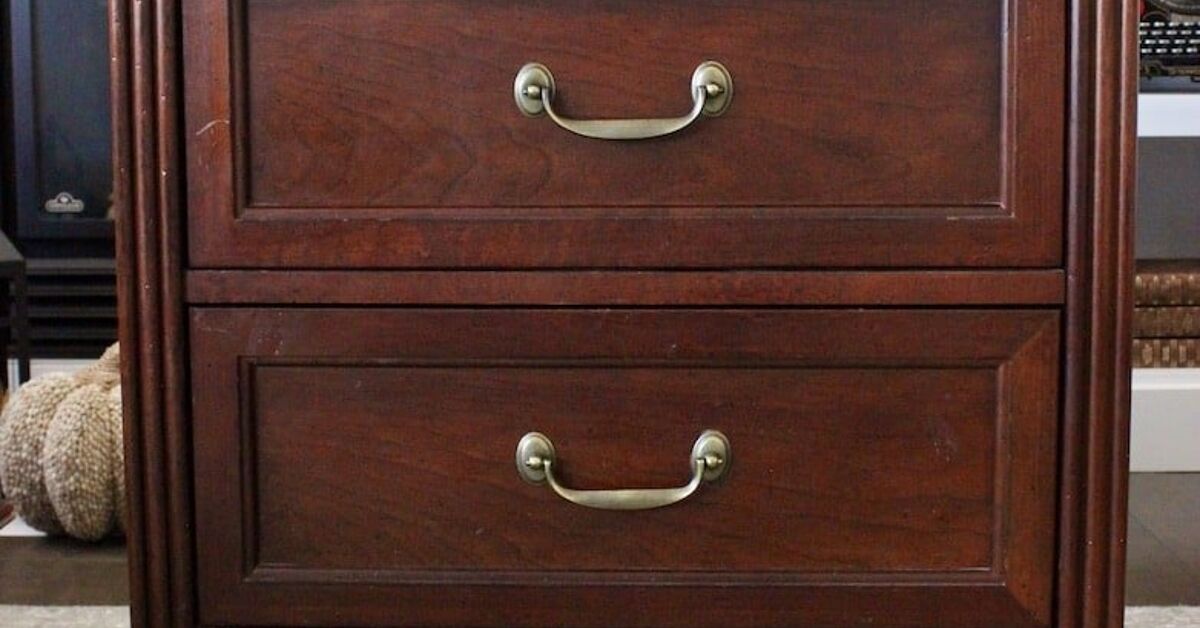
Painting furniture is one of the most satisfying DIY upgrades because it delivers the magic of a room makeover without requiring a contractor, a new credit card limit, or a dramatic speech about “starting fresh.” A tired dresser, scratched coffee table, outdated nightstand, or thrift-store chair can become the star of the room with a little prep, the right paint, and a patient approach. The secret is not working harder. The secret is working in the right order.
This guide walks you through how to paint furniture the easy way, from choosing paint and primer to avoiding brush marks, peeling, sticky finishes, and the dreaded “why does this still feel tacky three days later?” problem. Whether you are painting wood furniture, laminate furniture, MDF, metal accents, or an old hand-me-down piece with emotional value and questionable drawer smells, the process is manageable when you break it into simple steps.
The best part? You do not need a professional workshop. You need a clean work area, a few basic supplies, good ventilation, and enough discipline not to poke the paint every 10 minutes “just to check.” We have all been that person. Let us become better.
Why Painting Furniture Is Worth the Effort
Learning how to paint furniture can save money, reduce waste, and give your home a custom look. Instead of replacing a solid wood dresser because the finish is dated, you can refresh it with a modern color. Instead of sending a scuffed table to the curb, you can give it a second life with durable furniture paint and a protective topcoat.
Painted furniture also lets you experiment with style. A plain bookcase can become a moody built-in look with deep navy paint. A vintage vanity can turn soft and romantic with warm white or sage green. A basic IKEA-style piece can feel more expensive with bonding primer, smooth paint, new hardware, and a little confidence. Confidence, by the way, is often just primer wearing a fake mustache.
Before You Start: Know What Kind of Furniture You Have
Not all furniture surfaces behave the same way. Paint sticks differently to raw wood, glossy varnish, laminate, MDF, metal, and previously painted surfaces. The easiest furniture painting method starts with identifying the material.
Solid Wood Furniture
Solid wood is usually the most forgiving surface. It can be cleaned, sanded, primed, painted, and sealed beautifully. If the existing finish is glossy, slick, or chipped, sanding and primer are especially important.
Laminate Furniture
Laminate furniture has a slick synthetic surface, so paint needs help gripping. Use a high-quality bonding primer and do not skip scuff sanding. Laminate is not impossible; it is just suspicious of your intentions.
MDF and Particle Board
MDF and particle board can paint well, but they dislike excess moisture. Avoid soaking them during cleaning. Seal edges carefully because raw MDF edges can absorb primer and paint unevenly.
Metal Furniture
Metal furniture needs rust removal, cleaning, and a primer made for metal. Spray paint can work well on metal chairs, small tables, and decorative pieces, especially when applied in thin, even coats.
Supplies You Need to Paint Furniture the Easy Way
Gathering supplies before you begin keeps the project calm. Nothing ruins a DIY mood faster than standing in the garage with wet primer on your hands, realizing your only clean brush is somehow fossilized from 2018.
Basic Furniture Painting Supplies
- Drop cloth or plastic sheeting
- Screwdriver for removing hardware
- Mild dish soap or degreasing cleaner
- Clean rags or microfiber cloths
- Wood filler or repair putty
- Sandpaper or sanding sponges in medium and fine grits
- Tack cloth or damp lint-free cloth
- Painter’s tape
- Bonding primer or stain-blocking primer
- Furniture paint, cabinet paint, enamel paint, chalk paint, or acrylic latex paint
- Quality angled brush
- Small foam roller or microfiber mini roller
- Protective topcoat, polyurethane, polycrylic, or furniture wax
- Gloves, mask, and eye protection when sanding
Step 1: Clean the Furniture Like You Mean It
The easiest way to ruin a painted furniture project is to paint over dust, wax, oil, furniture polish, or mysterious sticky fingerprints from a household member who denies everything. Paint needs a clean surface to bond properly.
Start by removing drawers, knobs, handles, hinges, and any loose parts. Vacuum crumbs and dust from corners. Wash the furniture with warm water and mild dish soap or a gentle degreasing cleaner. Kitchen pieces, dining chairs, and thrift-store finds often need extra cleaning because they collect grease and residue over time.
After cleaning, wipe the piece with a damp cloth and let it dry completely. Do not rush this step. Painting damp furniture is like putting socks on wet feet: technically possible, emotionally wrong.
Step 2: Make Small Repairs Before Painting
Paint can transform a piece, but it will not hide every dent, gouge, missing veneer chip, or drawer corner that looks like it survived a raccoon argument. Before painting, inspect the furniture under good light.
Fill holes, scratches, and dents with wood filler or repair putty. Let the filler dry according to the product directions, then sand it smooth. If veneer is lifting, glue it down and clamp it before painting. If a drawer sticks, fix that before the pretty paint goes on. A beautiful dresser with a jammed drawer is just a colorful storage hostage situation.
Step 3: Sand for Better Paint Adhesion
You do not always need to sand furniture down to bare wood. In most cases, the goal is to scuff the surface so primer and paint can grab on. Think of sanding as giving the furniture a tiny texture handshake.
For glossy or varnished furniture, use medium-grit sandpaper to dull the shine. For already smooth surfaces, fine-grit sandpaper may be enough. Sand in the direction of the wood grain when working with real wood. Use sanding sponges for curves, carvings, edges, and legs.
After sanding, remove every bit of dust. Vacuum the piece, then wipe it down with a tack cloth or slightly damp lint-free cloth. Dust left behind can create bumps in the finish and make your final result look less polished.
Step 4: Choose the Right Primer
Primer is the difference between “this looks professionally done” and “this paint is peeling like a bad sunburn.” The right primer helps paint stick, blocks stains, evens out color, and improves durability.
Use Bonding Primer for Slick Surfaces
Laminate, glossy varnish, melamine, and factory-finished furniture need a bonding primer. This type of primer is designed to grip difficult surfaces. If you are painting laminate furniture, bonding primer is not optional. It is the bouncer at the paint adhesion nightclub.
Use Stain-Blocking Primer for Bleed-Through
Some woods, especially dark stained wood, cedar, mahogany, and pieces with knots, can bleed tannins through paint. If yellow, brown, or pink stains appear after priming, use a stain-blocking primer before continuing.
Use Metal Primer for Metal Furniture
For metal furniture, remove rust and use a primer formulated for metal. This helps prevent future rust and gives the paint a stronger base.
Apply primer in thin, even coats with a brush for corners and a small roller for flat areas. Let it dry fully. Lightly sand the primer after it dries if the surface feels rough, then wipe away dust before painting.
Step 5: Pick the Best Paint for Furniture
The best paint for furniture depends on the finish you want and how much use the piece will get. A decorative side table does not need the same durability as a kitchen chair, desk, or dresser in a child’s room.
Latex or Acrylic Paint
Latex and acrylic paints are easy to use, widely available, and clean up with water. For furniture, choose a durable formula in satin, semi-gloss, or gloss. Flat paint can look beautiful, but it is less washable unless sealed.
Cabinet and Trim Paint
Cabinet, door, and trim paints are excellent for furniture because they dry harder than standard wall paint. They are a smart choice for dressers, desks, tables, and cabinets that get touched often.
Chalk Paint
Chalk paint is popular because it covers well and creates a soft matte finish. It is great for vintage, farmhouse, cottage, and distressed looks. However, chalk paint usually needs wax or a protective topcoat to stand up to daily use.
Spray Paint
Spray paint works well for chairs, metal furniture, wicker, small tables, and pieces with lots of curves or details. The key is to use multiple light coats instead of one heavy coat. Heavy spray paint coats lead to drips, and drips lead to dramatic sighing.
Step 6: Paint in Thin Coats
Thin coats are the easy way. Thick coats may look faster at first, but they dry slowly, show brush marks, collect dust, and can stay tacky. Use a quality angled brush for corners, trim, edges, and details. Use a small roller for flat areas like drawer fronts, tabletops, sides, and shelves.
Start with one light coat. It may look uneven, and that is normal. The first coat is not there to impress anyone. It is there to begin coverage. Let it dry according to the paint label, then apply a second coat. Most furniture projects need two coats, and some dark-to-light transformations need three.
For the smoothest finish, lightly sand between coats with fine-grit sandpaper after the paint is dry. Wipe away dust before the next coat. This simple step can make painted furniture feel much more professional.
Step 7: Seal the Painted Furniture
Not every painted furniture project needs a separate sealer, but many do. Tabletops, desks, dressers, chairs, nightstands, and kids’ furniture benefit from a protective topcoat. A topcoat helps resist scratches, moisture, stains, and everyday wear.
Polycrylic
Water-based polycrylic is a popular choice over light paint colors because it dries clear and has lower odor than many oil-based finishes. It works well for dressers, desks, shelves, and decorative furniture.
Polyurethane
Polyurethane is durable and strong, but oil-based versions can amber over light paint. It is useful for high-wear surfaces when the color and finish are compatible.
Furniture Wax
Wax gives chalk-painted furniture a soft, hand-rubbed look. It is beautiful, but it may need reapplication over time. Use wax for decorative pieces or low-traffic furniture rather than heavily used tabletops.
Apply the topcoat in thin layers and let each coat dry fully. Avoid over-brushing because that can create streaks. Once sealed, give the furniture time to cure before heavy use.
Step 8: Let the Paint Cure Before Real Life Attacks
Dry paint and cured paint are not the same thing. Paint may feel dry to the touch within hours, but it can take days or even weeks to harden fully. During this curing period, be gentle. Do not place heavy objects on the surface, slide lamps across it, stack books, or let your cat test the finish with parkour.
Reattach hardware after the paint is dry enough to handle. If possible, wait a couple of days before putting drawers back into heavy use. For tabletops and desks, use coasters, felt pads, and placemats during the first few weeks.
Common Furniture Painting Mistakes to Avoid
Skipping the Cleaning Step
Dust, oil, and furniture polish can block adhesion. Always clean before sanding and painting.
Painting Over Gloss Without Sanding
Glossy surfaces need scuff sanding or bonding primer. Otherwise, paint can peel, scratch, or bubble.
Using Wall Paint Without Protection
Wall paint may look good at first, but furniture gets more handling and impact. Use durable paint or add a protective topcoat.
Applying Paint Too Thickly
Thick coats cause brush marks, drips, and tackiness. Multiple thin coats are stronger and smoother.
Rushing Dry Time
If the label says wait, wait. Paint chemistry does not care about your impatience or your weekend schedule.
Easy Painted Furniture Ideas for Beginners
If this is your first furniture painting project, start with something small. A nightstand, stool, side table, picture frame, or simple bookcase is easier than a full dining set. Beginner-friendly colors include warm white, soft gray, muted green, charcoal, navy, and black. These colors work with many home styles and are forgiving.
For a modern look, paint the furniture one solid color and replace old hardware with brass, matte black, or brushed nickel pulls. For a vintage look, use chalk paint, lightly distress the edges, and finish with wax. For a playful look, paint drawer fronts in a slightly different shade from the frame. For a high-end designer look, paint the outside one color and the inside shelves or drawers a contrasting color.
Safety Tips Before Painting Old Furniture
If you are working on a very old painted piece, especially one that may date back to the 1970s or earlier, be cautious about sanding. Older paint can contain lead. Do not dry-sand unknown old paint without testing or following lead-safe practices. Use protective equipment, work in a ventilated area, and consider professional help for antique or heavily chipping painted pieces.
Also pay attention to ventilation when using primer, spray paint, oil-based products, or protective finishes. Work outside when possible, or open windows and use fans to move air safely. Wear gloves and avoid painting near flames, heaters, or dusty areas.
How to Paint Furniture the Easy Way: A Simple Checklist
- Choose a sturdy furniture piece worth saving.
- Remove drawers, doors, and hardware.
- Clean the surface thoroughly.
- Repair dents, holes, loose veneer, or damaged edges.
- Scuff sand the surface for better adhesion.
- Remove sanding dust completely.
- Apply the right primer for the surface.
- Sand lightly after primer if needed.
- Apply two or more thin coats of paint.
- Let each coat dry fully.
- Seal with a topcoat if the piece will get regular use.
- Allow the finish to cure before heavy handling.
Real-Life Experience: What Actually Makes Furniture Painting Easier
After painting several types of furniture, from thrift-store nightstands to wobbly chairs with too much personality, one lesson becomes clear: the easiest projects are not the ones where you skip steps. The easiest projects are the ones where you prepare well enough that the paint behaves. Paint is not a miracle worker. It is more like a talented coworker who performs beautifully when you give it a clean desk and clear instructions.
The first experience many DIY painters have is the “I will just slap on paint and see what happens” phase. This phase is educational, humbling, and usually sticky. A glossy dresser may look ready for paint, but if it has furniture polish or old varnish on the surface, the paint can scratch off with a fingernail. That is the moment you realize sanding is not punishment. Sanding is insurance.
Another useful lesson is to choose the right project for your energy level. A small side table can be finished in a weekend. A dining table with six chairs is not a weekend project unless your weekend has been expanded by NASA. Chairs are especially sneaky because every spindle, curve, underside, and leg needs attention. If you are new to painting furniture, start with a flat-front dresser or nightstand. Flat surfaces are friendly. Chair legs are tiny obstacle courses.
Hardware also makes a huge difference. One of the fastest ways to make painted furniture look expensive is to replace dated knobs or pulls. A basic black dresser with modern brass handles can look like it came from a boutique furniture store, even if it started life in a garage next to a box labeled “miscellaneous cables.” Before buying hardware, measure the distance between screw holes. This prevents the classic DIY mistake of falling in love with handles that do not fit.
Paint color testing is another experience worth mentioning. A color that looks soft beige in the store can turn strangely yellow in your bedroom lighting. A moody green can look elegant online and then appear almost black in a dark hallway. Test a sample if the piece is large or important. Better yet, paint a small hidden area or a scrap board and view it in morning, afternoon, and evening light.
The most satisfying furniture painting projects usually include patience at the end. Once the final coat looks dry, the temptation to decorate immediately is powerful. You want to add the lamp, stack the books, place the vase, and take the triumphant photo. Resist. Let the finish cure. A few extra days of gentleness can prevent dents, smudges, and heartbreak.
Finally, do not expect perfection on your first project. A tiny brush mark does not mean failure. A slightly uneven inside corner does not cancel the makeover. Most people will see the overall transformation, not the microscopic flaw you are staring at like a detective in a paint-crime drama. With each project, your brush control improves, your prep gets faster, and your confidence grows. The easy way is not about rushing. It is about knowing which steps matter, doing them calmly, and letting the furniture become useful and beautiful again.
Conclusion
Painting furniture the easy way is all about smart preparation, the right products, and patient layering. Clean first, repair damage, scuff sand, prime properly, paint in thin coats, seal when needed, and allow the finish to cure. Once you understand that process, painted furniture becomes less intimidating and much more fun.
You do not need to be a professional painter to get a smooth, durable, stylish result. You just need to respect the surface, choose paint that matches the furniture’s purpose, and avoid shortcuts that create more work later. With a little planning, even an old dresser, scratched table, or forgotten thrift-store find can become a piece you are proud to use every day.
Note: This article was written as a practical, source-informed guide using established furniture painting best practices, including cleaning, sanding, priming, thin-coat painting, sealing, curing, ventilation, and lead-safety awareness.