Henna has been turning skin into wearable art for centuries, and yes, it is still one of the coolest ways to decorate yourself without making a lifelong commitment to a dolphin on your ankle. But if you want a beautiful stain instead of a mysterious brown blob that looks like a leaf sneezed on your hand, you need the right ingredients, the right method, and a little patience.
This guide walks you through how to make henna for use on skin in a way that is practical, beginner-friendly, and much safer than grabbing a random cone from the internet and hoping for the best. We will cover what natural henna is, what ingredients actually matter, how to mix the paste, how long to let it rest, how to apply it, and how to get a richer stain. We will also talk about the giant red warning sign in the room: black henna. Spoiler alert, that stuff is not your friend.
If your goal is smooth, skin-safe henna paste for mehndi, hand designs, or simple body art, this article will help you get there without turning your kitchen into a suspicious-looking science lab.
What Is Henna, Exactly?
Henna is a plant-based dye made from the powdered leaves of Lawsonia inermis. When mixed into a paste and applied to skin, it leaves a temporary stain that usually starts out bright orange and deepens over the next day or two into a richer reddish-brown shade. That stain fades naturally as your skin exfoliates.
For skin art, the key phrase to remember is body-art-quality henna. This means finely sifted, fresh henna powder that is intended to create smooth paste and clean lines. If your powder is gritty, stale, or mystery-colored, your results will probably be tragic, and not in an artistic way.
Before You Mix: The Safety Rules You Should Not Ignore
Before we get to the fun part, let’s do the smart part. If you are making henna for use on skin, natural henna should be your only lane. That means no “instant black henna,” no weird premixed cones with neon promises, and no dramatic experiments with hair dye. If a product claims to stain jet black fast, smells strongly chemical, or has no clear ingredient list, back away like it just asked to borrow money.
Natural henna usually stains in the orange-to-brown family. It does not become true black on its own. Products sold as black henna may contain added dyes or chemicals that can irritate skin or trigger serious reactions. That is why it is so important to buy from a reputable seller and patch test before a full design.
Do a Patch Test First
Even natural ingredients can bother sensitive skin. Test a tiny amount on your inner arm or wrist and wait at least 24 hours. If your skin gets red, itchy, swollen, or angry enough to file a complaint, skip it.
Do Not Apply Henna to These Areas
- Broken, sunburned, or irritated skin
- Active acne, cuts, rashes, or eczema patches
- Mucous membranes or the eye area
- Skin that was just shaved, scrubbed raw, or treated with strong exfoliants
Ingredients for Homemade Henna Paste
One reason henna beginners get overwhelmed is that the internet loves turning four simple ingredients into a potion worthy of a fantasy series. In reality, the best henna paste is usually pretty simple.
What You Need
- 1/4 cup body-art-quality henna powder
- 1.5 to 3 tablespoons lemon juice, apple juice, or water, added gradually
- 1 to 1.5 teaspoons sugar
- 1 to 1.5 teaspoons skin-safe essential oil such as high-quality lavender, optional but common
- Plastic wrap
- A glass or plastic bowl
- A spoon or spatula
- A cone, jacquard bottle, or applicator bottle
Why These Ingredients Matter
Henna powder is the star of the show. Fresh, finely sifted powder makes a smoother paste and cleaner lines.
Mildly acidic liquid helps with dye release. Lemon juice is a classic choice, but some people prefer water or apple juice if they have sensitive skin.
Sugar helps the paste stay flexible and cling to the skin instead of drying into a crumbly disaster five minutes after application.
Essential oil is optional, but many artists use skin-safe essential oils to support stain quality. The keyword here is skin-safe. Not every essential oil belongs on your body just because it smells expensive.
What Not to Add
- Coffee, because your henna does not need a caffeine addiction
- Food coloring or hair dye
- Random fragrance oils
- Unknown “black” pigments
- Anything metallic, glittery, or suspiciously dramatic
How to Make Henna for Use on Skin: Step by Step
Step 1: Sift if Needed
If your henna powder is not already ultra-fine, sift it before mixing. This helps prevent clogged applicator tips and bumpy lines. Good body-art-quality henna is often finely sifted already, but checking never hurts.
Step 2: Add Liquid Slowly
Put the henna powder in a non-metal bowl. Add your lemon juice, water, or apple juice a little at a time, stirring as you go. Start with just enough liquid to make a thick paste. Think mashed potatoes, not soup. If you dump in all the liquid at once, you may end up making henna gravy, which is not a recognized body art category.
Step 3: Add Sugar and Essential Oil
Once the paste is evenly mixed, stir in the sugar. Then add your essential oil if using it. Mix thoroughly until the paste is smooth and there are no dry pockets or clumps. At this stage, the mixture will still feel thick. That is normal.
Step 4: Cover the Surface
Press plastic wrap directly onto the surface of the henna paste so there is minimal air touching it. This helps keep the top from drying out and supports more even dye release.
Step 5: Let It Rest
Now comes the part that tests your patience. Leave the covered paste in a warm room for about 8 to 24 hours. The exact timing depends on the henna, the temperature, and your recipe. Warmer rooms usually speed things up. You want the dye to release properly before using the paste.
If you are following a beginner-friendly method, 24 hours in a warm area is a safe, common approach. If your house is chilly, henna may take longer. If it is very warm, it may be ready sooner.
Step 6: Adjust the Texture
After resting, stir the paste well. If it is too thick, add a few drops of liquid at a time. If it is too thin, add a tiny pinch of henna powder and mix again. You want a smooth, pipeable consistency that slowly ribbons off a spoon. Think creamy yogurt meets cake frosting with better life choices.
Step 7: Fill Your Applicator
Spoon the paste into a cone or bottle. If you are using a cone, make sure it is sealed well. If you are using a bottle, test the tip before heading straight to your hand and accidentally inventing abstract expressionist mehndi.
How to Prep Skin Before Applying Henna
Skin prep matters more than most people think. Henna likes clean, dry skin. It does not enjoy competing with lotion, body oil, sunscreen, or the remains of your vanilla shimmer body butter from three days ago.
Best Skin Prep Routine
- Wash the area gently with soap and water.
- Dry it completely.
- Skip lotion and oil before application.
- If the skin is especially oily, wipe lightly with witch hazel or alcohol and let it dry.
Hands and feet usually stain darkest because the skin is thicker there. Areas like the face, torso, and back tend to stain lighter and fade faster.
How to Apply Henna for the Best Stain
Let the Paste Dry Without Smudging
Once you draw your design, leave it alone. Yes, that means no touching it to “see if it is working.” Let the paste dry on the skin. Some people use a light lemon-sugar seal after the design starts drying, which can help keep the paste in place longer.
Leave It On for Hours, Not Minutes
If you want a better stain, the paste needs time on the skin. Four to eight hours is a common sweet spot, and some people leave it on overnight if it is comfortable. In general, the longer the paste stays in contact with skin, the deeper the stain can develop.
Remove It Gently
Do not wash the paste off right away with water. Gently flake it off with your fingers or use a little oil to loosen stubborn bits. Water too soon can interfere with the early stain development.
Protect the Fresh Stain
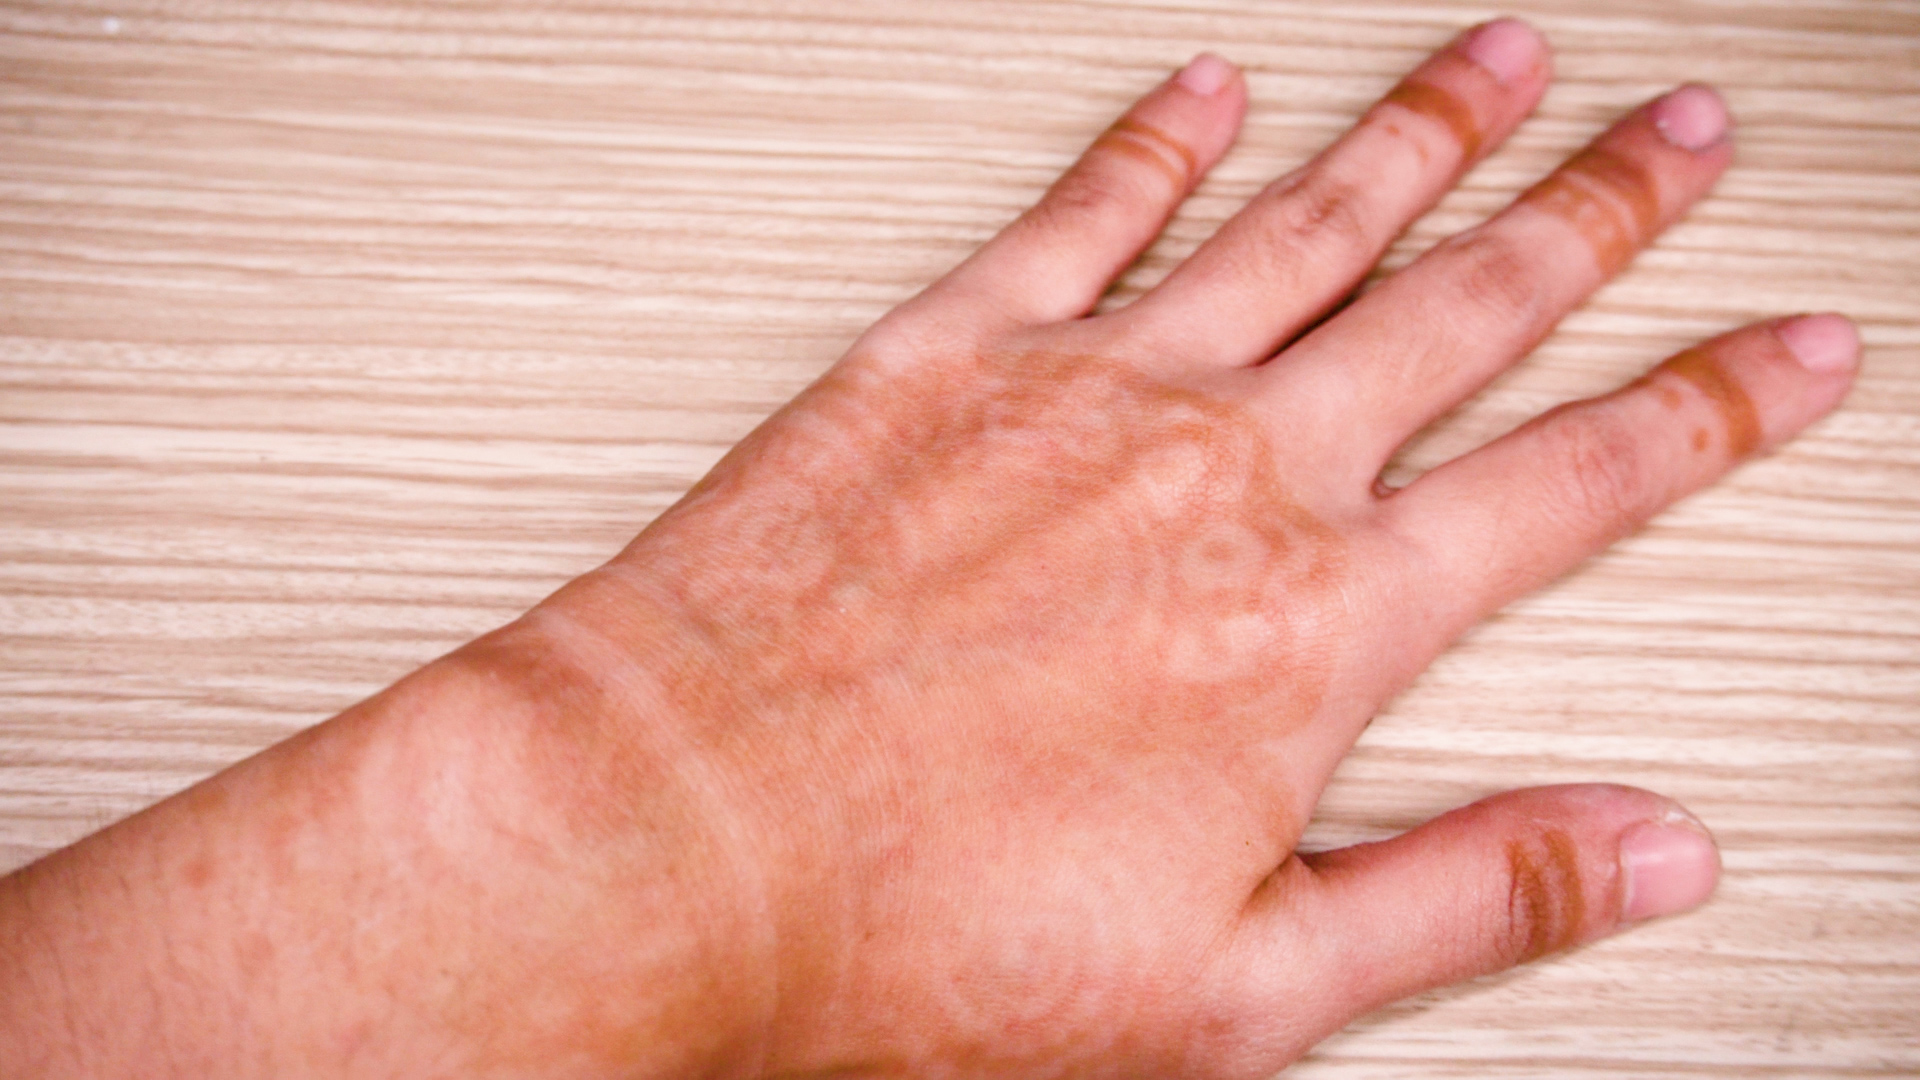
The fresh stain will usually look bright orange at first. Do not panic. That is normal. Over the next 24 to 48 hours, it often darkens into a richer brown tone. Try to avoid water for the first day if possible, and use a little oil or balm as a barrier before bathing or swimming.
Common Mistakes When Making Henna for Skin
Using Low-Quality Powder
Fresh powder makes a real difference. Old powder gives weak color, poor texture, and enough disappointment to write poetry about.
Making the Paste Too Thin
If your henna spreads like salad dressing, your lines will blur. Start thick and thin it gradually.
Skipping the Rest Time
Freshly mixed paste is often not ready to stain well. Dye release is not optional if you want decent results.
Applying on Moisturized Skin
Henna sticks better to clean, dry skin. Lotion acts like a tiny “no vacancy” sign.
Buying Mystery Cones
If the ingredient list is vague, the color claim is suspicious, or the cone promises instant black results, that is a bad sign. Natural henna is earthy, perishable, and a little high-maintenance. That is part of the charm.
How to Store Homemade Henna Paste
Henna paste is perishable. If you mix too much, freeze the extra in sealed cones or airtight containers. Many artists store leftover paste in the freezer for several months. Thaw only what you plan to use that day. Repeated thawing and refreezing can weaken stain quality.
Unmixed henna powder should be stored in a cool, dry place. Heat, moisture, and light are not doing your powder any favors.
FAQ: How to Make Henna for Use on Skin
Can I make henna with just powder and water?
Yes, but many people find that adding sugar and using a mildly acidic liquid improves texture and stain performance. A very simple recipe can work, but a thoughtful recipe tends to work better.
How long does homemade henna last on skin?
It depends on the body area, aftercare, and your skin type. Hands and feet often last the longest. Lighter, oilier areas usually fade faster.
Why is my henna orange at first?
Because that is how natural henna usually starts. The stain deepens over the next 24 to 48 hours.
Can I use henna on my face?
You can, but it is riskier because facial skin is more reactive and visible. Only use high-quality natural henna, patch test first, and avoid broken skin. If you have sensitive skin, proceed very cautiously.
What if my skin reacts badly?
Remove the paste, wash gently, and stop using the product. If the reaction is severe, painful, blistering, or spreading, get medical care.
Experiences and Real-World Lessons From Making Henna for Skin
One of the most common beginner experiences with homemade henna is surprise. Not bad surprise, just the kind that says, “Wait, this green-brown mud is supposed to turn into pretty body art?” Yes. The first time you mix henna, it rarely looks glamorous. It smells earthy, the paste looks oddly swampy, and you may briefly wonder if you made beauty paste or herbal guacamole. Then the magic starts happening.
Many first-timers notice that henna teaches patience almost immediately. You mix it, then you wait. Then you stir it, then you wait some more. Then you apply it, avoid touching anything, sit like a statue, and resist every urge to poke the design. Henna is basically arts and crafts for people willing to be humbled by time. That slow process is part of why experienced henna users often love it. It feels intentional.
Another common experience is learning that placement changes everything. Beginners often try a test design on the wrist or forearm and feel disappointed when the stain comes out lighter than expected. Then they try the palm or fingers and suddenly get much richer color. That is not failure. It is just skin science. Thicker skin tends to stain darker, while thinner or oilier areas may produce softer results. In other words, your henna is not being moody. Your skin is just doing its own thing.
People also tend to remember the moment they remove dried paste and think, “That’s it? This orange little design is what I waited for?” Then the next day arrives, and the stain deepens beautifully. That delayed payoff is one of the most interesting parts of working with natural henna. It teaches you not to judge results too early. Fresh henna often looks bright and light before it matures into a warmer, richer shade.
There is also the very real experience of discovering that line control is harder than it looks. Social media makes henna application seem effortless, as if everyone is casually drawing flawless paisleys while chatting and sipping tea. In reality, your first few lines may wobble, blob, or wander off like they forgot the assignment. That is normal. Most people get better quickly once they learn how much pressure to use and how the paste should flow. Good henna art is part recipe, part practice, and part accepting that your first flower might look more like a confused octopus.
Experienced users often say the biggest lesson is to keep the recipe simple. When beginners panic and start adding coffee, cloves, mystery oils, or internet folklore ingredients, the results usually get worse, not better. The best experiences tend to come from fresh body-art-quality powder, a sensible liquid, a bit of sugar, and careful aftercare. In other words, henna rewards calm behavior, not kitchen chaos.
And finally, there is the experience almost everyone loves: the compliments. Once your stain deepens and the design settles in, people notice. Henna has that rare ability to feel both artistic and personal. Even a tiny homemade pattern can feel special because you made it yourself, mixed it yourself, and waited for it to bloom on your skin. That is the fun of it. It is part craft project, part beauty ritual, and part wearable souvenir of your own patience.
Final Thoughts
If you want to know how to make henna for use on skin, the short answer is this: keep it simple, keep it natural, and keep it safe. Start with body-art-quality henna powder, add a mild liquid slowly, mix in sugar, use skin-safe ingredients, let the paste rest, and apply it to clean, dry skin. Then give the stain time to develop. Henna is not instant, but that is exactly why it feels special.
Done right, homemade henna can be beautiful, creative, and deeply satisfying. Done carelessly, it can be messy, weak, or irritating. So skip the shortcuts, avoid black henna, and let the plant do what it does best. With a little practice, you will go from “What is this muddy blob?” to “Okay, wow, I kind of nailed that.”