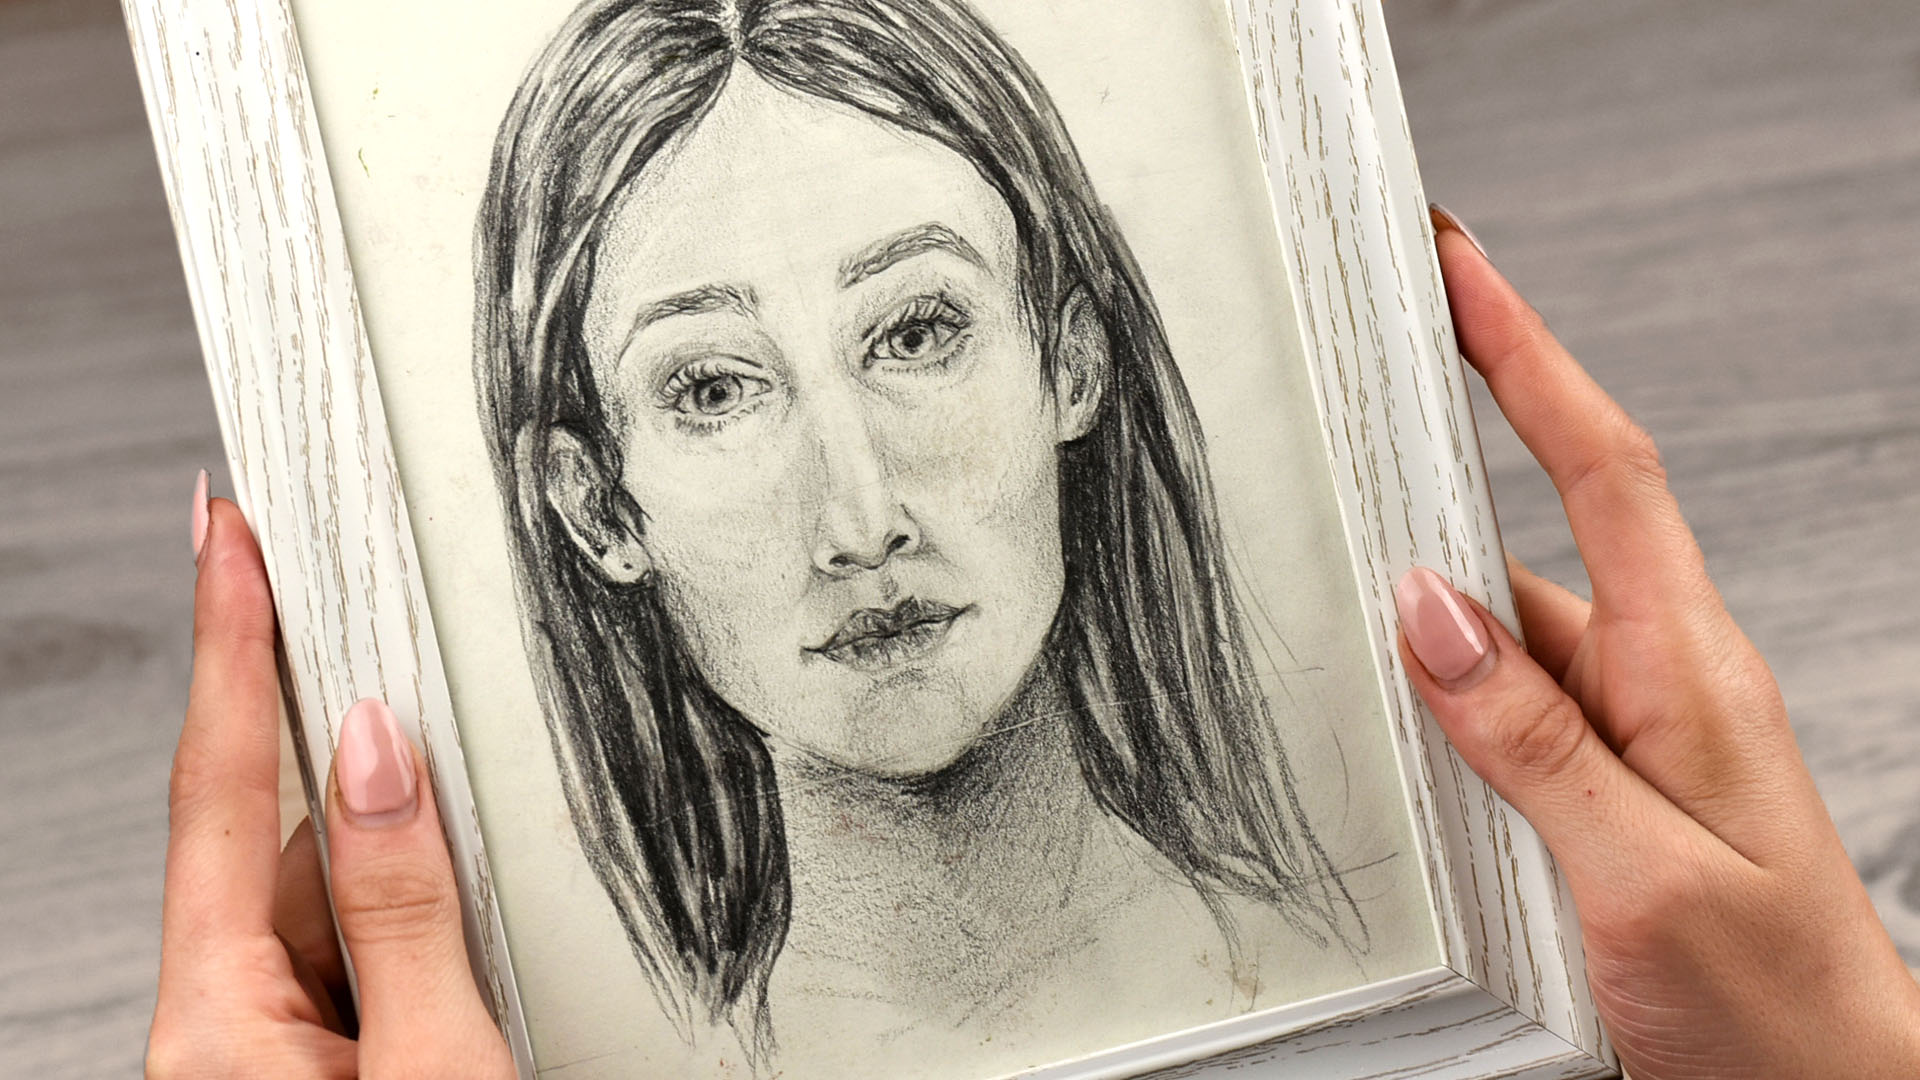
Drawing a self portrait sounds simple until you sit down, look in the mirror, and realize your nose has apparently been shape-shifting since breakfast. The good news? A self portrait is not about creating a flawless copy of your face. It is about learning how to observe, measure, simplify, shade, and tell a visual story about yourself without panicking every time one eye looks slightly more dramatic than the other.
Whether you are a beginner with a pencil, a student working on an art-class assignment, or a creative person who wants to understand portrait drawing better, this guide will walk you through the process step by step. You will learn how to set up your workspace, sketch accurate facial proportions, draw eyes, nose, mouth, hair, values, and personal details, and finish your self portrait with confidence. No magic requiredjust patience, curiosity, and maybe an eraser that has seen some things.
What Is a Self Portrait?
A self portrait is a portrait an artist makes of themselves. It can be realistic, expressive, symbolic, abstract, colorful, black-and-white, serious, funny, or somewhere in the wonderfully messy middle. In traditional portrait drawing, the goal is often to capture a likeness: the structure of the face, the placement of features, the expression, and the personality behind the eyes.
But a strong self portrait does more than say, “Here is what I look like.” It can say, “Here is how I see myself,” “Here is what I value,” or “Here is the mood I am carrying today.” That is why self-portraiture has been used for centuries by artists as both a technical exercise and a personal statement. It trains your hand, sharpens your eye, and quietly asks you some big questions while pretending to be only about cheekbones.
Supplies You Need to Draw a Self Portrait
You do not need a luxury art studio with dramatic skylights and a cat named Leonardo. A simple setup is enough. Start with drawing paper, a graphite pencil, an eraser, a mirror or clear reference photo, and a light source. If you want richer shadows, add charcoal, conte crayon, blending stumps, or toned paper.
Basic beginner supplies
- Pencils: HB, 2B, and 4B are a practical starting set.
- Paper: Smooth drawing paper works well for graphite; textured paper works nicely for charcoal.
- Eraser: Use a kneaded eraser for lifting highlights and a regular eraser for cleanup.
- Mirror: A medium or large mirror helps if you are drawing from life.
- Reference photo: Choose one with clear lighting and a natural expression.
- Ruler or pencil for measuring: Helpful for checking angles and proportions.
If you are drawing from a mirror, place it at eye level and keep your head in the same position as much as possible. If you are drawing from a photo, choose one that shows your face clearly without heavy filters. Filters are fun, but they can flatten real facial structure faster than a pancake under a dictionary.
Step 1: Set Up Your Reference and Lighting
Before drawing anything, decide how you want the portrait to feel. A front-facing self portrait feels direct and honest. A three-quarter view adds depth and personality. A side profile can look classic and thoughtful. There is no single correct pose, but beginners often find a front or three-quarter view easiest to understand.
Lighting matters because it creates the shadows that reveal form. Place one light source slightly above and to one side of your face. This setup gives your portrait clear highlights, midtones, and shadows. Avoid lighting from every direction at once; it can make your face look flat and difficult to draw. In portrait drawing, shadows are not the enemy. They are the helpful stage crew making your face look three-dimensional.
Step 2: Sketch the Big Shape of the Head
Start lightly. Draw an oval or egg shape for the head. Do not press hard, and do not worry about perfection. Most heads are not perfect ovals. Some are longer, rounder, narrower, wider at the jaw, or fuller at the cheeks. Your job is to capture your head shape, not the default cartoon head from a worksheet.
Next, draw a vertical center line down the face. This helps align the forehead, nose, mouth, and chin. If your head is turned slightly, the center line should curve or shift toward the direction of the turn. Then draw a horizontal guideline about halfway down the head for the eyes. Many beginners place the eyes too high because the forehead feels less “interesting” than the features. Resist the temptation. The top half of the head has more room than you think.
Step 3: Map the Facial Proportions
Facial proportions are not strict laws, but they are useful landmarks. Think of them as a map, not a prison. Real faces vary, and those variations are what create likeness. Start with general placement, then adjust based on what you actually see.
Common portrait proportion guidelines
- The eyes usually sit about halfway between the top of the head and the chin.
- The bottom of the nose often falls about halfway between the eyes and the chin.
- The mouth often sits about one-third of the way between the nose and the chin.
- The ears usually align roughly from the brow area to the bottom of the nose.
- The space between the eyes is often about the width of one eye.
Use these guidelines lightly. Then compare your drawing to your mirror or photo. Is your chin longer? Are your eyes closer together? Is your nose bridge more narrow? Is your mouth wider than your nose? Those specific observations are what turn a generic face into your face.
Step 4: Block In the Features Without Details
Now lightly sketch the basic shapes of the eyes, nose, mouth, eyebrows, ears, and hairline. The key phrase here is “basic shapes.” Do not draw eyelashes yet. Do not shade every lip wrinkle yet. Do not lovingly render one nostril while the rest of the face is still a ghost. Work from large shapes to small details.
For the eyes, sketch almond-like forms or the actual shape you see. For the nose, begin with the bridge, ball, nostrils, and side planes. For the mouth, draw the center line first, then the upper and lower lip shapes. For hair, block in the overall mass instead of drawing individual strands. Hair behaves more like a soft sculptural shape than a collection of tiny spaghetti lines.
Step 5: Draw the Eyes with Expression
The eyes often become the emotional center of a self portrait. Begin with the eye sockets, not just the eyeballs. The brow bone, eyelids, and surrounding shadows matter as much as the iris. Draw the upper lid with more weight than the lower lid, because it usually casts a slight shadow. Place the iris carefully, making sure both eyes look in the same direction.
Leave a small highlight in each eye if your lighting shows one. That tiny bright spot can make the portrait feel alive. But do not overdo it. Too many highlights can make your self portrait look like you just saw a ghost, won the lottery, and discovered caffeine all at once.
Step 6: Build the Nose with Planes, Not Lines
The nose can intimidate beginners because it does not have a hard outline like a sticker. Instead of drawing a cartoon border around it, think of the nose as a structure made of planes: the bridge, side planes, ball, nostrils, and underside. Use shading to show where the nose turns away from the light.
Keep nostrils softer than you think. Dark, heavy nostrils can quickly take over the face like tiny villains. Focus on the shadows under the nose, along the side plane, and where the nose connects to the brow and cheeks. A well-drawn nose often depends more on value changes than on strong outlines.
Step 7: Draw the Mouth Naturally
Start the mouth with the line where the lips meet. This line usually has subtle curves and corners, not a perfectly straight dash. Then sketch the upper lip and lower lip shapes. The upper lip is often slightly darker because it turns away from the light, while the lower lip may catch more light.
Do not outline the lips too heavily unless you are using a stylized approach. In realistic portrait drawing, lips are built through soft edges, shadows, and highlights. Pay attention to the corners of the mouth, because they reveal expression. A tiny change there can shift the whole portrait from calm to amused to “I have been drawing this mouth for forty-seven minutes and need a snack.”
Step 8: Add Hair as a Shape First
Hair is part of identity, movement, and composition. Begin by drawing the largest shape of the hair: the silhouette, volume, and direction. Then divide it into big sections or locks. Only after the main values are in place should you add a few individual strands.
Look for dark masses, light areas, and the direction the hair flows. Curly hair, straight hair, short hair, long hair, braids, bangs, shaved sides, and messy morning hair all have different structures. The trick is to simplify first. If you draw every strand from the beginning, the portrait may look busy but flat. Big shapes create form; small details create texture.
Step 9: Shade the Face with Values
Value means how light or dark something is. In a self portrait, value creates the illusion of three-dimensional form. Squint at your reference to see the biggest light and dark areas. You may notice shadows under the brow, beside the nose, under the lower lip, below the chin, around the hairline, and along one side of the face.
Build shadows gradually. Start with light pressure, then darken areas slowly. Avoid smudging everything into gray soup. Keep your highlights clean, your darkest darks intentional, and your midtones smooth enough to connect the forms. A good value range can make even a simple pencil drawing feel solid and expressive.
Step 10: Use Details to Show Personality
A self portrait becomes more memorable when it includes signs of personality. You might add glasses, earrings, a favorite hoodie, a sketchbook, headphones, a meaningful background object, or a color that reflects your mood. These details should support the portrait, not bury it. Think of them as seasoning. A little can make the dish. Too much and suddenly your portrait is wearing a whole garage sale.
Props and background elements can also make the artwork more personal. A musician might include a guitar. A reader might draw books. A runner might include shoes or a track-inspired background. A quiet person might use soft shadows and empty space. A bold personality might choose strong contrast and dramatic posture. The best self portrait combines likeness with intention.
Common Mistakes When Drawing a Self Portrait
Every artist makes mistakes, especially in portrait drawing. The difference between a beginner and an experienced artist is not that one makes errors and the other does not. The experienced artist simply catches them earlier, adjusts them calmly, and does not treat every crooked eyebrow as a personal betrayal.
Placing the eyes too high
This is one of the most common beginner issues. Remember that the eyes usually sit around the middle of the head, not near the top. The forehead and hair take up more space than many people expect.
Drawing symbols instead of observations
Many people draw what they think an eye, nose, or mouth looks like instead of what is actually in front of them. Slow down and observe shapes, angles, shadows, and distances.
Making both sides too symmetrical
Faces are not perfectly symmetrical. Small differences between the left and right sides make the portrait believable. Do not erase every natural variation.
Outlining everything too heavily
Strong outlines can flatten the face. Use a mix of soft edges, lost edges, and darker accents to create depth.
Saving the hair for last
Hair affects the entire composition. Block it in early so the head shape, face, and hair work together.
How to Make Your Self Portrait Look More Like You
Likeness comes from relationships. The distance between the eyes, the angle of the eyebrows, the length of the nose, the width of the mouth, the shape of the jaw, and the tilt of the head all work together. Instead of asking, “Does this eye look good?” ask, “Is this eye in the right place compared to the nose, brow, and other eye?”
Measure often. Hold your pencil at arm’s length and compare widths, heights, and angles. Check negative spaces, such as the area between the neck and hair or between the jaw and shoulder. Turn your drawing upside down for a moment if you are using a photo. This helps your brain stop naming features and start seeing shapes.
Another useful trick is to step away from the drawing every few minutes. Up close, you may obsess over one eyelid. From a distance, you can see whether the whole portrait is working. Portrait drawing is a team sport between details and the big picture, except the whole team is you.
Self Portrait Styles You Can Try
Once you understand the basics, you can experiment with different styles. A realistic self portrait focuses on accurate proportions, careful shading, and close observation. An expressive self portrait may exaggerate line, shape, contrast, or color to show emotion. A symbolic self portrait can use objects, patterns, or colors to represent your identity without relying only on facial likeness.
Realistic pencil self portrait
This style is ideal for practicing facial proportions, value, and texture. It works well with graphite or charcoal.
Expressive charcoal self portrait
Charcoal is perfect for bold shadows, dramatic lighting, and energetic marks. It is messy, but in a glamorous “my hands are now part of the artwork” way.
Symbolic self portrait
This approach uses objects, colors, clothing, background, and composition to communicate personality. It is great for students and artists who want to explore identity.
Stylized self portrait
A stylized portrait simplifies or exaggerates features. You might use bold outlines, unusual colors, geometric shapes, or cartoon-inspired forms while still keeping recognizable traits.
Practice Exercises for Better Self Portraits
Improvement comes from repetition. Try drawing quick self portraits in different time limits: two minutes, five minutes, fifteen minutes, and one hour. Short drawings force you to capture the big shapes quickly. Longer drawings help you refine proportions and values.
You can also practice one feature at a time. Spend a page drawing only eyes, another page drawing noses, and another drawing mouths. Then do a full portrait and notice how much more confident your hand feels. Another powerful exercise is to draw the same self portrait twice: once from a mirror and once from a photo. The mirror version trains live observation, while the photo version gives you a stable reference for careful measuring.
Experience Notes: What Drawing a Self Portrait Teaches You
The first time you draw a self portrait, you may expect the hard part to be the face. Surprisingly, the hardest part is often looking at yourself long enough to draw honestly. Most of us are used to quick glances in mirrors, selfies, and camera angles that have been negotiated like international treaties. A self portrait asks for slower attention. It says, “Look again. No, really. Look.”
One useful experience is learning that your first sketch does not need to be beautiful. In fact, the first sketch is usually just a polite introduction. You are finding the head shape, testing proportions, and discovering that your left eyebrow has a personality career of its own. The drawing becomes better when you stop demanding instant perfection and start treating every line as adjustable information.
Another important lesson is that likeness often appears late. At the beginning, the drawing may look like a distant cousin, a substitute teacher, or a mysterious person who borrowed your haircut. Keep going. As you refine the spacing between features, deepen the shadows, adjust the jawline, and place the eyes more accurately, the portrait slowly begins to resemble you. This is normal. Portrait drawing is built in layers, not lightning bolts.
Drawing from a mirror can also teach patience. Your head moves. Your expression changes. Your posture slowly collapses into “tired shrimp mode.” To manage this, mark your position, take breaks, and return to the same pose. If you use a photo, you avoid movement, but you may lose some of the lively observation that comes from drawing from life. Both methods are valuable. The mirror gives freshness; the photo gives stability.
Shading is where many self portraits suddenly come alive. A simple shadow under the lower lip, a darker shape beside the nose, or a soft tone under the brow can transform a flat sketch into a believable face. The experience can feel almost magical, but it is really careful observation. You are not drawing “an eye” or “a cheek.” You are drawing light landing on form.
Perhaps the most personal part is deciding what to include beyond the face. Clothes, hairstyle, glasses, jewelry, background objects, and even posture can say something about who you are. A self portrait with headphones feels different from one with a formal shirt. A portrait with strong shadows feels different from one with bright, open lighting. These choices turn the artwork from a technical exercise into a small autobiography.
The biggest takeaway is this: drawing a self portrait is not about proving you are naturally talented. It is about training yourself to see clearly. Some lines will be wrong. Some features will need to move. Some shadows will get too dark. That is not failure; that is the actual process. Every correction means your eyes are getting sharper. And when the portrait finally looks back at you with a little spark of recognition, the effort feels completely worth it.
Conclusion
Learning how to draw a self portrait is one of the best exercises for building real drawing skills. It teaches proportion, structure, shading, observation, composition, and visual storytelling all at once. Start with the big head shape, place your guidelines carefully, block in the features, build values slowly, and use personal details to make the portrait feel like more than a face on paper.
Most importantly, be patient with the process. A self portrait is not supposed to appear perfectly in one dramatic pencil stroke. It grows through looking, measuring, correcting, and trying again. Give yourself permission to make awkward early sketches. That is where the learning lives. With practice, your self portraits will become more accurate, expressive, and personaland your eraser will finally get the respect it deserves.