Custom painting a car dashboard is one of those projects that sounds suspiciously simple until you are standing in the garage holding painter’s tape, staring at a curved plastic panel, and wondering whether the previous owner polished it with bacon grease. The good news? A clean, well-painted dashboard can completely transform your interior. The better news? You do not need a $10,000 paint booth or a wizard named Gary to do it right.
The secret is preparation. Dashboard paint fails when the surface is dirty, glossy, oily, silicone-coated, poorly masked, or sprayed too heavily. It succeeds when you clean like a detailer, sand like a patient person, use the right adhesion promoter, apply light coats, and allow enough cure time before reinstalling trim or tossing your keys onto the dash like a tiny metal meteor.
This guide walks you through how to custom paint a car dashboard safely and professionally, whether you are restoring a faded classic, updating a worn daily driver, or building a custom interior that looks more “show car” and less “garage sale spaceship.”
Can You Paint a Car Dashboard?
Yes, you can paint a car dashboard, but you need to use products designed for automotive interior surfaces. Most dashboards are made from vinyl, ABS plastic, polypropylene, thermoplastic olefin, PVC, urethane foam, or a combination of soft and hard materials. Regular household spray paint may look fine for a week, then crack, peel, rub off, or turn shiny in all the wrong places.
For the best result, choose automotive interior paint, vinyl and fabric coating, plastic refinisher, flexible coating, or a dye-style coating made for dashboards, door panels, consoles, and trim. These products are formulated to bond to flexible or semi-flexible interior materials and resist cracking better than generic paint.
Before You Start: Safety Comes First
Painting a dashboard is not just a cosmetic project. You may be working near airbags, electronics, vents, switches, radio wiring, climate controls, and trim clips that seem personally committed to disappearing under the seat.
Disconnect the Battery
Before removing dashboard panels or working near the steering column, disconnect the negative battery cable. This reduces the risk of short circuits and accidental airbag deployment. Wait at least 10 to 15 minutes before touching any airbag-related components, and always follow your vehicle’s repair manual.
Ventilate the Work Area
Paint fumes are not a personality enhancer. Work outdoors or in a well-ventilated garage with doors open and fans moving air away from you. Wear gloves, eye protection, and a respirator rated for paint vapors. If you use two-part automotive coatings or clear coats, be extra careful: some professional coatings may contain hazardous chemicals that require proper respiratory protection and controlled spray conditions.
Avoid Painting Airbag Covers Incorrectly
Do not build thick paint layers over airbag covers or seams. Heavy coatings may interfere with the way the cover splits during deployment. If your dashboard includes an airbag cover, use extreme caution, keep coatings thin, and consider leaving that section factory-finished or consulting a professional.
Tools and Materials You Will Need
- Automotive interior paint, vinyl dye, or plastic refinisher
- Plastic adhesion promoter or vinyl prep product
- Automotive wax and grease remover
- Mild soap and water
- Isopropyl alcohol and clean microfiber towels
- Gray scuff pad or 600- to 1200-grit sandpaper
- Painter’s tape and masking paper or plastic sheeting
- Plastic trim removal tools
- Screwdrivers and socket set
- Tack cloth
- Nitrile gloves, safety glasses, and respirator
- Drop cloths
- Optional: flexible filler or vinyl repair kit for cracks
Step 1: Decide Whether to Remove the Dashboard or Paint It in Place
The cleanest custom dashboard paint job usually happens when the parts are removed from the vehicle. Removing trim panels lets you clean edges, paint evenly, and avoid overspray on glass, seats, carpet, gauges, and vents. It also saves you from the tragic comedy of discovering paint dust on your windshield three days later.
However, removing a full dashboard can be complicated. Modern dashboards may contain wiring harnesses, airbags, sensors, infotainment systems, clips, brackets, and hidden fasteners. If you only want to paint the dashboard bezel, lower panels, glove box, or center console trim, removal is usually manageable with basic tools. If you plan to remove the entire dash shell, get a vehicle-specific repair manual first.
Step 2: Clean the Dashboard Thoroughly
Cleaning is the most important part of custom painting a car dashboard. Interior surfaces collect skin oil, dust, food crumbs, protectant sprays, silicone dressings, sunscreen, coffee mist, and the mysterious film that appears in every car after approximately three summers.
Start with warm water and mild soap. Scrub the surface gently with a microfiber towel or soft brush, especially around seams, vents, edges, and textured areas. Rinse with a clean damp towel and dry completely.
Next, use an automotive wax and grease remover or a product recommended by the paint manufacturer. Wipe in one direction with a clean towel, then immediately wipe dry with another towel. Do not let dirty solvent evaporate on the surface, because that simply redeposits contamination. Think of it as moving the mess from one chair to another and calling the room clean.
Step 3: Repair Cracks, Gouges, and Peeling Areas
If the dashboard has cracks or gouges, repair them before painting. Small scratches can often be smoothed with fine sandpaper. Larger cracks may need flexible vinyl repair compound or plastic repair material. Let repairs cure fully, then sand them smooth.
Be realistic about deep cracks in old padded dashboards. Paint can improve color and appearance, but it will not magically rebuild foam that has shrunk or split from decades of heat. If the dash is severely cracked, a dash cap, replacement pad, or professional restoration may be a better option.
Step 4: Sand or Scuff the Surface
Paint needs something to grip. A glossy dashboard is basically a slip-and-slide for coatings. Use a gray scuff pad or fine sandpaper to dull the surface. For hard plastic trim, 600- to 1200-grit sandpaper is commonly used. For softer vinyl, use a gentle touch so you do not damage the grain.
Your goal is not to carve initials into the dashboard. You only want to create a uniform dull finish. Pay attention to corners, curves, vents, and recessed areas. If any glossy spots remain, paint may peel there first.
After scuffing, vacuum the dust, wipe with a clean damp towel, and use a tack cloth lightly. Then do a final wipe with the recommended prep cleaner. Let the surface dry completely before applying adhesion promoter or paint.
Step 5: Mask Everything Like You Mean It
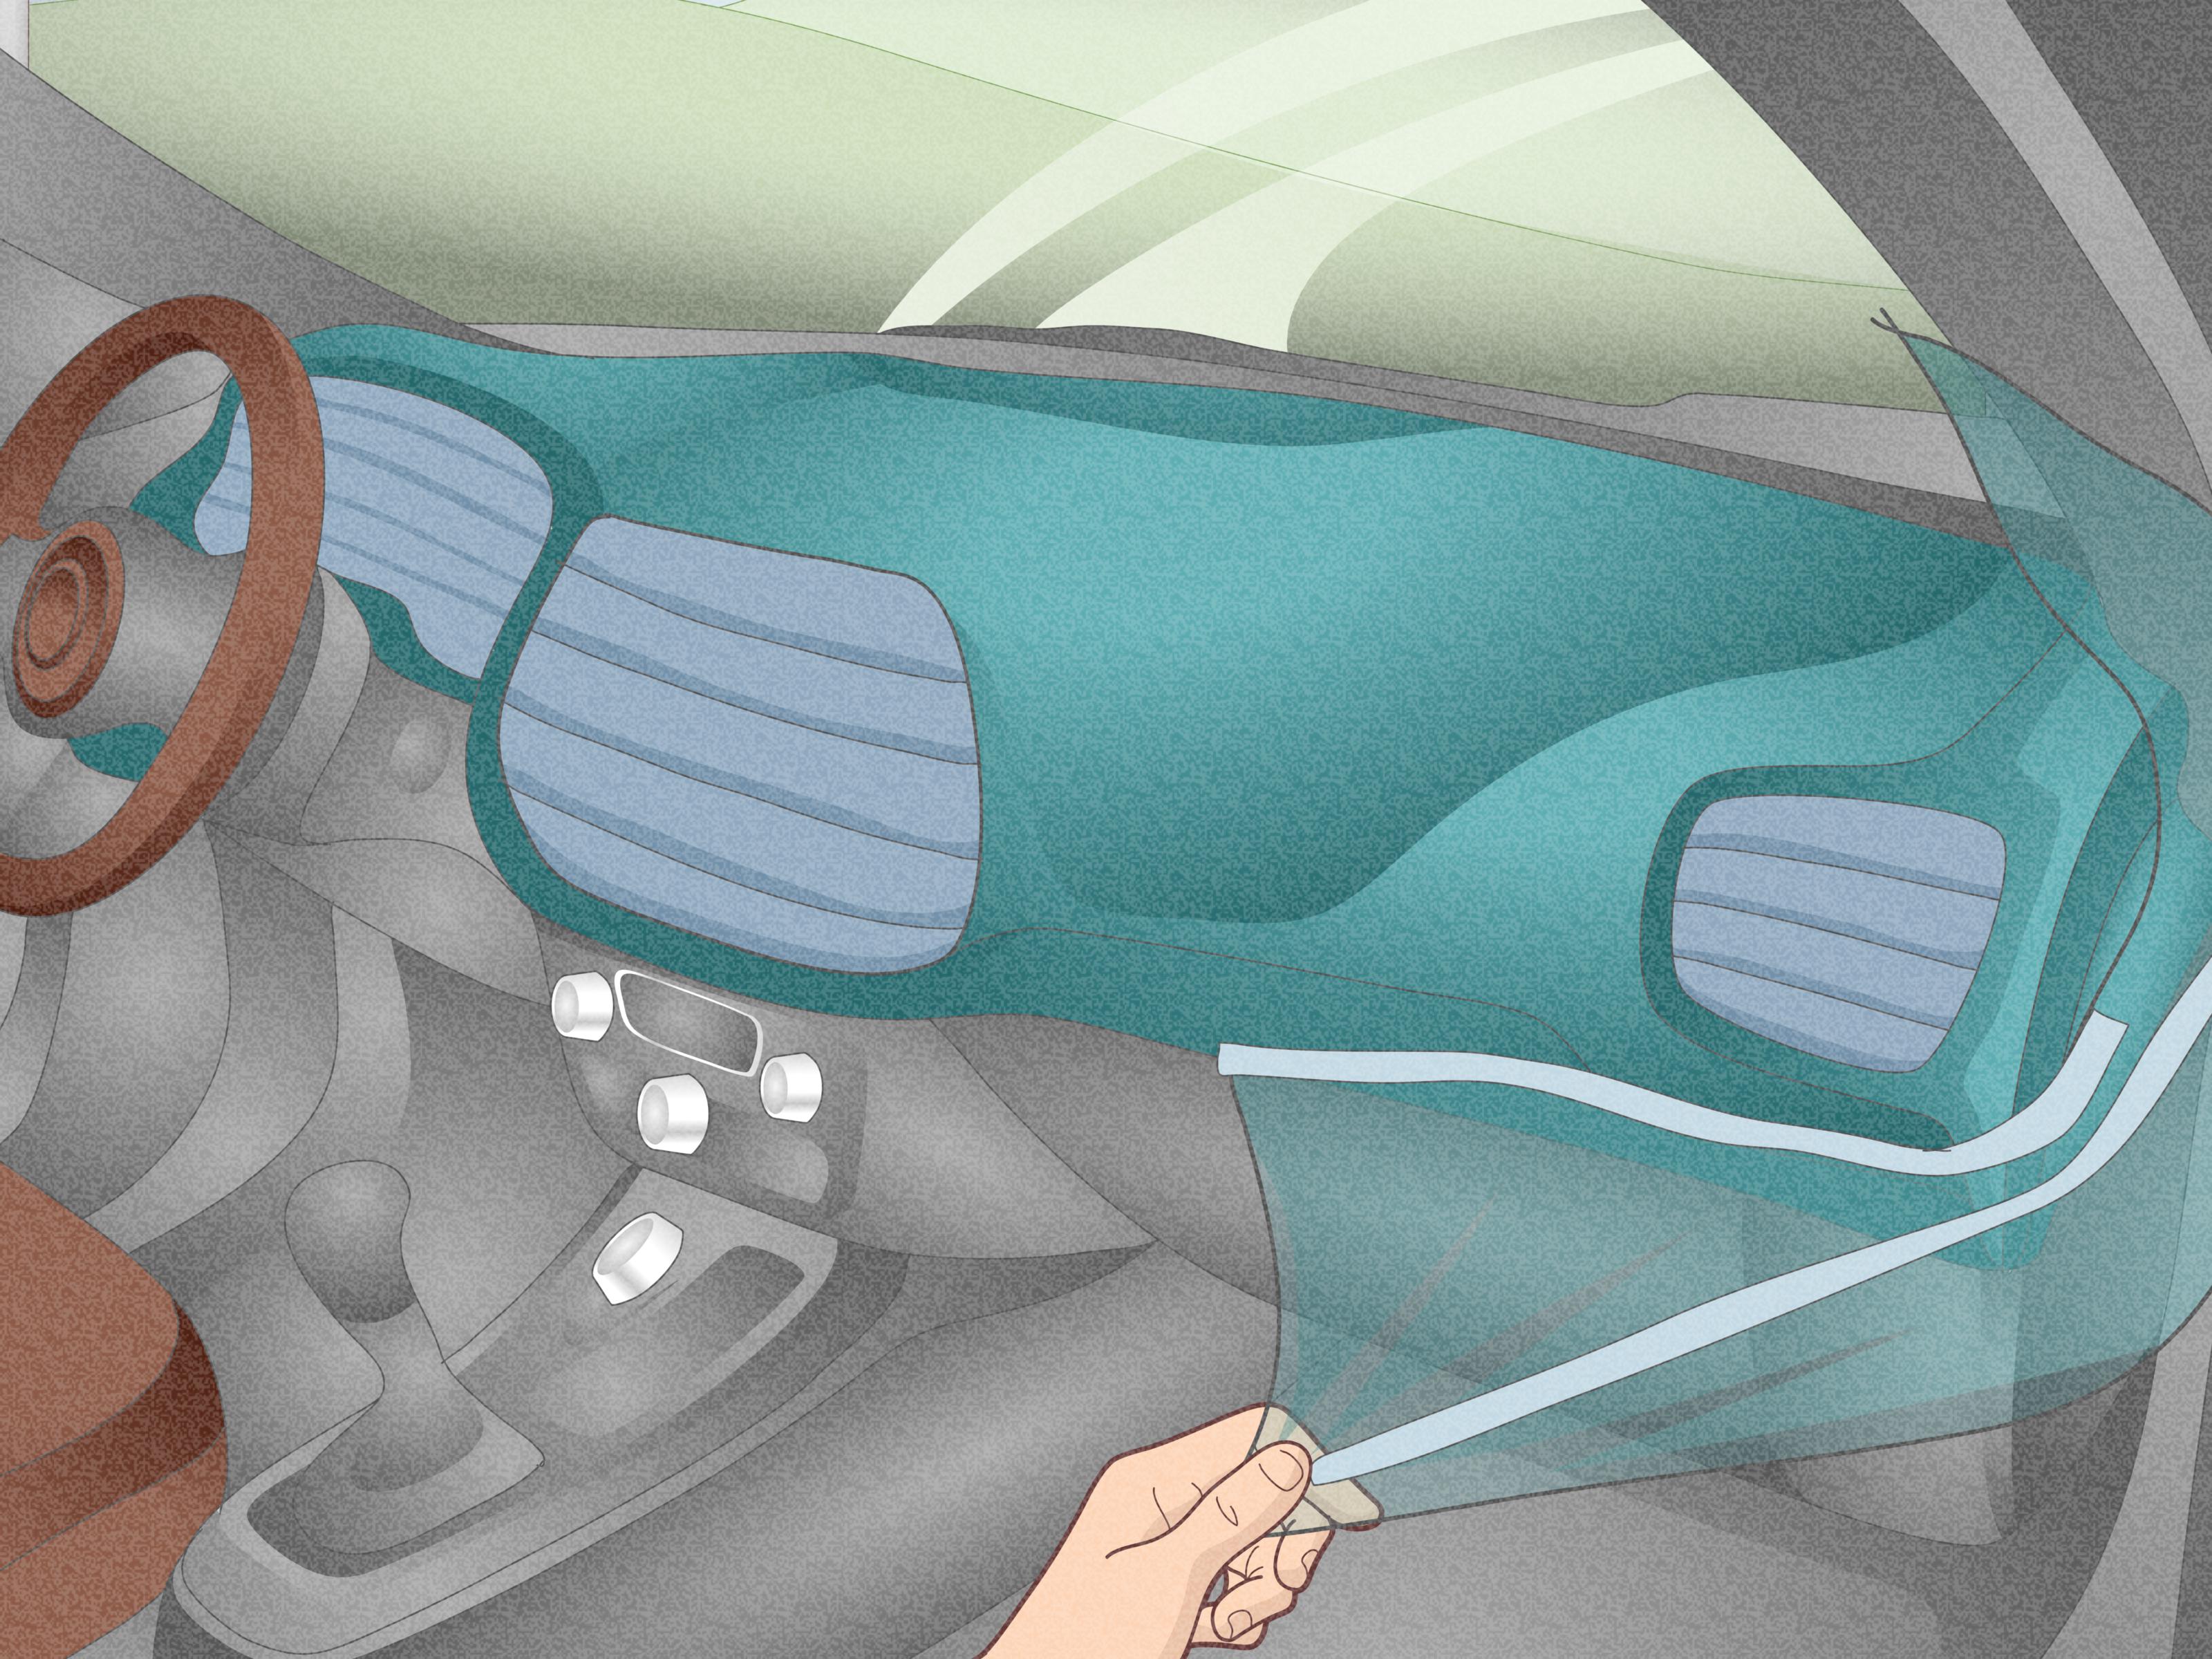
Good masking separates a professional-looking dashboard paint job from a “my car sneezed color” situation. Use high-quality painter’s tape and masking paper or plastic. Cover the windshield, instrument cluster, radio, vents, steering wheel, seats, carpet, door panels, and any trim that should not be painted.
Press tape edges firmly, especially along seams and curves. For tight edges, use a plastic trim tool or fingernail to tuck tape neatly. Avoid cheap tape that leaves residue or allows paint to bleed underneath.
Step 6: Apply Adhesion Promoter or Vinyl Prep
Many dashboards need adhesion promoter, especially low-surface-energy plastics such as polypropylene, TPO, EPDM, or similar materials. Some interior coatings are self-priming, while others require a separate promoter. Always read the product label.
Apply adhesion promoter in light, even coats. Do not soak the surface unless the product instructions specifically say to use a wet coat. Allow the recommended flash time before painting. Timing matters: if you wait too long, the promoter may lose effectiveness; if you paint too soon, solvent can get trapped.
Step 7: Spray the Dashboard Paint in Light Coats
Shake the can longer than you think you need to. Then shake it again. Spray a test pattern on cardboard before touching the dashboard. Hold the can about 6 to 10 inches from the surface, depending on the product instructions, and keep your hand moving before and after each pass.
Apply the first coat lightly. It may look thin, uneven, or slightly disappointing. That is normal. The first coat is a tack coat, not the grand finale. Follow with two to four additional light coats, allowing proper flash time between coats.
Avoid heavy coats. Thick paint can run, fill texture, stay soft, crack later, or create a shiny plastic look. Thin coats preserve the factory grain and look more natural. If you want a custom color, build coverage slowly until the color is even.
Step 8: Choose the Right Finish
Dashboard finish matters. Glossy paint may look dramatic in photos, but it can create windshield glare while driving. For most dashboards, satin, matte, or low-sheen finishes look more factory-correct and are easier on the eyes.
If you are painting accent trim, gloss black, metallic, or body-color paint can look excellent. For the top pad or wide areas under the windshield, choose a non-glare finish. Your dashboard should impress passengers, not blind you at noon.
Step 9: Let the Paint Cure
Dry-to-touch is not the same as fully cured. Many interior paints can be handled within an hour, but they may take much longer to reach full durability. Avoid reinstalling parts too soon, pressing tape into fresh paint, applying protectants, or placing objects on the dash.
Give the painted dashboard at least 24 to 48 hours before heavy handling when possible. In cooler or humid weather, cure time may be longer. Patience here is cheaper than sanding off fingerprints later.
Step 10: Reinstall Parts Carefully
Once the paint has cured, remove masking tape slowly at a low angle. Reinstall trim panels, screws, vents, switches, and electrical connectors carefully. Do not force clips into place; fresh paint can chip if parts snap together aggressively.
Reconnect the battery only after everything is secure. Test lights, gauges, climate controls, radio functions, hazard switches, and any steering wheel controls you touched. If an airbag warning light appears, do not ignore it. Have the system checked properly.
Common Mistakes to Avoid
Using Tire Shine or Interior Dressing Before Painting
Silicone-based dressings are paint’s sworn enemy. If the dashboard has been treated with shiny protectant for years, clean it multiple times. Water beading on the surface is a clue that contamination remains.
Skipping the Test Spot
Always test paint on a hidden area or spare trim piece. Some plastics react poorly to certain solvents, and some colors dry differently than they look on the cap.
Painting in Direct Sunlight
Hot panels can make paint flash too quickly, leading to dry spray, rough texture, or poor adhesion. Paint in a shaded, dust-controlled area within the temperature range listed on the product.
Using the Wrong Cleaner
Household cleaners can leave residue. Harsh solvents can damage soft vinyl. Use cleaners recommended for automotive interior refinishing whenever possible.
Applying Too Much Paint
More paint does not mean more durability. Heavy coats are more likely to run, crack, stay tacky, or hide texture. Light coats are the grown-up choice.
Best Paint Types for a Custom Dashboard
Vinyl and fabric coating works well on soft vinyl dashboards, door panels, and flexible interior parts. It is designed to move with the material instead of forming a brittle shell.
Plastic refinisher is a good option for hard plastic trim, instrument bezels, glove box doors, console panels, and pillar trim. It often provides a factory-style finish when paired with proper prep.
Interior dye-style coating can restore faded colors without burying grain. Despite the word “dye,” many modern products are actually flexible coatings that bond to the surface.
Two-stage paint and clear coat can be used for custom trim accents, but it is usually not ideal for soft dashboard pads. If you use a clear coat, select one compatible with plastic or flexible surfaces.
Color Ideas for a Custom Painted Dashboard
Black and charcoal remain popular because they reduce glare and match most interiors. Tan, gray, and beige are useful for factory restoration. For a custom build, consider body-color accents on the center console, radio bezel, or gauge surround instead of painting the entire dash a loud color.
Red, blue, white, or metallic dashboard accents can look great in show cars, but restraint is your friend. A little color says “custom.” Too much color says “arcade cabinet with seat belts.”
How Long Does Dashboard Paint Last?
A properly prepared and painted dashboard can last for years, especially when protected from harsh sunlight and cleaned gently. Durability depends on surface prep, paint quality, UV exposure, heat, humidity, and how often the area is touched.
To maintain the finish, avoid greasy interior dressings. Use a mild interior cleaner and microfiber towel. A windshield sunshade can also help reduce heat and UV damage. If you live somewhere hot enough to bake cookies on the hood, your dashboard deserves shade.
Real-World Experience: What Actually Makes the Difference
The biggest lesson from custom painting dashboards is that the job rewards patience more than talent. A beginner who cleans, scuffs, masks, and sprays light coats carefully will usually beat a confident person who blasts the dash with one heavy coat and calls it “custom.” Automotive interior painting is not a race; it is more like making pancakes. The first pass sets the tone, and rushing usually creates regret.
One practical experience is to label every screw and clip during removal. Put fasteners from each panel into separate bags and write where they came from. Dashboard screws often look similar but differ slightly in length. Installing a long screw in the wrong place can damage plastic or push into wiring. Taking phone photos before removing each connector also helps during reassembly. Future you will be grateful, and future you is already dealing with enough.
Another useful habit is cleaning more than once. Many older dashboards have years of protectant built into the texture. The surface may look clean after one wipe, but paint can still fisheye or separate if silicone remains. A simple test is to mist a little clean water on the surface. If it spreads evenly, you are closer. If it beads aggressively, keep cleaning with the correct prep product.
Temperature also matters more than most people expect. Paint sprayed on a cold dashboard can dry slowly and stay soft. Paint sprayed on a hot dashboard can flash too fast and look powdery. A comfortable, shaded workspace usually produces the best finish. If the can feels cold, let it sit at room temperature before spraying. Do not heat aerosol cans with open flame or extreme heat, unless your goal is to turn a weekend project into a news story.
The best-looking custom dashboard jobs often use subtle contrast. For example, a satin black upper dash with dark gray lower panels and a body-color center bezel can look clean and intentional. Matching the dashboard to the exterior color can be stylish, but using that color only on accents keeps the interior from becoming visually loud. A dashboard sits directly in your field of view, so the finish should look good while driving, not just while parked at a meet.
Finally, curing time is where many DIYers lose the battle. Fresh paint may feel dry, but reinstalling clips, pressing vents into place, or wiping the dash too soon can leave marks. Give the coating as much time as possible before handling. When reinstalling parts, use clean hands or gloves and move slowly. A custom painted dashboard should look like it belongs in the car, not like it survived a wrestling match with a toolbox.
Note: Always follow the instructions on the exact paint, cleaner, adhesion promoter, and repair products you use. Product formulas vary, and manufacturer directions should take priority over general advice.
Conclusion
Custom painting a car dashboard is a smart way to refresh a tired interior, personalize a build, or restore factory color without replacing every panel. The process is straightforward, but the details matter. Clean the surface thoroughly, repair damage, scuff glossy areas, use adhesion promoter when needed, spray light coats, choose a low-glare finish, and let everything cure before reassembly.
Done correctly, a painted dashboard can look clean, durable, and surprisingly professional. Done carelessly, it can peel faster than a cheap sticker in July. Take your time, respect the prep work, and your dashboard will reward you every time you open the door.