Note: This article is written for general home setup and troubleshooting. Menu names may vary slightly depending on your Roomba model, phone, router, and whether you use the Roomba Home app or the iRobot Home app.
Introduction: Your Roomba Wants WiFi, Not a Therapy Session
Connecting a Roomba to WiFi should feel simple: open the app, tap a few buttons, and let your robot vacuum begin its glamorous career as the tiny floor butler of your dreams. In real life, however, WiFi setup sometimes turns into a small household mystery involving passwords, Bluetooth permissions, router bands, blinking lights, and one suspiciously silent robot sitting on its dock like it has decided to unionize.
The good news is that most Roomba WiFi connection problems are not dramatic. They usually come down to a few predictable things: the phone is on the wrong WiFi band, Bluetooth is off, location permission is blocked, the router is too far away, the password has a typo, or the app simply needs a fresh start. Once those pieces are in place, connecting a WiFi-enabled Roomba is usually quick.
This guide explains how to connect a Roomba to WiFi in eight practical steps. It also covers what to do if your Roomba will not connect, how 2.4 GHz and 5 GHz WiFi affect setup, and how to make the connection more stable after the robot joins your home network. Whether you have a newer Roomba Combo model, an i Series, j Series, s Series, Essential model, or an older WiFi-connected Roomba, the same basic idea applies: prepare the robot, prepare your phone, prepare your network, and let the app walk both devices into a beautiful digital friendship.
Before You Start: What You Need
Before you try to connect your Roomba to WiFi, gather the basics. You will need a WiFi-enabled Roomba, its charging dock, a smartphone or tablet, the correct Roomba or iRobot app, your WiFi network name, and your WiFi password. That last one matters. “I think it’s probably the same password we used in 2018” is not a setup strategy; it is how smart devices learn disappointment.
Also check your WiFi band. Many Roomba models require a 2.4 GHz WiFi network for setup and operation. Some newer models support both 2.4 GHz and 5 GHz, but compatibility depends on the specific robot. If your router uses one combined network name for both bands, setup may still work, but some users have better luck temporarily steering their phone to the 2.4 GHz band or creating a separate 2.4 GHz network name.
Easy Ways to Connect a Roomba to WiFi: 8 Steps
Step 1: Place the Roomba on Its Charging Dock
Start by placing your Roomba on the charging dock and plugging the dock into a working outlet. The robot should be awake, charging, and close enough to your router to receive a strong signal. For the first setup, do not hide the dock behind furniture, under a metal shelf, or in the WiFi equivalent of a cave. Give the robot a fair chance.
A good dock location has a flat wall behind it, some open space around it, and a reliable WiFi signal. If your phone struggles to load a webpage in that corner, your Roomba may struggle too. Robot vacuums are clever, but they do not perform miracles through three walls, a refrigerator, and your neighbor’s microwave.
Step 2: Download the Correct App
Next, install the app recommended for your Roomba model. Depending on your robot and region, that may be the Roomba Home app or the iRobot Home app. Open the app, create an account or sign in, and make sure the app is updated to the latest version available for your phone.
Using an outdated app can cause setup screens to behave strangely or fail to recognize newer products. If you already have the app installed, check the Apple App Store or Google Play Store for updates before starting. It is a small step, but it can save you from the classic smart-home ritual of tapping the same button 14 times while whispering, “Why are you like this?”
Step 3: Turn On Bluetooth, WiFi, and Location Permissions
For many Roomba models, the app uses Bluetooth during the setup process to detect and pair with the robot. Your phone also needs WiFi turned on because the app will pass your home network information to the Roomba. On some phones, especially Android devices, location permission may be required so the app can scan nearby WiFi and Bluetooth devices.
Before you begin, open your phone settings and confirm that Bluetooth is on, WiFi is on, and the Roomba or iRobot app has the permissions it requests. If the app asks for local network access, Bluetooth access, or location access, allow it during setup. You can always review app permissions later, but blocking them at the beginning is like inviting someone to dinner and then locking the front door.
Step 4: Connect Your Phone to the Right WiFi Network
Your phone should be connected to the same home WiFi network you want your Roomba to use. If your Roomba requires 2.4 GHz WiFi, connect your phone to the 2.4 GHz version of your network before starting setup. This is especially important if your router broadcasts separate names such as “SmithHome_2.4” and “SmithHome_5G.”
If your router uses one combined network name for both 2.4 GHz and 5 GHz, the setup may still work automatically. However, if setup keeps failing, try moving farther from the router for a moment because phones sometimes switch to 2.4 GHz at longer range. Another option is to temporarily disable the 5 GHz band or create a separate 2.4 GHz guest network during setup. After the Roomba is connected, many homes can return to their normal router settings.
Step 5: Add a New Product in the App
Open the app and choose the option to add a new product, add a robot, or set up a robot. Select your Roomba model or product family when prompted. The app will guide you through the process, including naming your robot, choosing its room or home, and preparing it for pairing.
Give your robot a name you can live with. “Roomba” is practical. “Sir Crumbs-a-Lot” is excellent. “The Dirt Accountant” is oddly formal but acceptable. The name matters more if you plan to use voice assistants later because saying “Alexa, ask Sir Crumbs-a-Lot to clean the kitchen” is both useful and emotionally rewarding.
Step 6: Put the Roomba Into WiFi Setup Mode
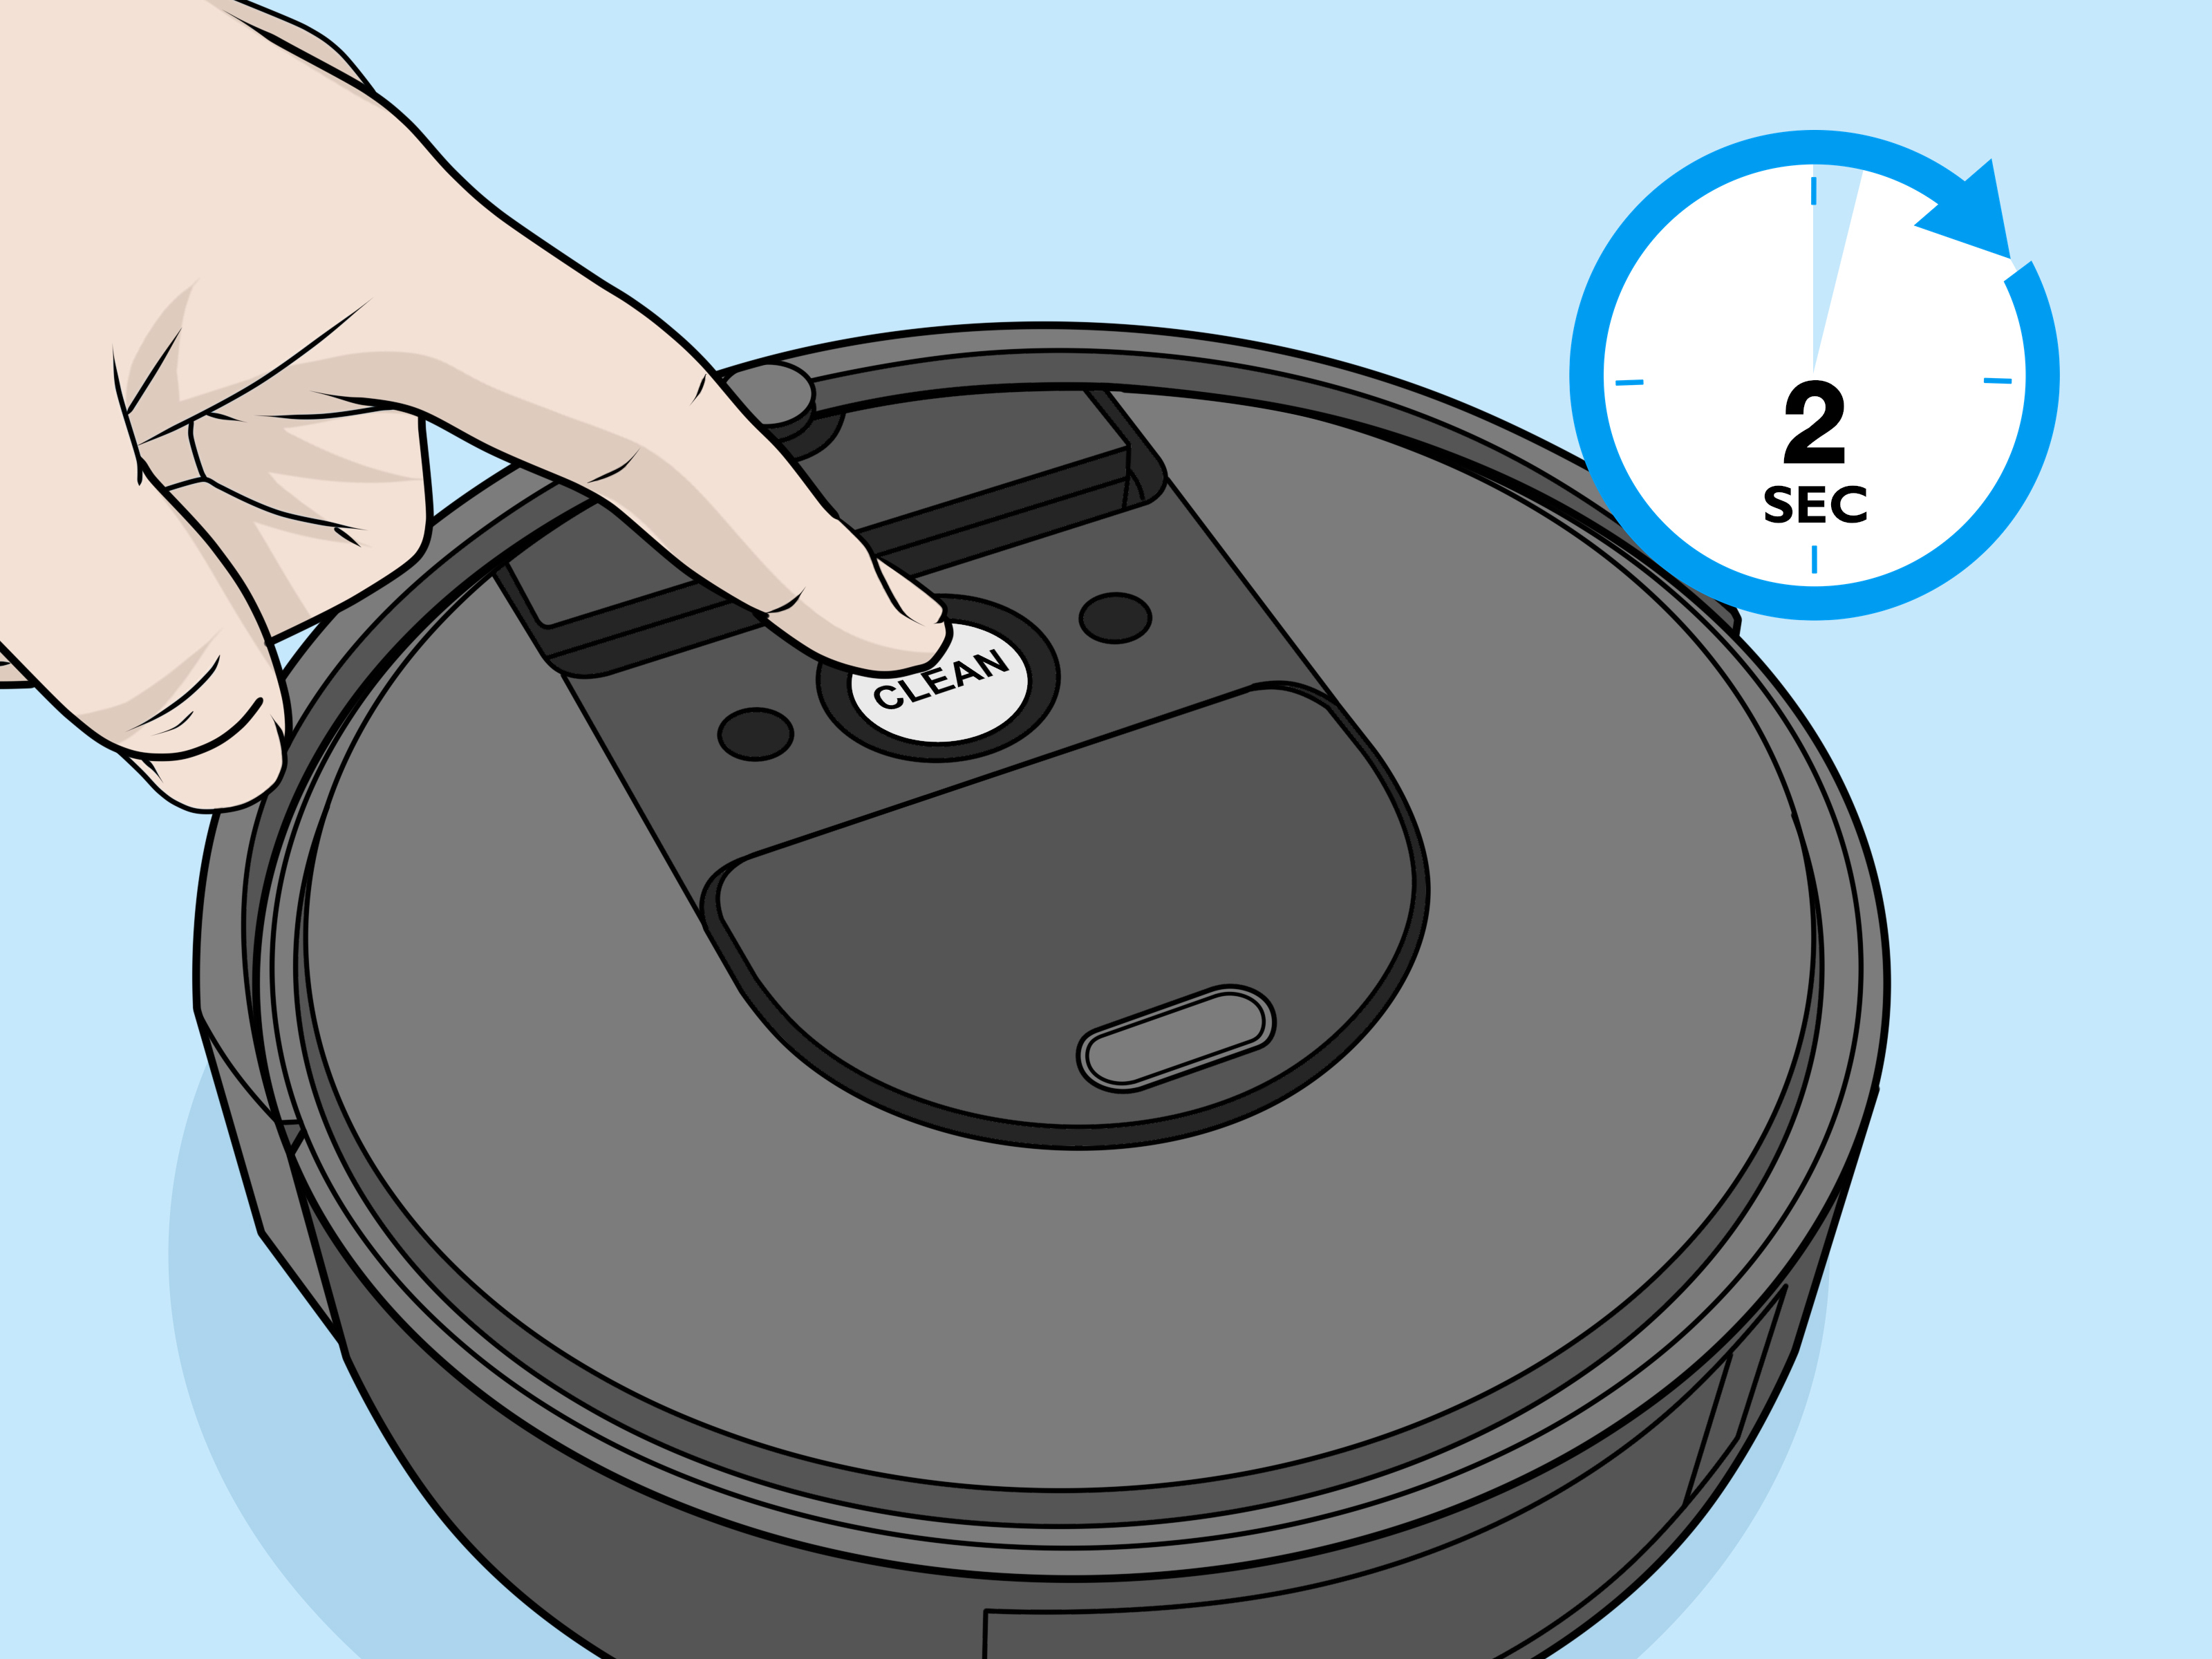
The app will tell you how to put your Roomba into setup mode. The exact button combination can vary by model. Some robots may require you to press and hold certain buttons until you hear a tone or see a light pattern. Others may pair more automatically through the app and Bluetooth.
Follow the app instructions carefully for your specific model. If nothing happens, make sure the robot is charged, seated correctly on the dock, and awake. If your Roomba has been sitting unused for a long time, allow it to charge before setup. A sleepy robot with a nearly empty battery is not in the mood to negotiate with your router.
Step 7: Enter Your WiFi Password
When prompted, choose your home WiFi network and enter the password. Type slowly. WiFi passwords are where uppercase letters, lowercase letters, numbers, and tiny punctuation marks gather to ruin everyone’s afternoon. If your password includes similar-looking characters, such as zero and the letter O, check carefully.
Avoid public WiFi, hotel WiFi, school networks, office networks, or networks that require a browser login page. Roombas are designed for standard home WiFi networks, not complicated captive portals. If your router uses advanced security settings, MAC address filtering, or a hidden network name, setup can become harder. For most homes, a visible network using modern WPA2 or WPA3-compatible security is the friendliest path.
Step 8: Wait for Confirmation and Test the Connection
After you enter the WiFi password, the app will send the network details to the Roomba. This may take a minute or two. Do not close the app, wander across the house, or start restarting everything unless the app tells you setup has failed. Patience is part of the process, even if your robot appears to be doing absolutely nothing.
Once setup is complete, test the connection by starting a cleaning job from the app. Then pause it, send the robot home, or check its status. If the app responds and the robot obeys, congratulations: your Roomba has joined the WiFi society. It may now clean on command, follow schedules, receive updates, and quietly judge the amount of snack debris under your sofa.
Why Roomba WiFi Setup Sometimes Fails
If your Roomba will not connect to WiFi, do not assume the robot is broken. Most failures happen because the phone, router, app, and robot are not aligned during setup. The most common issue is WiFi band compatibility. Some Roomba models need 2.4 GHz WiFi, while some newer models can connect to both 2.4 GHz and 5 GHz. If the robot only supports 2.4 GHz and your phone is locked onto a 5 GHz network during setup, the app may fail to pass the correct network information.
Distance can also cause problems. A Roomba dock placed at the edge of WiFi coverage may connect once and then drop offline later. Thick walls, appliances, mirrors, metal furniture, and crowded apartment WiFi environments can all weaken or confuse wireless signals. The 2.4 GHz band usually reaches farther than 5 GHz, which is one reason many smart home devices still rely on it.
Another common issue is phone permission. If Bluetooth, location, or local network access is blocked, the app may not detect the robot. App bugs, outdated firmware, router glitches, and changed WiFi passwords can also interrupt setup. The fix is usually simple: update the app, restart the phone, reboot the router, reset the Roomba WiFi settings, and try again with the phone connected to the right network.
Troubleshooting Tips If Your Roomba Will Not Connect
Restart the Router and the Roomba
Restarting sounds basic because it is basic. It also works often enough to deserve respect. Unplug your router, wait briefly, plug it back in, and let the network fully return. Then reboot or restart your Roomba according to the instructions for your model. After both devices are awake again, try setup one more time.
Move the Dock Closer to the Router
If setup works near the router but fails in the original dock location, your issue is probably signal strength. Move the dock to a better WiFi area or improve coverage with a mesh system, extender, or router placement adjustment. Avoid placing the dock directly beside large metal objects or behind furniture that blocks the signal.
Check for Password or Network Changes
If you recently changed your router, WiFi name, or WiFi password, your Roomba may still be trying to connect to the old network. Open the app and look for WiFi settings, product settings, reconnect options, or change network options. Re-enter the new network details and allow the robot to reconnect.
Use a Simple Network Name
Some smart devices behave better with straightforward network names. Avoid extremely long SSIDs, unusual symbols, emojis, or hidden networks during setup. A simple name like “MapleHouse24” is less entertaining than “FBI Surveillance Van Pancake Edition,” but your robot may appreciate the professionalism.
Temporarily Disable VPN or Security Apps
If your phone uses a VPN, firewall app, private relay feature, or aggressive security tool, temporarily disable it during setup. These tools can sometimes block local device discovery. Turn them back on after your Roomba is connected and tested.
2.4 GHz vs. 5 GHz: Which One Should Your Roomba Use?
The difference between 2.4 GHz and 5 GHz WiFi is mostly about range, speed, and compatibility. The 2.4 GHz band usually reaches farther and passes through walls better, but it can be more crowded because many household devices use it. The 5 GHz band is usually faster and less crowded, but it has shorter range and does not pass through obstacles as well.
For a robot vacuum, raw speed is not the main priority. Your Roomba is not streaming a 4K movie while cleaning cereal crumbs. It mostly needs a stable connection for app commands, schedules, maps, software updates, and cloud features. That is why 2.4 GHz is often enough and sometimes required.
If your Roomba model supports 5 GHz and your dock is near the router, 5 GHz may work nicely. If your dock is farther away or the robot often appears offline, 2.4 GHz may be more reliable. The best choice is the one your specific model supports and your home layout can maintain consistently.
How to Keep Your Roomba Connected After Setup
Once your Roomba is connected, a few habits can keep it online. First, avoid changing your WiFi network name or password unless necessary. Smart devices remember the exact network details they were given. If those details change, they need to be reconnected.
Second, keep the app updated. App updates can improve compatibility, fix connection bugs, and support newer robot features. Third, keep the dock in a location with reliable signal strength. If your Roomba constantly drops offline, the dock location may be the real villain in this household drama.
Fourth, give your router occasional attention. Router firmware updates, proper placement, and a modern security mode can all help smart home devices behave better. If you have many connected devices, a newer router or mesh WiFi system can reduce dead zones and improve reliability.
Real-World Experience: What Actually Helps When Connecting a Roomba to WiFi
In everyday homes, Roomba WiFi setup usually fails in very ordinary ways. The first big lesson is that the robot is rarely the problem. More often, the setup fails because the phone is connected to the wrong band, the password is slightly wrong, or the router is trying to be too clever with automatic band steering. Modern routers often combine 2.4 GHz and 5 GHz into one network name, which is convenient for phones and laptops but occasionally confusing for smart home setup. When a Roomba needs 2.4 GHz, the smoothest trick is often to create a temporary 2.4 GHz guest network, connect the phone to it, set up the robot, and then leave that network available for smart devices.
Another practical lesson: setup works better when you do it near the dock and router, not while standing in the one corner of the house where WiFi goes to retire. If the Roomba connects successfully near the router but drops offline after you move the dock back to a laundry room, hallway, or far bedroom, the issue is coverage. Robot vacuums spend most of their connected life parked on the dock, so the dock location matters more than people think. A beautiful hidden dock location is not useful if the app cannot reach the robot.
Phone settings also create more trouble than expected. Bluetooth may be off. Location access may be denied. Local network permission may be blocked. A VPN may interfere with device discovery. These settings are easy to overlook because they do not sound related to vacuuming. Yet during setup, your phone is basically acting as the translator between the app, the Roomba, and your router. If the translator is wearing noise-canceling headphones, nobody gets very far.
One of the most useful habits is to slow down during the password step. Many users copy a WiFi password from a router sticker, a password manager, or a family text message. One wrong character can make the app look broken even though it is simply being rejected by the network. If setup fails twice, retype the password instead of assuming the saved one is correct.
It also helps to remember that robot vacuums do not need premium-speed WiFi. They need dependable WiFi. A 2.4 GHz connection with good range can be better than a fast 5 GHz connection that barely reaches the dock. In homes with thick walls, multiple floors, or busy apartment networks, the best fix may be router placement or mesh coverage rather than another round of app reinstalling.
Finally, do not underestimate the classic restart. Restart the app. Restart the phone. Restart the router. Restart the Roomba. It sounds boring, but smart home devices sometimes need a clean handshake. Once the Roomba connects, the setup process becomes much less mysterious. The robot appears in the app, schedules become available, cleaning history starts to populate, and the vacuum finally graduates from “expensive round floor ornament” to “useful little dirt hunter.”
Conclusion: A Clean Connection Comes Before Clean Floors
Learning how to connect a Roomba to WiFi is mostly about preparation. Place the robot on its dock, use the correct app, enable Bluetooth and permissions, choose the right WiFi network, enter the password carefully, and let the app complete the pairing process. If something fails, focus on the usual suspects: 2.4 GHz compatibility, router distance, phone permissions, app updates, and changed network credentials.
Once connected, your Roomba becomes much easier to manage. You can start cleaning from the couch, schedule jobs while you are away, check status from the app, receive maintenance reminders, and use compatible smart home features. In other words, a few minutes of WiFi setup can save you from a surprising amount of floor-related responsibility. And honestly, any technology that helps remove crumbs without requiring socks, shoes, or emotional preparation deserves a little patience.