If your yard turns into a soggy little drama series every time it rains, a dry well may be the quiet hero your property needs. A dry well is a simple underground structure that collects stormwaterusually from a roof downspoutand lets it slowly soak into the surrounding soil. In plain English, it helps rainwater disappear politely instead of sprinting across your lawn, pooling near your foundation, or carving a muddy river through your flower beds.
Done right, a dry well can reduce puddles, protect your home, ease erosion, and help recharge groundwater. Done wrong, it can clog, overflow, or send water to places where water definitely should not be. That is why building one is less about random digging and more about smart planning, proper placement, and a little respect for how water behaves when nobody is looking.
This guide walks you through how to build a dry well step by step, including where to place it, what materials to use, how deep to dig, and what mistakes to avoid. We will also cover maintenance, common sizing logic, and practical real-world lessons so your project works for the long haul.
What Is a Dry Well and How Does It Work?
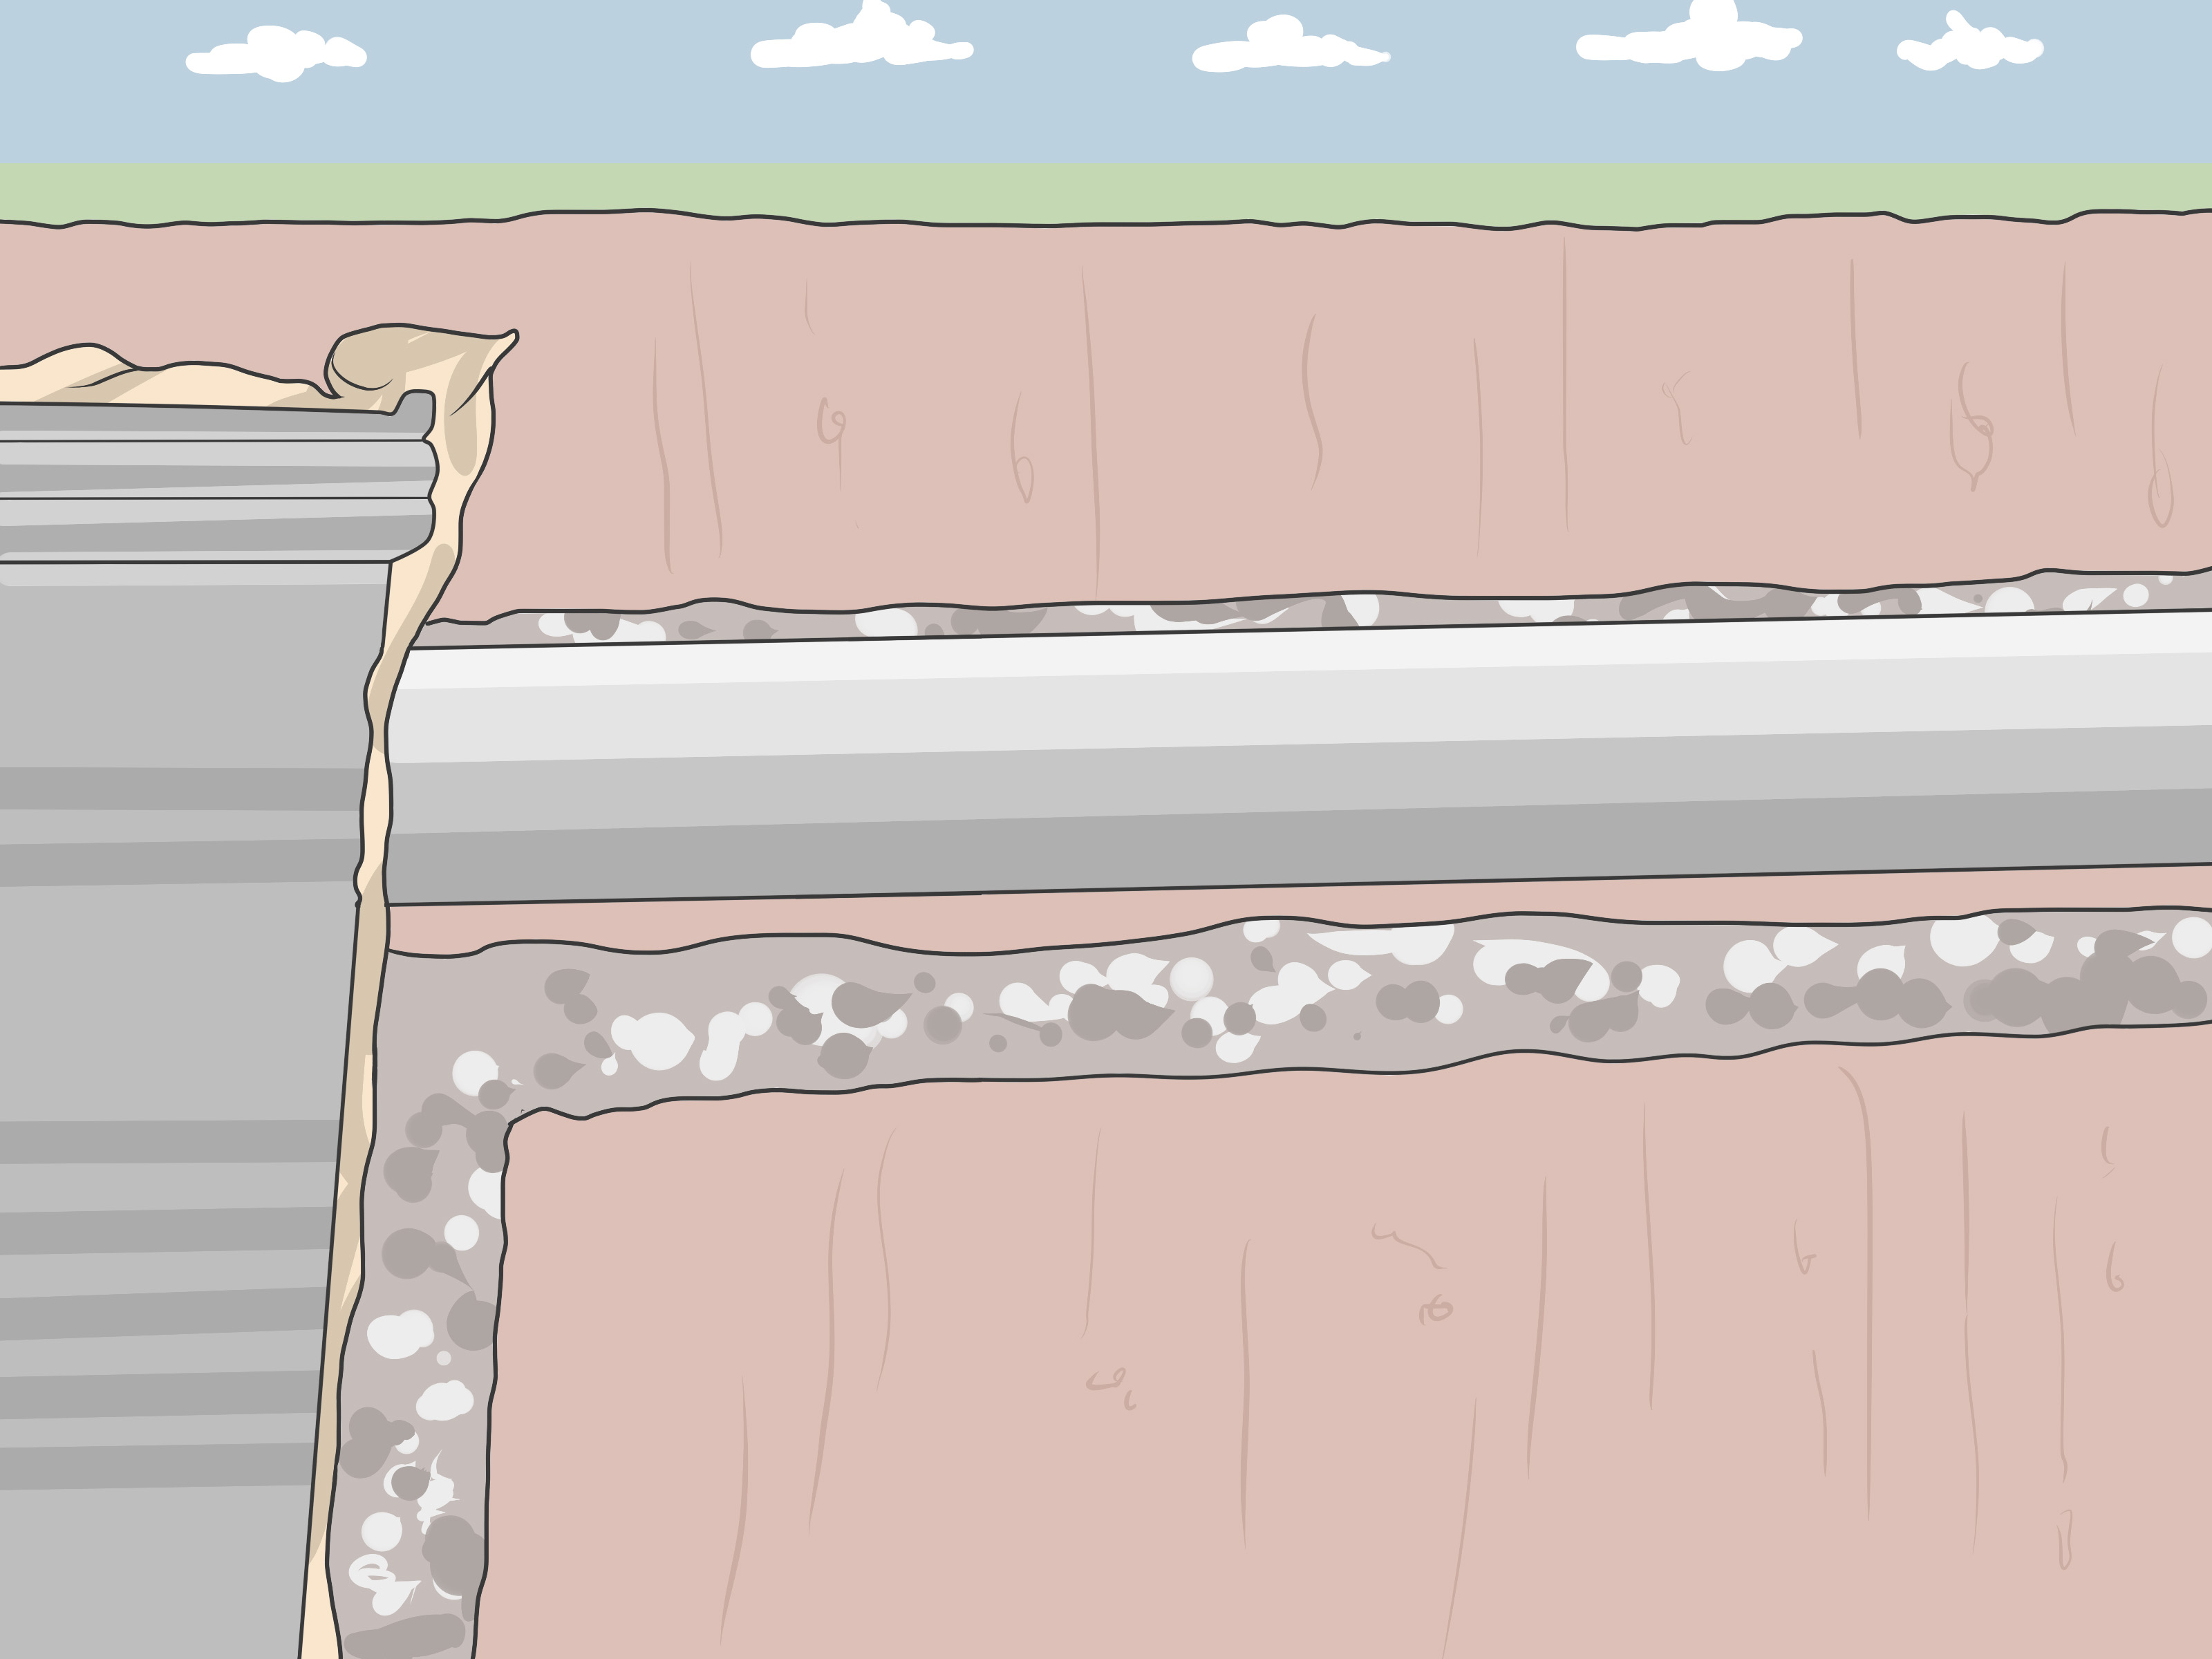
A dry well is an underground pit or chamber designed to temporarily hold stormwater and let it infiltrate into the soil. Water usually enters through a pipe connected to a gutter downspout, a French drain, or another stormwater collection point. The well itself may be a gravel-filled hole lined with fabric, a prefabricated plastic chamber, or a combination of both.
The goal is not to create a secret underground swimming pool. The goal is to store runoff for a short time and let it drain naturally into the soil around it. That is why the best dry wells are built in places with decent infiltration, clean incoming water, and enough separation from foundations, wells, septic systems, and other sensitive areas.
In residential settings, dry wells are most commonly used for roof runoff. That matters because roof water is generally much cleaner than runoff from driveways or parking areas, where oil, grit, and other pollutants can hitch a ride. If your plan involves collecting dirty runoff, you need a more engineered stormwater solution, not a casual backyard trench and a hopeful attitude.
When a Dry Well Makes Sense
A dry well is usually a good idea when you have one or more of these problems:
1. Water pooling under downspouts
If every storm creates a swamp at the corner of your house, a dry well can intercept roof water before it causes foundation headaches or turns mulch into soup.
2. Limited surface drainage options
Some yards do not have a convenient slope, swale, or daylight outlet. In those cases, moving water underground for infiltration can be more practical than trying to reroute it across the surface.
3. A desire to reduce runoff
Dry wells support a more site-friendly approach to drainage by allowing water to soak in rather than race into streets, ditches, or overburdened storm systems.
4. Roof runoff from a small drainage area
That is the sweet spot. Small to moderate volumes of relatively clean water are exactly where dry wells shine.
When You Should Not Build One
Now for the less glamorous but very important part: dry wells are not magic holes for every wet problem. Skip the project or get professional design help if any of the following apply:
- Your soil drains very slowly, especially heavy clay.
- The seasonal high water table is shallow.
- Bedrock is close to the surface.
- The area is steep or unstable.
- You want to collect runoff from a driveway or other polluted surface.
- Your local code requires permits, engineering, or setbacks you cannot meet.
- Your yard already has septic, utility, or groundwater protection constraints.
A dry well that cannot drain within a reasonable time will fail, and a failed dry well is just an expensive underground regret chamber.
Check Local Rules Before You Dig
Before renting tools or buying gravel, check local stormwater and building rules. This step is not exciting, but neither is digging up a finished system because your municipality says it is too close to a structure or utility line.
Some jurisdictions regulate deeper infiltration systems as stormwater drainage wells. Others have specific requirements for distance from foundations, property lines, drinking water wells, septic components, and slopes. If you are unsure, call your city or county building department, stormwater office, or extension service. A ten-minute phone call can save a weekend of avoidable chaos.
Choose the Right Location
Location is the difference between “problem solved” and “why is my basement wall damp?”
Look for these site conditions
- A low-impact area where water already wants to go
- Enough distance from your home’s foundation
- Soil that drains reasonably well
- A spot lower than the downspout or drainage inlet, if possible
- Room for an overflow path in major storms
Avoid these locations
- Right next to your house
- Near drinking water wells or septic systems
- Over utility lines
- In compacted fill that barely absorbs anything
- At the toe of a slope or where slope stability is a concern
- Under patios, driveways, or other heavy-load surfaces unless specifically engineered for that use
A practical rule of thumb for homeowners is to keep the dry well well away from the foundation and verify local setback requirements. Do not improvise with “close enough.” Water is famously terrible at respecting wishful thinking.
Test the Soil First
If you only remember one thing from this article, let it be this: test the soil before building a dry well. The prettiest chamber in the world will not work in soil that drains like cold oatmeal.
Simple drainage check
Dig a test hole in the proposed area, fill it with water, and observe how quickly it drains. A simple homeowner test can tell you whether the area has any chance of success. For more reliable results, especially on bigger projects, a formal infiltration or percolation test is better.
What you want to see
You want steady drainage, not standing water that lingers forever. If the hole remains full for long periods, your soil may be too tight for a dry well. In that case, consider a rain garden, a surface swale, or another drainage strategy.
If your site is tricky, or you suspect shallow groundwater, it is worth bringing in a landscape contractor, civil engineer, or stormwater professional. Dig once, cry never.
Materials You Will Need
- Shovel or mini excavator, depending on size
- Measuring tape and marking paint
- Dry well chamber or crushed stone for a gravel-filled system
- Nonwoven geotextile fabric
- Solid drain pipe from downspout to dry well
- Perforated pipe if your design uses internal distribution
- Downspout adapter and fittings
- Cleanouts or observation pipe if desired
- Washed drainage stone
- Level
- Topsoil and sod or mulch for surface restoration
Many homeowners choose a prefabricated dry well kit because it makes sizing and installation easier. A stone-filled pit can work too, but chamber systems often provide more storage volume in a smaller footprint.
How to Build a Dry Well Step by Step
Step 1: Map the drainage area
Figure out exactly where the incoming water comes from. Most residential dry wells are connected to one or more downspouts. Estimate the roof area feeding the well. Larger roof area means more runoff and a larger dry well.
Step 2: Size the system
Sizing depends on local rainfall, roof area, soil infiltration rate, and the storage volume of your chosen system. If you are handling runoff from a modest section of roof, a single residential dry well chamber may be enough. For larger roofs or slower soils, you may need multiple chambers or a larger gravel bed around the chamber.
If you want exact sizing, use local stormwater guidance or ask a supplier or professional to help. Guessing at size is like buying one umbrella for a marching band.
Step 3: Mark utilities
Call before you dig. Always. Buried gas, electric, water, and communication lines are not fun surprises. They are the opposite of fun, actually.
Step 4: Excavate the hole
Dig the hole according to your design dimensions, allowing extra width for stone backfill if required. Keep the base as level as possible. Avoid smearing and compacting the soil at the bottom and sides. Overcompaction reduces infiltration and undermines the whole point of the system.
Step 5: Line the excavation with geotextile fabric
Install nonwoven geotextile fabric around the sides and, in many designs, around the stone envelope. This helps keep surrounding soil from migrating into the gravel and clogging void spaces. Follow the manufacturer’s guidance for chamber systems, because details vary.
Step 6: Add a stone base
Place washed drainage stone in the bottom if your design requires it. Level the base so the chamber or internal piping sits evenly.
Step 7: Install the chamber or stone-filled structure
Set the dry well chamber in place or build the stone-filled pit according to your chosen design. Connect the incoming pipe from the downspout. If your system uses perforated distribution pipe, install it as directed so water spreads through the dry well rather than dumping into one tiny point.
Step 8: Provide pretreatment
This part gets skipped too often. Install a gutter screen, leaf filter, sump, or other pretreatment method so leaves, grit, and roof debris do not settle into the well. A dry well that receives a steady diet of roof muck will eventually turn into a clogged archaeology project.
Step 9: Add overflow protection
Every dry well needs a plan for storms bigger than the design storm. That may be a pop-up emitter, surface release point, or another safe overflow route away from the house. If there is no overflow path, excess water will create one on its own, and it may choose the worst possible direction.
Step 10: Backfill carefully
Backfill with washed stone and soil as required by the design. Avoid compacting directly over the system unless the product is rated for the load and the installation instructions say it is acceptable. Restore the surface with topsoil and turf, mulch, or other cover.
Step 11: Test with water
Before declaring victory, run water through the downspout or wait for a decent rain. Watch how the system receives flow, whether any joints leak, and whether the surface remains stable.
Common Mistakes to Avoid
- Building too close to the foundation
- Skipping soil testing
- Sending dirty driveway runoff into the well
- Ignoring local setbacks and permit rules
- Forgetting an overflow route
- Using undersized pipe or poor connections
- Neglecting pretreatment and maintenance
- Compacting the bottom of the excavation during construction
Most dry well failures are not mysterious. They are usually the result of sediment, poor siting, poor soil, or wishful installation.
How to Maintain a Dry Well
A well-built dry well can last a long time, but it is not a “bury it and forget it forever” feature.
Routine maintenance checklist
- Clean gutters and downspouts regularly
- Remove leaves and debris from pretreatment devices
- Check after major storms for overflow or backup
- Inspect cleanouts or observation ports if installed
- Watch for soggy soil above the system long after rain ends
- Repair erosion around inlets and overflow outlets
If the area above the dry well stays wet for long periods or the downspout backs up, the system may be clogging. Sometimes the fix is simple pretreatment cleanup. Sometimes the dry well needs rehabilitation or replacement. That is why keeping debris out from the start is such a big deal.
Dry Well Example for a Typical Home
Imagine a house with one rear downspout that drains a moderate section of roof and creates a muddy zone near the foundation after every heavy rain. The homeowner chooses a location well away from the house in a lawn area with decent drainage, runs a solid pipe underground from the downspout, and installs a compact chamber-style dry well in a stone envelope with geotextile wrap. A gutter guard helps keep leaves out, and a pop-up emitter handles overflow.
The result is not flashy. No one throws a parade for it. But the puddles disappear, the mulch stops floating away, and the basement wall no longer has front-row seats to every storm. In drainage terms, that is basically a standing ovation.
Practical Experience and Real-World Lessons from Building a Dry Well
One of the most common experiences people report after building a dry well is surprise at how much water a roof can generate in a short storm. A downspout that seems harmless on a sunny day can behave like a fire hose once a serious rain moves through. Many homeowners start the project thinking they have a “small drainage issue,” then realize the true problem is concentrated runoff hitting the exact same patch of soil over and over again. That is why dry wells tend to perform best when they are treated as part of a whole drainage strategy rather than as a quick patch.
Another practical lesson is that the digging phase is always more revealing than the planning phase. On paper, the chosen location often looks perfect. In reality, the first few feet of excavation may uncover dense clay, construction debris, buried rock, old roots, or strangely compacted fill from some long-forgotten project. Experienced installers expect surprises and adapt. They do not assume every backyard is a clean textbook cross-section of ideal soil horizons. If the excavation reveals poor conditions, changing the design early is far cheaper than installing a system that will struggle from day one.
People also learn quickly that pretreatment is not optional. In theory, a dry well handles water. In practice, it also receives whatever the roof sends along for the ridegranules from shingles, twig fragments, leaf bits, pollen sludge, and enough mysterious gutter gunk to make a biologist curious. Installers who skip screens, filters, or cleanouts often discover that the first year looks excellent, the second year looks okay, and the third year begins the slow march toward clogging. Homeowners who keep gutters clean usually get much longer life from the system.
There is also the issue of sizing. Many do-it-yourself builders regret going too small. They focus on the cost of extra stone or a larger chamber, then later wish they had added a bit more capacity while the hole was already open. Oversizing within reason usually brings peace of mind, especially in places with hard rain events. Nobody finishes a stormwater project and says, “I truly wish this handled less water.”
Perhaps the most valuable real-world takeaway is that overflow planning saves projects. Even a very good dry well has limits. During exceptional storms, frozen conditions, or periods when the soil is already saturated, the system may temporarily fall behind. Homes that stay dry are usually the ones where the builder respected that possibility and created a safe overflow route away from structures. The best dry well installations are not built on optimism alone. They are built on the calm assumption that one day the weather will get ambitious.
Conclusion
If you want a smarter way to manage roof runoff, a dry well can be an excellent solution. It is simple in concept, effective in practice, and surprisingly elegant for something hidden underground. The keys are straightforward: choose the right location, verify the soil, size the system realistically, keep it away from sensitive areas, and never skip maintenance.
Build it carefully, and your reward is not just a drier yard. It is fewer puddles, less erosion, better drainage around your home, and one less reason to stare out the window during a storm muttering at the landscaping.