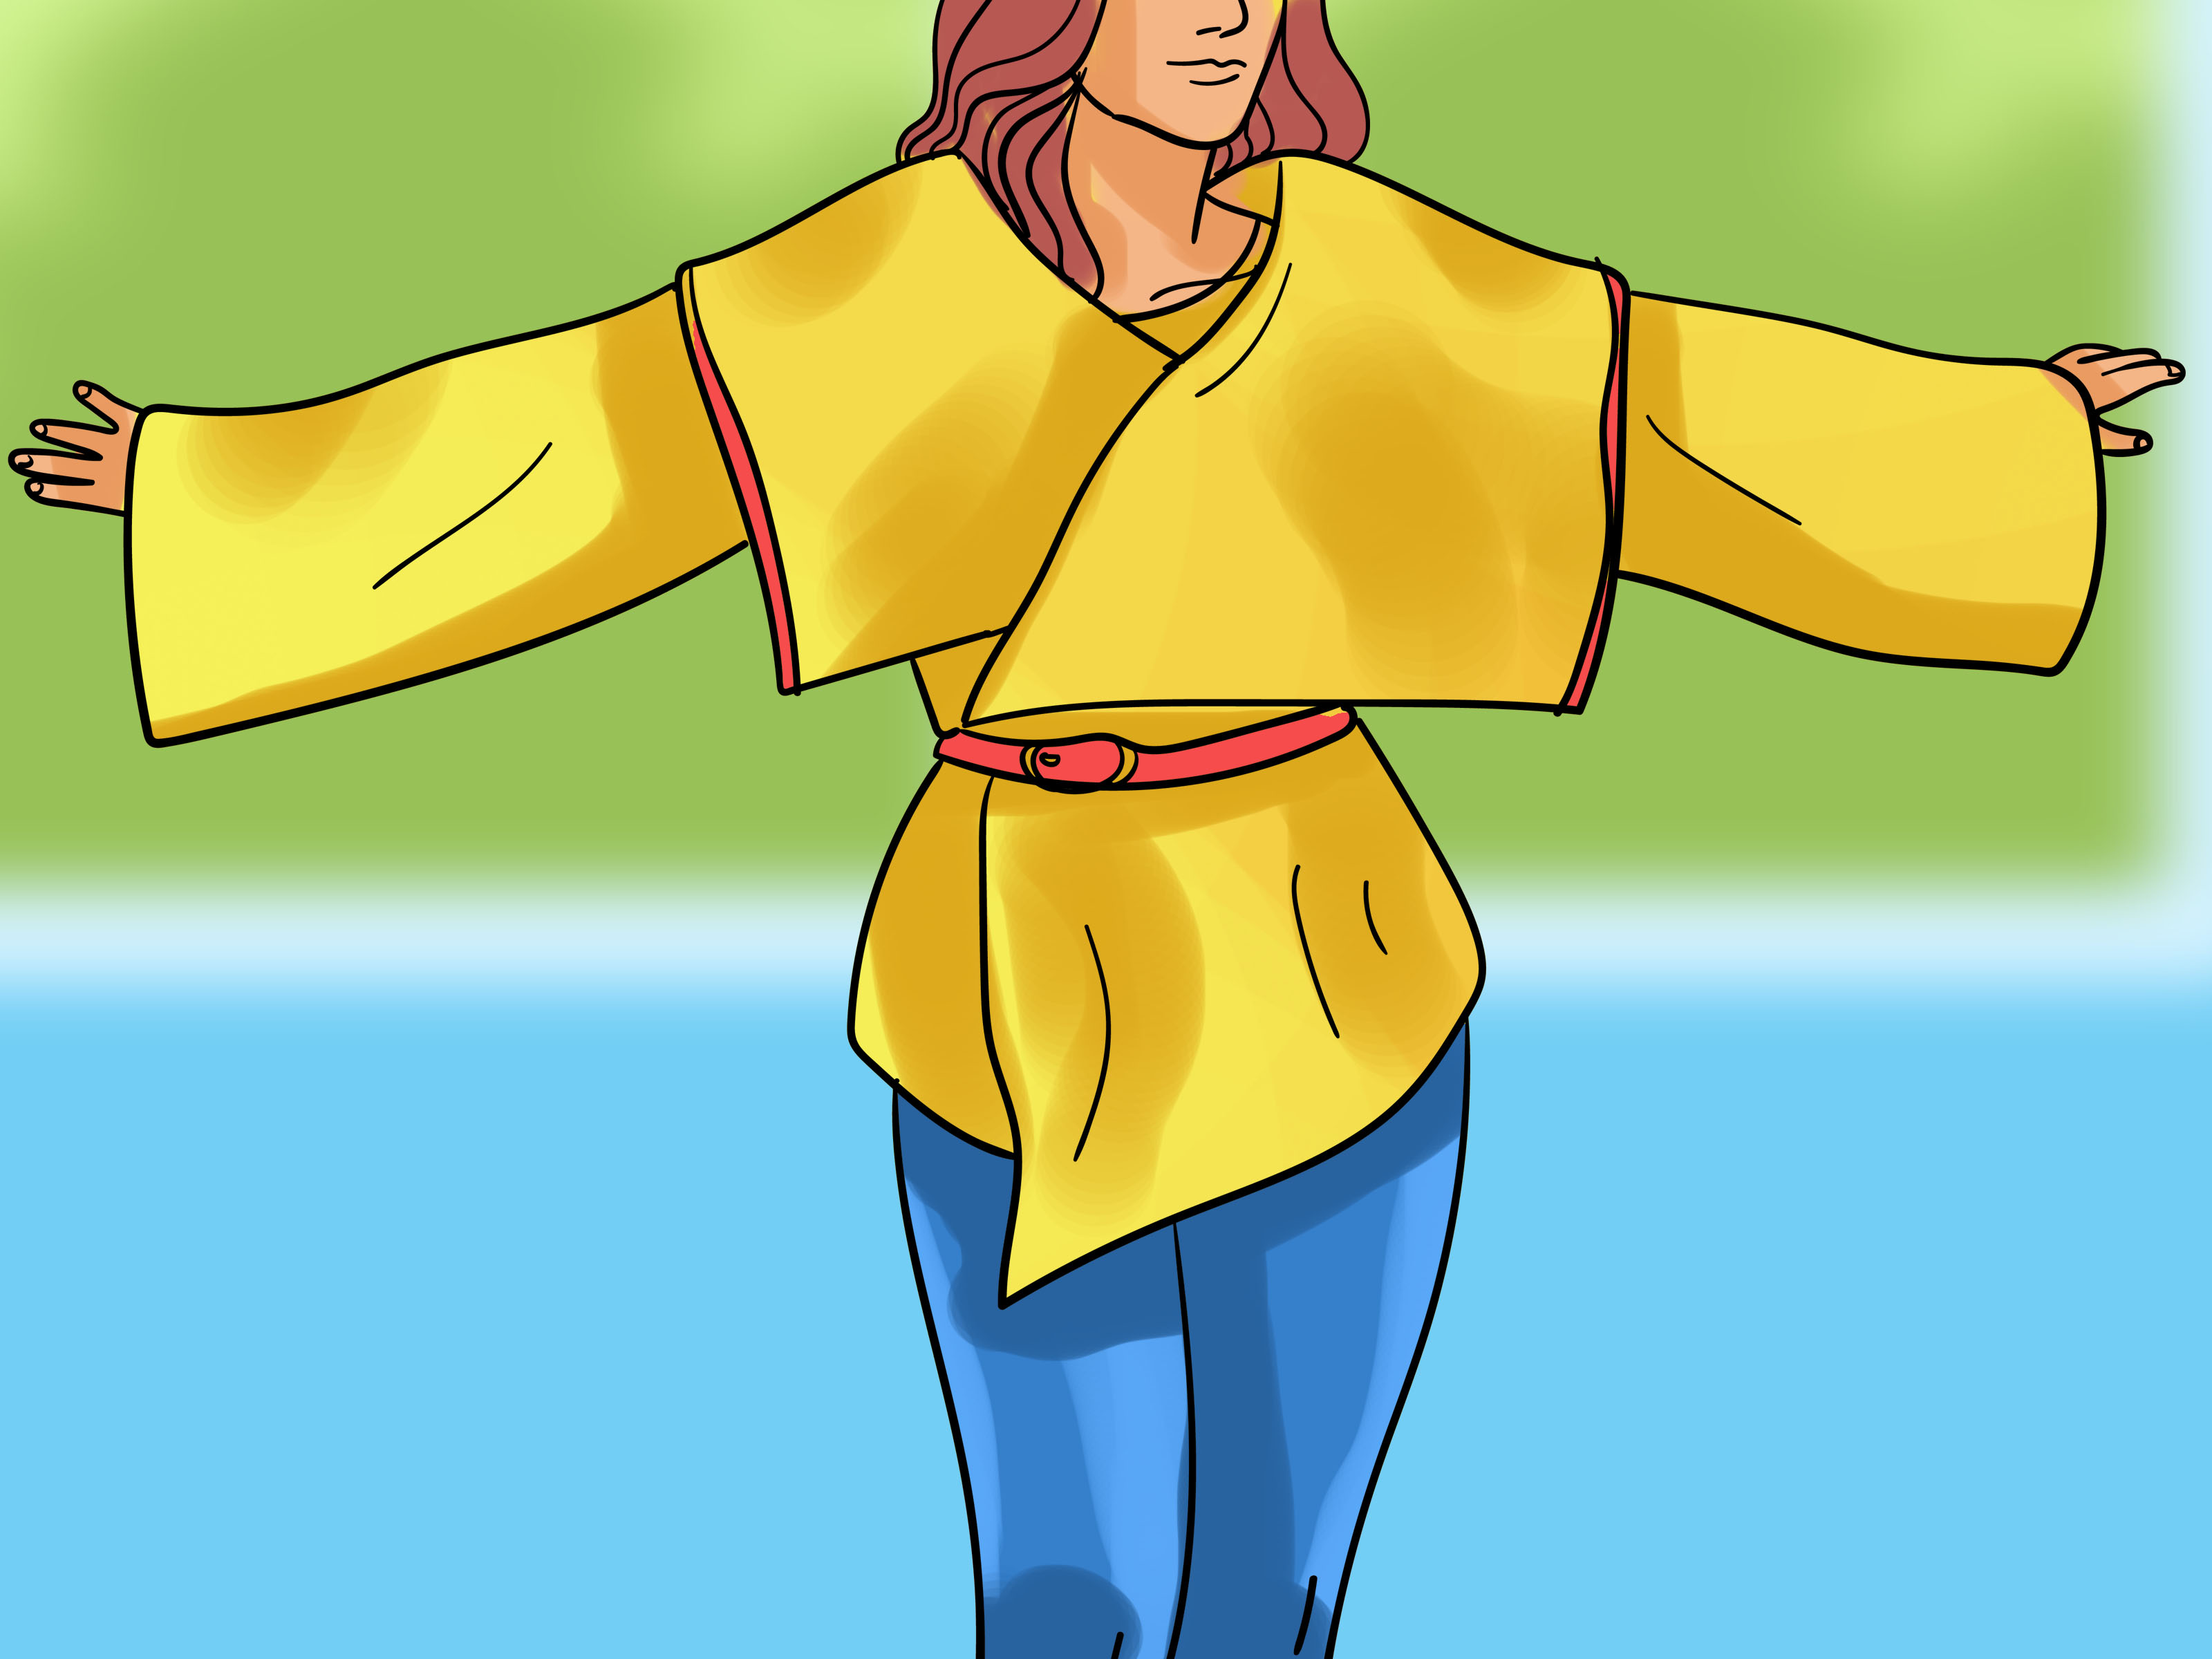
Turning a blanket into a coat sounds like something a cartoon character would do after losing a battle with winter. But in real life, it is one of the smartest DIY clothing projects you can try. A good blanket already has the main ingredients of a cozy coat: warmth, size, softness, and personality. Add a little measuring, a little cutting, a few strong seams, and suddenly that forgotten throw from the back of the closet becomes outerwear with main-character energy.
The best part? A blanket coat does not have to look like you panicked during a power outage and wore your bedding to the grocery store. With the right shape, clean edges, practical closures, and thoughtful finishing, it can look intentionally stylish: part wrap coat, part robe coat, part vintage treasure, and part “yes, I made this, please admire me responsibly.”
This guide explains how to turn a blanket into a coat using beginner-friendly sewing logic, practical fabric advice, and real-world tips. Whether you are working with a wool blanket, fleece throw, quilt, or thrifted vintage find, the goal is the same: make something warm, wearable, and charming enough that people ask where you bought it.
Why Make a Coat From a Blanket?
A blanket coat is the perfect meeting point between sustainability, comfort, and creativity. Instead of buying new fabric, you can upcycle something you already own or rescue a beautiful secondhand blanket. Many blankets also come with finished edges, woven borders, fringe, stripes, or patterns that would cost extra if you bought fabric by the yard.
Blankets are also generous. A standard throw can become a short wrap coat or cape-style jacket. A twin or full-size blanket gives you enough material for sleeves, pockets, and a belt. A queen-size blanket may offer enough fabric for a long coat, lining pieces, or a matching scarf if you are feeling dangerously fancy.
There is also a practical advantage: blanket coats tend to have relaxed silhouettes. You are not trying to create a sharply tailored blazer that needs twenty-seven fittings and the emotional support of a professional tailor. Most blanket coat designs are roomy, forgiving, and designed for layering over sweaters.
Best Blanket Types for a DIY Coat
Wool Blankets
Wool is one of the best choices for a blanket coat because it is warm, breathable, and naturally structured. A dense wool blanket can hold the shape of a robe coat, wrap coat, or bog coat beautifully. However, wool can be bulky, itchy, or prone to shrinking if washed incorrectly. Always check the care label before cleaning or steaming it.
Fleece Blankets
Fleece is beginner-friendly because it does not fray much, is lightweight, and is easy to cut. It is great for a casual lounge coat or soft wrap jacket. The downside is that fleece can look less polished than wool unless you finish it with clean topstitching, binding, or a strong design detail such as oversized pockets.
Quilts and Quilted Blankets
A quilt can make a gorgeous statement coat. It already has texture, pattern, and insulation. The main challenge is bulk. Thick quilted layers can be difficult to sew through, especially at the shoulders, sleeve seams, and hems. Use a sturdy needle and avoid complicated seam intersections unless your sewing machine enjoys drama.
Cotton or Woven Throws
Lightweight cotton blankets can work for a spring coat, duster, or indoor jacket. They are not as warm as wool, but they can be easier to wash and press. Add a lining or wear the coat as a layering piece if the blanket is thin.
Tools and Materials You Will Need
- One clean blanket, preferably medium to heavyweight
- A coat, cardigan, or robe that fits you well for reference
- Fabric scissors or rotary cutter
- Measuring tape
- Tailor’s chalk or washable fabric marker
- Sewing pins or clips
- Sewing machine or hand-sewing needle
- Strong polyester thread or wool-friendly thread
- Universal, denim, or wool needle depending on blanket thickness
- Bias tape, binding, or lining fabric if desired
- Buttons, belt, toggles, snaps, or a large brooch for closure
If your blanket is thick, test your sewing machine before cutting the entire project. Fold a scrap section or corner into two or three layers and sew through it. If the machine protests like it has been asked to move a refrigerator, simplify the design. A wrap style with fewer seams may be your new best friend.
Step 1: Choose Your Coat Style
Before cutting anything, decide what kind of coat you want. This matters because different designs use the blanket differently.
The Wrap Coat
A wrap coat is the easiest and most flexible option. It usually has a loose body, open front, belt, and optional sleeves. This style works well with wool, fleece, and soft woven blankets.
The Cocoon Coat
A cocoon coat has a rounded, oversized shape. It is cozy, stylish, and forgiving. It is perfect if your blanket is soft and drapes well. Think of it as a blanket that went to art school.
The Bog Coat
A bog coat is a simple, low-waste style often made with minimal cutting and straight seams. It is ideal for preserving a blanket’s pattern or border. If your blanket has stripes, checks, or a beautiful woven edge, this style can show them off.
The Robe Coat
A robe coat looks relaxed but intentional. It usually includes a shawl collar, belt, patch pockets, and long lines. It is a great choice if you want a wearable coat that feels like a bathrobe but does not announce “I gave up” to the neighborhood.
Step 2: Wash, Steam, or Prepare the Blanket
Preparation is where many DIY coat projects either become beautiful or become a mysterious fabric pancake. If your blanket is washable, clean and dry it before cutting. If it is wool, avoid aggressive washing unless the care label says it is safe. Hot water and agitation can shrink or felt wool, which might be useful in some craft projects but tragic if your coat suddenly fits a teddy bear.
For wool blankets, steam pressing can help relax wrinkles and freshen the fabric. Use a pressing cloth between the iron and wool to avoid shine or scorching. Press instead of dragging the iron back and forth. Pressing lifts and sets the fabric; ironing can stretch it out of shape.
Step 3: Take Simple Body Measurements
You do not need a full tailor’s chart, but you should measure the basics:
- Shoulder width
- Bust or chest circumference
- Hip circumference
- Arm length
- Desired coat length
- Wrist or sleeve opening width
Add ease for comfort. A blanket coat should not fit like a button-up shirt. Add at least 4 to 8 inches of wearing ease around the body, especially if you plan to wear sweaters underneath. Thick blankets need more ease because bulk takes up space inside the garment.
Step 4: Make a Simple Pattern
The easiest way to draft a blanket coat pattern is to trace around a coat, cardigan, or robe that already fits. Lay the garment flat on paper, newspaper, or directly on the wrong side of the blanket if you are confident. Trace the body, sleeves, and neckline. Add seam allowance around every cut edge. A 1/2-inch seam allowance works for many projects, while 5/8 inch gives you more room for fitting and finishing.
For a wrap coat, you can use simple rectangles: one large back piece, two front pieces, two sleeves, and a belt. Patch pockets are optional but highly recommended because a coat without pockets is just a fabric betrayal.
Step 5: Plan the Layout Before Cutting
Lay the blanket flat and study the pattern. Does it have stripes? A border? Fringe? A decorative edge? These features can become design details. A border can run down the front opening. Fringe can become the hem. A plaid can look amazing, but only if you line up the pattern carefully at the front and side seams.
Place the largest pattern pieces first. Usually, that means the back and fronts. Then fit sleeves, pockets, belt pieces, and facings into the remaining space. Take a photo of your layout before cutting. It helps you remember where everything goes, and it gives you proof that you had a plan if things get weird.
Step 6: Cut Slowly and Mark Clearly
Use sharp scissors or a rotary cutter. Dull scissors can chew through thick blanket fabric and leave messy edges. Mark the wrong side with chalk or a washable marker. Mark pocket placement, belt loop placement, sleeve notches, center back, and front overlap.
If your blanket sheds or frays, handle the cut pieces gently. You can staystitch curved areas like the neckline to prevent stretching. For very loose woven blankets, finish raw edges early with a zigzag stitch, serger, or binding.
Step 7: Sew the Shoulder Seams
Start with the shoulder seams. Place the front pieces right sides together with the back piece and sew across the shoulders. Press the seam allowances open if the fabric is not too bulky. If the blanket is very thick, press the seam allowances to one side and topstitch them down for stability.
Shoulder seams carry weight, so reinforce them if needed. A strip of twill tape, cotton tape, or even a stable ribbon sewn into the shoulder seam can help prevent stretching.
Step 8: Add Sleeves or Keep It Sleeveless
Sleeves make the coat warmer and more coat-like, but they also add complexity. If you are a beginner, choose a drop-shoulder sleeve. It has a simpler shape and works beautifully with oversized blanket coats.
Pin or clip the sleeve to the arm opening with right sides together. Sew slowly, especially if the fabric is thick. After sewing the sleeve cap, sew the sleeve seam and side seam in one continuous line from wrist to hem. This method is simple and works well for relaxed designs.
If you want an easier project, skip sleeves and make a blanket cape coat instead. Add arm slits, a belt, and a front closure. It will still be warm, dramatic, and excellent for walking around as though you own a small castle.
Step 9: Finish the Front Edges
The front opening is one of the first things people notice. If the blanket already has a finished border, use it. If not, finish the edge with one of these methods:
- Fold the edge under twice and topstitch it.
- Bind the edge with bias tape or wool binding.
- Add a facing for a cleaner coat-like finish.
- Use a decorative blanket stitch by hand or machine.
For thick wool, binding can be cleaner than folding bulky edges. For fleece, a single folded hem or decorative stitching may be enough. For quilted blankets, binding is often the neatest and strongest option.
Step 10: Add Pockets, Belt Loops, and Closures
Patch pockets are the simplest option. Cut two rectangles, finish the top edge, fold under the sides, and stitch them to the front of the coat. Place them where your hands naturally land, not where they look good only on a hanger. Try the coat on before sewing pockets permanently.
For closure, a belt is the easiest choice. You can sew a long belt from leftover blanket fabric or use leather, cotton webbing, or a purchased tie belt. Belt loops can be made from small fabric strips and sewn at the side seams.
Buttons, toggles, snaps, and large brooches also work well. If sewing buttonholes through thick fabric, test first on scraps. Buttonholes need reinforcement, especially on wool or loose woven blankets. If your machine dislikes bulky buttonholes, use large snaps and sew decorative buttons on top. It is not cheating; it is engineering with better PR.
Step 11: Add a Lining if Needed
A lining is optional, but it can make the coat easier to wear. Wool blankets can feel scratchy, and quilted blankets may have rough inner seams. A lining covers raw edges, helps the coat slide over clothing, and gives the inside a polished finish.
Choose lining fabric based on comfort and function. Satin, rayon, cotton lawn, flannel, or lightweight cotton can work depending on the outer blanket. Avoid adding a lining that is too thick unless the coat has enough room. Extra bulk can make the coat feel stiff, especially in the sleeves.
If you are new to lining, keep it simple. Line only the body, or use bias binding on seams instead. A fully lined coat looks wonderful, but a clean unlined coat with bound seams can be just as wearable.
Step 12: Hem and Final Press
Try on the coat before hemming. Move around. Sit down. Raise your arms. Pretend to reach for something on a high shelf while looking elegant. If the coat pulls, adjust before finishing.
For the hem, fold and stitch, bind the edge, or preserve the blanket’s original finished edge. Press carefully with steam and a pressing cloth. Do not flatten plush, textured, or quilted fabric too aggressively. The goal is polished, not pancaked.
Common Mistakes to Avoid
Using a Blanket That Is Too Small
A tiny throw may not give you enough fabric for sleeves and overlap. If your blanket is small, choose a cape, vest, or short wrap style.
Forgetting About Bulk
Thick fabric changes everything. It affects seam allowances, sleeve comfort, buttonholes, hems, and machine performance. Keep the design simple if your blanket is heavy.
Skipping a Test Seam
Always sew a sample seam before starting. Test needle size, stitch length, thread, tension, and pressing. A test seam is cheaper than discovering halfway through that your machine is quietly planning a rebellion.
Ignoring Pattern Direction
If your blanket has stripes, plaid, animals, flowers, or a strong directional print, plan carefully. Nobody wants one sleeve showing upright pine trees and the other showing pine trees experiencing a personal crisis.
Design Ideas for a Better Blanket Coat
Use the blanket’s existing details as design features. Place a decorative border along the front opening. Use fringe at the hem or sleeve cuffs. Turn a plaid blanket into a dramatic oversized coat. Add contrast binding to a plain wool blanket. Sew on vintage buttons for personality. Add a hood from leftover fabric if you have enough material.
You can also mix materials. A wool blanket body with cotton lining feels classic. A quilted blanket coat with corduroy pockets feels playful. A fleece blanket coat with sherpa trim becomes weekend comfort wear. The trick is to make choices look intentional. Repeating a detail helps: if you use contrast binding on the front, use it again on the cuffs or pockets.
Care Tips for Your DIY Blanket Coat
Care depends on the blanket fiber. Wool coats often do best with brushing, airing out, spot cleaning, and occasional professional cleaning. Fleece may be machine washable, but it can pill over time. Quilted coats may need gentle washing to protect stitching and batting.
Store the coat on a sturdy hanger or folded flat if it is heavy. A thick blanket coat can stretch at the shoulders if left hanging for months. Before storing, make sure it is clean and dry. Cozy fabric is wonderful, but moths and mildew are not invited to the fashion show.
Experience Notes: What Making a Blanket Coat Actually Feels Like
The first surprise when turning a blanket into a coat is how quickly it starts looking like real clothing. At the layout stage, it still feels like a blanket having an identity crisis. But after the shoulder seams are sewn, the project suddenly becomes wearable. That is the moment most DIY makers try it on, stand in front of the mirror, and think, “Wait. Did I just become a designer?”
Working with a wool blanket feels different from working with regular fabric. It has weight, personality, and occasionally the attitude of a stubborn house cat. Cutting it can feel scary, especially if the blanket is vintage or sentimental. The best approach is to move slowly and mark everything clearly. Measure twice, cut once, then take a calming sip of coffee and pretend you were relaxed the entire time.
One practical lesson is that simple shapes usually look better than overcomplicated ones. A blanket already has thickness, texture, and visual interest. When the pattern is too complex, the seams can become bulky and the coat may feel stiff. A wrap coat or robe coat often gives the best balance: easy to sew, easy to wear, and flattering on many body types. It also leaves room for a sweater underneath, which is important because winter loves to test our optimism.
Pockets deserve special attention. In theory, pockets are rectangles. In reality, pocket placement can make or break the coat. If they sit too low, your hands look like they are searching for lost treasure. If they sit too high, the coat feels awkward. The best method is to pin the pockets on, try the coat on, move your hands naturally, and adjust before stitching. This tiny step makes the finished coat feel custom.
Another experience-based tip: do not underestimate the power of finishing. A blanket coat with raw, uneven edges may look like a last-minute costume. The same coat with clean binding, neat topstitching, and a well-placed belt can look boutique. Finishing is where the project stops whispering “craft experiment” and starts saying “slow fashion.”
If the blanket has a border, use it proudly. A striped border down the front makes the coat look designed rather than improvised. Fringe at the hem can be charming if it is balanced and clean. Vintage labels, embroidered initials, or small worn spots can also become part of the story. A blanket coat does not need to be perfect; it needs to feel intentional.
The most satisfying part is wearing it for the first time. A handmade blanket coat feels personal in a way store-bought outerwear rarely does. It is warm, comfortable, and slightly heroic, as though you defeated waste, cold weather, and boring fashion in one project. And when someone compliments it, the correct response is not “Oh, it was nothing.” The correct response is: “Thanks, I made it from a blanket,” followed by a pause long enough for admiration to fully develop.
Conclusion
Learning how to turn a blanket into a coat is part sewing project, part upcycling adventure, and part cozy rebellion against boring winter clothes. The key is choosing the right blanket, selecting a simple coat shape, planning your layout, controlling bulk, and finishing the edges neatly. Wool blankets create classic warmth, fleece makes the project beginner-friendly, and quilts can become unforgettable statement coats.
You do not need advanced tailoring skills to begin. Start with a wrap or robe-style design, test your seams, use strong thread, and let the blanket’s original details guide the final look. With patience and a little humor, an unused blanket can become a coat that is practical, stylish, and completely one of a kind.
Note: This article is intended for general DIY sewing education. Always use scissors, rotary cutters, irons, and sewing machines carefully, and follow the care instructions for your specific blanket fabric.