Tea is civilized. Tea is calming. Tea says, “Let’s take a deep breath and pretend the inbox does not exist.” But tea stains? Those brown rings inside your favorite cup say something less poetic, usually along the lines of, “You have ignored me for six months, and now I live here.”
The good news is that learning how to remove stains from tea cups using baking soda is simple, affordable, and surprisingly satisfying. Baking soda is one of those humble pantry ingredients that quietly does more work than half the gadgets in your kitchen drawer. When mixed with a little water, it forms a mild abrasive paste that can help lift tannin stains from ceramic, porcelain, and many glazed mugs without relying on strong-smelling cleaners.
Tea stains usually come from tannins, natural compounds in tea that cling to porous surfaces, especially when cups are used daily and not washed immediately. Black tea, strong green tea, chai, and herbal blends with deep pigments can all leave marks over time. A dishwasher may fade some staining, but it often misses the stubborn film hiding near the bottom curve of the cup. That is where baking soda earns its tiny superhero cape.
Below is a practical, seven-step method for cleaning tea-stained cups with baking soda, plus safety tips, common mistakes, prevention advice, and real-life experience from the battlefield of over-loved mugs.
Why Baking Soda Works on Tea Cup Stains
Baking soda, also called sodium bicarbonate, works in two helpful ways. First, it has a fine, powdery texture that creates gentle friction when rubbed against a stained surface. This helps loosen the brown film without the harsh scratchiness of steel wool or aggressive scouring powders. Second, baking soda is mildly alkaline, which can help break down residue from beverages, food, and oils.
The key word is “gentle.” Baking soda is not magic dust from a cleaning fairy, although it can feel that way the first time you watch a tea stain disappear. It still needs contact, moisture, and a little motion. Think of it as a polite scrubber: firm enough to get results, but not so dramatic that your mug needs emotional support afterward.
What You Need Before You Start
You do not need a complicated cleaning kit. In most cases, the best tools are already near your sink.
Supplies
- 1 to 2 teaspoons of baking soda per cup
- A few drops of warm water
- Mild dish soap
- A soft sponge, microfiber cloth, or non-scratch scrub pad
- A soft toothbrush for corners, handles, or narrow cup bases
- A clean towel for drying
Optional Supplies for Stubborn Stains
- Hot water for soaking
- White vinegar for a separate rinse or soak
- Lemon wedge for light freshening
Before using baking soda, check the cup material. Plain glazed ceramic and porcelain mugs usually tolerate this method well. Be more careful with hand-painted cups, antique china, metallic rims, gold trim, delicate glass, unglazed clay, or mugs with decorative decals. When in doubt, test a small hidden area first.
How to Remove Stains from Tea Cups Using Baking Soda: 7 Steps
Step 1: Wash the Cup with Dish Soap First
Start with a normal wash using warm water and mild dish soap. This removes surface oils, old tea residue, sugar film, and any mysterious kitchen particles that may have joined the party. Rinse the cup well.
This first wash matters because baking soda works best when it can touch the actual stain. If the cup is coated with grease or dried milk residue, the baking soda paste may slide around instead of gripping the discolored areas. It is like trying to paint a wall without dusting it first: possible, but unnecessarily annoying.
Step 2: Sprinkle Baking Soda into the Damp Cup
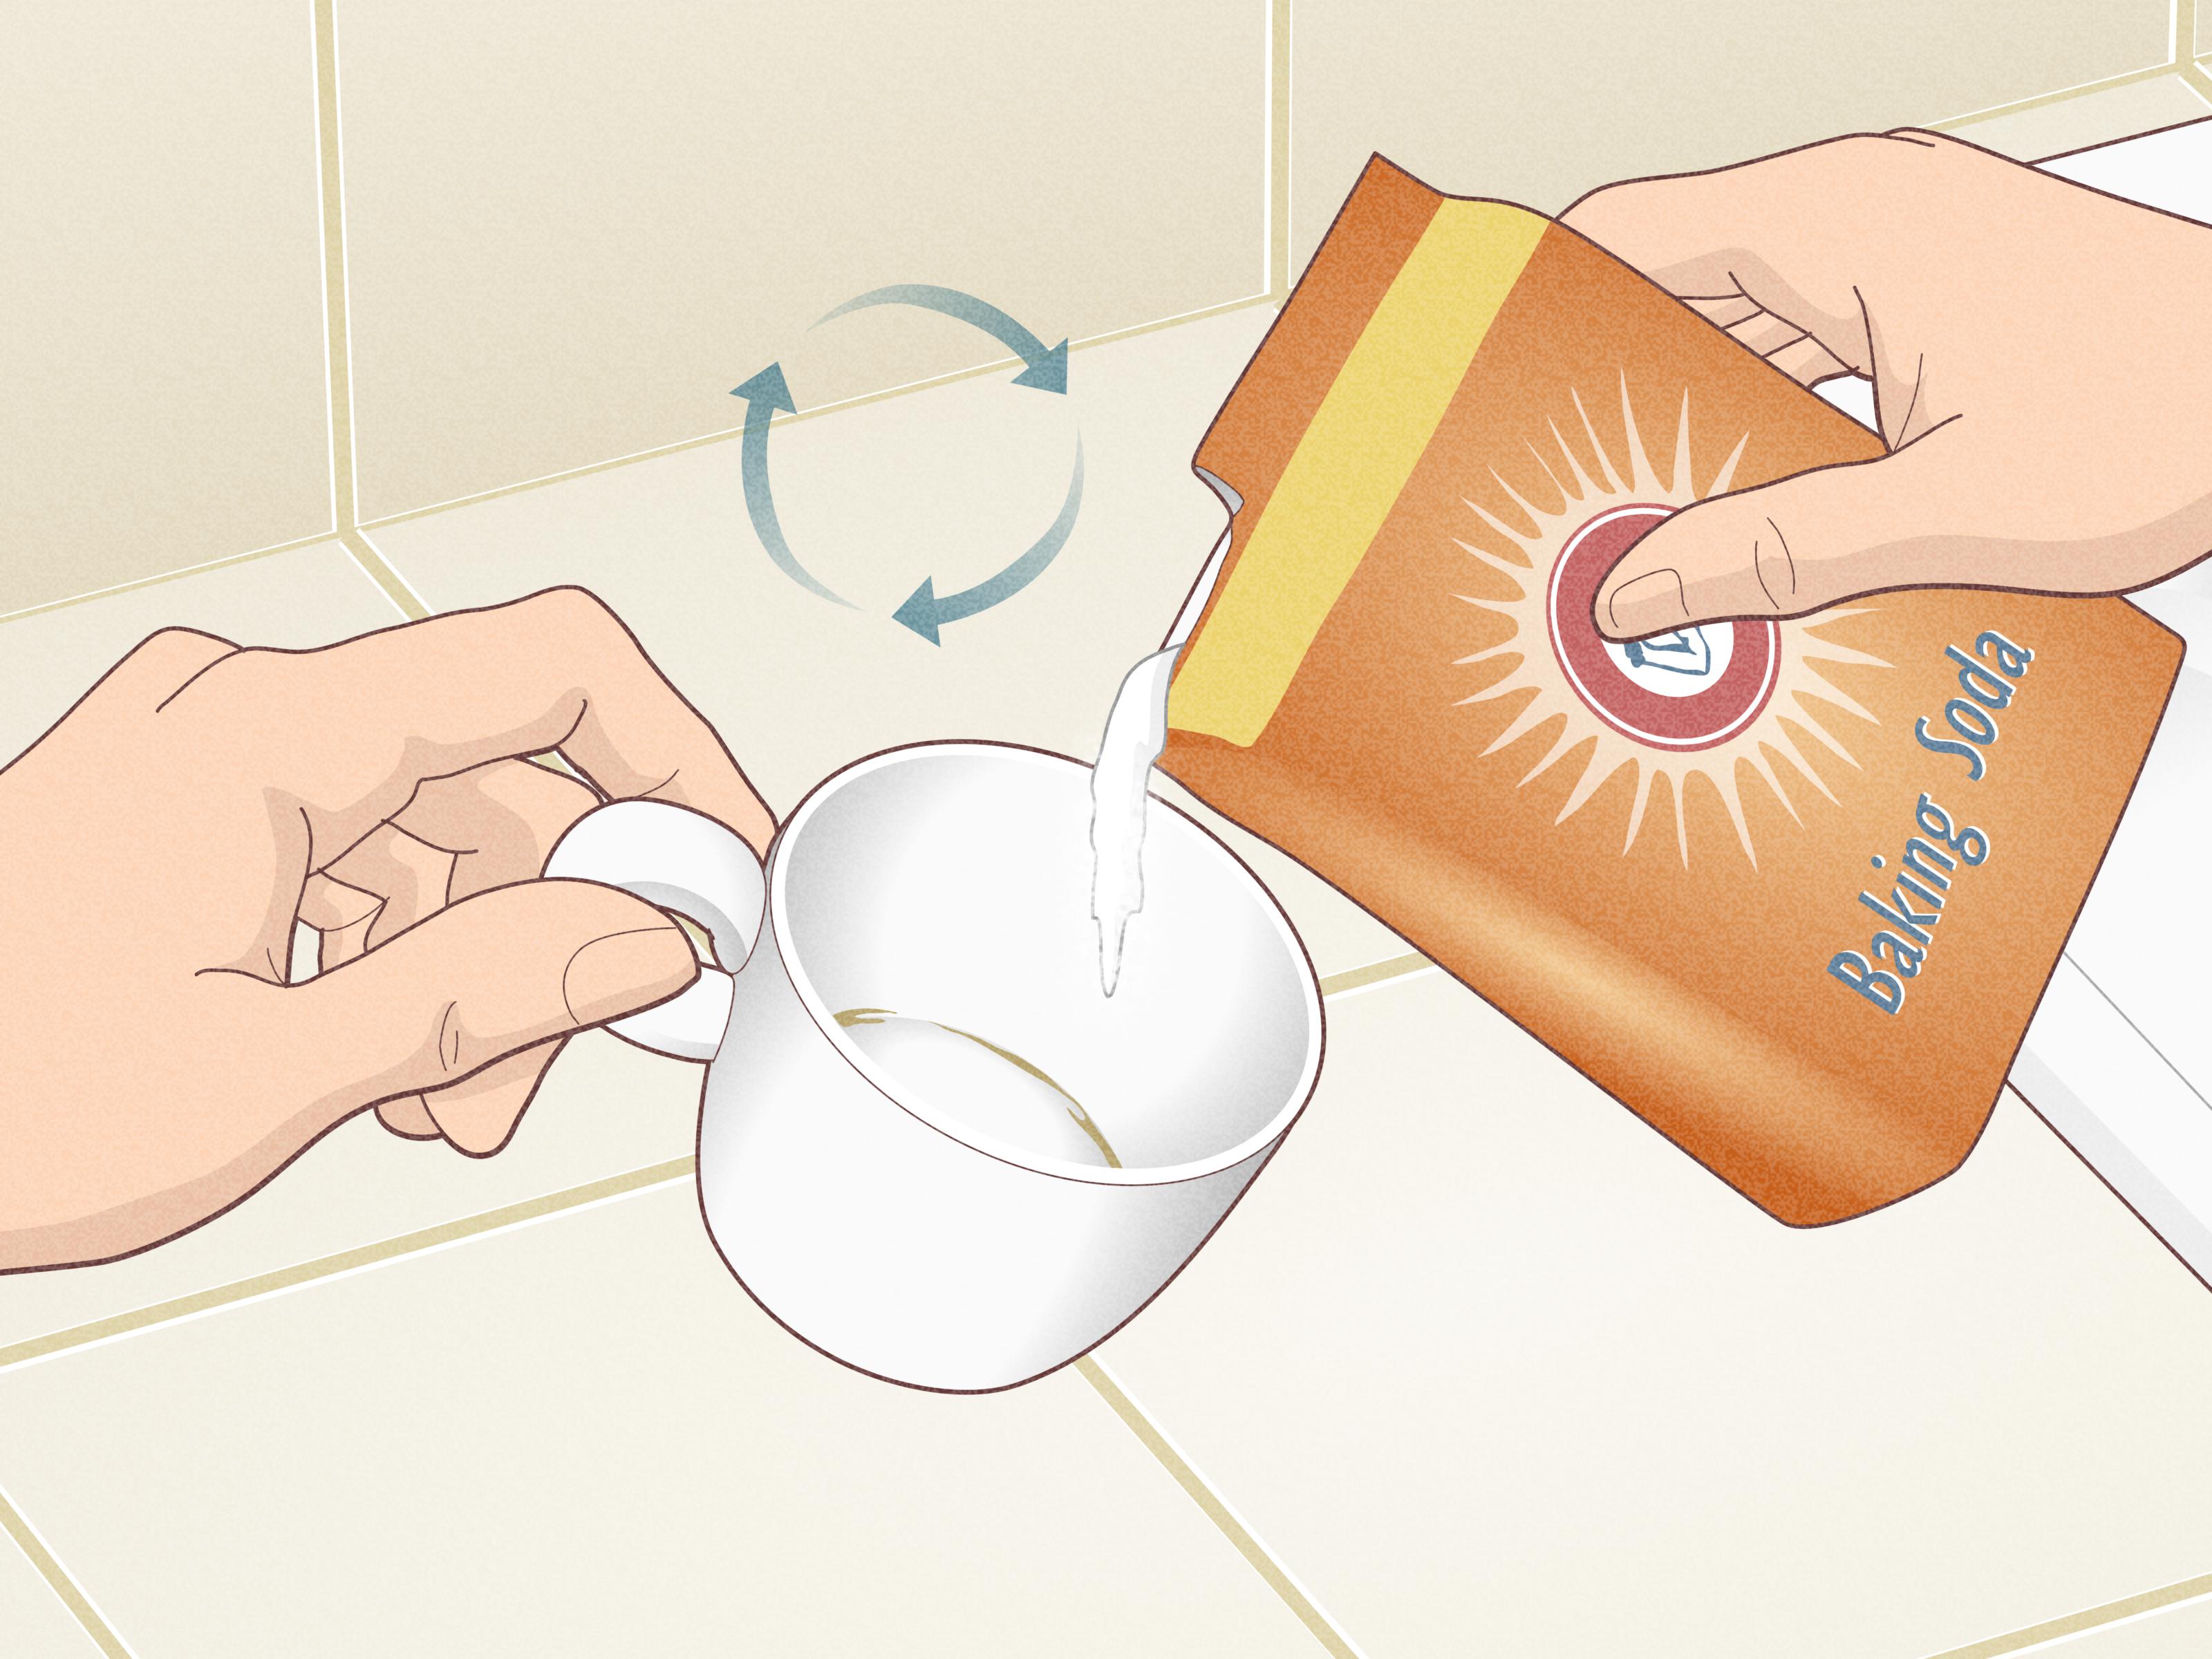
While the inside of the tea cup is still damp, sprinkle about 1 teaspoon of baking soda directly onto the stained area. For a large mug or a cup with heavy staining, use up to 2 teaspoons.
The damp surface helps the powder stick to the stains. If the cup is completely dry, the baking soda may clump in one corner like it is avoiding responsibility. If the cup is too wet, the baking soda dissolves too much and loses some of its scrubbing power. You want a damp surface, not a swimming pool.
Step 3: Add a Few Drops of Water to Make a Paste
Add just enough warm water to turn the baking soda into a thick paste. Start with a few drops, then add more only if needed. The texture should be similar to soft toothpaste or cake frosting that has made a strange career change.
A thick paste is important because it gives the baking soda enough body to polish the stain. If the mixture becomes too watery, sprinkle in a little more baking soda. If it is too dry and crumbly, add another drop or two of water.
Step 4: Rub the Paste Over the Tea Stains
Use a soft sponge, microfiber cloth, or non-scratch pad to rub the paste over the stained areas in small circular motions. Focus on the lower inside curve of the cup, where tea stains often collect. If the cup has a narrow bottom or a tricky handle area, use a soft toothbrush.
You should begin to see brown residue lift into the paste. This is the highly rewarding part of the process, especially if the cup has been silently judging you from the dish rack for weeks. Keep the pressure moderate. You do not need to attack the cup like it owes you money. Let the paste and repeated motion do the work.
Step 5: Let the Paste Sit for 5 to 10 Minutes
For light stains, scrubbing may be enough. For deeper tea stains, spread the baking soda paste over the discolored areas and let it sit for 5 to 10 minutes. This gives the paste more time to loosen the tannin film.
If the stain is old, dark, or stubborn, fill the cup with hot water and add 1 tablespoon of baking soda. Let it soak for 30 minutes, several hours, or overnight. A soak is especially useful for cups with stains that cover the entire inside surface rather than just one ring or patch.
Step 6: Scrub Again, Then Rinse Thoroughly
After the paste or soak has had time to work, scrub the stained areas again. Then rinse the cup thoroughly under warm running water. Make sure all baking soda residue is gone, especially from the bottom curve and around any interior ridges.
Rinsing is not optional. Baking soda is food-safe in small culinary uses, but nobody wants their next cup of Earl Grey to taste like a science project. If the cup feels gritty, rinse again. If it still smells stale, wash it once more with dish soap.
Step 7: Wash, Dry, and Inspect the Cup
Finish by washing the cup with dish soap and warm water. Dry it with a clean towel, then inspect it in good light. Drying matters because wet ceramic can hide faint stains. Once dry, you can see whether the cup is truly clean or just pretending.
If a faint stain remains, repeat the baking soda paste method. Most tea cup stains improve dramatically after one cleaning, but older mugs may need two rounds. If the stain does not budge after repeated gentle cleaning, the glaze may be worn, cracked, or porous. In that case, the discoloration may have settled deeper than surface cleaning can reach.
How to Handle Very Stubborn Tea Stains
If baking soda paste alone does not fully remove tea stains from your cup, try a longer soak before scrubbing again. Add 1 tablespoon of baking soda to the cup, fill it with hot water, and let it sit overnight. In the morning, empty the cup, scrub gently, rinse, and wash with dish soap.
You can also use white vinegar as a separate cleaning step. Fill the cup with equal parts warm water and white vinegar, let it sit for 10 to 15 minutes, then rinse and follow with baking soda paste. Avoid relying on the dramatic fizz that happens when vinegar and baking soda are mixed together. It is fun to watch, yes, but once the fizz settles, the two ingredients mostly neutralize each other. For cleaning power, use them separately: vinegar for soaking, baking soda for scrubbing.
What Not to Use on Tea-Stained Cups
Some cleaning shortcuts can damage cups or leave residue behind. Avoid steel wool, harsh scouring pads, and abrasive powders that are not meant for dishes. These can scratch the glaze, making the cup more likely to stain again.
Be cautious with bleach. While diluted bleach is sometimes used for stain removal, it is not the best everyday choice for drinkware because it must be measured carefully and rinsed thoroughly. Baking soda is usually the friendlier first option for ordinary tea stains.
Do not use baking soda aggressively on delicate glass, metallic decorations, gold rims, antique china, hand-painted designs, or cups with sentimental value greater than your monthly grocery budget. For special pieces, use mild dish soap, a soft cloth, and conservative soaking methods.
How Often Should You Clean Tea Cups with Baking Soda?
For everyday mugs, using baking soda once every few weeks is usually enough if stains are visible. You do not need to scrub with baking soda after every single cup of tea. Regular dish soap and prompt washing should handle daily cleaning.
If you drink black tea several times a day, your favorite mug may need extra attention. A quick baking soda refresh once a week can prevent stains from becoming a permanent design feature. For occasional tea drinkers, once a month or whenever stains appear is plenty.
How to Prevent Tea Stains from Coming Back
The easiest tea stain to remove is the one that never gets a chance to settle. Rinse your cup soon after drinking tea, especially if you take your tea strong or plain. Milk and sugar can add their own residue, so cups used for sweet tea, chai, or milk tea should be washed rather than simply rinsed.
Simple Prevention Tips
- Rinse tea cups immediately after use.
- Wash cups with dish soap instead of letting them sit overnight.
- Use a soft sponge to reach the bottom curve of the cup.
- Dry cups fully before storing them.
- Deep-clean favorite mugs before stains become dark and layered.
Also inspect your mugs for cracks or worn glaze. Tiny cracks, known as crazing, can trap tea pigments. If a cup stains quickly even after cleaning, the surface may be damaged. It may still be usable, but it will probably require more frequent cleaning.
Baking Soda vs. Other Tea Stain Removers
Baking soda is popular because it is cheap, widely available, and easy to rinse away. Compared with commercial cleaners, it has a low odor and does not make your kitchen smell like a chemistry classroom. Compared with vinegar, it gives more scrubbing power. Compared with salt, it is generally finer and less harsh. Compared with denture tablets, it is simpler and usually already in the pantry.
That said, each method has a place. Vinegar can help with mineral film and light staining. Denture tablets can work well for soaking travel mugs and narrow containers. Dish soap is essential for daily cleaning. Baking soda shines when stains need gentle friction and quick visible improvement.
Common Mistakes When Cleaning Tea Cups with Baking Soda
Using Too Much Water
A watery baking soda mixture will not scrub well. Keep the paste thick so it can grip the stain.
Scrubbing Too Hard
More pressure does not always mean better cleaning. Gentle circular motion is safer for the cup surface.
Skipping the Final Wash
Always wash the cup with dish soap after using baking soda. This removes residue and leaves the cup ready for your next tea break.
Using Baking Soda on Every Material
Baking soda is useful, but it is not ideal for every surface. Avoid it on delicate decorations, metallic trim, or items with special care instructions.
Waiting Too Long Between Cleanings
Fresh stains are easier to remove than old, layered stains. A quick cleaning routine saves effort later.
Real-Life Experiences: What Actually Happens When You Clean Tea Cups with Baking Soda
The first time I tried cleaning a tea-stained cup with baking soda, I expected mild improvement. I did not expect the mug to go from “archaeological discovery” to “acceptable for guests” in under five minutes. The cup was a white ceramic mug that had been used for black tea almost daily. It had a dark ring near the bottom and a tan shadow up the sides, the kind of stain that survives the dishwasher and then smirks about it.
I rinsed the mug, sprinkled in baking soda, added a few drops of water, and made a paste with my finger before switching to a sponge. Within a few circular scrubs, the paste turned beige. That was the stain lifting. Very glamorous? No. Deeply satisfying? Absolutely. It felt like cleaning a tiny before-and-after photo in real time.
One useful lesson: the paste needs to be thick. When I added too much water, the baking soda slid around the mug and did very little. When I poured out the extra liquid and added more powder, the paste grabbed the stain better. The texture made all the difference.
Another lesson came from an older mug with a slightly rough interior. Baking soda improved the stain, but it did not make the cup look brand-new. That was not the baking soda failing; it was the cup showing wear. Once a glaze becomes scratched or porous, tea pigments can cling more deeply. Baking soda can clean the surface, but it cannot rebuild the glaze. If your mug has been through years of office coffee, microwave reheats, and emotional support tea sessions, be realistic. Clean is the goal; showroom perfection may have left the building.
I also learned that soaking helps when scrubbing alone is not enough. For a cup with a heavy brown bottom stain, I added hot water and a tablespoon of baking soda, then left it for several hours. When I came back, the water had a faint tea-colored tint, which was both gross and encouraging. After a gentle scrub and rinse, the stain was much lighter. A second paste treatment finished the job.
For travel mugs, the experience is different. Baking soda can help remove stains and odors, but lids need extra attention. Tea residue hides under rubber gaskets, sliding openings, and little grooves that seem designed by someone who never had to wash dishes. A toothbrush is your best friend here. Take removable parts apart if the manufacturer allows it, clean each piece, rinse thoroughly, and let everything dry before reassembling. Otherwise, the mug may look clean but still smell like yesterday’s tea made a secret nest in the lid.
The biggest practical takeaway is that baking soda is best used early. A quick sprinkle-and-scrub once stains begin to appear is much easier than rescuing a cup after months of buildup. Keep a small box near the sink, and the whole process becomes part of normal kitchen maintenance. It is low effort, low cost, and oddly rewarding.
Finally, do not underestimate the emotional power of a clean favorite mug. Tea tastes better when the cup looks fresh. Is that scientific? Maybe not entirely. But anyone who has removed a stubborn brown ring from a beloved mug knows the feeling. It is not just cleaning. It is a tiny domestic victory, and frankly, we should take those wherever we can get them.
Conclusion
Removing tea stains from cups with baking soda is one of the easiest kitchen cleaning tricks because it is simple, inexpensive, and effective for many everyday mugs. The method works best when you create a thick paste, scrub gently with a soft sponge, let it sit for stubborn stains, rinse thoroughly, and finish with dish soap. For older or deeper stains, a longer baking soda soak can help loosen tannin buildup before scrubbing.
The secret is consistency. Rinse cups soon after use, wash them properly, and treat stains before they become part of the mug’s personality. Baking soda will not fix cracked glaze or delicate antique finishes, but for standard ceramic and porcelain tea cups, it is a reliable first-line solution. Your tea deserves a clean cup, and your cup deserves a life beyond brown rings.