Note: This guide is written for homeowners planning a lighting upgrade. For any work involving rewiring, transformer replacement, dimmer replacement, or removing old housings, hire a licensed electrician.
Halogen downlights had a good run. They were bright, compact, and for years they ruled kitchens, hallways, bathrooms, and every other ceiling that wanted to look modern in 2008. But they also run hot enough to make your ceiling feel like it is quietly holding a grudge, and they are nowhere near as efficient as today’s LED options.
If you are tired of changing bulbs, tired of heat pouring out of the ceiling, or tired of your electric bill acting like it has big dreams, it is time to upgrade. The good news is that replacing halogen downlights with LED is usually easier than people expect. The slightly less fun news is that you still need to choose the right method.
In most homes, there are three practical ways to replace halogen downlights with LED: swap in an LED bulb with the same base, install an LED retrofit downlight kit in the existing can, or replace the old fixture with a new integrated LED or canless downlight. The best option depends on your current housing, the bulb type, the ceiling space, and whether you want a quick fix or a full glow-up.
Why Replace Halogen Downlights with LED?
Before we get into the three methods, let’s talk about why this switch makes sense. LED downlights use much less energy, produce less heat, and typically last much longer than halogen lamps. That means fewer bulb changes, lower maintenance, and a cooler ceiling. In rooms where lights stay on for hours every day, such as kitchens and family rooms, the savings can be especially noticeable over time.
LED technology also gives you more control. You can choose warm white for cozy rooms, bright white for kitchens, daylight for task-heavy spaces, and dimmable models for rooms that occasionally need to look like a spa instead of a tax office. Many newer LED downlights even let you select the color temperature with a switch before installation, which is handy for anyone who has ever bought “warm” bulbs that looked suspiciously like operating-room lighting.
Before You Buy Anything
The smartest lighting upgrades begin with five boring but important checks:
1. Identify the bulb or fixture type
Your halogen downlight may use a GU10 bulb, an MR16 lamp, or a recessed can with a trim and separate lamp inside. Do not assume all small spotlight bulbs are interchangeable. Some halogen lamps run on line voltage, while others use low voltage and a transformer. The bulb may look nearly identical but still be the wrong match.
2. Check the voltage
This matters a lot. Many MR16 lamps use low voltage, while GU10 lamps typically use line voltage. If you install the wrong LED replacement, the result may be flickering, buzzing, poor dimming, or a light that simply refuses to participate.
3. Measure the opening
Common recessed sizes include 4-inch, 5-inch, and 6-inch housings, but older homes can surprise you. Measure first. Nothing ruins a Saturday project like learning your “universal” retrofit trim is only universal in the marketing department.
4. Check your dimmer
Not all existing dimmers work smoothly with LED lamps. If your halogen downlights are on a dimmer, choose dimmable LEDs and verify compatibility with the dimmer manufacturer or the lamp maker. Otherwise you may get flicker, limited dimming range, or that dramatic little buzz that says, “Hello, I am not the correct setup.”
5. Look at insulation conditions
If the fixture sits in an insulated ceiling, confirm whether the existing housing is rated for insulation contact. Older non-IC recessed housings require clearance from insulation. That safety detail matters when you upgrade, especially if you are considering a full fixture replacement.
Way 1: Replace the Halogen Bulb with an LED Bulb Equivalent
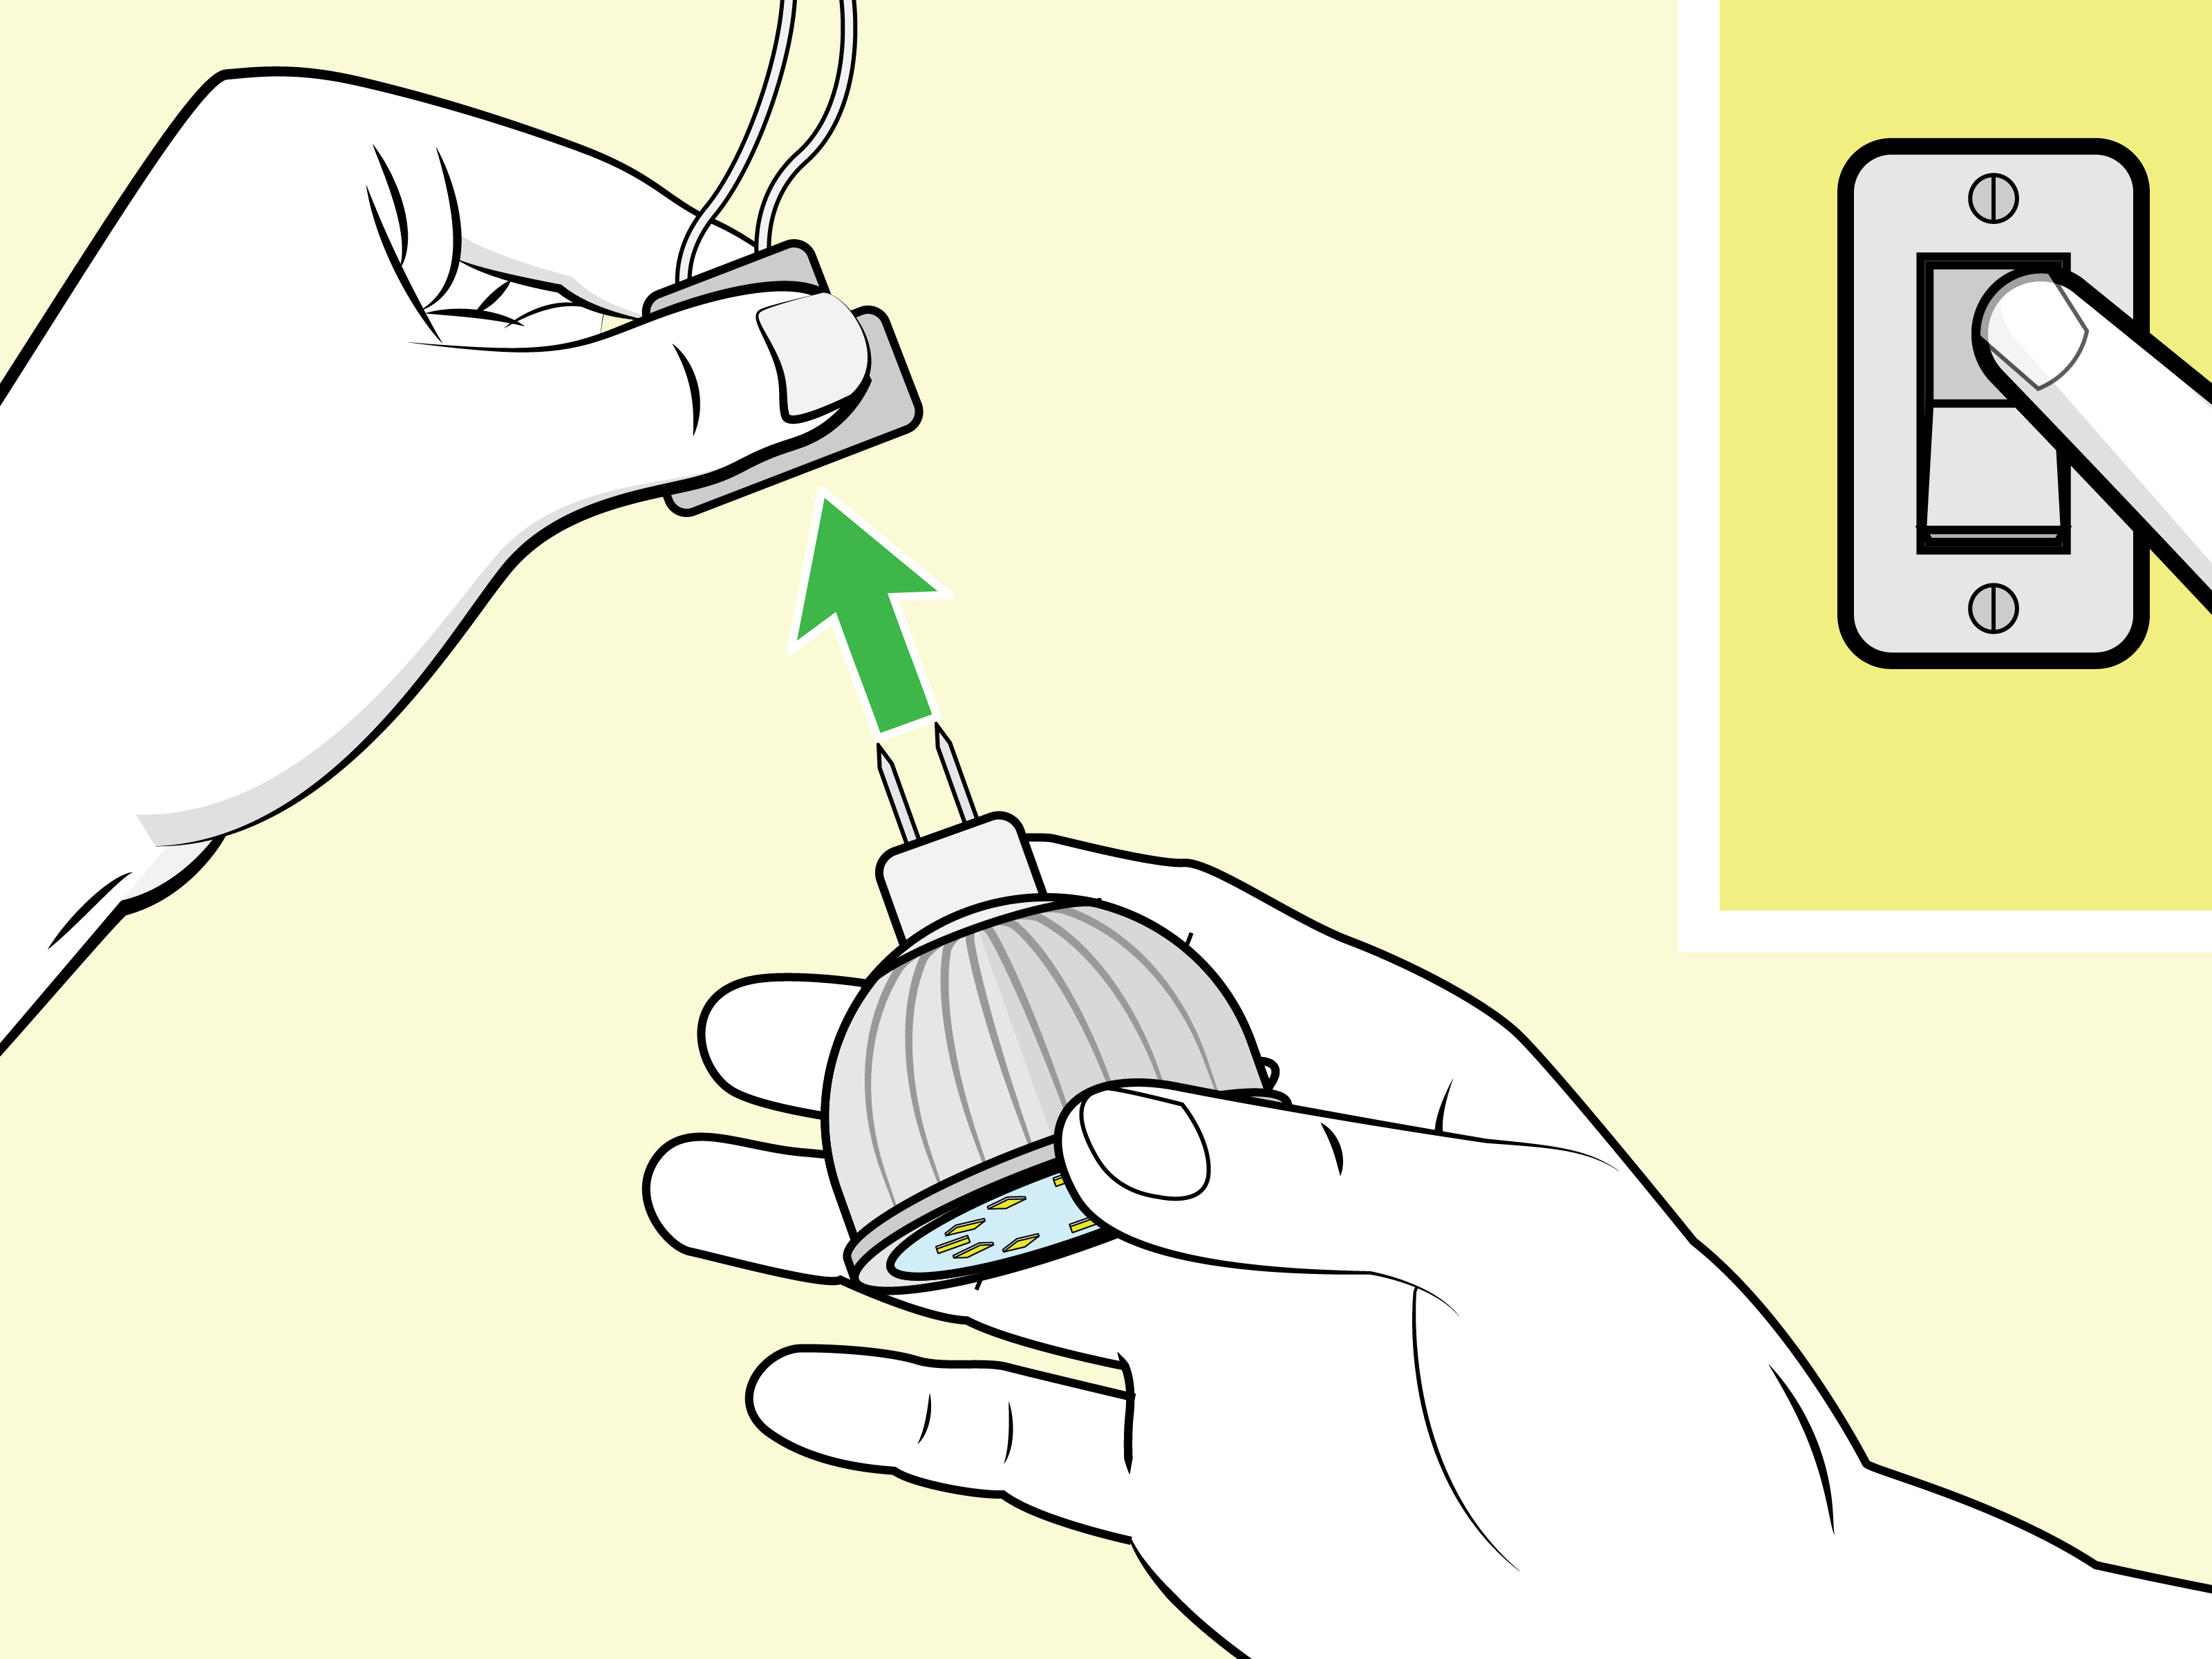
This is the easiest option and usually the most affordable. If your current downlight uses a replaceable halogen bulb, you may be able to swap it for an LED bulb with the same base, size, and voltage.
When this method makes sense
- Your recessed housing is still in good condition
- You want the quickest upgrade with the least disruption
- You do not need to change the trim style or the housing itself
- Your existing setup is compatible with an LED bulb replacement
What to match
Look at the old bulb and match the following details:
- Base type, such as GU10 or MR16/GU5.3
- Voltage
- Beam spread
- Brightness in lumens, not just wattage equivalent
- Color temperature, such as 2700K, 3000K, or 4000K
- Dimming capability if the fixture is on a dimmer
For example, a 50-watt halogen spotlight is often replaced by an LED using around 5 to 7 watts, depending on the model. That is one of the reasons this upgrade feels so satisfying. You get similar useful light while asking the electrical panel for dramatically less drama.
Pros
- Lowest upfront cost
- Fast and simple
- No housing changes in many cases
- Great for one-room or one-fixture upgrades
Cons
- May not fix older trim style or housing problems
- Some existing transformers and dimmers may not play nicely with LED lamps
- Light quality can vary widely between bulb brands
This method is ideal if your goal is basic efficiency. It is not always the best choice if your old recessed cans are yellowed, loose, poorly sealed, or visually stuck in another decade.
Way 2: Install an LED Retrofit Downlight Kit in the Existing Can
This is the sweet spot for many homeowners. LED retrofit downlight kits are designed to fit inside existing recessed housings, giving you a modern integrated look without tearing out the entire can. Many kits connect through the existing socket with an adapter and secure to the housing using clips or springs.
When this method makes sense
- You have an existing recessed can housing
- You want a cleaner, newer appearance than a simple bulb swap
- You want better light distribution and often better efficiency
- You prefer a more finished look without a full ceiling project
Why homeowners love retrofit kits
Retrofit kits are popular because they solve multiple problems at once. They update the trim, improve the lighting appearance, and often provide a more sealed face than older recessed trim-and-bulb combinations. Many are available in baffle, smooth, adjustable, or color-selectable versions. Some damp-rated models are suitable for bathrooms or covered outdoor soffits as well.
This option also tends to produce a more even, polished beam than older halogen lamps. If your current recessed lights create lots of glare or little hot spots on the floor, a quality LED retrofit module can feel like your ceiling finally went to finishing school.
What to check before buying
- Housing size compatibility, usually 4-inch or 5/6-inch
- Housing model compatibility if listed by the manufacturer
- Dimming compatibility
- Color temperature and CRI
- Wet or damp rating if used in bathrooms
- Certification from a recognized safety program
If you care about how colors look in your room, do not ignore CRI. A decent LED may be fine, but a better one can make wood floors, paint, countertops, and skin tones look noticeably richer and more natural. That is especially helpful in kitchens, vanities, and living rooms where nobody wants to look like they were lit by a tired vending machine.
Pros
- Modern appearance
- Better optical performance than many simple bulb replacements
- Can improve air-sealing at the ceiling opening
- Usually easier than a full housing replacement
Cons
- Costs more than a bulb-only swap
- Not every old housing is compatible
- You still rely on the condition of the existing recessed can
If your old halogen can light is structurally fine but aesthetically tired, this is often the best upgrade path.
Way 3: Replace the Entire Fixture with a New Integrated LED or Canless Downlight
If your old housing is outdated, damaged, poorly sealed, or simply not worth keeping, a full replacement may be the best move. This means removing the old recessed light and installing a new integrated LED downlight, often a slim canless fixture or a new dedicated LED housing.
When this method makes sense
- The old can is damaged, loose, or incompatible with retrofit kits
- You want the thinnest, cleanest profile possible
- You are remodeling anyway
- You want to improve both appearance and fixture performance long term
Why this option is appealing
Modern canless LED downlights are slim, efficient, and designed for tight ceiling spaces. They are especially useful where joists, ductwork, or limited clearance make traditional recessed cans inconvenient. Many models are also color-selectable, airtight, and rated for insulated ceilings when properly specified.
This route also gives you the chance to correct old problems. Maybe the original trim never sat flush. Maybe one can always ran hot. Maybe your ceiling has a random mix of bulb types because previous owners believed consistency was optional. A full replacement gives you a clean slate.
Why professional help is usually the smart move
Although some products are marketed as remodel-friendly, full fixture replacement can involve wiring work, box connections, ceiling fit, code requirements, and dimmer considerations. That is why this is the method most likely to justify a licensed electrician. It is the most complete solution, but it is also the least “I will just wing it between lunch and soccer practice.”
Pros
- Most modern appearance
- Best option when old housings are obsolete or problematic
- Good for major room refreshes or whole-home lighting updates
- Can improve efficiency, appearance, and performance all at once
Cons
- Highest cost
- More labor
- Often best handled professionally
How to Choose the Right LED Downlight
No matter which of the three methods you use, picking the right LED is just as important as choosing the right replacement strategy.
Brightness
Focus on lumens, not just wattage equivalents. A dim LED that technically “fits” is still a bad idea if your kitchen ends up feeling like a cave with cabinets.
Color temperature
- 2700K: soft, warm, cozy
- 3000K: warm but cleaner and popular for general living areas
- 4000K: bright neutral white, common in kitchens and work areas
- 5000K: daylight look, often best for utility spaces
CRI
Higher color rendering helps materials and skin tones look more natural. For living areas, kitchens, and bathrooms, better CRI is worth paying attention to.
Dimming
Choose dimmable LEDs only if needed, and always confirm that your dimmer is compatible. Halogen dimmers do not automatically guarantee smooth LED dimming.
Ratings and certifications
Look for reputable safety certification and, when possible, ENERGY STAR certified recessed downlight products. That can help you avoid low-quality fixtures with poor longevity, inconsistent light color, or annoying flicker.
Common Mistakes to Avoid
- Buying the wrong base type because two bulbs looked similar in the store
- Ignoring voltage differences between MR16 low-voltage setups and line-voltage lamps
- Reusing an incompatible dimmer and then blaming the innocent LED
- Choosing color temperatures room by room with no plan, creating a house that feels like five separate planets
- Overlooking insulation contact ratings in older ceilings
- Mixing cheap bulbs from different brands and wondering why the room looks uneven
Which Method Is Best?
If you want the cheapest and fastest route, replace the bulb with an LED equivalent. If you want the best balance of appearance, performance, and convenience, install an LED retrofit downlight kit. If your existing recessed light is outdated or problematic and you want a cleaner long-term solution, replace the entire fixture with a modern integrated LED downlight.
In other words, the best method depends on whether you are solving a bulb problem, a fixture problem, or a whole-ceiling identity crisis.
Final Thoughts
Switching from halogen downlights to LED is one of those rare home upgrades that can improve efficiency, comfort, and appearance all at once. Your ceiling runs cooler, your maintenance drops, and your lighting can actually look better instead of merely existing overhead like a bright utility bill accessory.
The key is choosing the right upgrade path. A simple bulb replacement works well when the housing is solid and compatible. A retrofit module is often the best all-around solution for older recessed cans. And a full fixture replacement makes sense when the existing setup is outdated, damaged, or no longer worth keeping.
Do the matching work up front, pay attention to dimmers and voltage, and do not cut corners on safety. Get that right, and your new LED downlights will quietly do their job for years while your old halogens retire to the great hardware aisle in the sky.
Real-World Experiences with Replacing Halogen Downlights with LED
In real homes, the switch from halogen downlights to LED often starts with a single annoying bulb. One kitchen light burns out, somebody goes to replace it, and suddenly the family notices that the fixture is hot, the trim is yellowed, and the “simple” bulb costs more than expected. That is usually the moment when homeowners stop thinking in terms of one replacement and start thinking about a full upgrade.
A very common experience is the first-room test. People replace two or three halogen downlights in a kitchen or hallway with LED versions and then wait a week to see how they feel. Almost every time, the feedback sounds the same: the room looks cleaner, the ceiling feels less hot, and the lighting is more even. Then the homeowner looks at the rest of the house and realizes the old halogens now resemble tiny, power-hungry campfires.
Another frequent lesson involves color temperature. Many people assume all white light looks the same until they install a daylight LED in one fixture and a warm white LED in the next. Suddenly the ceiling looks like it is hosting a custody battle between a dentist’s office and a coffee shop. The best experiences usually happen when homeowners choose one color temperature for each zone of the house and stay consistent. Warm white often wins in bedrooms and living rooms, while brighter neutral tones tend to work well in kitchens and laundry areas.
Dimmers are another classic plot twist. Halogen lights dim beautifully, so people expect LED replacements to do the same. Sometimes they do. Sometimes they flicker, jump, buzz, or refuse to dim beyond “slightly less bright.” That is why so many successful upgrades include a dimmer check early in the process. Homeowners who verify compatibility before buying usually end up thrilled. Homeowners who skip that step often end up learning new vocabulary they cannot use at family dinner.
Older homes create a different kind of experience. Once the trim comes down, people may discover older housings, tight ceiling spaces, insulation issues, or a strange mix of parts installed over several decades. In those situations, retrofit kits are often the hero because they modernize the look without requiring a full ceiling teardown. But when the housing is loose, damaged, or simply outdated, integrated LED replacements feel like the right long-term answer.
One of the most satisfying experiences homeowners describe is how much better a room looks after a full LED refresh. It is not always about brightness. In fact, many people notice better light quality more than raw output. Counters look cleaner, paint colors read more accurately, and the room feels more intentional. It is the kind of upgrade that makes guests say, “Did you remodel?” when all you really did was fix your ceiling’s attitude.
Perhaps the biggest takeaway from real-world projects is this: the best results come from planning, not guessing. Match the bulb base, confirm the voltage, choose the right color temperature, and think about dimmers before checkout. When homeowners do that, the switch from halogen downlights to LED usually feels less like a chore and more like one of the smartest small upgrades they have made.