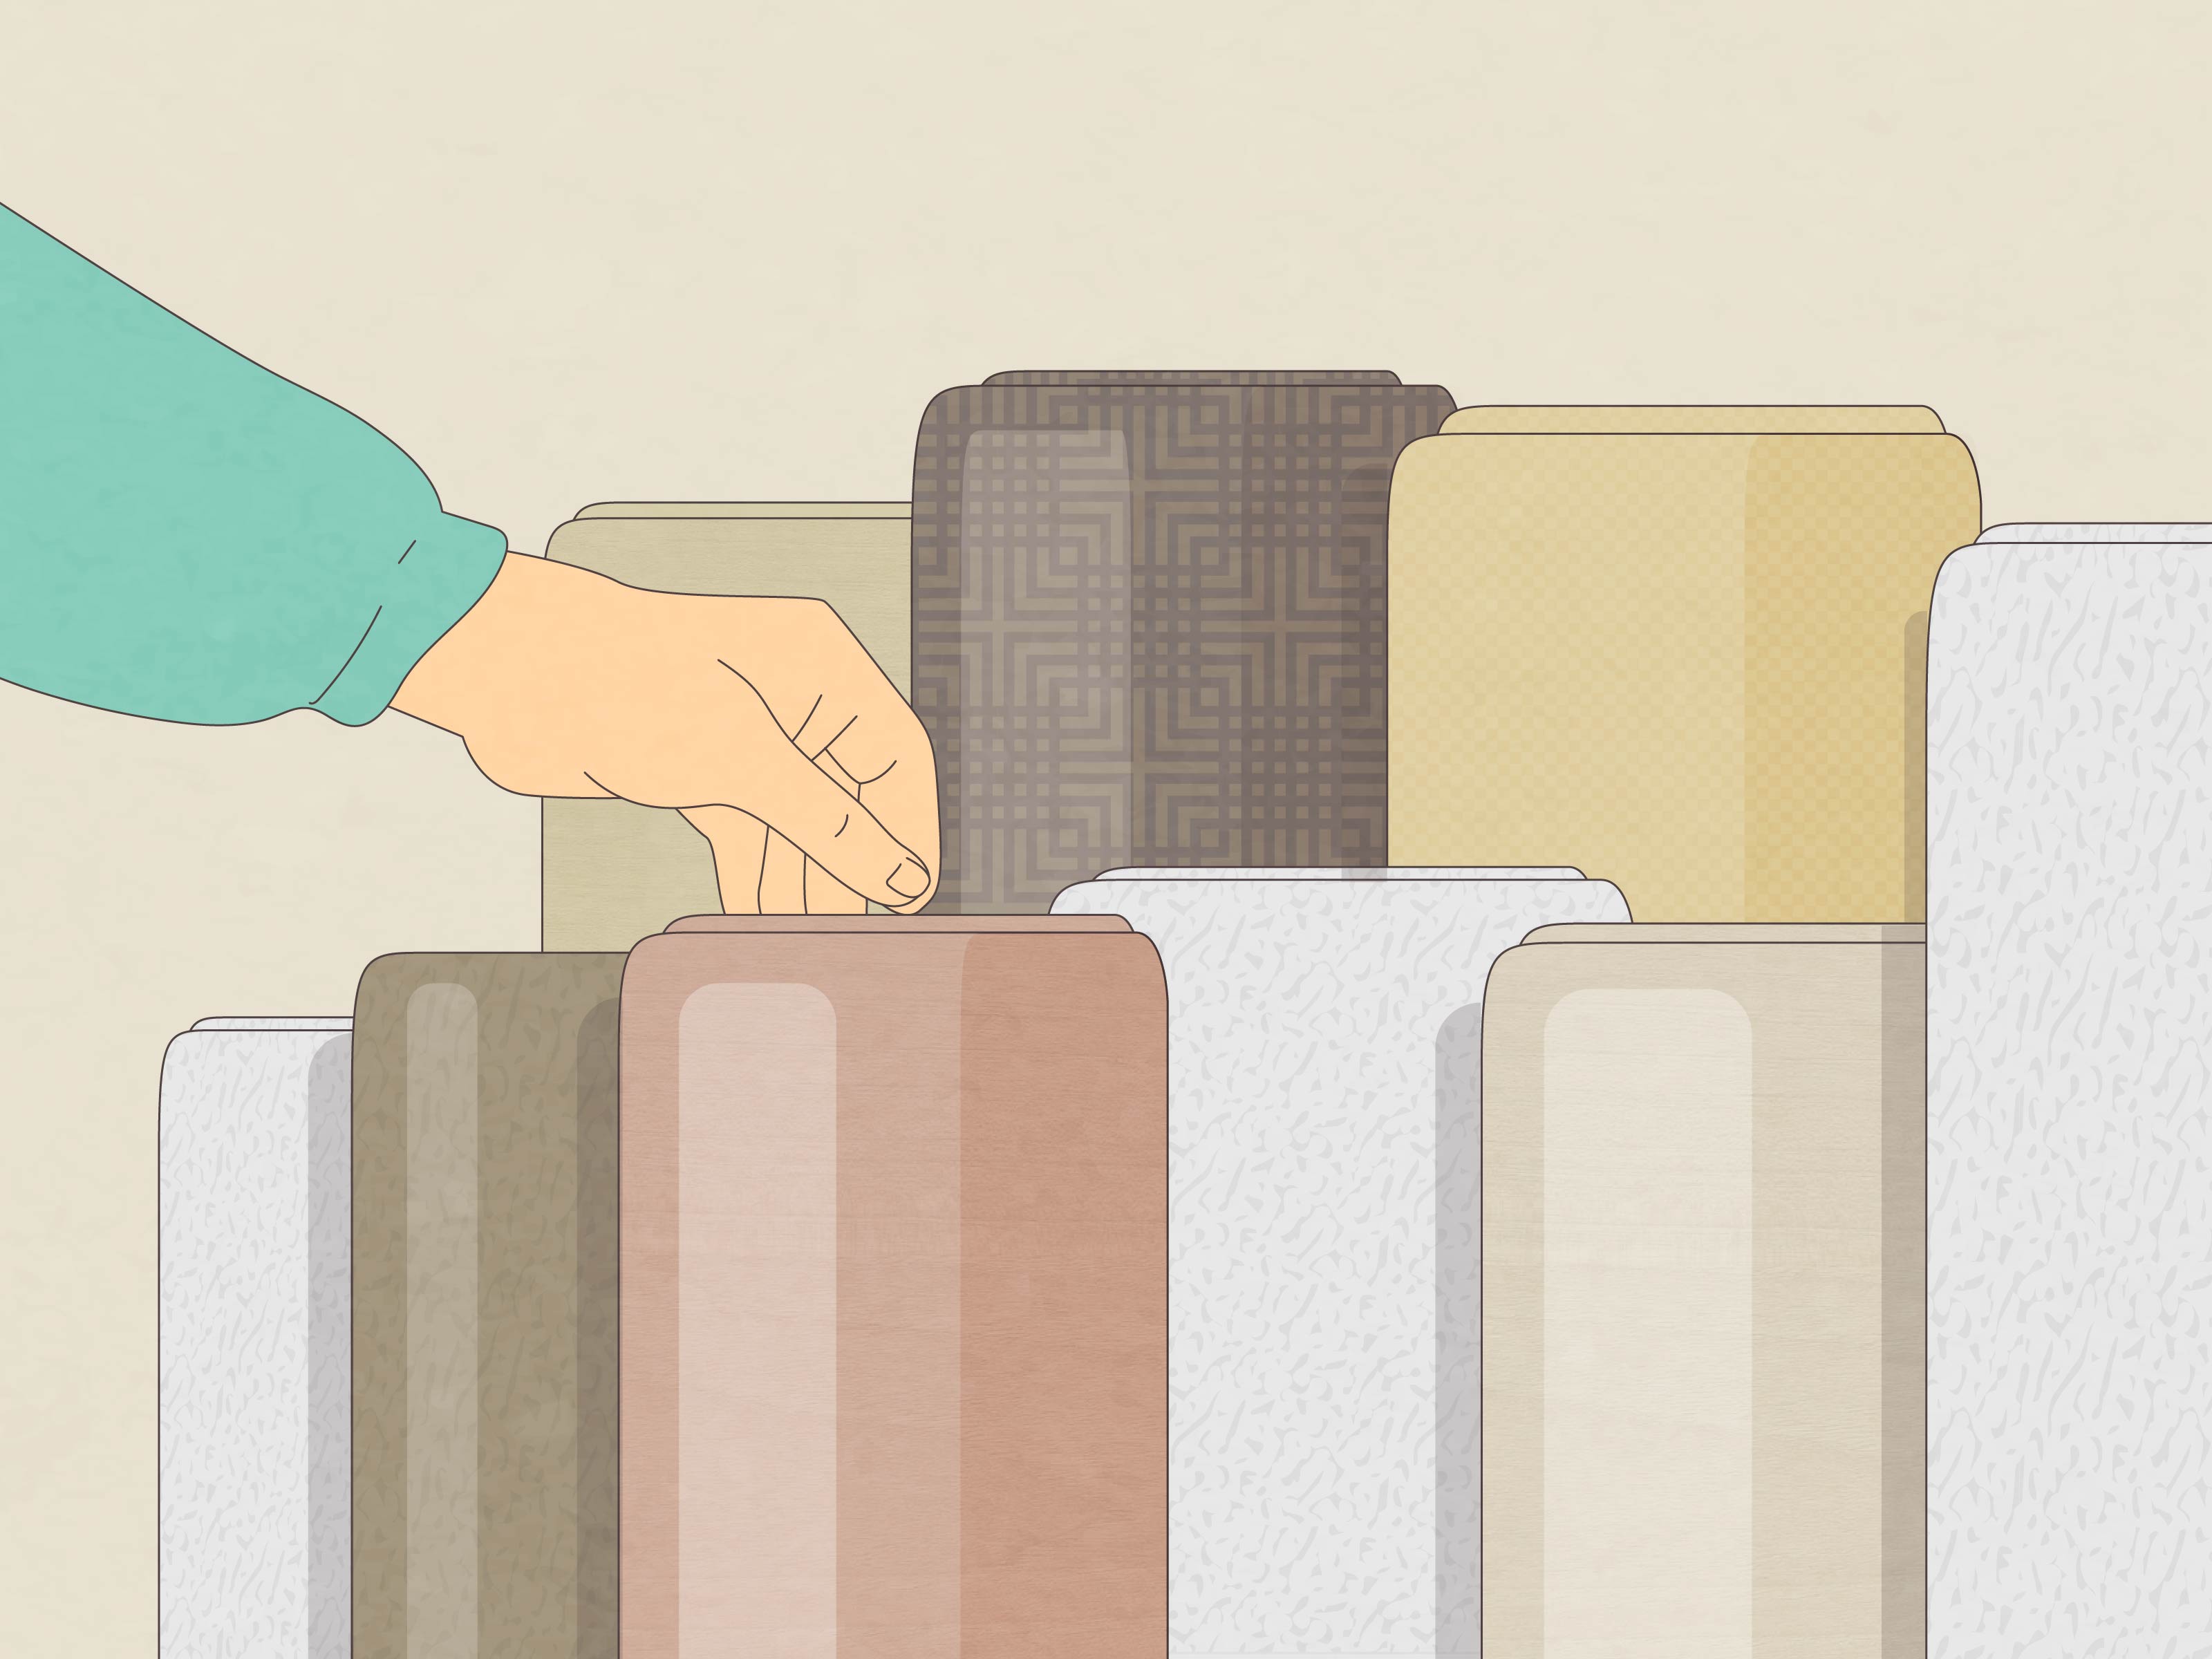
Learning how to install linoleum flooring is one of those home improvement projects that sounds simple until you are kneeling on the floor with a utility knife, a trowel, and a suspiciously judgmental roll of flooring staring back at you. The good news? With the right preparation, patience, and a realistic understanding of your skill level, linoleum can give your kitchen, bathroom, laundry room, mudroom, or hallway a durable, attractive, and eco-friendly new surface.
True linoleum is not the same as vinyl flooring, even though people often use the terms like interchangeable socks. Linoleum is traditionally made from natural materials such as linseed oil, wood flour, cork dust, resins, and mineral fillers on a backing. Vinyl is synthetic PVC. Both are resilient flooring options, but linoleum has its own personality: sturdy, slightly less forgiving than vinyl sheet, and very particular about subfloor preparation. In short, linoleum is a great floor, but it does not appreciate chaos.
This guide walks you through the process of installing linoleum flooring, from planning and subfloor prep to cutting, adhesive, rolling, seams, cleanup, and real-world lessons that can save you from DIY drama. Whether you are installing linoleum tiles, click-lock linoleum planks, or glue-down sheet linoleum, the basic principle is the same: measure carefully, prepare obsessively, and do not rush the steps that nobody sees. Those hidden steps are usually the ones that decide whether your new floor looks professional or looks like it lost an argument with gravity.
What to Know Before Installing Linoleum Flooring
Before you buy flooring, choose the right type of linoleum for your room and your comfort level. Linoleum tiles and floating click-lock planks are generally more DIY-friendly because they are easier to handle, cut, and replace. Sheet linoleum, on the other hand, creates fewer seams and can look beautifully seamless in larger spaces, but it is stiffer and harder to fit accurately. If the room has lots of corners, pipes, cabinets, door jambs, or odd angles, sheet linoleum can become a wrestling match with math.
For a small powder room, laundry area, pantry, or square kitchen, a careful homeowner may be able to install linoleum successfully. For a large kitchen, commercial space, or complicated sheet installation, hiring a flooring professional may be worth every penny. A pro has the heavy roller, seam tools, adhesive experience, and emotional resilience required when a 12-foot sheet refuses to behave.
Tools and Materials You May Need
The exact tools depend on whether you are installing tiles, planks, or sheet linoleum, but most projects require a similar toolkit. Gather everything before you start, because running to the hardware store with wet adhesive on the floor is not a lifestyle anyone recommends.
Common Tools
- Measuring tape
- Straightedge or framing square
- Utility knife with sharp replacement blades
- Chalk line
- Pencil or marker suitable for layout work
- Notched trowel recommended by the adhesive manufacturer
- Floor roller or hand roller
- J-roller for edges and seams
- Floor scraper
- Putty knife
- Vacuum and broom
- Knee pads
- Safety glasses and gloves
Materials
- Linoleum flooring
- Manufacturer-approved adhesive, if using glue-down flooring
- Floor patch or leveling compound
- Underlayment-grade plywood, if needed
- Seam sealer or welding system, if required by the product
- Painter’s tape
- Quarter-round or base shoe molding
- Transition strips for doorways
Step 1: Measure the Room Carefully
Start by measuring the room length and width at multiple points. Walls are rarely perfectly straight, even in newer homes. If your room is shaped like a rectangle, multiply length by width to get square footage. For irregular spaces, divide the room into smaller rectangles, calculate each section, and add them together.
Always buy extra flooring. For tiles and planks, add about 10 percent for cuts, mistakes, pattern matching, and future repairs. For sheet linoleum, you may need more depending on the roll width, room shape, and seam placement. If the product has a directional pattern, check the layout before ordering. Nothing says “DIY regret” like realizing your floor pattern points north in one half of the room and emotionally wanders east in the other.
Step 2: Choose the Best Layout
Good layout planning prevents awkward slivers of flooring along walls and doorways. For tile or plank linoleum, snap chalk lines through the center of the room and dry-lay several rows before sticking or locking anything in place. The goal is to balance cuts so the edges look intentional, not like leftover scraps were invited to the party.
For sheet linoleum, plan where seams will fall. Ideally, seams should be placed in low-traffic areas and away from wet zones whenever possible. Avoid putting seams directly in front of sinks, dishwashers, or exterior doors if you can. Moisture and seams are not sworn enemies, but they do need careful supervision.
Step 3: Remove Old Flooring or Prepare the Existing Surface
Linoleum needs a smooth, clean, dry, and stable surface. If the subfloor has bumps, dips, loose boards, old adhesive ridges, dust, grease, or mystery crumbs from 2008, the new flooring will reveal them. Resilient floors are thin, which means imperfections can telegraph through the surface over time.
If you are removing old flooring, be cautious. Older resilient flooring, backing, or adhesive may contain asbestos, especially in homes built or remodeled decades ago. Do not sand, grind, cut, or aggressively scrape old flooring if you are not sure what it contains. If the flooring may contain asbestos, have it tested by a qualified professional or consider covering it with an approved underlayment instead of disturbing it.
If the existing floor is smooth, firmly attached, and approved by the linoleum manufacturer as a suitable base, you may be able to install over it. However, cushioned vinyl, loose tiles, heavily textured surfaces, and damaged floors are usually poor candidates. When in doubt, follow the manufacturer’s installation instructions. They are not bedtime reading, but they are the rules your warranty cares about.
Step 4: Repair and Level the Subfloor
Subfloor preparation is the quiet hero of linoleum installation. A beautiful floor starts underneath, where nobody applauds but everyone benefits. Walk the room and look for squeaks, soft spots, nail pops, raised seams, cracks, holes, and uneven areas.
For wood subfloors, fasten loose panels, replace damaged sections, and install underlayment-grade plywood if needed. Do not use rough construction panels where the manufacturer calls for smooth underlayment. For concrete, check for moisture issues, cracks, old adhesive, and uneven spots. Concrete must be dry enough for the adhesive and flooring system you are using.
Use floor patch or leveling compound to fill low areas and seams. Sand or scrape high spots only when it is safe to do so. After repairs dry, vacuum thoroughly. Then vacuum again. Dust is adhesive’s tiny enemy, and it brings many friends.
Step 5: Acclimate the Linoleum
Many linoleum products need time to adjust to the room’s temperature and humidity before installation. Store the flooring in the installation area according to the manufacturer’s instructions, commonly for at least 24 hours. Keep the room at a stable indoor temperature before, during, and after installation.
Do not store rolls in a damp garage, frozen porch, or sunny window and expect them to behave later. Flooring materials expand, contract, relax, and occasionally throw tantrums when temperature changes are extreme. A stable room helps prevent curling, gaps, and adhesive problems.
Step 6: Undercut Door Jambs and Remove Trim
Remove baseboards or base shoe molding if possible. This allows the flooring edges to tuck neatly underneath for a cleaner finish. If you plan to reuse the trim, label the pieces as you remove them. Future you will be grateful.
At doorways, undercut door jambs and casing so the linoleum can slide underneath. Use a scrap piece of flooring as a height guide. This small step makes a big difference because it avoids awkward cuts around trim. It is the difference between “custom installation” and “I tried my best with scissors.”
Step 7: Dry-Fit the Flooring
Dry-fitting means placing the flooring before adhesive is involved. For tiles and planks, lay out several rows to confirm spacing, pattern, and edge cuts. For sheet linoleum, carefully position the sheet in the room, allowing extra material along walls for trimming.
Let sheet linoleum relax if the instructions recommend it. Some installers use pattern paper for complex rooms, especially where there are toilets, pipes, islands, or built-in cabinets. A paper template can help transfer tricky shapes to the flooring without repeatedly dragging a large sheet in and out of position.
Step 8: Cut the Linoleum
Use a sharp utility knife and a straightedge for clean cuts. Dull blades tear and drag, which is not ideal unless your design goal is “chewed by raccoon.” Change blades often. For tiles, score the surface and snap or cut through depending on the product. For sheet linoleum, trim gradually rather than trying to cut perfectly in one heroic pass.
Around pipes and obstacles, make relief cuts carefully. For toilet installations, many pros prefer removing the toilet and installing flooring underneath the fixture rather than cutting around the base. This gives a cleaner result and helps avoid visible gaps. Replace the wax ring when reinstalling the toilet.
Step 9: Apply Adhesive Correctly
If you are installing glue-down linoleum, use only the adhesive recommended for your specific product. Spread it with the correct notched trowel size. Too much adhesive can create ridges, bubbles, and drying problems. Too little adhesive can cause loose spots. Adhesive is not a place to freestyle.
Work in manageable sections. Fold back part of the flooring, spread adhesive evenly, and lay the material into the wet adhesive as directed. Pay attention to open time and working time. These terms tell you how long the adhesive should sit before flooring is placed and how long you have before it stops bonding properly.
For sheet linoleum, avoid trapping air as you place the sheet. Ease the material into position rather than dropping it all at once. Keep seams tight and aligned. If the product requires seam sealer, heat welding, or special treatment, follow those instructions exactly.
Step 10: Roll the Floor
Rolling is essential for many glue-down linoleum installations. A floor roller presses the linoleum firmly into the adhesive, removes air pockets, and improves bond strength. Use the roller weight recommended by the manufacturer. In smaller areas, a hand roller or J-roller can help at edges, seams, and corners.
Roll in multiple directions. Start near the center and work outward, pushing trapped air toward the edges. Pay special attention to seams because weak seam bonding can lead to lifting. If adhesive squeezes out, clean it according to the adhesive instructions before it dries.
Step 11: Finish Edges, Seams, and Transitions
After the flooring is installed and rolled, reinstall baseboards or add quarter-round molding to cover expansion gaps and edges. Install transition strips where linoleum meets carpet, tile, wood, or another floor covering. Good transitions protect edges and make the floor look complete.
For seams, use the seaming method recommended by the flooring manufacturer. Some linoleum seams are sealed chemically, while others may be heat welded, especially in commercial or wet areas. Do not skip seam treatment in moisture-prone rooms. Water loves an unprotected seam the way cats love knocking things off counters.
Step 12: Let the Floor Cure
Once installed, protect the floor while the adhesive cures. Many products recommend limiting foot traffic for at least 24 hours and avoiding heavy furniture, rolling loads, or wet cleaning for longer. Always follow your product instructions.
When moving appliances or furniture back into the room, use plywood panels, furniture sliders, or protective paths to distribute weight. Dragging a refrigerator across fresh linoleum is a fast way to create a permanent memory you did not ask for.
Common Mistakes to Avoid
Skipping Subfloor Prep
If the subfloor is rough, dirty, damp, or uneven, the finished floor will suffer. Linoleum is durable, but it cannot hide every lump and crater underneath it.
Using the Wrong Adhesive
Not all flooring adhesives are interchangeable. Use the adhesive specified for linoleum and for your exact flooring type. The wrong adhesive can cause staining, weak bonding, bubbling, or warranty problems.
Cutting Too Much Too Soon
Trim gradually. You can always remove more material, but you cannot uncut a floor. Sadly, no amount of optimistic staring will make a short piece grow back.
Ignoring Room Conditions
Temperature and humidity matter. Install in stable indoor conditions and give the flooring time to acclimate. Sudden changes can affect fit and adhesion.
Walking on the Floor Too Early
Fresh adhesive needs time. Keep pets, kids, furniture, and enthusiastic relatives off the floor until the recommended curing period has passed.
How to Maintain Linoleum Flooring After Installation
Once your linoleum floor is installed, maintenance is simple. Sweep or vacuum regularly to remove grit that can scratch the surface. Damp mop with a cleaner approved for linoleum. Avoid harsh chemicals, ammonia, abrasive pads, and soaking the floor with water.
Use felt pads under furniture legs and mats at exterior doors. In kitchens, wipe spills quickly, especially around seams and edges. Linoleum is tough, but like most floors, it prefers not to live under puddles.
When to Hire a Professional
DIY linoleum installation can be satisfying, but there are times when hiring a professional is the smarter move. Consider professional installation if you are working with sheet linoleum in a large room, need heat-welded seams, have a complicated layout, suspect asbestos, or have moisture issues in the subfloor.
A professional installer can also help with floor leveling, moisture testing, seam placement, and product-specific requirements. Sometimes the most cost-effective DIY decision is knowing when not to DIY. That is not defeat; that is wisdom wearing knee pads.
Real-World Experience: Practical Lessons from Installing Linoleum Flooring
The first experience many homeowners have with linoleum installation is discovering that the floor is only as good as the preparation. The actual laying of the material may take a day, but the prep can take longer. That surprises people. They imagine the job as “roll it out and admire it,” when in reality it is more like “scrape, patch, vacuum, check, patch again, question your life choices, then roll it out.”
One of the best practical lessons is to test your layout before opening adhesive. Dry-lay the flooring, stand back, and look at the room from the main entrance. The view from the doorway matters most because that is where people first judge the floor. If a narrow strip lands right in the most visible area, adjust the layout before anything becomes permanent. Adhesive has a way of making bad decisions feel official.
Another useful experience is to keep blades fresh. A sharp blade makes linoleum installation cleaner, safer, and less frustrating. Many beginners try to finish a whole room with one blade because it still technically cuts. Technically, a butter knife also cuts if you are stubborn enough. Replace blades often, especially when trimming sheet material or cutting around corners.
Subfloor cleaning also deserves more respect than it gets. Even tiny bits of dried compound, grit, or old adhesive can show through resilient flooring. After patching and sanding safe materials, vacuum slowly. Run your hand across the floor to feel for bumps. If you can feel it, the new floor may eventually show it. Think of linoleum as honest flooring. It tells the truth about what is underneath.
When working with sheet linoleum, patience beats force. Large sheets can be awkward, and forcing them into corners can cause creases or bad cuts. Move slowly, fold carefully, and avoid sharp bends unless the product instructions allow it. Having a helper makes a big difference. One person can guide the material while the other checks alignment. This is not the time to prove you are a lone wolf. Even wolves would probably ask for help with sheet goods.
Adhesive timing is another lesson learned quickly. Read the label before spreading anything. Some adhesives need a short waiting period, while others require the flooring to be placed into wet adhesive. If you spread too large an area and then spend too long adjusting the sheet, the adhesive may skin over or lose working strength. Smaller sections are easier to control, especially for beginners.
Rolling the floor is not optional for many glue-down installations. A proper roller helps remove bubbles and improve contact with the adhesive. If you skip this step or only press with your hands, you may see loose spots later. For edges and seams, a hand roller is helpful because those areas often need extra pressure.
Finally, protect the finished floor during the first few days. Do not rush furniture back into place. Use protective boards when moving appliances. Avoid wet mopping until the adhesive has cured according to the manufacturer’s instructions. A newly installed linoleum floor can last for years, but the first 48 hours are important. Treat the floor gently at the beginning, and it is more likely to reward you with long-term durability, easy cleaning, and the quiet satisfaction of a job done right.
Conclusion
Installing linoleum flooring is a manageable project when you respect the process. The biggest secrets are not glamorous: measure accurately, prepare the subfloor thoroughly, use the right adhesive, cut carefully, roll the floor properly, and give everything time to cure. Linoleum is durable, attractive, and environmentally appealing, but it performs best when installed over a clean, flat, dry, and stable surface.
If you are using linoleum tiles or click-lock planks, this can be a very approachable weekend project. If you are installing sheet linoleum in a large or complicated room, consider professional help. Either way, a well-installed linoleum floor can refresh a space without the cost of hardwood or tile, and it can handle everyday life with style. Coffee spills, muddy shoes, dropped cereal, and the occasional “oops” are all part of the job description.