If chicken had a dating profile, “takes seasoning well” would be its top personality trait. A good dry rub can turn plain poultry into something smoky, savory, sweet, spicy, herby, or downright dramatic. But here’s the twist: knowing what to sprinkle is only half the battle. Knowing how to apply dry rub to chicken is what separates bland-on-the-inside chicken from the kind that makes people hover near the pan “just to help.”
This guide breaks the process into 11 clear steps, from choosing the right cut to getting the rub into every nook, cranny, and suspiciously flavor-resistant corner. You’ll also learn how long to let the rub sit, when to use oil, and how to keep the chicken juicy instead of turning dinner into a seasoning-scented science project. Whether you’re cooking breasts, thighs, wings, drumsticks, or a whole bird, this method helps you build better flavor without overthinking it.
Why Dry Rub Works So Well on Chicken
A dry rub is simply a blend of salt, spices, herbs, and sometimes sugar. On chicken, it does three very helpful things. First, it seasons the surface so every bite has character. Second, when it contains salt and has time to rest, it helps the meat taste more seasoned throughout. Third, it encourages browning, especially when the chicken is dry before cooking. In other words, a dry rub is not just “dusting on flavor.” It is strategy wearing paprika.
What You Need Before You Start
- Chicken pieces or a whole chicken
- Your favorite dry rub or homemade chicken seasoning
- Paper towels
- A small bowl or shaker for the rub
- A sheet pan, plate, or tray
- Optional: a little oil or mustard as a binder
- A food thermometer
If your rub already contains plenty of salt, great. If it is salt-free, you may want to add salt separately so the flavor does not sit only on the surface like an awkward guest at a party.
How to Apply Dry Rub to Chicken: 11 Steps
Step 1: Pick the Right Chicken Cut for Your Cooking Method
Before you even touch the spice blend, decide what you are cooking. Boneless skinless breasts cook fast and benefit from a lighter hand, because too much rub can overwhelm them. Thighs and drumsticks can handle bolder seasoning. Wings love a punchy rub. A whole chicken gives you the most real estate, which is excellent news if you enjoy flavor and slightly crispy skin.
Matching the rub to the cut matters too. Brown sugar-heavy rubs work beautifully for grilling and roasting, but they can darken quickly over very high heat. Herb-forward rubs are great for roasted chicken. Spicier blends shine on wings and thighs. Start with the destination in mind so your seasoning and cooking method do not end up arguing with each other.
Step 2: Pat the Chicken Dry Like You Mean It
This step is not glamorous, but it is wildly important. Use paper towels to pat the chicken dry on all sides. If the chicken is damp, the rub can clump, slide off, or melt into random muddy patches. Dry chicken gives you better adhesion, more even seasoning, and better browning during cooking.
For skin-on pieces, drying the skin matters even more. Dry skin is much more likely to crisp instead of steaming itself into a floppy jacket. No one dreams about floppy chicken skin.
Step 3: Trim, Arrange, and Inspect the Chicken
Set the chicken on a tray or sheet pan and check for anything you want to remove, such as excess pockets of fat or loose skin hanging off in a dramatic but unhelpful way. If you are working with a whole chicken, make sure the cavity is cleared out and the bird is ready to season inside and out.
This step also helps you notice whether some pieces are much thicker than others. Thicker pieces may need a little extra rub, while thinner pieces need restraint. Seasoning should feel intentional, not like a spice storm hit the kitchen.
Step 4: Decide Whether to Use a Binder
You do not always need a binder. On skin-on chicken, especially if the skin is dry, the rub often sticks just fine on its own. On skinless breasts or very lean cuts, a light coating of oil can help the rub cling and promote even browning. Some cooks also use a thin smear of mustard. It usually will not make the chicken taste like a hot dog stand; it mostly acts as glue.
The key word is light. You are not frosting a cake. Too much oil turns a dry rub into sludge and can dilute the spice impact. A teaspoon or two spread over several pieces is often enough.
Step 5: Season Under the Skin When Possible
If you are cooking skin-on thighs, breasts, or a whole chicken, gently loosen the skin with your fingers and sprinkle a little rub directly underneath. This is one of the best ways to get flavor closer to the meat instead of leaving all the seasoning sitting on the outer layer. Be gentle so you do not tear the skin. You want a pocket, not a crime scene.
Do not pack in huge amounts. A light, even layer under the skin plus another layer on the outside works better than stuffing the entire spice aisle under there.
Step 6: Apply the Rub Evenly on All Sides
Now comes the main event. Sprinkle the dry rub from a little height so it distributes more evenly. Cover the top, bottom, sides, and any folds or joints. For a whole chicken, season inside the cavity too. For wings, separate them a bit so the rub reaches every surface. For thighs and drumsticks, do not forget the underside.
A useful rule is to season until the chicken looks well coated but not buried. You want to see the chicken wearing the rub, not disappearing under it. If your blend is salt-heavy, be especially careful with thin cuts. If it is mild, you can be a little more generous.
Step 7: Press and Rub Gently Into the Surface
After sprinkling, use your hands to gently press the spices into the chicken. This helps the rub adhere and keeps it from falling off when you move the meat. You are not massaging for emotional healing, so there is no need to grind aggressively. Just press, turn, and coat.
Pay attention to creases around joints, the thicker ends of breasts, and the little valleys around wings and drumsticks. Those spots often miss out on seasoning if you rush. Great dry-rubbed chicken is usually the result of one extra minute of care, not one secret ingredient.
Step 8: Let the Chicken Rest With the Rub
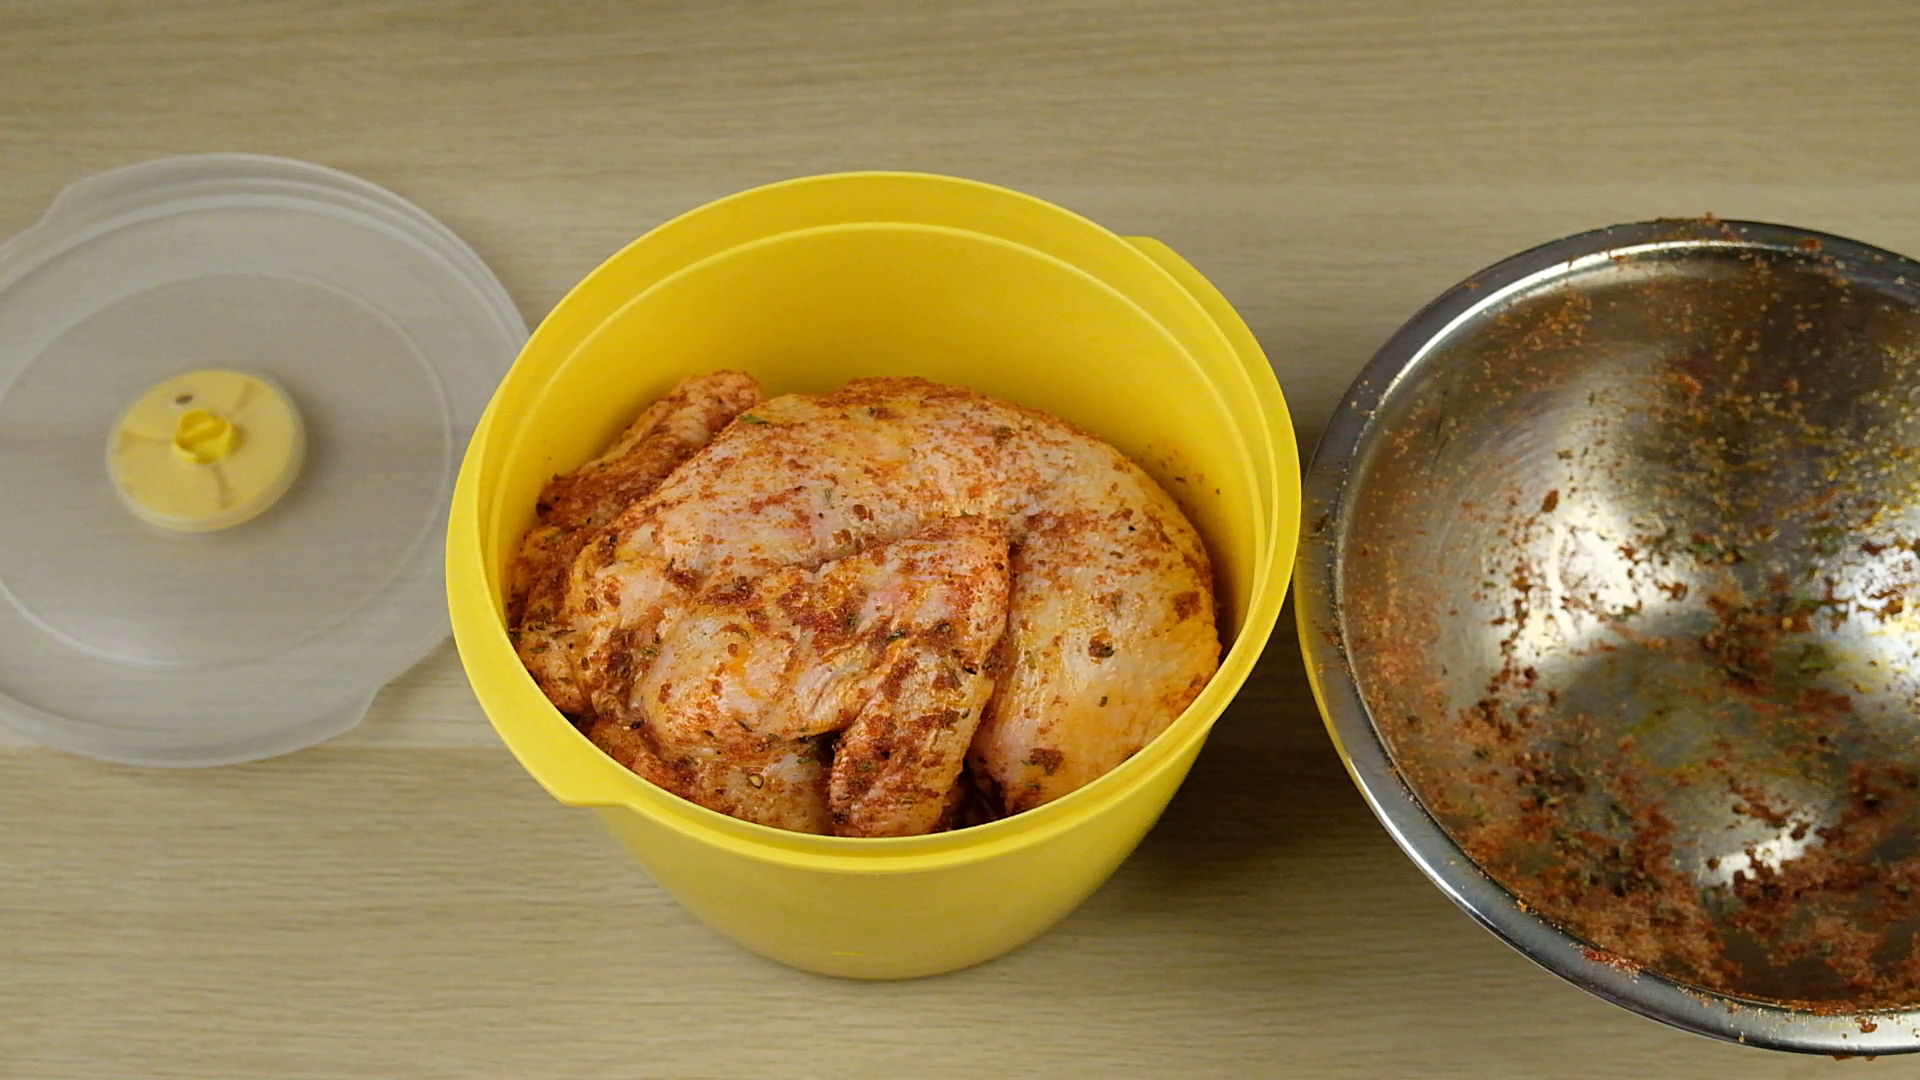
This is where flavor gets serious. If you are short on time, let the rubbed chicken sit for 15 to 30 minutes in the refrigerator. If you have more time, let it rest for a few hours or even overnight, especially for larger pieces or a whole chicken. That extra rest can help the seasoning taste more integrated and can improve the surface texture for browning.
Keep the chicken refrigerated while it rests. Do not leave raw chicken out for long periods at room temperature. Flavor is important, but not “ignore food safety” important.
Step 9: Arrange the Chicken for the Best Finish
When it is time to cook, place the chicken so heat can circulate properly. On a rack over a sheet pan, hot air can move around the meat and help crisp the outside. On a grill, give each piece a little breathing room. In an air fryer, avoid stacking unless you enjoy uneven results and mild disappointment.
If you rested the chicken uncovered in the refrigerator, that slightly drier surface can help the skin brown more effectively. This is especially helpful for roasting wings, thighs, and whole chickens.
Step 10: Cook to Temperature, Not Just Time
A dry rub can make chicken smell done before it is actually done, so use a food thermometer. Check the thickest part of the meat without touching bone. Chicken is considered safe at 165°F. For thighs and drumsticks, many cooks prefer taking them a bit higher for a more tender bite and better texture.
Here is the practical version: use the clock as a rough guide, but let the thermometer make the final call. This is how you avoid dry breasts, undercooked thighs, and the classic line, “It looked done.”
Step 11: Rest Before Serving
Once the chicken comes off the heat, let it rest before slicing or serving. Small pieces may need about 5 minutes. Larger pieces or a whole chicken can use 10 to 15 minutes. This rest gives juices time to redistribute and can help the internal temperature finish climbing slightly.
Then serve it as is, slice it for salads and sandwiches, or pair it with sauces that complement the rub. A smoky rub loves barbecue sauce. A lemon-herb rub pairs well with yogurt sauce or chimichurri. A spicy rub gets along nicely with ranch, because opposites attract.
Best Dry Rub Tips for Different Types of Chicken
Chicken Breasts
Use a moderate amount of rub and consider a little oil first if the breasts are skinless. Because they cook quickly, a shorter rest with the rub is often enough. Watch temperature closely so they stay juicy.
Chicken Thighs and Drumsticks
These cuts can handle more aggressive seasoning. Rub generously, especially around folds and joints. They are excellent candidates for grilling, roasting, and air frying.
Chicken Wings
Wings love bold flavor. Use enough rub to coat every piece evenly, then space them out during cooking. If you want extra crispiness, let them rest uncovered in the refrigerator before cooking.
Whole Chicken
Season inside the cavity, under the skin if possible, and all over the outside. A longer refrigerator rest gives the rub time to do more than just sit there looking decorative.
Common Mistakes to Avoid
- Applying rub to wet chicken: this leads to patchy seasoning and weaker browning.
- Using too much sugar over high heat: the rub can darken too fast.
- Forgetting the underside: flavor should not live only on the top.
- Skipping the rest time: even a short pause improves flavor.
- Over-salting: especially risky when using store-bought rubs.
- Relying only on cook time: always check temperature.
Experience and Real-World Lessons From Using Dry Rub on Chicken
One of the most common experiences home cooks have with dry-rubbed chicken is realizing that the rub itself was never the real problem. The method was. Plenty of people buy a great seasoning blend, shake it over damp chicken, toss it straight into the oven, and then wonder why the flavor tastes loud in some places and missing in others. The first time you pat the chicken really dry, season under the skin, and let it rest in the refrigerator for a while, the difference feels almost unfair. Suddenly the flavor seems deeper, the color is better, and the skin looks like it has been taking itself seriously.
Another familiar experience is learning that more rub is not always better. It is tempting to coat chicken like you are insulating it for winter, especially when the spice blend smells amazing. But too much rub can create a heavy crust that tastes salty or dusty instead of balanced. Many cooks discover that an even layer beats a thick one every single time. The goal is not to hide the chicken. The goal is to make the chicken taste like the best version of itself.
Then there is the “under the skin” revelation. For people who mostly season the outside, the first time they loosen the skin on thighs or a whole chicken and add seasoning underneath can feel like discovering a secret passage in a familiar house. The flavor reaches the meat more directly, and every bite tastes more complete. It is one of those techniques that sounds fussy before you try it and then becomes permanently part of your routine.
A lot of cooks also go through the thermometer awakening. At first, many people rely on timing, color, or vibes. Vibes are fun for playlists, less fun for poultry. Once you start checking the thickest part of the meat, dry rub chicken becomes more repeatable. You stop overcooking breasts out of caution. You stop pulling thighs too early because the skin “looked done.” And you stop cutting into the chicken every three minutes like it owes you money.
There is also a confidence boost that comes from repeating the same basic process with different rubs. Maybe one night it is smoky paprika and brown sugar. Another night it is lemon pepper and garlic. Another time it is cumin, chili powder, and oregano for a Tex-Mex feel. The experience teaches you that the technique is the foundation. Once the technique is solid, the flavor profile can change with your mood, the season, or whatever spices are staring at you from the cabinet.
Perhaps the best part of learning how to apply dry rub to chicken properly is that it makes everyday cooking feel a little more intentional without making it harder. It is still chicken. It is still dinner. But it becomes the kind of dinner people remember, the kind that gets picked clean, the kind that inspires someone to ask, “What did you put on this?” That is the dry rub win right there: not culinary drama, just better chicken, one smart step at a time.
Final Thoughts
If you want deeply seasoned, beautifully browned, and reliably juicy chicken, dry rub is one of the simplest tools you can use. The trick is not just choosing a good blend. It is applying it correctly: dry the chicken, season it evenly, get under the skin when possible, give it time to rest, and cook it to the right temperature. Follow those steps, and your chicken will taste like you planned dinner on purpose, even if you absolutely did not.