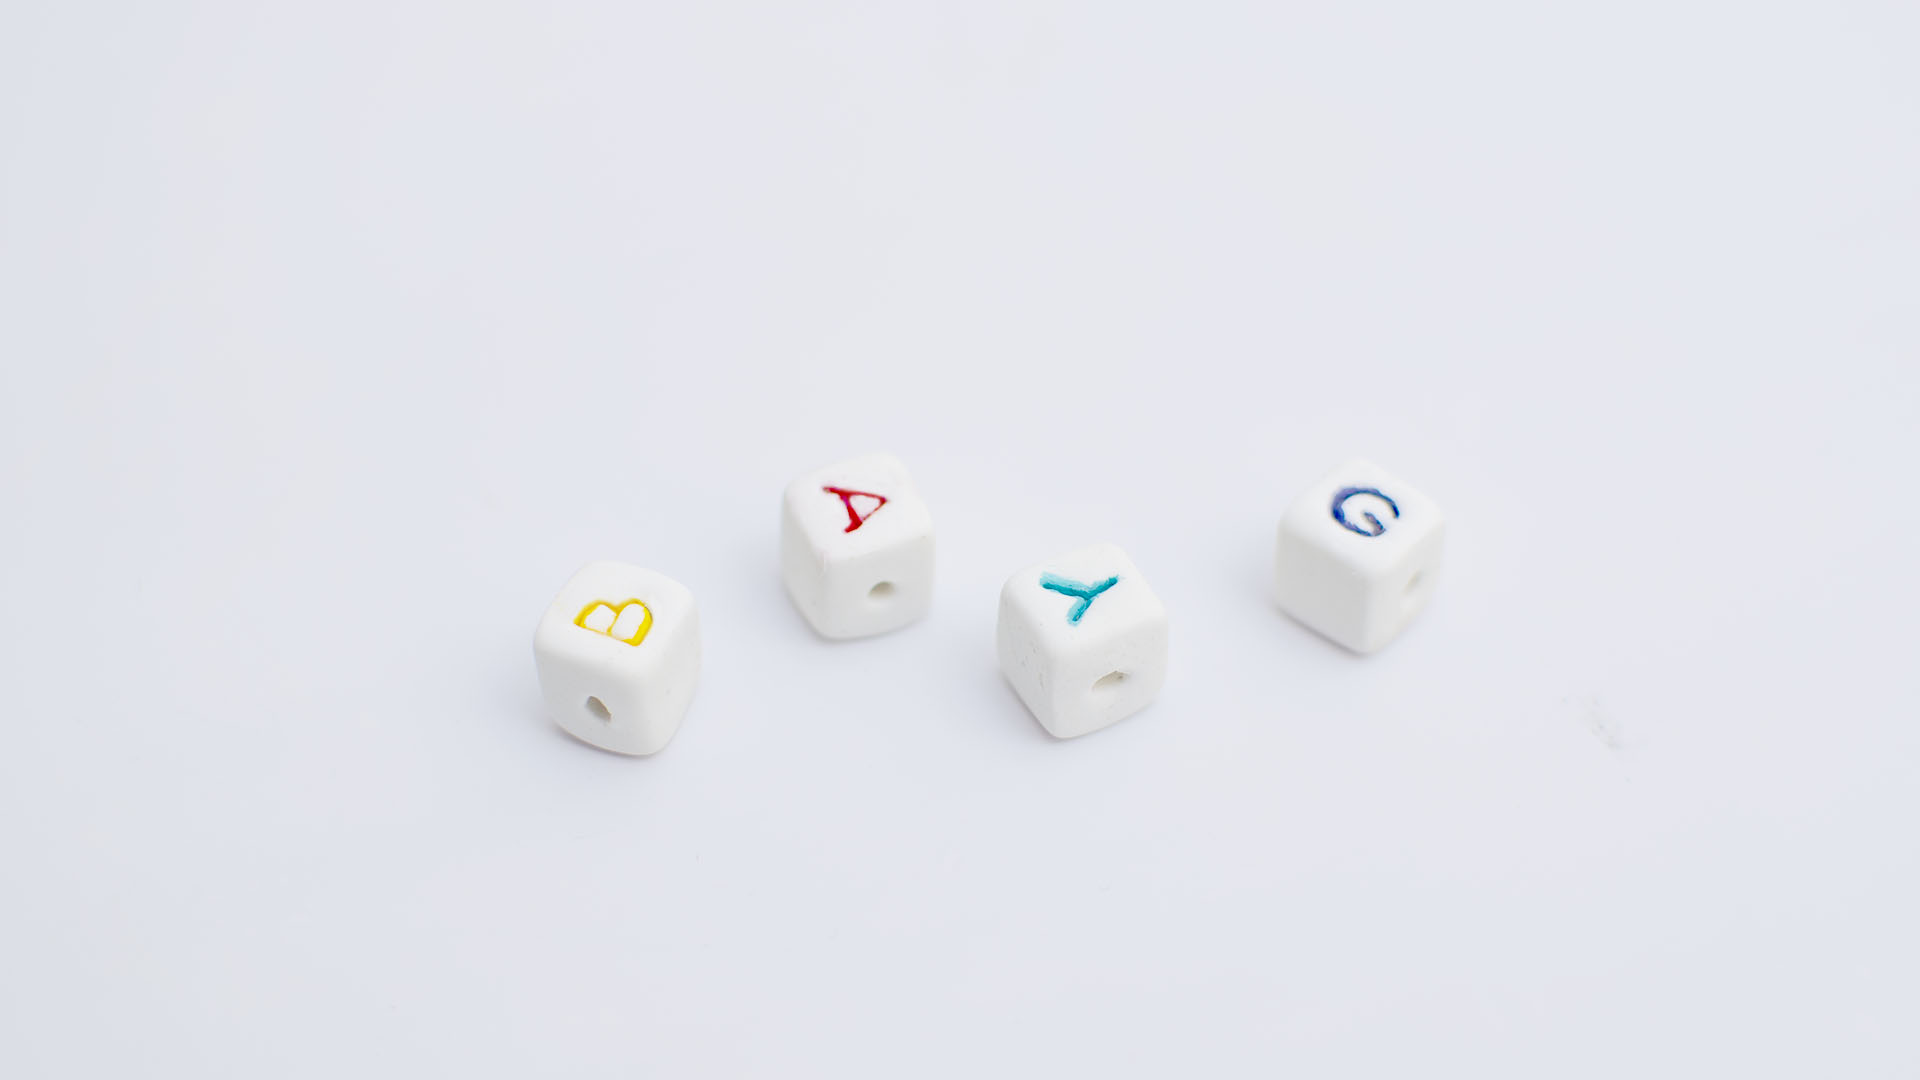
There are plenty of ways to make jewelry, but few are as oddly satisfying as turning a small pile of beads and string into a bracelet that literally says your name. It is personal, affordable, giftable, beginner-friendly, and just dramatic enough to make people ask, “Wait, did you make that?” Yes. Yes, you did.
If you want to learn how to make a bracelet with your name on it, the good news is that you do not need a full jewelry studio, a mysterious basement bead vault, or the patience of a watchmaker. A simple name bracelet can be made in one sitting with basic supplies, and it can look playful, polished, trendy, or sentimental depending on the materials you choose.
In this guide, you will learn the easiest method for beginners, how to size your bracelet, how to arrange letter beads so your design looks intentional, and how to avoid the classic rookie mistakes that turn a cute bracelet into a tiny bead avalanche. We will also cover style ideas, gift inspiration, and real-life bracelet-making experiences so your finished piece feels less like a school project and more like something you would actually want to wear.
Why Name Bracelets Are So Popular
A personalized bracelet does more than decorate your wrist. It tells a tiny story. Maybe it shows your first name, a nickname, your child’s name, your best friend’s initials, a meaningful word, or even a short inside joke that makes absolutely no sense to anyone else. That is part of the fun.
Name bracelets also work for almost every age group. Kids love the bright colors and alphabet beads. Teens love stacking them. Adults love them as casual everyday jewelry, handmade gifts, party crafts, or memory pieces for birthdays, bridal showers, and vacations. In other words, this is one of those rare crafts that can be as cute or as classy as you make it.
What You Need to Make a Name Bracelet
Basic Supplies
- Alphabet or letter beads
- Stretch cord, elastic cord, embroidery floss, nylon cord, or jewelry wire
- Accent beads such as seed beads, glass beads, pony beads, pearls, gemstones, or metal spacers
- Sharp scissors
- Measuring tape or ruler
- Bead tray or a flat surface
Optional Supplies
- Bead stopper or tape to keep beads from sliding off
- Clear-drying jewelry glue for knot security
- Clasps and crimp beads if you want a non-stretch bracelet
- Charms, birthstone beads, or small pendants
- Tweezers for tiny beads and big feelings
If you are a beginner, a stretch bracelet is the easiest place to start. It does not require metal findings, it slips on and off easily, and it lets you focus on design instead of hardware. That makes it ideal for a first personalized bracelet.
Choose Your Bracelet Style Before You Start
Before you string anything, decide what type of bracelet you want. This one choice affects your materials, your sizing, and how polished the final piece will look.
1. Stretch Name Bracelet
This is the simplest option. You string beads onto elastic cord, tie a secure knot, and you are done. Great for beginners, kids, party crafts, and quick gifts.
2. Adjustable Cord Bracelet
This style uses sliding knots. It is a smart choice if you are making a gift and are not sure about the wrist size. It looks a little more handmade in a cool, boho, “I definitely own a candle collection” kind of way.
3. Clasp Bracelet
This version uses jewelry wire or cord with a clasp. It can look more elegant and professional, especially with glass, pearl, or metal beads. It takes more tools and a bit more patience, so it is better once you are comfortable with the basics.
How to Measure for the Right Fit
A bracelet can be gorgeous, but if it cuts off circulation or flies off your hand during a dramatic gesture, it has failed its mission. Wrap a measuring tape around your wrist where the bracelet will sit. Write down that number.
Then add a little extra space based on the look you want:
- Snug fit: add about 1/4 to 1/2 inch
- Comfortable fit: add about 1/2 to 3/4 inch
- Looser fit: add about 3/4 to 1 inch
Also remember that bead size matters. Chunky beads take up more space and change the way the bracelet curves around the wrist. If you are using large round beads, test the layout before tying the final knot.
Step-by-Step: How to Make a Stretch Bracelet With Your Name on It
Step 1: Plan the Design
Lay out your beads before stringing them. Put your letter beads in the center first so you can see how the bracelet will read. Then build around the name with accent beads.
For example, if the name is EMMA, your pattern might look like this:
gold spacer – pink bead – white bead – E – M – M – A – white bead – pink bead – gold spacer
Centering the name gives the bracelet a balanced look. If you want a trendier style, use symmetrical color patterns on both sides. If you want a playful style, mix shapes, colors, and tiny charms with less concern for perfect symmetry.
Step 2: Cut the Cord
Cut a piece of stretch cord longer than you think you need. For most bracelets, 10 to 12 inches gives you enough room to string beads, tie knots, and avoid wrestling with an impossibly short tail. It is much easier to trim extra cord than to re-thread a bracelet because you were feeling optimistic.
Step 3: Secure One End
Use tape or a bead stopper on one end of the cord so the beads do not slide off while you work. This tiny step saves a shocking amount of frustration.
Step 4: String the Beads
Add your beads in the order you planned. Keep checking the layout so the letters face the correct direction. This sounds obvious until you discover your bracelet now says your name upside down. The bracelet may still be art, but it will be annoying art.
Step 5: Test the Size
Before tying the bracelet, gently wrap the beaded strand around your wrist. Make sure it feels comfortable. If it is too tight, add a few small spacer beads. If it is too loose, remove one or two beads and test again.
Step 6: Tie the Knot
Once the fit is right, tie the ends using a secure knot such as a surgeon’s knot. Pull firmly so the bracelet feels snug but not overstretched. If you want extra security, add a tiny drop of jewelry glue to the knot and let it dry fully.
Step 7: Hide the Knot
Trim the ends carefully, then slide the knot into a larger bead if possible. This gives the bracelet a cleaner, more polished look. It also hides the evidence of your crafting decisions, which is sometimes the true essence of DIY elegance.
How to Make an Adjustable Name Bracelet
If you want a bracelet with more flexibility, use nylon cord or embroidery floss instead of elastic. String the name section in the middle, then leave cord on both sides. Finish the bracelet with sliding knots so the wearer can tighten or loosen it.
This style is excellent for gifts, friendship bracelets, camp crafts, and party favors. It also works well if you want a flatter, woven, or macramé-inspired look. Choose a cord color that complements the beads and does not visually compete with the letters.
Design Ideas That Make a Name Bracelet Look Better
Use a Color Story
Pick two to four colors instead of using every bead you own like you are trying to win a craft store game show. Soft neutrals look elegant. Bright neons look cheerful. Pastels look sweet. Black, white, and metallics create a clean modern style.
Add Meaningful Details
Small details can turn a simple bracelet into a keepsake. Add a birthstone bead, a heart charm, a star spacer, or a color that represents a favorite team, school, or memory. A bracelet that says “MOM” with pearl-like beads feels very different from one that says “LUNA” in rainbow pony beads, and that is exactly the point.
Think About Bead Size
If your letter beads are chunky, pair them with similarly sized accent beads for visual balance. If the letters are small, use tiny seed beads or petite spacers so the name remains the star of the show.
Keep the Name Readable
Do not overcrowd the center with too many decorative beads. The letters should be easy to spot. Personalized jewelry works best when the eye knows where to look.
Common Mistakes to Avoid
- Using cord that is too thick: If the cord barely fits through the bead holes, stringing becomes miserable and knots become bulky.
- Forgetting extra length: You need enough cord for tying and finishing, not just for the beads themselves.
- Skipping the layout step: Designing as you go can work, but it also increases the chance of awkward spacing and upside-down letters.
- Making it too tight: Stretch bracelets need room to move and flex.
- Using weak knots: A beautiful bracelet means nothing if it explodes in the grocery store checkout line.
Creative Variations to Try
Single Name Bracelet
The classic version. Clean, simple, easy to stack with other bracelets.
Double Name Bracelet
Use two names, such as a parent and child, best friends, or a couple. Keep the design balanced by separating the names with a symbol bead.
Word Bracelet
Instead of a name, spell a word like “BRAVE,” “JOY,” “LUCKY,” or “CHAOS.” The last one is especially accurate if you craft with toddlers.
Initial Bracelet
Choose one or two initials for a more minimal look. Pair with pearls, metal spacers, or neutral beads for a style that feels grown-up and gift-ready.
Seasonal Bracelet
Create holiday or event-themed name bracelets using school colors, bridal party shades, summer brights, or winter metallics.
Is a Handmade Name Bracelet a Good Gift?
Absolutely. A handmade bracelet with someone’s name on it feels thoughtful because it is specific. It says you did more than grab a generic gift at the last second while holding an iced coffee and making poor decisions. It also works for birthdays, graduation gifts, party favors, stocking stuffers, team events, and Mother’s Day presents.
If you are making a bracelet as a gift, consider the recipient’s style. Some people love bold, colorful beads. Others prefer neutral tones, dainty spacers, and a cleaner design. Personalization should match the person, not just the trend.
Real Experiences With Making Name Bracelets
The first time many people make a bracelet with their name on it, they expect the process to be fast and perfectly cute from the first bead. In reality, the experience is usually a mix of creativity, tiny victories, mild chaos, and one dramatic moment where beads scatter across the table like they are fleeing a craft emergency. That is normal. In fact, it is practically part of the bracelet-making ceremony.
One of the most common experiences is realizing that bead selection matters more than expected. A bracelet can look adorable in your head and strangely chaotic on the table if the colors, shapes, and letter beads do not work together. Many beginners start by grabbing every fun bead they own, only to discover the final design looks less “fashionable handmade accessory” and more “treasure box exploded in slow motion.” After that first attempt, most people naturally begin editing their palette and choosing fewer, better-matched materials.
Another very real experience is learning patience from the letter beads themselves. Tiny cube letters have a way of flipping, sliding, and rotating at the exact moment you think you are finished. It is a humbling little craft. You string the whole bracelet, admire it, and then notice the “N” is upside down or the spacing around the name is uneven. The upside is that these moments teach you to slow down, plan the layout, and check your design before tying the knot. Bracelet making is secretly a lesson in paying attention.
People also discover that making a personalized bracelet feels more emotional than expected. A bracelet with your own name on it is fun, but making one with your child’s name, a best friend’s nickname, a pet’s name, or a memorial word can feel surprisingly meaningful. What starts as a simple craft project can turn into a keepsake. That is one reason handmade name bracelets remain popular: they are small enough to be easy, but personal enough to matter.
Group bracelet-making is its own adventure. At parties, sleepovers, classrooms, and family gatherings, name bracelets often become a social activity where everyone starts with the same supplies and somehow ends up with completely different results. One person makes a sleek neutral bracelet with gold spacers. Another makes a rainbow masterpiece with stars, hearts, and enough sparkle to alert nearby aircraft. Both are correct. That is the beauty of it.
Perhaps the best part of the experience is the finishing moment. Once the knot is secure and the bracelet slides onto your wrist, there is a weirdly satisfying sense of accomplishment. It is a small project, but it feels personal, wearable, and real. You made something with your own hands that looks good, means something, and did not require advanced tools or a professional studio. That is a win.
And yes, after making one, most people immediately want to make three more. One for a friend, one in a different colorway, and one because now they suddenly believe they are a jewelry designer. Honestly, that confidence is part of the charm.
Final Thoughts
If you have been wondering how to make a bracelet with your name on it, the easiest answer is this: start simple, plan your design, choose the right cord, and focus on fit and balance. A stretch bracelet is usually the best beginner project, but adjustable and clasped versions are great once you want more variety.
The best personalized bracelets are not necessarily the fanciest ones. They are the ones that feel intentional. A few good colors, readable letters, a comfortable fit, and one or two meaningful details can create a bracelet that feels stylish, thoughtful, and genuinely fun to wear. So gather your beads, spell something worth wearing, and make the kind of jewelry that gets compliments before people even finish saying, “Where did you get that?”