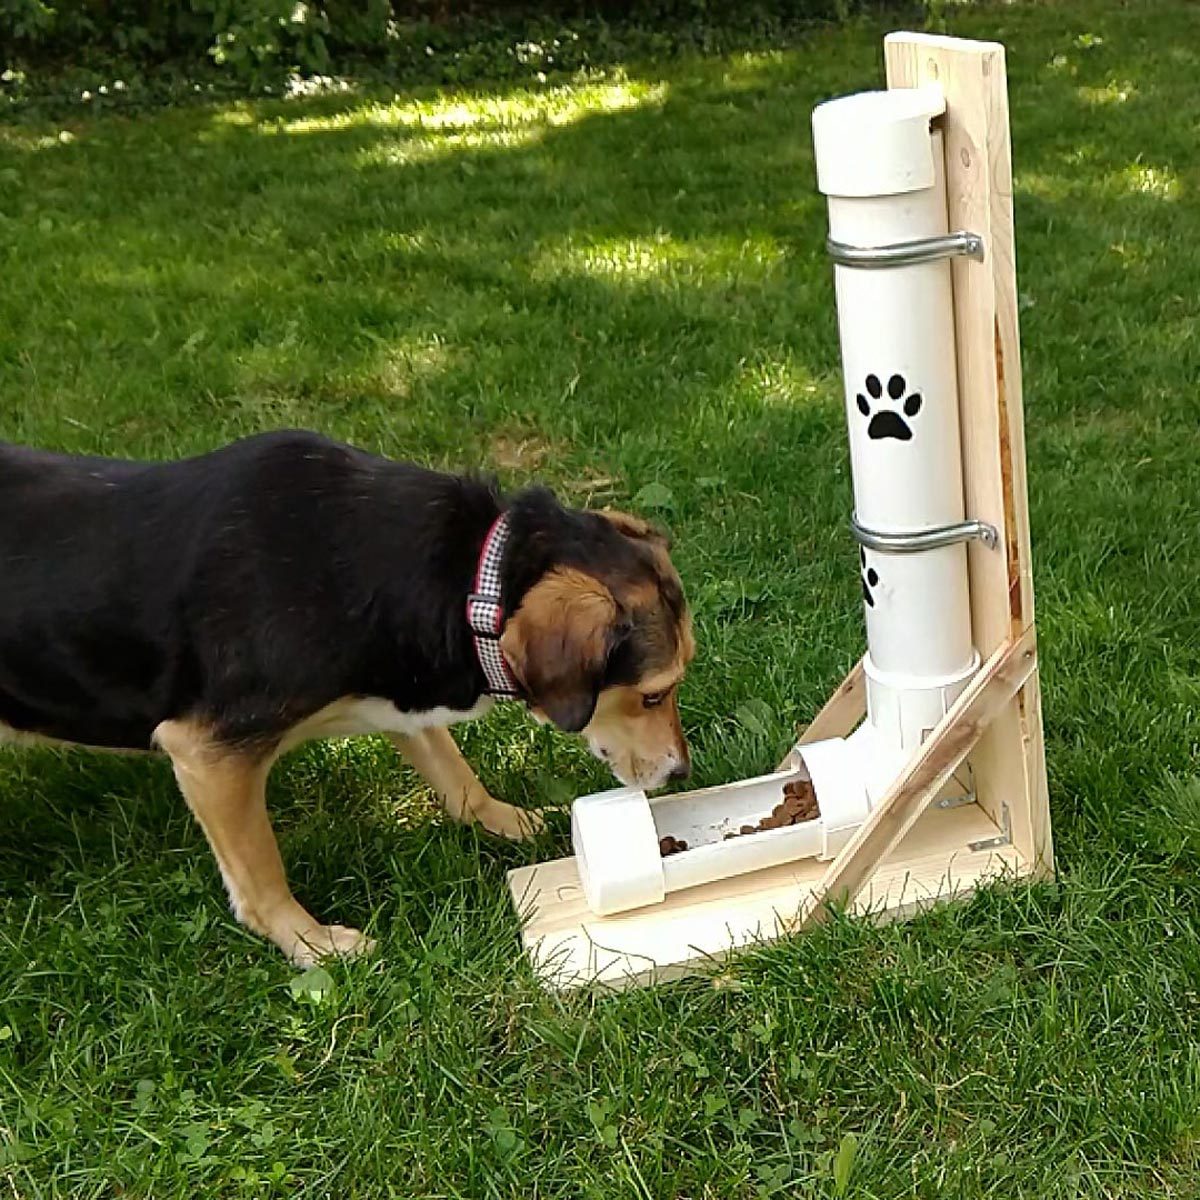
An automatic dog feeder sounds like something invented by a person who loves dogs but occasionally enjoys sleeping past 6:03 a.m. Fortunately, you do not need an engineering degree, an industrial robot, or a Labrador willing to sign a liability waiver. With a food-safe hopper, a servo-controlled gate, a real-time clock module, and a little patient calibration, you can build a dependable feeder that releases measured servings of dry kibble on a schedule.
This project is designed as a practical home build rather than a futuristic snack cannon. The goal is simple: store dry food securely, dispense a repeatable portion, prevent your dog from raiding the supply, and make cleaning straightforward. A timed feeder can support a consistent meal routine and measured portions, but the amount and timing should still match your dog’s age, activity level, body condition, food calories, and veterinary recommendations.
How This DIY Automatic Dog Feeder Works
The feeder uses a sealed container as a kibble hopper. Food falls toward a small opening at the bottom, where a sliding gate blocks the flow. At programmed meal times, a servo motor pulls the gate open for a calibrated number of milliseconds. Kibble drops through a chute into the bowl, and the gate closes again.
An Arduino-compatible microcontroller controls the servo. A DS3231 real-time clock module keeps track of the feeding schedule, even when the microcontroller is restarted. This arrangement is commonly used in maker projects because a servo can move repeatedly between precise positions, while a real-time clock provides a more dependable schedule than simply counting elapsed seconds.
The design is best suited to dry kibble. Wet, fresh, frozen, or raw food requires temperature control and much stricter handling. A room-temperature DIY hopper is not a miniature refrigerator, no matter how confidently the Arduino blinks.
Materials and Tools
Electronic Components
- Arduino Uno, Nano, or compatible microcontroller
- DS3231 real-time clock module with backup battery
- High-torque metal-gear positional servo
- Regulated 5- or 6-volt power supply suitable for the servo
- USB power supply for the Arduino, or a properly regulated shared supply
- Push button for manual dispensing
- Jumper wires or soldered hookup wire
- Small project enclosure for the electronics
- Optional status LED and resistor
Feeder Body Components
- Food-storage container with a locking lid
- Food-safe funnel or smooth plastic chute
- Thin HDPE cutting-board material for the sliding gate
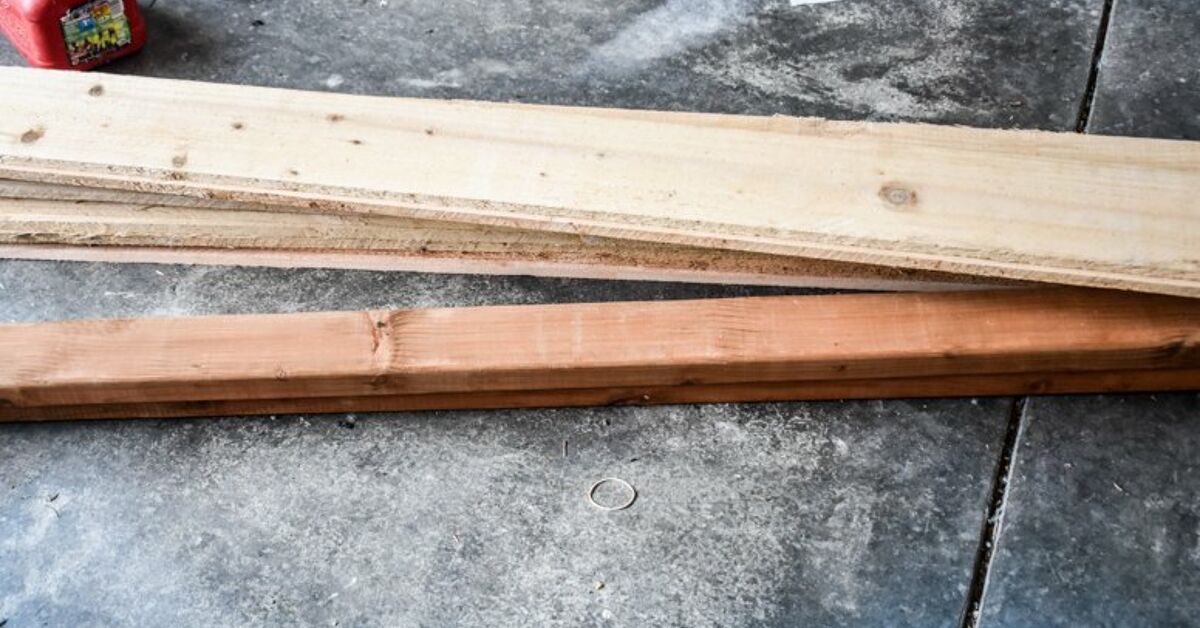
- Plywood, sealed wood, or washable plastic for the frame
- Servo horn and linkage rod
- Bolts, washers, screws, and brackets
- Removable stainless-steel dog bowl
- Rubber feet or a wide anti-tip base
- Wire loom, cable clips, and strain relief
Recommended Tools
- Drill and drill bits
- Jigsaw, rotary tool, or hole saw
- Screwdrivers and pliers
- Soldering iron and heat-shrink tubing
- Digital kitchen scale
- Ruler, marker, and sandpaper
Step 1: Choose the Hopper
Select a rigid container large enough to hold several days of food but not so large that stale kibble remains inside for weeks. A locking lid helps control moisture, insects, curious noses, and dogs who regard “childproof” as a personal challenge.
Whenever possible, keep the kibble in its original bag and place the entire bag inside the storage container. The original packaging preserves the product code, lot number, expiration information, and manufacturer details. The FDA also recommends keeping dry pet food cool and dry, closing the bag securely, and washing and drying food-contact items regularly.
If the original bag will not fit your design, use a dedicated food-storage container and clean it before every refill. Never pour fresh kibble on top of an oily layer of old crumbs. That is not “seasoning”; it is overdue maintenance.
Step 2: Build the Dispensing Opening
Mark the center of the hopper’s bottom and cut an opening approximately 1 to 1.5 inches wide. The ideal size depends on the kibble. Tiny pellets may pour through a narrow opening, while large or irregular pieces need more room.
Attach a funnel or sloped chute beneath the opening. Every interior surface should angle downward so food cannot rest on a flat ledge. Sand rough edges and remove plastic shavings before adding food.
Do not make the opening enormous. A large opening increases pressure against the gate, makes portions harder to control, and gives the servo more kibble to argue with. In most mechanical disagreements between a small servo and ten pounds of dog food, the dog food has an unfair advantage.
Step 3: Make the Sliding Gate
Cut a rectangular piece of thin HDPE or another smooth, durable material. It should be wide enough to cover the entire hopper opening, with extra length for the linkage.
Mount the gate between two guide rails so it can move horizontally without twisting. In the closed position, the solid section blocks the hopper. In the open position, a matching hole or cutout aligns with the hopper opening and allows kibble to fall.
A hole-in-a-slider design usually gives better control than simply pulling a flat door away from the opening. When the servo returns the slider to its closed position, the solid portion immediately stops the food flow.
Leave a small amount of clearance around the slider. A perfectly tight gate may look impressive on the workbench but become a jammed monument to precision as soon as kibble dust enters the guides.
Step 4: Mount the Servo Motor
Place the servo beside the gate and connect the servo horn to the slider with a short linkage rod. The movement should be as straight as possible. A crooked linkage wastes force and may pull the gate against its guide rails.
Before tightening the hardware, command the servo to its closed angle. Position the gate so it fully covers the hopper opening, then secure the horn. Slowly test the open position by hand or with a basic servo program.
Use a metal-gear servo when possible, especially for medium or large kibble. The servo should have enough torque to move the gate when food is pressing against it. Check its voltage and maximum or stall-current requirements rather than assuming every servo can be powered directly from the Arduino.
Step 5: Wire the Electronics Safely
Connect the servo signal wire to a PWM-capable Arduino pin, such as pin 9. Connect the DS3231 clock module through the board’s I2C pins. Add a push button between a digital input and ground, using the microcontroller’s internal pull-up resistor.
Power the servo from a separate regulated supply rather than pulling its full current through the microcontroller. Servos can demand substantially more current when starting, stalled, or pushing against resistance. An undersized supply may cause random resets, clock errors, twitching, incomplete gate movement, or a feeder that works flawlessly until the exact moment you leave the house. Join the servo supply ground to the Arduino ground so the control signal has a common reference.
Place all circuit boards, terminals, and batteries inside a secured enclosure. Route cables behind the feeder or through protective loom. Batteries can cause severe injuries if chewed or swallowed, so the clock battery and any backup power pack must remain completely inaccessible to your dog.
Step 6: Upload the Feeder Program
The following simplified Arduino sketch opens the gate at 7:00 a.m. and 6:00 p.m. Adjust the angles and opening duration for your mechanism. Install the Servo and RTClib libraries before compiling.
This starter program is intentionally uncomplicated. A more advanced version can save the last feeding event in nonvolatile memory, sound an alarm when the gate fails, detect an empty hopper, send a phone notification, or verify that kibble actually reached the bowl.
Step 7: Calibrate the Portion Size
Do not calibrate portions by watching the bowl and saying, “That looks about right.” Dogs have benefited from that scientific method for generations, but a kitchen scale is more accurate.
- Place an empty bowl on the scale and press the tare button.
- Run the dispenser 10 times using the same opening duration.
- Record the weight of every serving.
- Add the results and divide by 10 to find the average.
- Adjust the opening time or gate size.
- Repeat until the average portion is close to the target.
Test the feeder with the exact kibble your dog eats. Different foods vary in size, shape, density, oiliness, and how easily they bridge above an opening. A setting that dispenses 60 grams of one recipe may release a noticeably different weight of another.
The feeding chart on the food package can be used as a starting point, but individual needs vary. Regularly monitor your dog’s weight and body condition, and ask your veterinarian to help determine the appropriate daily calories. Scheduled, measured meals provide more control than leaving unlimited food available.
Step 8: Make the Feeder Dog-Proof
A feeder that works mechanically but can be opened by your dog is technically a puzzle toy with an unusually generous prize.
Mount the hopper to a wide base or secure the frame to a wall. Use a locking lid that cannot be lifted with a nose. Cover the gate, servo horn, and linkage so paws and tongues cannot reach moving components. Hide all screws that could loosen into the bowl.
The bowl should slide out for washing but should not allow the dog to reach upward into the chute. A short tunnel between the dispenser and bowl can help prevent determined pets from licking the gate.
In a multi-dog household, a basic feeder cannot control which animal eats the meal. Feed dogs in separate rooms or use a more advanced access-controlled design. Automatic feeders may support portion management, but they still need to deliver the measured amount to the correct pet.
Step 9: Test Before Depending on It
Run at least 30 to 50 supervised dispensing cycles before using the feeder during an absence. Fill the hopper to different levels because pressure on the gate changes when the container is full.
Test likely failure conditions:
- One piece of kibble becomes trapped in the gate.
- The servo loses power while the feeder is open.
- The Arduino restarts during a scheduled meal.
- The hopper becomes nearly empty.
- The dog bumps or pulls the feeder.
- The clock battery fails.
- The bowl is missing or pushed out of position.
Design the gate to fail closed whenever practical. A missed meal is a problem that requires prompt attention, but a gate stuck open may release the entire hopper and create a more immediate overeating risk.
Cleaning and Maintenance
Wash the bowl daily. Wipe the chute frequently and empty the hopper before adding a new bag of food. Clean and fully dry the storage surfaces before refilling them. Moisture trapped inside a hopper can affect food quality and encourage spoilage.
Inspect the gate guides for kibble dust, oils, hair, and crumbs. Check the servo linkage, screws, power cord, and enclosure each week. Replace cracked plastic immediately. Discard food that smells unusual, appears damp, contains insects, or shows signs of mold. Moldy food can make pets seriously ill.
Keep a few premeasured emergency meals available in sealed bags. If the feeder fails, another caregiver can feed the correct amount without having to estimate portions while your dog performs an award-worthy starvation scene.
Important Limitations
A DIY automatic dog feeder is a convenience tool, not a substitute for human care. It cannot confirm that your dog swallowed the food, detect vomiting, notice a sudden loss of appetite, refill the water bowl, or recognize that your pet appears ill.
Dogs with diabetes, swallowing problems, food allergies, gastrointestinal disease, prescription diets, medication schedules, or a history of binge eating may need a veterinarian-approved feeding plan. Puppies and dogs that must eat at medically precise times also deserve more safeguards than a basic hobby project can provide.
Continue checking your dog every day, even when the feeder appears reliable. A change in appetite can be an important health signal, and scheduled meal feeding makes that change easier to notice.
Practical Experience: Lessons That Make a DIY Feeder Better
The first lesson builders usually discover is that kibble does not behave like water. It arches, wedges, bounces, stacks, and occasionally forms a tiny bridge directly above the opening. Increasing the opening can reduce jams, but it may also release too much food. The better solution is usually a smooth, steep-sided hopper, a gate with enough travel, and a brief shake or second servo movement after dispensing.
Kibble shape matters more than expected. Small round pieces flow smoothly, while flat triangles and soft, oily nuggets can cling together. Whenever you change brands or recipes, recalibrate the feeder. Even a minor difference in pellet density can change the number of calories delivered by a timed gate.
The second major lesson is that weighing portions is far better than measuring them by volume. A cup may be convenient, but the feeder does not understand cups. It understands gate position and opening time. Run repeated tests, calculate an average, and also note the largest and smallest servings. A feeder that averages 70 grams but occasionally dispenses 30 or 120 grams still needs work.
Third, the sound of the mechanism becomes part of the dog’s routine. After several meals, many dogs learn that a servo buzz means food is about to appear. This can be useful because the dog approaches the bowl promptly, but it can also create excitement. Place the feeder on a rubber mat to reduce vibration, and avoid using an unnecessarily loud motor.
Do not trigger the feeder repeatedly as entertainment. A manual button should be placed where the dog cannot press it, lean on it, or recruit a cat as an accomplice. Adding a software lockout of several minutes prevents accidental double dispensing.
Fourth, mechanical strength matters more than decorative perfection. A beautifully painted feeder will not remain beautiful after a hungry dog discovers that the back panel flexes. Use bolts and washers in high-stress areas, protect corners, and secure the entire unit. Test the enclosure by gently pushing and pulling it from several directions. Your dog will eventually conduct a much less gentle version of the same experiment.
Fifth, plan for power interruptions. The real-time clock may preserve the schedule, but the microcontroller can forget whether a meal was already dispensed during the current minute. A restart at exactly the wrong time could produce a second serving. Advanced builds should record the last completed feeding in nonvolatile memory and require a meaningful time gap before another scheduled release.
A power-loss test is worth performing deliberately. Unplug the feeder while the gate is opening, restore power, and observe what happens. The safest result is for the system to initialize with the gate closed and wait for the next valid feeding event.
Sixth, build for cleaning from the beginning. Permanent glue joints around the food path may save ten minutes during construction and create months of irritation later. Use removable panels, machine screws, washable chute pieces, and a hopper that can be emptied without turning the entire device upside down.
Finally, resist the temptation to add every smart-home feature immediately. Wi-Fi, cameras, mobile apps, weight sensors, voice recordings, and cloud dashboards can be useful, but reliability should come first. Begin with a feeder that opens, closes, and dispenses a predictable portion. Once it completes hundreds of successful cycles, then you may teach it to send notifications, display graphs, and inform the internet that Buster has eaten dinner.
Conclusion
Learning how to make a DIY automatic dog feeder is a satisfying project because it combines practical woodworking, simple electronics, programming, and pet care. A well-designed feeder can release measured dry-kibble portions on a consistent schedule while keeping the food protected from enthusiastic unauthorized access.
The most important parts are not flashy. Use a smooth hopper, a strong servo, a gate that fails closed, a suitable power supply, secure wiring, accurate portion calibration, and an enclosure your dog cannot dismantle. Test it repeatedly under supervision and continue monitoring your dog’s appetite, weight, water access, and overall health.
Note: This project is intended for dry kibble and routine feeding convenience. It should not replace daily supervision, veterinary nutrition advice, or a dependable caregiver when you are away for an extended period. The guidance above synthesizes recommendations and technical information from U.S. veterinary, pet-safety, food-safety, and electronics resources, including the FDA, AAHA, ASPCA, AKC, VCA, Arduino, Adafruit, and SparkFun.