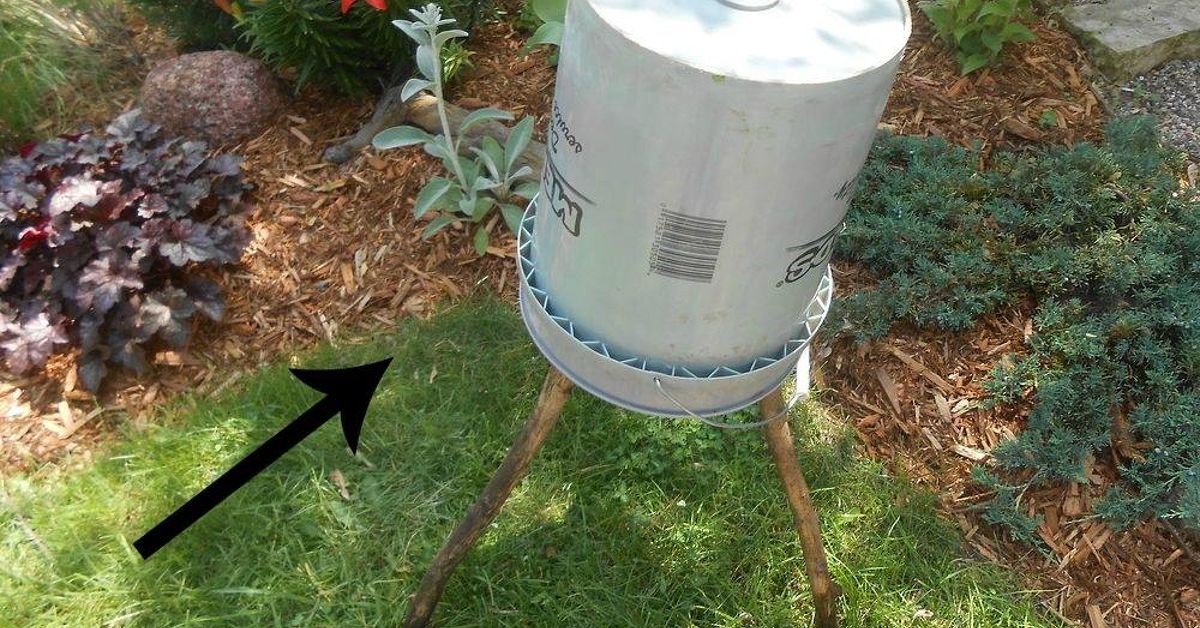
A rustic stool does not need hand-forged hardware, reclaimed barn beams, or a price tag that causes emotional damage. With a basic five-gallon bucket, a small amount of bagged concrete, and three sturdy pieces of wood, you can make a compact DIY bucket stool that looks charmingly handmade because, well, it actually is.
This beginner-friendly project uses the bucket as a reusable mold rather than as the finished base. Concrete forms the round seat, while branches, dowels, or salvaged chair legs create the rustic support. The result works well as a plant stand, garden perch, workshop seat, side table, or decorative accent.
Important: This homemade stool is not professionally engineered or load-rated. Build and test it carefully, use it only on a level surface, and never use it as a step stool.
Why Make a Rustic Bucket Stool?
The appeal of this project comes from its wonderfully short shopping list. A five-gallon bucket provides a smooth, round mold, eliminating the need to construct wooden concrete forms. The legs can be made from straight branches, thick dowels, old tool handles, or salvaged furniture parts.
It is also highly customizable. You can leave the concrete raw, tint it, embed pebbles in the surface, stain the legs dark walnut, or give the wood a weathered gray finish. No two stools need to look alike, which is convenient when your measurements are also unlikely to look exactly alike.
Good Uses for the Finished Stool
- A low garden or potting-bench seat
- A small patio side table
- A plant stand for a covered porch
- An occasional workshop stool
- A rustic bathroom or entryway accent
- A decorative pedestal for baskets, books, or lanterns
Because moisture can affect both wood and concrete finishes, an outdoor stool should be protected with products specifically labeled for exterior exposure. Even then, keeping it under a roof will extend its useful life.
Materials and Tools
Materials
- One clean five-gallon plastic bucket
- Bagged concrete mix
- Three strong wooden legs, approximately 16 to 18 inches long
- Three long exterior-grade screws or a short length of strong wire
- Bucket-mold release, cooking spray, or a light coating of vegetable oil
- Wood stain, paint, or weathered-wood finish
- Clear protective wood finish
- Optional concrete sealer
- Optional decorative pebbles, shells, glass pieces, or leaves
- Optional felt or rubber furniture pads
Tools
- Measuring tape
- Pencil or permanent marker
- Saw suitable for cutting the wooden legs
- Drill and drill bits
- Sandpaper in medium and fine grits
- Mixing tub, wheelbarrow, or separate heavy-duty bucket
- Small shovel, garden trowel, or concrete-mixing hoe
- Level or straight board
- Duct tape or scrap-wood braces
- Safety glasses
- Waterproof gloves
- Dust mask or appropriate respirator
- Hearing protection when using loud power tools
Choosing the Best Legs
The legs determine whether your rustic bucket stool feels pleasantly handmade or alarmingly adventurous. Choose three pieces that are solid, straight, and reasonably similar in diameter. A thickness of roughly 1 1/2 to 2 inches is a practical starting point for a small stool.
Three legs are easier to level than four because all three contact points naturally rest on the same plane. This design is especially useful on slightly uneven patios and workshop floors. Four legs may look more traditional, but even a small measurement error can produce an annoying wobble.
Using Natural Branches
Branches provide the most convincing rustic look, but inspect them carefully. Reject wood with rot, insect tunnels, deep splits, soft areas, or loose bark. Recently cut green wood may shrink, twist, or crack as it dries, so seasoned hardwood is a safer choice.
Remove loose bark and dirt, then sand sharp knots and splintered areas. Character is welcome. Splinters are not character; they are tiny wooden grievances.
Using Dowels or Salvaged Legs
Large hardwood dowels create a cleaner farmhouse appearance and are easier to measure consistently. Salvaged chair legs can also work, provided they are structurally sound and thick enough near the embedded ends.
Step-by-Step Rustic Bucket Stool Instructions
Step 1: Cut the Legs to Rough Length
Cut three legs to approximately 16 to 18 inches. Make them slightly longer than the desired final height so you have room to trim and level them after the concrete has cured.
Wear eye protection, secure each piece before cutting, and keep hands away from the blade path. Follow the saw manufacturer’s instructions. Power tools are exceptionally useful, but they are not known for appreciating improvisational finger placement.
Step 2: Add Mechanical Anchors
A smooth wooden leg can eventually loosen inside concrete, especially if the stool is moved frequently. Create a mechanical anchor near the end that will be embedded.
Drill a hole approximately 1 inch from the embedded end of each leg. Run strong wire through the holes to connect the three legs loosely, or drive a long screw sideways through each leg so part of the screw projects from both sides. Once surrounded by concrete, these anchors help resist pullout.
Keep at least 3 inches of each leg available for embedding. Do not rely only on concrete gripping a polished or heavily sealed wood surface.
Step 3: Sand and Finish the Exposed Wood
Sand the legs to remove splinters and soften sharp edges. Start with medium-grit sandpaper and finish with a finer grit. Vacuum or wipe away the dust before applying stain.
For an easy rustic finish, apply a medium-brown or weathered-gray stain, wipe away the excess in the direction of the grain, and allow it to dry according to the label. Test the stain on a scrap or hidden area first because wood species absorb color differently.
Leave the lowest 3 to 4 inches unfinished if possible so the concrete can grip the wood more effectively. After assembly, the exposed wood can receive an additional protective coat. Wood-finishing guidance generally follows three stages: prepare, color if desired, and protect with a compatible clear finish.
Step 4: Prepare the Bucket Mold
Clean and dry the bucket. Inspect the bottom because every ridge, logo, scratch, and mysterious garage mark may transfer to the concrete seat.
Apply a thin, even layer of mold release or cooking spray to the bottom and lower interior walls. Do not create puddles, which may leave greasy spots or surface defects.
Measure approximately 2 1/2 to 3 inches up from the inside bottom and draw a level line around the bucket. This marks the depth of the concrete seat. A thicker casting is heavier but generally less fragile than a very thin one. Similar concrete bucket-stool designs commonly use a casting around 3 inches thick.
Step 5: Mark Three Equal Leg Positions
Make three evenly spaced marks around the bucket rim. These marks will guide the legs while the concrete cures.
You do not need advanced geometry. Wrap a strip of painter’s tape around the rim, mark where the ends meet, remove it, and divide its length into three equal sections. Return it to the rim and transfer the marks.
Step 6: Mix the Concrete
Pour the required amount of concrete mix into a mixing tub or separate container. Add water gradually, following the bag instructions rather than guessing. Excess water can weaken concrete and increase shrinkage and cracking.
A properly mixed batch for this project should be workable but not soupy. It should hold together when moved with a trowel, somewhat like thick cookie dough. Concrete manufacturers recommend adding small amounts of extra water only as needed.
Mix thoroughly, scraping the corners and bottom of the container. Dry pockets are not delightful hidden surprises. They are weak spots.
Step 7: Fill the Bucket Mold
Scoop concrete into the bucket until it reaches your marked line. Press it firmly into the edges with a trowel.
Tap the sides and bottom of the bucket repeatedly with a rubber mallet or the handle of a tool. Gentle vibration encourages trapped air bubbles to rise. You can also lift the bucket an inch and tap it carefully against the floor several times.
Do not drop it aggressively unless your project plan includes concrete shoes.
Step 8: Add Decorative Details
The bottom of the bucket becomes the top of the finished stool. To display pebbles or other decorations on the seat surface, arrange them in the mold before adding the concrete.
Another method is to press stones gently into the exposed wet concrete after filling. This places them on the underside of the stool, which is less visible but can create an interesting edge.
Use clean, shallow decorations. Large objects can create weak pockets in the casting. Leaves may produce attractive impressions, while small river stones create a rugged garden look.
Step 9: Insert and Brace the Legs
Push each anchored end approximately 3 to 4 inches into the wet concrete. Align the legs with the three marks on the rim and angle them slightly outward. A modest outward splay creates a wider footprint and usually improves stability.
Measure from the rim to the end of each leg so all three project the same distance. Use duct tape, clamps, or scrap-wood braces to keep them from drifting while the concrete sets.
Look at the bucket from several directions. Fix crooked legs now. Once the concrete cures, persuasion becomes considerably more difficult.
Step 10: Allow the Concrete to Cure
Place the bucket on a level surface where it will not be bumped. Cover it loosely with plastic to slow moisture loss, then follow the concrete manufacturer’s curing instructions.
Many small DIY projects can be demolded after several days, but concrete continues gaining strength afterward. Do not confuse “hard enough to touch” with “ready for a person to sit on.” Temperature, humidity, mix type, water content, and casting thickness all affect curing.
A patient curing period produces a more dependable result than rushing because you need somewhere to sit while admiring your unfinished project.
Step 11: Remove the Stool From the Bucket
Once the concrete has cured sufficiently, flex the sides of the plastic bucket outward to break the seal. Turn the bucket on its side and work gradually around the circumference.
Pull on the bucket rather than yanking the legs. If the concrete does not release, allow more curing time and try again. Avoid hitting the new concrete with a metal hammer because fresh edges can chip.
Step 12: Level the Legs
Turn the stool upright on a flat surface. If it rocks, identify the longest leg and trim it gradually. Remove only a small amount at a time.
Once the stool sits evenly, sand the cut ends and attach rubber or felt pads. Pads protect flooring, reduce slipping, and help compensate for tiny differences between the legs.
Step 13: Seal the Stool
Apply a compatible clear finish to the exposed wood. Thin coats generally produce a neater result than one heroic coat that drips down every leg.
For indoor use, a water-based or oil-based polyurethane may be appropriate. For outdoor or covered-patio use, choose an exterior-rated finish designed to tolerate moisture and temperature changes. A penetrating or film-forming concrete sealer can also reduce staining on the seat.
How to Create a More Convincing Rustic Finish
Rustic furniture should look aged, not attacked by an unsupervised woodpecker. Add distressing selectively and test each technique on scrap wood first.
Easy Distressing Methods
- Round sharp edges with sandpaper to imitate years of handling.
- Tap the wood lightly with a short length of chain.
- Press a screw sideways into the surface to create irregular marks.
- Use an awl to add a few scattered faux wormholes.
- Brush with the grain using a wire brush to emphasize texture.
- Layer dark stain beneath a lighter paint and sand selected edges.
Random placement looks more natural than evenly spaced marks. Real wear tends to appear around edges, feet, corners, and frequently touched areas. After distressing, seal the wood to make it easier to clean.
Common Bucket Stool Mistakes
Adding Too Much Water
A runny mixture may be easy to pour, but extra water can reduce strength and contribute to cracking. Measure carefully and add water in small increments.
Using Weak or Green Branches
Fresh branches can shrink as they dry. Rotten, split, or insect-damaged wood may fail without much warning. Use dry, structurally sound material.
Skipping Mechanical Anchors
Wire, cross-screws, or another physical anchor helps lock each leg into the concrete. Smooth legs pushed into wet mix without anchors may loosen over time.
Making the Legs Too Upright
Nearly vertical legs create a narrow footprint. A slight outward angle generally makes a low stool feel more stable, provided all legs are equally spaced and properly embedded.
Demolding Too Soon
Fresh concrete can look solid while its edges remain vulnerable. Early demolding may cause cracks, chips, or damage around the legs.
Standing on the Stool
This is a homemade seat or side table, not climbing equipment. Never stand on it, jump on it, or use it as a substitute for a ladder. Inspect it before each use and stop using it if the concrete cracks, a leg moves, or the stool begins to wobble. Seating products with loose or broken connections can create serious fall hazards.
Practical Experience: What You Learn While Making a Rustic Bucket Stool
The following experience notes reflect common lessons from comparable DIY bucket-stool and small concrete-casting projects.
The first lesson is that preparation takes longer than pouring. Mixing and placing the concrete may occupy only a small portion of the project, but selecting the legs, cleaning the bucket, arranging the workspace, and building braces determine whether the final stool looks intentional. Having every tool ready before water touches the concrete prevents a frantic search for duct tape while three wooden legs slowly lean toward the same side.
The second lesson is that natural branches are attractive precisely because they are inconvenient. One may have a gentle curve, another may taper sharply, and the third may insist on being a completely different tree. Lay the branches beside one another and rotate them until their shapes feel visually balanced. Measure from the intended floor end rather than assuming the embedded ends are identical.
Bracing deserves more attention than most first-time builders expect. Wet concrete is heavy, and legs that appear stable can move as the bucket is tapped to release air. A simple triangular brace made from scrap wood works better than relying on a heroic amount of tape. Marking a reference line on each leg also makes it easy to confirm that all three are embedded to the same depth.
Another common discovery is that the bucket records nearly everything. A molded logo, dried paint ridge, or scratch on the bottom can appear on the finished seat. Sometimes these imperfections look wonderfully rustic. Sometimes they look like a bucket logo permanently stamped into concrete. Inspecting the mold beforehand allows you to decide which type of surprise you prefer.
The first demolding attempt should be calm and gradual. Flexing the bucket in several places is more effective than pulling violently on one leg. When the concrete finally releases, the stool may emerge with tiny air holes around the edge. These can be left alone for an industrial appearance or filled with a suitable cement-based patching material.
Leveling is usually the most satisfying step because a slightly awkward casting suddenly becomes a functional stool. Set it on the flattest surface available and press gently near each side. Mark the long leg, trim a tiny amount, and test again. Removing too much creates a repetitive game in which each leg takes a turn being the longest.
The finished stool often looks better after a few restrained details. Sanding the leg bottoms, adding dark felt pads, and applying a satin finish can make salvaged branches feel like deliberate furniture components. A matte or satin sheen generally complements rustic wood more naturally than a thick, glossy coating.
Most importantly, the project teaches the value of patience. Concrete operates on its own schedule. Leaving the casting undisturbed, following the curing directions, and delaying the first test sit may not be exciting, but those choices contribute more to the finished stool than an extra decorative pebble ever will.
Final Thoughts
A cheap rustic bucket stool is a satisfying example of practical DIY design: one ordinary container becomes a mold, discarded wood becomes a set of legs, and a modest amount of concrete becomes a durable-looking seat. The project is simple enough for a careful beginner while offering plenty of room for decorative experimentation.
Use sound materials, anchor the legs mechanically, measure before the concrete begins to set, and allow plenty of curing time. The finished piece may not have come from a designer showroom, but it will have something better: a story, a little personality, and probably one leg you had to trim twice.