Natural school makeup has one wonderfully simple job: help you look fresh, awake, and comfortable without making it appear that you woke up at 5:00 a.m. to prepare for a red-carpet event. The best everyday routine does not hide your entire face. Instead, it softens redness, brightens tired areas, adds a little color, and lets your real skin remain visible.
This approach is especially practical for students because it is quick, affordable, easy to maintain, and less likely to become a shiny mess before lunch. A natural makeup routine can take five to ten minutes once you know the order of application. You also need fewer products, which is excellent news for both your backpack and your bank account.
Skin health should always come before coverage. Dermatologists and pediatric health experts generally recommend a simple routine built around gentle cleansing, moisturizing, sun protection, and noncomedogenic products that are less likely to clog pores. Makeup should be applied with clean hands and removed before bed.
What Does Natural Makeup for School Look Like?
Natural makeup is sometimes called “no-makeup makeup,” although there is usually at least a little makeup involved. The goal is not perfection. The goal is a believable, polished version of your everyday appearance.
A school-friendly look usually includes lightweight skin coverage, softly groomed eyebrows, subtle cheek color, lightly defined lashes, and moisturized lips. You should still be able to see freckles, natural texture, and small variations in your complexion. Real skin has texture. That is normal, not a software bug.
Before starting, check your school’s dress code and talk with a parent or guardian if necessary. Some schools allow subtle cosmetics but restrict bold colors, glitter, false eyelashes, or dramatic eyeliner. Knowing the rules prevents you from creating a masterpiece that has to be removed in the restroom before first period.
Basic Products You May Need
You do not need an overflowing makeup case. A simple beginner kit may contain:
- A gentle facial cleanser
- A fragrance-free moisturizer suitable for your skin type
- A broad-spectrum facial sunscreen with SPF 30 or higher
- A lightweight skin tint, BB cream, or tinted moisturizer
- A concealer that closely matches your skin
- A clear or lightly tinted eyebrow gel
- A neutral cream or powder eyeshadow
- An eyelash curler and brown or black mascara
- A soft cream or powder blush
- A tinted lip balm, lip oil, or sheer lipstick
- Optional translucent powder or setting spray
Look for the terms “noncomedogenic,” “oil-free,” or “won’t clog pores” when choosing complexion products, especially if your skin is oily or acne-prone. These labels do not guarantee that a product will work for everyone, but they are a sensible starting point for teenage skin.
How to Apply Natural Makeup for School in 10 Steps
Step 1: Begin With Clean Hands and a Clean Face
Wash your hands before touching your face, brushes, or makeup. Then cleanse your skin gently using lukewarm water and a mild facial cleanser. Avoid harsh scrubbing, rough washcloths, and the temptation to attack a breakout as though it personally insulted you.
Pat your face dry with a clean towel. Rubbing can increase redness and irritation, which means you may end up applying more concealer to cover a problem created by your preparation routine.
Clean application matters because hands, brushes, sponges, and eye products can carry bacteria. The FDA also recommends keeping eye-area tools clean and never sharing eye cosmetics. That includes mascara, eyeliner, and the “totally clean” lash curler your friend just used.
Step 2: Apply a Lightweight Moisturizer
Smooth a small amount of moisturizer over your face and neck. Choose a lightweight gel or lotion if your skin becomes oily during the school day. Dry or sensitive skin may feel better with a slightly richer fragrance-free lotion or cream.
Moisturizer helps makeup blend rather than cling to dry patches. Give it a minute to absorb before adding another layer. Applying foundation immediately over wet moisturizer can cause streaking, pilling, or tiny product crumbs that look suspiciously like your face is shedding confetti.
Primer is optional. Most students do not need a separate primer every day. However, a small amount can be useful around the nose or on other areas where makeup tends to disappear. Hydrating primers suit dry skin, while lightweight blurring formulas may help control shine.
Step 3: Protect Your Skin With Sunscreen
Apply a broad-spectrum sunscreen with SPF 30 or higher after moisturizer and before makeup. Cover the face, ears, hairline, and exposed neck. Let the sunscreen settle before applying complexion products.
Do not assume that a tiny amount of SPF foundation provides enough protection. Makeup containing sunscreen can be helpful, but most people do not apply foundation as generously or evenly as a dedicated sunscreen. SPF values from multiple products also do not simply add together.
For outdoor sports, field trips, or long lunch breaks in direct sunlight, use additional sun-protection measures and reapply sunscreen as directed on the label. A hat, shade, and protective clothing can help when extended sun exposure is expected.
Step 4: Use Light Coverage Only Where Needed
For the most natural finish, skip full-coverage foundation unless you truly enjoy wearing it. Apply a skin tint, BB cream, or tinted moisturizer in a thin layer, beginning near the center of your face and blending outward. Use clean fingers, a damp sponge, or a soft brush.
You can also skip an all-over base and use concealer only. Place tiny dots around the nose, over noticeable redness, beneath the eyes, or on individual blemishes. Tap the edges gently until the product appears to disappear into the surrounding skin.
A common mistake is choosing a concealer that is much lighter than your complexion. A very pale shade under the eyes can create obvious circles in a different color. For blemishes, select a close skin match. For subtle under-eye brightening, choose a shade that is only slightly lighter.
Light layers tend to appear more natural than one thick layer. Makeup artists often use targeted concealing and lightweight complexion products when they want fast, believable coverage without masking the skin.
Step 5: Groom Your Eyebrows Softly
Brush your eyebrow hairs upward and outward with a clean spoolie. This simple step can make the whole face look more polished, even when you use no eyebrow color.
If your brows have sparse areas, fill them with short, hair-like strokes using a fine pencil that matches your natural eyebrow color. Concentrate on gaps rather than drawing a solid block from beginning to end. A clear or tinted brow gel can hold the hairs in place.
Avoid creating a sharply squared inner brow for school makeup. Keep the front soft and place slightly more definition through the arch and tail. Your eyebrows should look related, but they do not need to be identical twins. Friendly cousins are completely acceptable.
Step 6: Add Optional Neutral Eyeshadow
Eyeshadow is optional in a natural makeup routine. When you want a little definition, choose a matte or softly satin shade close to your skin tone. Beige, taupe, soft brown, muted peach, and gentle rose shades are easy to wear.
Sweep a small amount over the eyelid and blend the edges with a clean brush or fingertip. A slightly deeper neutral shade can be placed near the outer corner or along the upper lash line. Keep the application sheer and avoid bringing dark color too high toward the eyebrow.
For a brighter appearance, tap a tiny amount of light neutral shadow near the inner corners. Avoid chunky glitter if your goal is a barely-there finishor if your school considers sparkle a threat to academic concentration.
Step 7: Curl and Define Your Lashes
Use an eyelash curler before applying mascara. Position it carefully at the base of the upper lashes, squeeze gently for a few seconds, and release. Never pull or use the curler while walking, riding in a car, or racing to catch the bus.
Apply one light coat of mascara, concentrating near the roots. Brown mascara creates soft definition on many light or medium coloring combinations, while black or brown-black works well when your lashes are naturally dark.
Comb through clumps while the mascara is still wet. For an extremely subtle look, curl the lashes and skip mascara entirely. The FDA advises against applying eye cosmetics in moving vehicles because sudden movement can cause an applicator to injure the eye. It also recommends discarding mascara approximately three months after opening.
Step 8: Add a Natural Flush With Blush
Blush prevents a lightly concealed complexion from looking flat. Choose a shade similar to the color your cheeks naturally develop after a short walk: soft pink, peach, rose, berry, or terracotta, depending on your skin tone.
Smile gently and apply a small amount to the upper apples of the cheeks, blending slightly back toward the temples. Cream blush can be tapped in with clean fingers, while powder blush works well with a fluffy brush.
Begin with less than you think you need. You can always add more, but removing too much blush five minutes before class is how an innocent morning turns into an emergency blending seminar.
Professional artists frequently rely on cream blush because it adds quick, skin-like color and can make a minimal routine appear more complete.
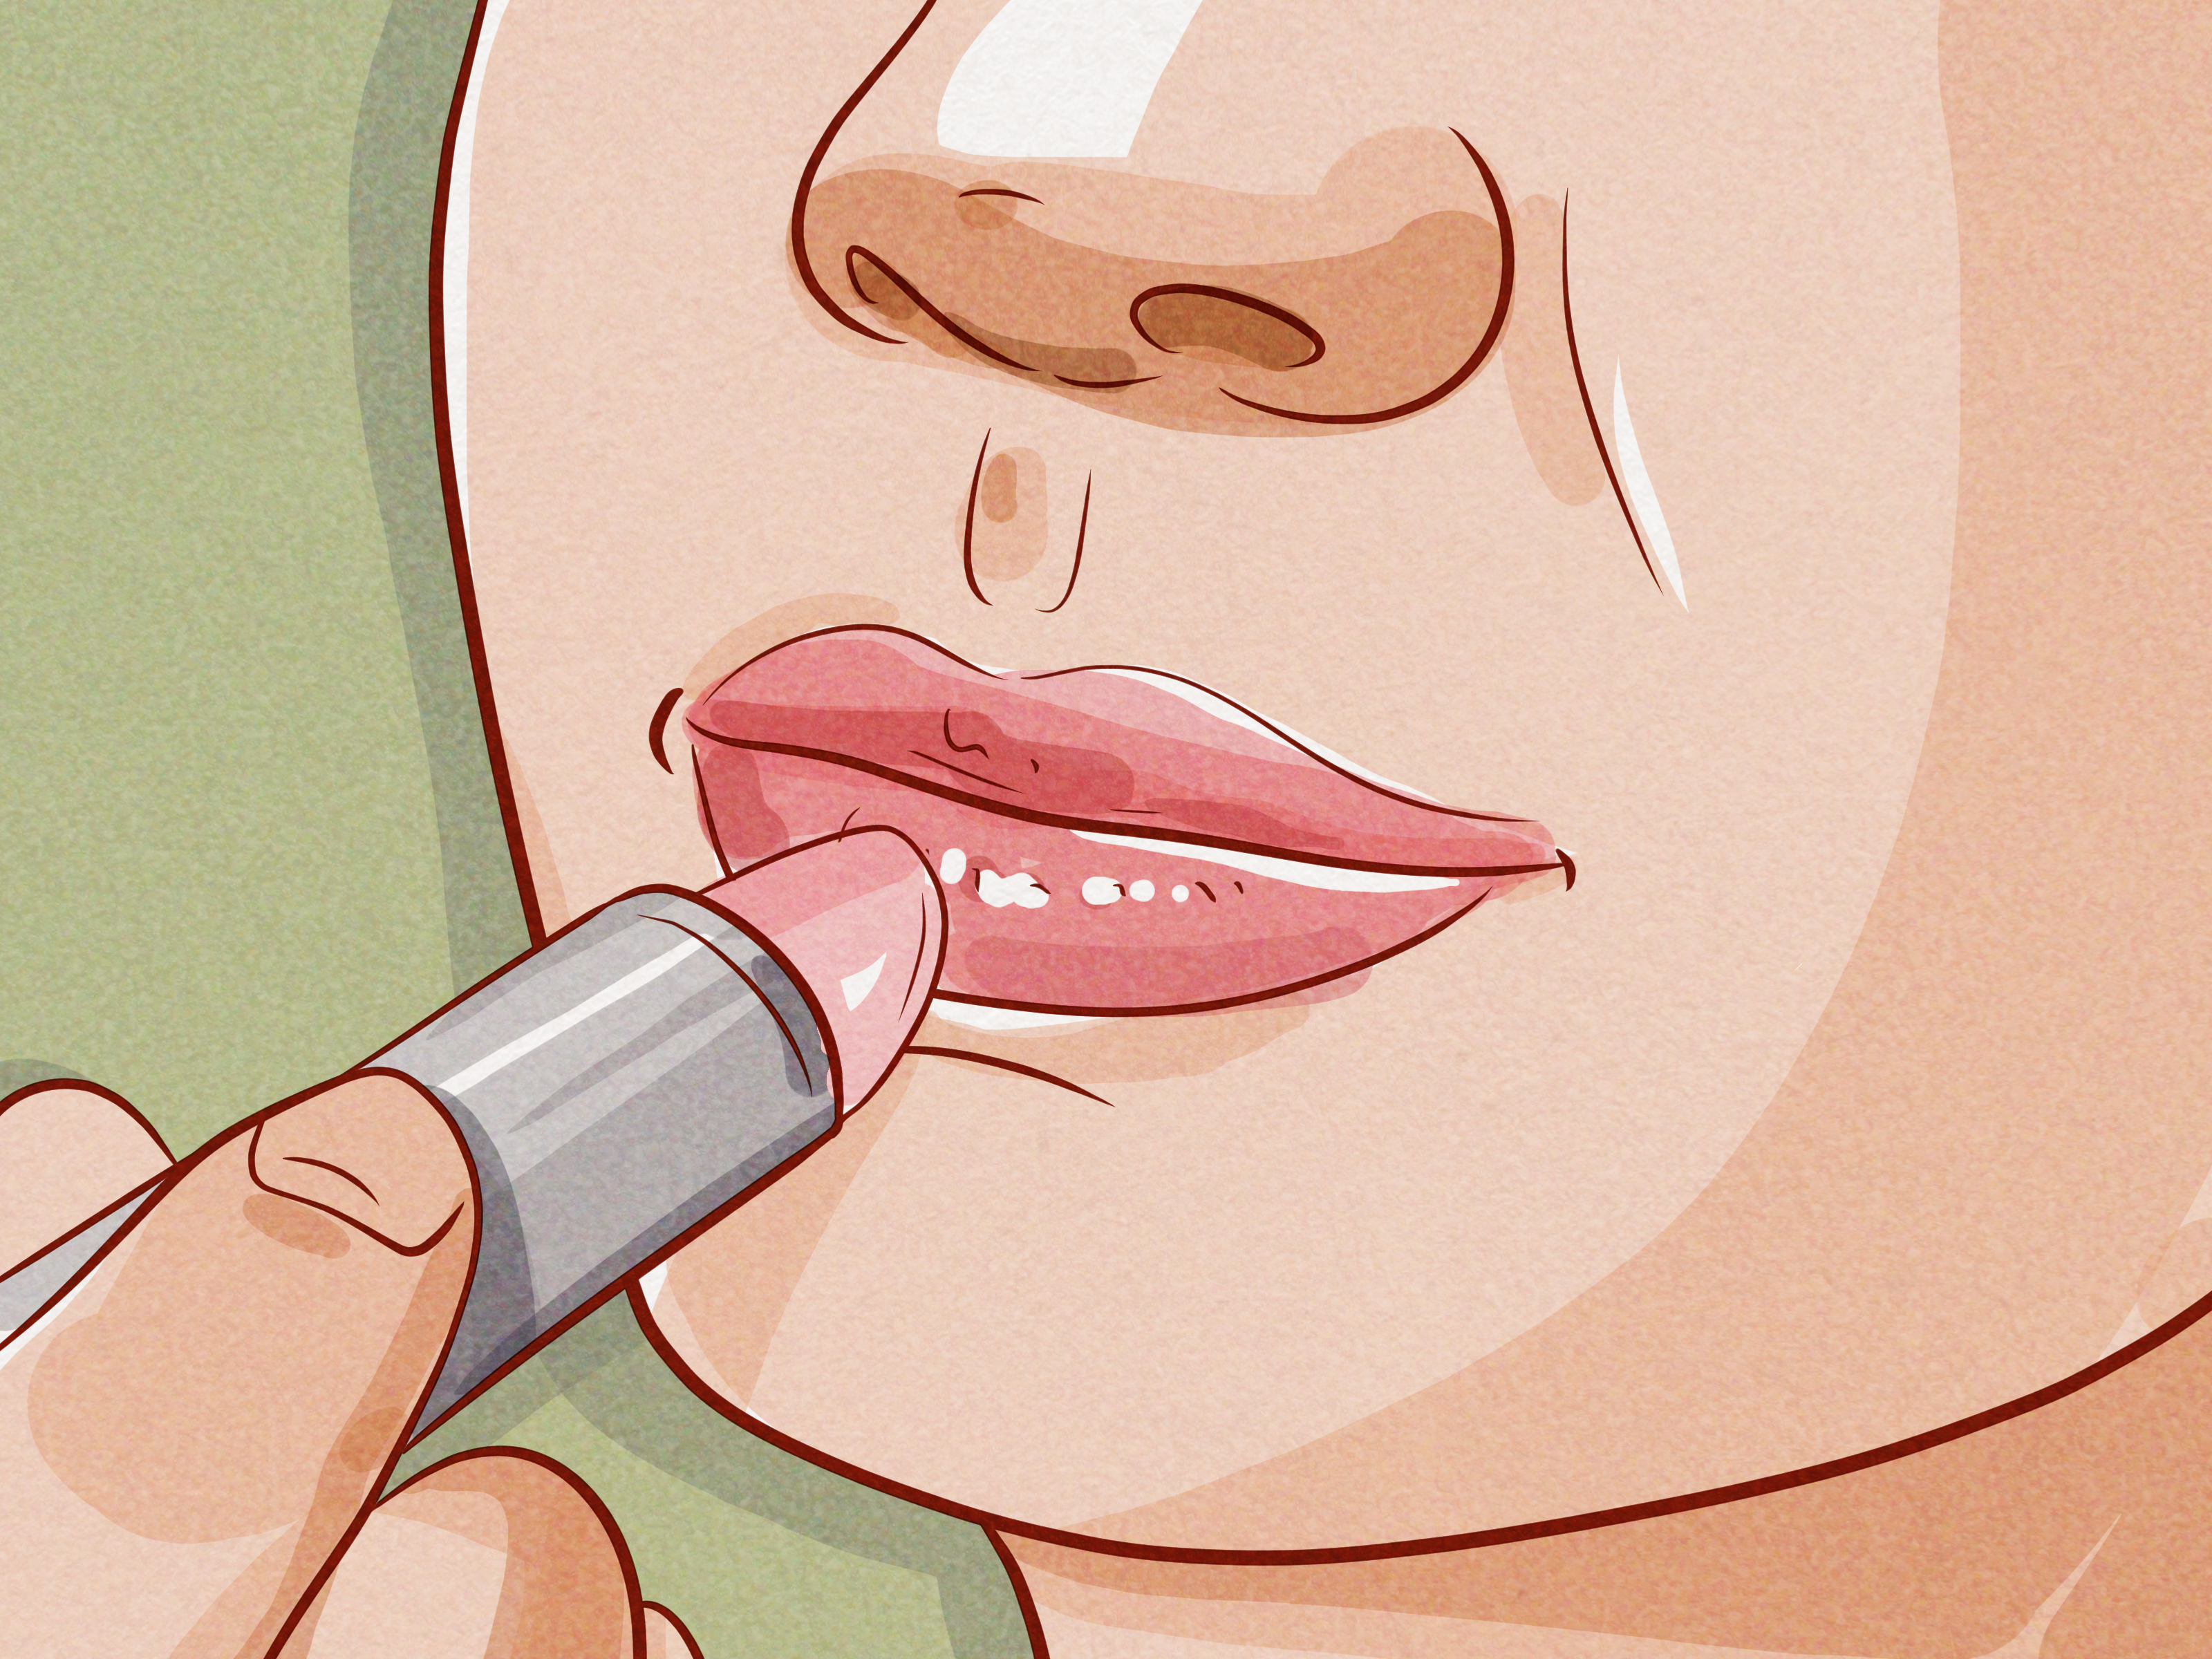
Step 9: Finish With a Tinted Lip Balm
Apply a moisturizing lip balm, sheer lipstick, lip oil, or soft tint. Rosy nude, peach, mauve, berry, and warm brown shades can enhance natural lip color without requiring precise application.
Tinted balm is especially convenient for school because it can usually be reapplied without a mirror. Avoid extremely sticky gloss if your hair regularly blows across your face. Few things are less glamorous than spending algebra class separating strands of hair from your lips.
For longer-lasting but subtle color, tap a small amount of lip tint onto the center of the lips and blend outward with a clean finger. Add clear balm over the top for comfort.
Step 10: Set Strategically and Check the Final Look
Students with dry or normal skin may not need powder. If your forehead, nose, or chin becomes shiny, press a small amount of translucent powder onto those areas with a small brush or puff. Avoid covering the entire face with a thick layer.
A lightweight setting spray is another option, although it is not essential. Let it dry naturally rather than waving a notebook in front of your face like you are signaling an aircraft.
Check your makeup near a window or in natural light. Look at the jawline, hairline, eyebrows, and edges of your blush. If you notice a stripe, patch, or harsh line, blend it with a clean sponge or brush. Natural makeup should appear soft from normal conversational distance, not just from two inches away in a magnifying mirror.
How to Adjust the Routine for Your Skin Type
For Oily or Acne-Prone Skin
Choose lightweight, oil-free, noncomedogenic products. Use thin layers and apply powder only to areas that become shiny. Blotting papers can remove oil during the day without adding repeated layers of powder.
Do not cover an open, irritated, or infected blemish with heavy makeup. Persistent, painful, or scarring acne deserves professional medical advice rather than an increasingly determined pile of concealer.
For Dry Skin
Use a gentle cleanser, a comfortable moisturizer, and cream-based makeup. Apply complexion products sparingly with a damp sponge or fingertips. Too much powder can exaggerate flakes, so limit it to areas where makeup creases.
For Sensitive or Eczema-Prone Skin
Look for fragrance-free products made for sensitive skin and patch-test unfamiliar formulas on a small area. Introduce one new product at a time so that you can identify the cause if irritation develops. Stop using anything that produces burning, swelling, itching, or a persistent rash.
Common Natural School Makeup Mistakes
- Applying too much base: Heavy coverage often appears less natural and may separate during the day.
- Skipping sunscreen: Makeup is not a substitute for reliable daily sun protection.
- Using dirty brushes: Wash reusable tools regularly and allow them to dry completely.
- Sharing mascara or eyeliner: Eye cosmetics can transfer germs between users.
- Using the wrong shade: Test complexion makeup along the jawline when possible.
- Following every trend: A viral routine designed for studio lighting may look very different at 8:15 a.m. under classroom lights.
- Sleeping in makeup: Remove cosmetics before bed to reduce residue, clogged pores, and irritation.
How to Remove School Makeup Properly
At the end of the day, remove makeup with micellar water, a gentle cleansing balm, or another remover suitable for your skin. Follow with a mild facial cleanser if residue remains. Massage gently rather than scrubbing.
Rinse, pat your skin dry, and apply moisturizer. Waterproof mascara may need a dedicated eye-makeup remover. Hold a soaked cotton pad against closed lashes briefly before wiping downward. Do not tug repeatedly at the delicate eye area.
Removing makeup before sleep is an essential part of the routine, not an optional deleted scene. Health experts warn that leaving makeup on overnight may contribute to clogged pores, breakouts, and other skin problems.
My Experience Learning to Wear Natural Makeup for School
My first attempts at natural school makeup were not especially natural. I believed “a little foundation” meant applying enough to cover every freckle, pore, and memory of a blemish. I added concealer beneath both eyes in two large triangles, filled my eyebrows until they looked like punctuation marks, and finished with enough powder to survive a small weather event.
The routine looked acceptable in my bedroom mirror. Then I stepped outside. Natural daylight revealed an orange line near my jaw, a dry patch beside my nose, and blush placed so low that it appeared my cheeks were slowly sliding toward my chin. That morning taught me the first important lesson: always check makeup in daylight.
The second lesson arrived after I began wearing lighter coverage. Instead of spreading foundation everywhere, I used concealer around my nose, beneath the inner corners of my eyes, and on a few red marks. My skin immediately looked more believable. Freckles remained visible, but the overall complexion appeared calmer. Better yet, the routine took three minutes instead of fifteen.
I also discovered that preparation mattered more than the price of the makeup. A basic moisturizer helped concealer blend more smoothly than an expensive foundation applied over dry skin. Sunscreen needed a few minutes to settle; otherwise, anything placed over it rolled into tiny flakes. Once I stopped rushing those first steps, the final result improved dramatically.
Blush became my favorite product because a tiny amount made me look awake even after a late night of studyingor making an ambitious study schedule and then watching videos instead. Cream blush was easiest to control. I tapped one dot onto each cheek, blended upward, and used whatever remained on my finger to tint my lips.
Mascara required more experimentation. Two or three coats looked dramatic in the morning but tended to smudge by afternoon. One thin coat at the roots provided enough definition without turning every yawn into a potential makeup emergency. On rushed days, curling the lashes without mascara worked surprisingly well.
The biggest improvement came when I stopped treating makeup as camouflage. Trying to hide every blemish made me pay more attention to them. Using less product made the face look fresher, felt more comfortable, and reduced the number of things that could crease, smear, or transfer onto a white shirt.
I eventually created a five-minute version for busy mornings: sunscreen, spot concealer, brow gel, blush, and tinted lip balm. Mascara was optional. That small routine delivered most of the effect with very little effort. It also fit into one compact pouch instead of a bag large enough to require its own locker.
Another practical lesson involved hygiene. Sharing lip balm seemed harmless until several friends used it in one afternoon. After that, personal products stayed personal. I also began labeling mascara with the opening date and cleaning brushes regularly. These habits were less exciting than buying a new blush, but they were far more useful.
Natural school makeup should ultimately feel flexible. Some mornings you may enjoy all ten steps. On other days, sunscreen and lip balm are enough. Makeup is not homework, and there is no minimum number of products required to look presentable. The most successful routine is the one that suits your skin, follows school rules, fits your schedule, and still allows you to recognize yourself in the mirror.
Conclusion
Learning how to apply natural makeup for school is mainly about restraint, good preparation, and thoughtful placement. Start with clean, moisturized, sun-protected skin. Add lightweight coverage only where it is useful, groom the brows softly, define the lashes, and bring life to the face with subtle blush and lip color.
The routine should enhance your features rather than bury them under layers of product. Practice on a relaxed morning, adjust the steps for your skin type, and remember that removing makeup at night is just as important as applying it in the morning. With time, you will know exactly which steps make the biggest differenceand which ones can be skipped when the alarm clock loses a negotiation.
Note: This educational article synthesizes cosmetic-safety, teenage skin-care, acne, sun-protection, and natural-makeup guidance from the American Academy of Dermatology, U.S. Food and Drug Administration, Nemours KidsHealth, Cleveland Clinic, American Academy of Pediatrics’ HealthyChildren.org, Johns Hopkins Medicine, The Skin Cancer Foundation, American Cancer Society, Allure, Byrdie, Cosmopolitan, and Maybelline. Product needs vary, so anyone experiencing persistent acne, eczema, swelling, eye irritation, or an allergic reaction should consult a qualified healthcare professional.