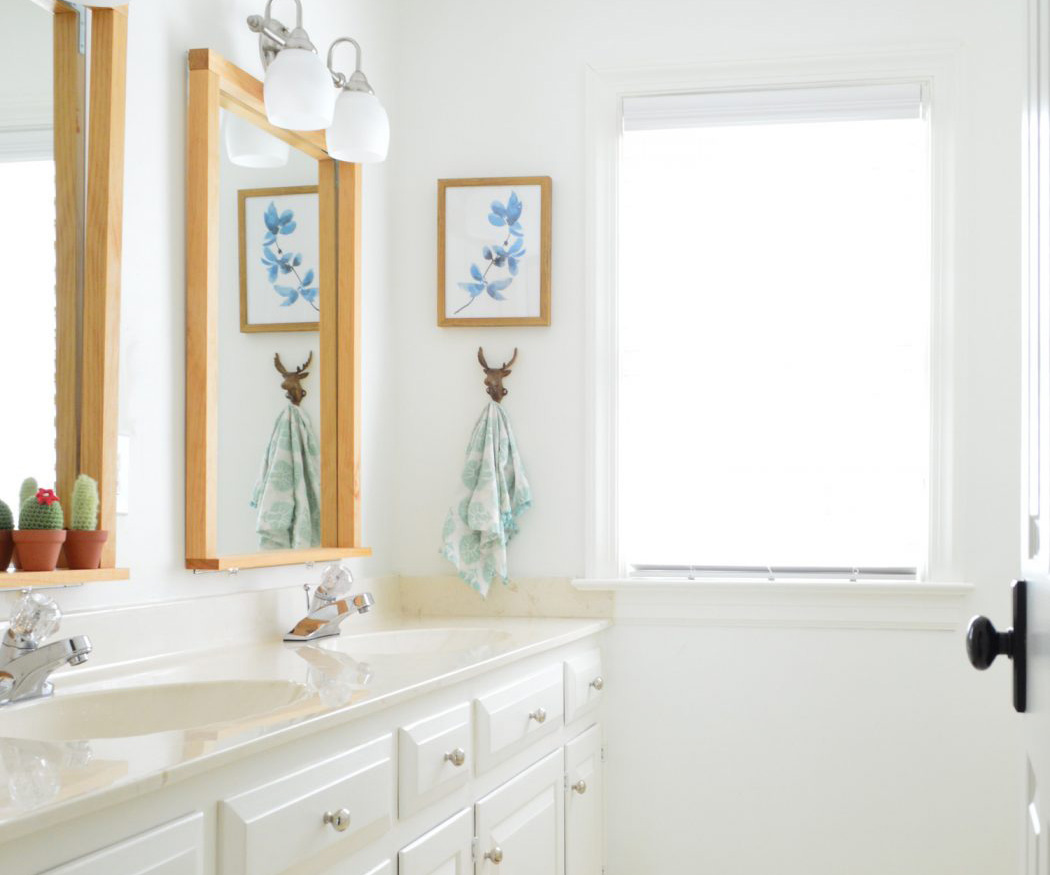
Selling a house sounds glamorous until you realize the “glamour” mostly involves patching nail holes, hiding rogue charging cables, and asking yourself whether the toaster has always looked that judgmental on the counter. Getting a house ready to sell is part strategy, part cleaning marathon, and part emotional breakup with the place where you once swore you would “definitely organize the garage next weekend.”
The good news? Preparing your home for sale does not require gold-plated faucets, a reality-TV renovation budget, or a dramatic slow-motion montage of you holding paint swatches. What it does require is a clear plan: make the home feel clean, cared for, functional, bright, and easy for buyers to imagine as their own.
That is the heart of #164: How We’re Getting Our House Ready To Sell. Whether you are months away from listing or suddenly staring at a moving timeline with the intensity of a squirrel before winter, this guide breaks down the practical, high-impact steps that help a home show well, photograph beautifully, and attract serious buyers.
Start With the Seller Mindset: You Are Not Decorating Anymore
The first big shift is mental. When you live in a home, it should serve your daily life. When you sell a home, it needs to communicate possibility. That means your favorite reading chair, three laundry baskets, and “temporary” stack of mail from 2022 may be perfectly normal for real life, but they are not necessarily helping buyers fall in love.
Think of the home as a product without making it feel sterile. Buyers want warmth, but not your entire family history. They want charm, but not visual chaos. They want storage, but not closets that open like a confetti cannon.
The goal is not perfection
The goal is confidence. Buyers should walk through and feel that the house has been loved, maintained, and thoughtfully prepared. Every room should answer the same quiet question: “Could I see myself living here?” If the answer is yes, you are doing it right.
Create a Timeline Before You Touch a Paintbrush
Before racing to the hardware store like a person possessed by beige paint samples, create a timeline. A strong home-selling checklist usually starts weeks or months before listing. If you have twelve weeks, wonderful. If you have four, still workable. If you have two, congratulations, you are now a project manager with a mop.
Break the process into phases:
- 8–12 weeks out: interview real estate agents, review comparable listings, inspect problem areas, and decide what projects are worth doing.
- 6–8 weeks out: complete strategic repairs, exterior touch-ups, and any contractor work.
- 4–6 weeks out: declutter, donate, pre-pack, deep clean, and begin staging.
- 2–4 weeks out: finalize photography prep, listing details, documents, and showing plans.
- 1–2 weeks out: polish everything buyers will notice first: entryway, lighting, floors, counters, closets, bathrooms, and smells.
This timeline keeps you from spending three days reorganizing a junk drawer while ignoring the peeling paint on the front door. The drawer matters. The front door matters more.
Walk Through the House Like a Buyer
One of the most useful things you can do is pretend you have never seen your own home before. Start at the curb. Walk up the path. Open the door. Move through every room with a notebook and a brutally honest eye.
Look for the things you have stopped seeing: scuffed baseboards, dusty vents, wobbly handles, stained grout, dim bulbs, mystery cords, overstuffed shelves, squeaky doors, and the one cabinet that only closes if you hip-check it like a hockey player.
Make a three-column list
Organize your notes into three categories:
- Must fix: safety, function, moisture, broken fixtures, leaks, electrical concerns, damaged flooring, and anything likely to alarm buyers.
- Should improve: paint touch-ups, lighting, curb appeal, cleaning, landscaping, hardware, and visible wear.
- Can ignore: taste-specific upgrades, expensive remodels, and projects unlikely to return value before listing.
This keeps your budget focused. You are not trying to turn your home into a luxury resort. You are trying to remove buyer objections before they become negotiation ammo.
Declutter Like the Listing Photos Depend on ItBecause They Do
Decluttering is the cheapest, most annoying, most powerful part of preparing a house to sell. It is also where many sellers discover they own seventeen reusable water bottles and no emotional strength left.
Start with visible surfaces: kitchen counters, bathroom vanities, coffee tables, nightstands, entry consoles, windowsills, and desks. Then move into closets, drawers, cabinets, pantry shelves, the garage, and storage rooms. Buyers open things. They are not being rude; they are trying to understand storage. Unfortunately, your linen closet full of board games, beach towels, and one lonely extension cord is now part of the tour.
Use the “pre-pack” trick
If you are moving anyway, pack early. Box up seasonal clothes, extra dishes, personal collections, duplicate kitchen tools, kids’ artwork archives, excess décor, and anything you do not need for daily life. Label boxes clearly and store them neatly off-site, in a garage corner, or in a tidy storage area.
Pre-packing does two magical things: it makes the house look bigger, and it makes moving less horrifying later. Future You will send Present You a thank-you note, probably written on the back of a packing label.
Depersonalize Without Making the Home Feel Dead
Depersonalizing does not mean stripping the home of all humanity until it resembles a dentist’s waiting room. It means reducing distractions so buyers focus on the home, not your vacation photos, diplomas, political mugs, children’s names, or highly specific collection of ceramic frogs.
Remove most family photos, personal paperwork, religious or political items, prescription bottles, valuables, and anything that makes the space feel like it belongs only to you. Keep warmth through neutral art, plants, simple textiles, books, lamps, and clean surfaces.
Let buyers project their own story
A well-prepared home whispers, “Your sofa would look great here.” It does not shout, “Here is our 2018 family reunion photo wall, please admire Uncle Gary’s cargo shorts.”
Make Strategic Repairs Before Buyers Find Them
Small problems can create big doubts. A dripping faucet may be a ten-minute fix, but to a buyer, it can suggest neglect. A cracked switch plate, loose railing, stained ceiling, or door that sticks can make people wonder what else has not been maintained.
Focus on repairs that improve trust:
- Fix leaky faucets and running toilets.
- Patch holes and touch up paint.
- Replace burned-out bulbs and mismatched lighting temperatures.
- Repair loose handles, knobs, hinges, and railings.
- Clean or replace stained caulk and grout.
- Address visible water stains and explain repaired causes honestly.
- Repair damaged screens, cracked glass, or broken blinds.
If your home has older systems, consider gathering estimates rather than replacing everything. A roof near the end of its life, aging HVAC system, or worn carpet may not need to be replaced before listing, but knowing the cost gives you a stronger position during negotiations.
Know What Not to Fix Before Selling
Here is where sellers often go off the rails. Not every project is worth doing. A full kitchen remodel right before listing can eat money, time, and sanity. Buyers may not even love your choices. Nothing says “financial regret” like installing expensive tile only to hear a buyer say, “We’d probably redo this.”
Skip major taste-based upgrades unless your agent and local market data strongly support them. Instead, prioritize clean, neutral, functional, and well-maintained. Fresh paint usually beats fancy wallpaper. Working lights beat trendy lights. Clean floors beat new floors in the wrong style.
Ask one practical question
Will this project help the home sell faster, sell for more, or prevent a buyer from walking away? If the answer is unclear, pause before spending.
Paint: The Affordable Reset Button
Paint is one of the highest-impact updates because it changes how a room feels immediately. Buyers may forgive an older vanity if the bathroom looks clean and bright. They may overlook dated trim if the walls feel fresh. They may even stop noticing that one awkward corner where your plant used to go to “recover” and then died dramatically.
Choose neutral, warm, widely appealing colors. This does not mean every wall must be builder beige. Soft white, greige, light taupe, warm gray, and muted neutrals can make rooms feel larger and cleaner while helping listing photos look cohesive.
Do not forget trim and doors
Scuffed trim can make a clean room look tired. Touch up baseboards, door frames, window trim, and interior doors. These details are small, but buyers notice them subconsciously. They may not say, “What lovely baseboards,” but they will feel the house is cared for.
Deep Clean Like a Stranger Is About to Judge Your Baseboards
Because they are. Politely, perhaps. Silently, definitely.
A deep clean before listing is non-negotiable. This means more than wiping counters. Clean windows, tracks, ceiling fans, vents, baseboards, appliances, grout, shower glass, cabinet fronts, light switches, door handles, floors, carpets, and the spaces behind furniture that have become archaeological sites.
Pay special attention to kitchens and bathrooms. These rooms carry emotional weight for buyers. A sparkling bathroom says “fresh.” A grimy bathroom says “run.” The difference may be one afternoon and a toothbrush you never want to use again.
Neutralize odors
Smell is powerful. Pet odors, mildew, smoke, strong cooking smells, musty closets, and artificial fragrance overload can all hurt showings. Clean first, ventilate second, and use scent lightly. Buyers should smell “clean home,” not “vanilla cupcake fog machine.”
Stage the Rooms That Matter Most
Home staging helps buyers understand scale, flow, and purpose. You do not necessarily need professional staging for every home, but you do need intentional presentation.
Focus on the living room, kitchen, primary bedroom, bathrooms, and entryway. These spaces often shape the buyer’s emotional reaction. Arrange furniture to show easy movement. Remove pieces that block pathways or make rooms feel smaller. Use lamps to brighten dark corners. Add simple bedding, clean towels, a bowl of fruit, a plant, or a tray where it makes sense.
Every room needs a job
If a room has become an office-gym-storage-laundry-hobby-zone, pick one identity. Buyers should not need a treasure map to understand the floor plan. A small bedroom staged as a simple office is better than a mystery room containing a treadmill, printer, wrapping paper, and emotional tension.
Boost Curb Appeal Before the First Showing
Curb appeal is your home’s handshake. It sets expectations before buyers step inside. The exterior does not need to look like a magazine cover, but it should look maintained, welcoming, and easy to approach.
Start with basics: mow the lawn, edge walkways, trim shrubs, remove weeds, refresh mulch, sweep porches, wash windows, clean gutters, and pressure wash dirty surfaces where appropriate. Then add simple polish: a clean doormat, working porch light, visible house numbers, tidy planters, and a front door that does not look like it has survived a raccoon uprising.
The front door matters
Buyers often stand at the front door while the agent opens the lockbox. That gives them time to inspect chipped paint, cobwebs, loose handles, and dusty sidelights. Make that waiting moment work in your favor.
Prepare for Listing Photos
Most buyers meet your home online first. Listing photos are not just documentation; they are marketing. A home can be wonderful in person and still get ignored if photos look dark, cluttered, or confusing.
Before photography day, clear counters, hide trash cans, remove pet bowls, straighten rugs, open blinds, turn on lights, tuck cords, close toilet lids, smooth bedding, and remove cars from the driveway. Do not rely on editing to solve things you can fix in five minutes.
Photo-ready is not the same as life-ready
For photos and showings, you may temporarily remove items you use every day: dish soap, toothbrushes, laundry baskets, remote controls, office supplies, and countertop appliances. Yes, it feels ridiculous. Yes, it works.
Gather Paperwork Before Anyone Asks
A prepared seller is not just someone with clean windows. It is someone who knows where the documents are. Gather warranties, manuals, permits, repair receipts, appliance information, utility averages, HOA documents, survey records, renovation details, and contractor invoices.
If your home was built before 1978, federal lead-based paint disclosure rules may apply. If you know of past water damage, pest treatment, roof repairs, foundation work, insurance claims, or permitted improvements, organize those records and discuss disclosure requirements with your real estate professional or attorney.
Transparency builds trust
Surprises can derail deals. Paperwork helps buyers feel informed, and informed buyers are less likely to panic over ordinary homeownership realities.
Make a Showing Survival Plan
Once the home is listed, the weirdest part begins: living in a house while pretending no one lives there. This is where systems save your sanity.
Create a quick-showing checklist:
- Make beds.
- Empty trash.
- Wipe counters.
- Put dishes away.
- Open blinds.
- Turn on lights.
- Hide laundry.
- Secure valuables and medication.
- Take pets out of the house.
- Do one final sniff test.
Keep a laundry basket handy for last-minute clutter. Is it elegant? No. Is it effective? Absolutely. Many a home sale has been supported by a panic basket in the trunk.
Price and Presentation Must Work Together
Even the best staging cannot rescue a wildly unrealistic price. Likewise, a well-priced home can underperform if it looks neglected. Pricing and presentation are partners. One attracts attention; the other supports confidence.
Review local comparable sales, current competition, buyer demand, seasonality, and your home’s condition. Listen carefully to agent feedback. If buyers consistently mention the same issue after showings, do not ignore it. The market is talking, even when it uses awkward phrases like “interesting layout.”
Experience Section: What Getting a House Ready to Sell Really Feels Like
Here is the honest experience behind getting a house ready to sell: it is rarely one giant dramatic project. It is fifty small decisions stacked on top of each other. Should we repaint this room? Should we replace that light? Should we donate the extra chairs? Why do we own this many baskets? Who bought this mystery cable? Why is there a screw in the freezer?
The most useful approach is to stop thinking of the process as “making the house perfect” and start thinking of it as “making the house easy to say yes to.” Buyers are not expecting a flawless museum. They are looking for a home that feels clean, sensible, loved, and worth the price. Every repair, every packed box, every wiped cabinet, and every simplified room helps remove friction.
One experience many sellers share is that the decluttering phase becomes unexpectedly emotional. You are not just clearing shelves. You are sorting through years of life. The hallway where kids dropped backpacks, the kitchen drawer full of takeout menus, the bedroom paint color you chose during an optimistic weekendall of it carries memory. That emotional weight can slow progress, so it helps to separate “memory decisions” from “selling decisions.” You can keep the memory without keeping every object on display.
Another lesson: small visible fixes matter more than sellers expect. Buyers may not notice a brand-new expensive upgrade if the basics feel neglected. But they will notice clean grout, working lights, smooth doors, fresh caulk, tidy landscaping, and rooms that feel easy to move through. These details create an overall impression of care. It is less about dazzling buyers and more about reassuring them.
Living through showings can also be a comedy of controlled chaos. You may find yourself vacuuming in jeans you planned to wear, hiding a cereal bowl in the dishwasher, and driving around with a pet, a laptop, and a suspiciously full laundry basket. This is normal. The goal is not to live normally forever; it is to create a short-term system that keeps the house ready without making everyone in the household lose their minds.
One practical experience-based tip is to create “daily reset zones.” Before bed, reset the kitchen, entryway, bathrooms, and living room. These are the spaces that most affect first impressions. If those zones are under control, a last-minute showing feels less like a five-alarm emergency. The bedrooms and closets still matter, but the main living areas carry the emotional opening act.
It also helps to decide in advance what you will not do. You might choose not to remodel the kitchen, not to replace every dated fixture, or not to chase every design trend. This protects your budget and energy. Selling prep can become endless if you let it. There is always one more thing to paint, polish, replace, or reorganize. A clear stop line is healthy.
Finally, remember that getting a house ready to sell is also getting yourself ready to move on. The process can feel strange because you are making your home look its best right before leaving it. That is bittersweet, but it is also useful. You are giving the house a strong final chapter with you and a strong first impression for someone else.
Conclusion: Sell the Feeling, Support It With Facts
Getting your house ready to sell is not about tricking buyers. It is about helping them see the home clearly. Clean rooms, smart repairs, thoughtful staging, strong curb appeal, organized paperwork, and realistic pricing all work together to create confidence.
The best seller prep is practical, not panicked. Start early if you can. Focus on what buyers notice. Fix what creates doubt. Pack what distracts. Clean what sparkles. And when in doubt, remember this simple rule: make the house feel easy to love and easy to buy.