Some home projects whisper, “This will make the room look nicer.” A DIY board and batten wall kicks open the door and says, “Congratulations, this wall now has a personality.” It is one of those rare upgrades that looks custom, expensive, and suspiciously professional, even though the basic ingredients are simple: boards, battens, adhesive, nails, caulk, paint, patience, and maybe one dramatic sigh when the wall turns out not to be perfectly square.
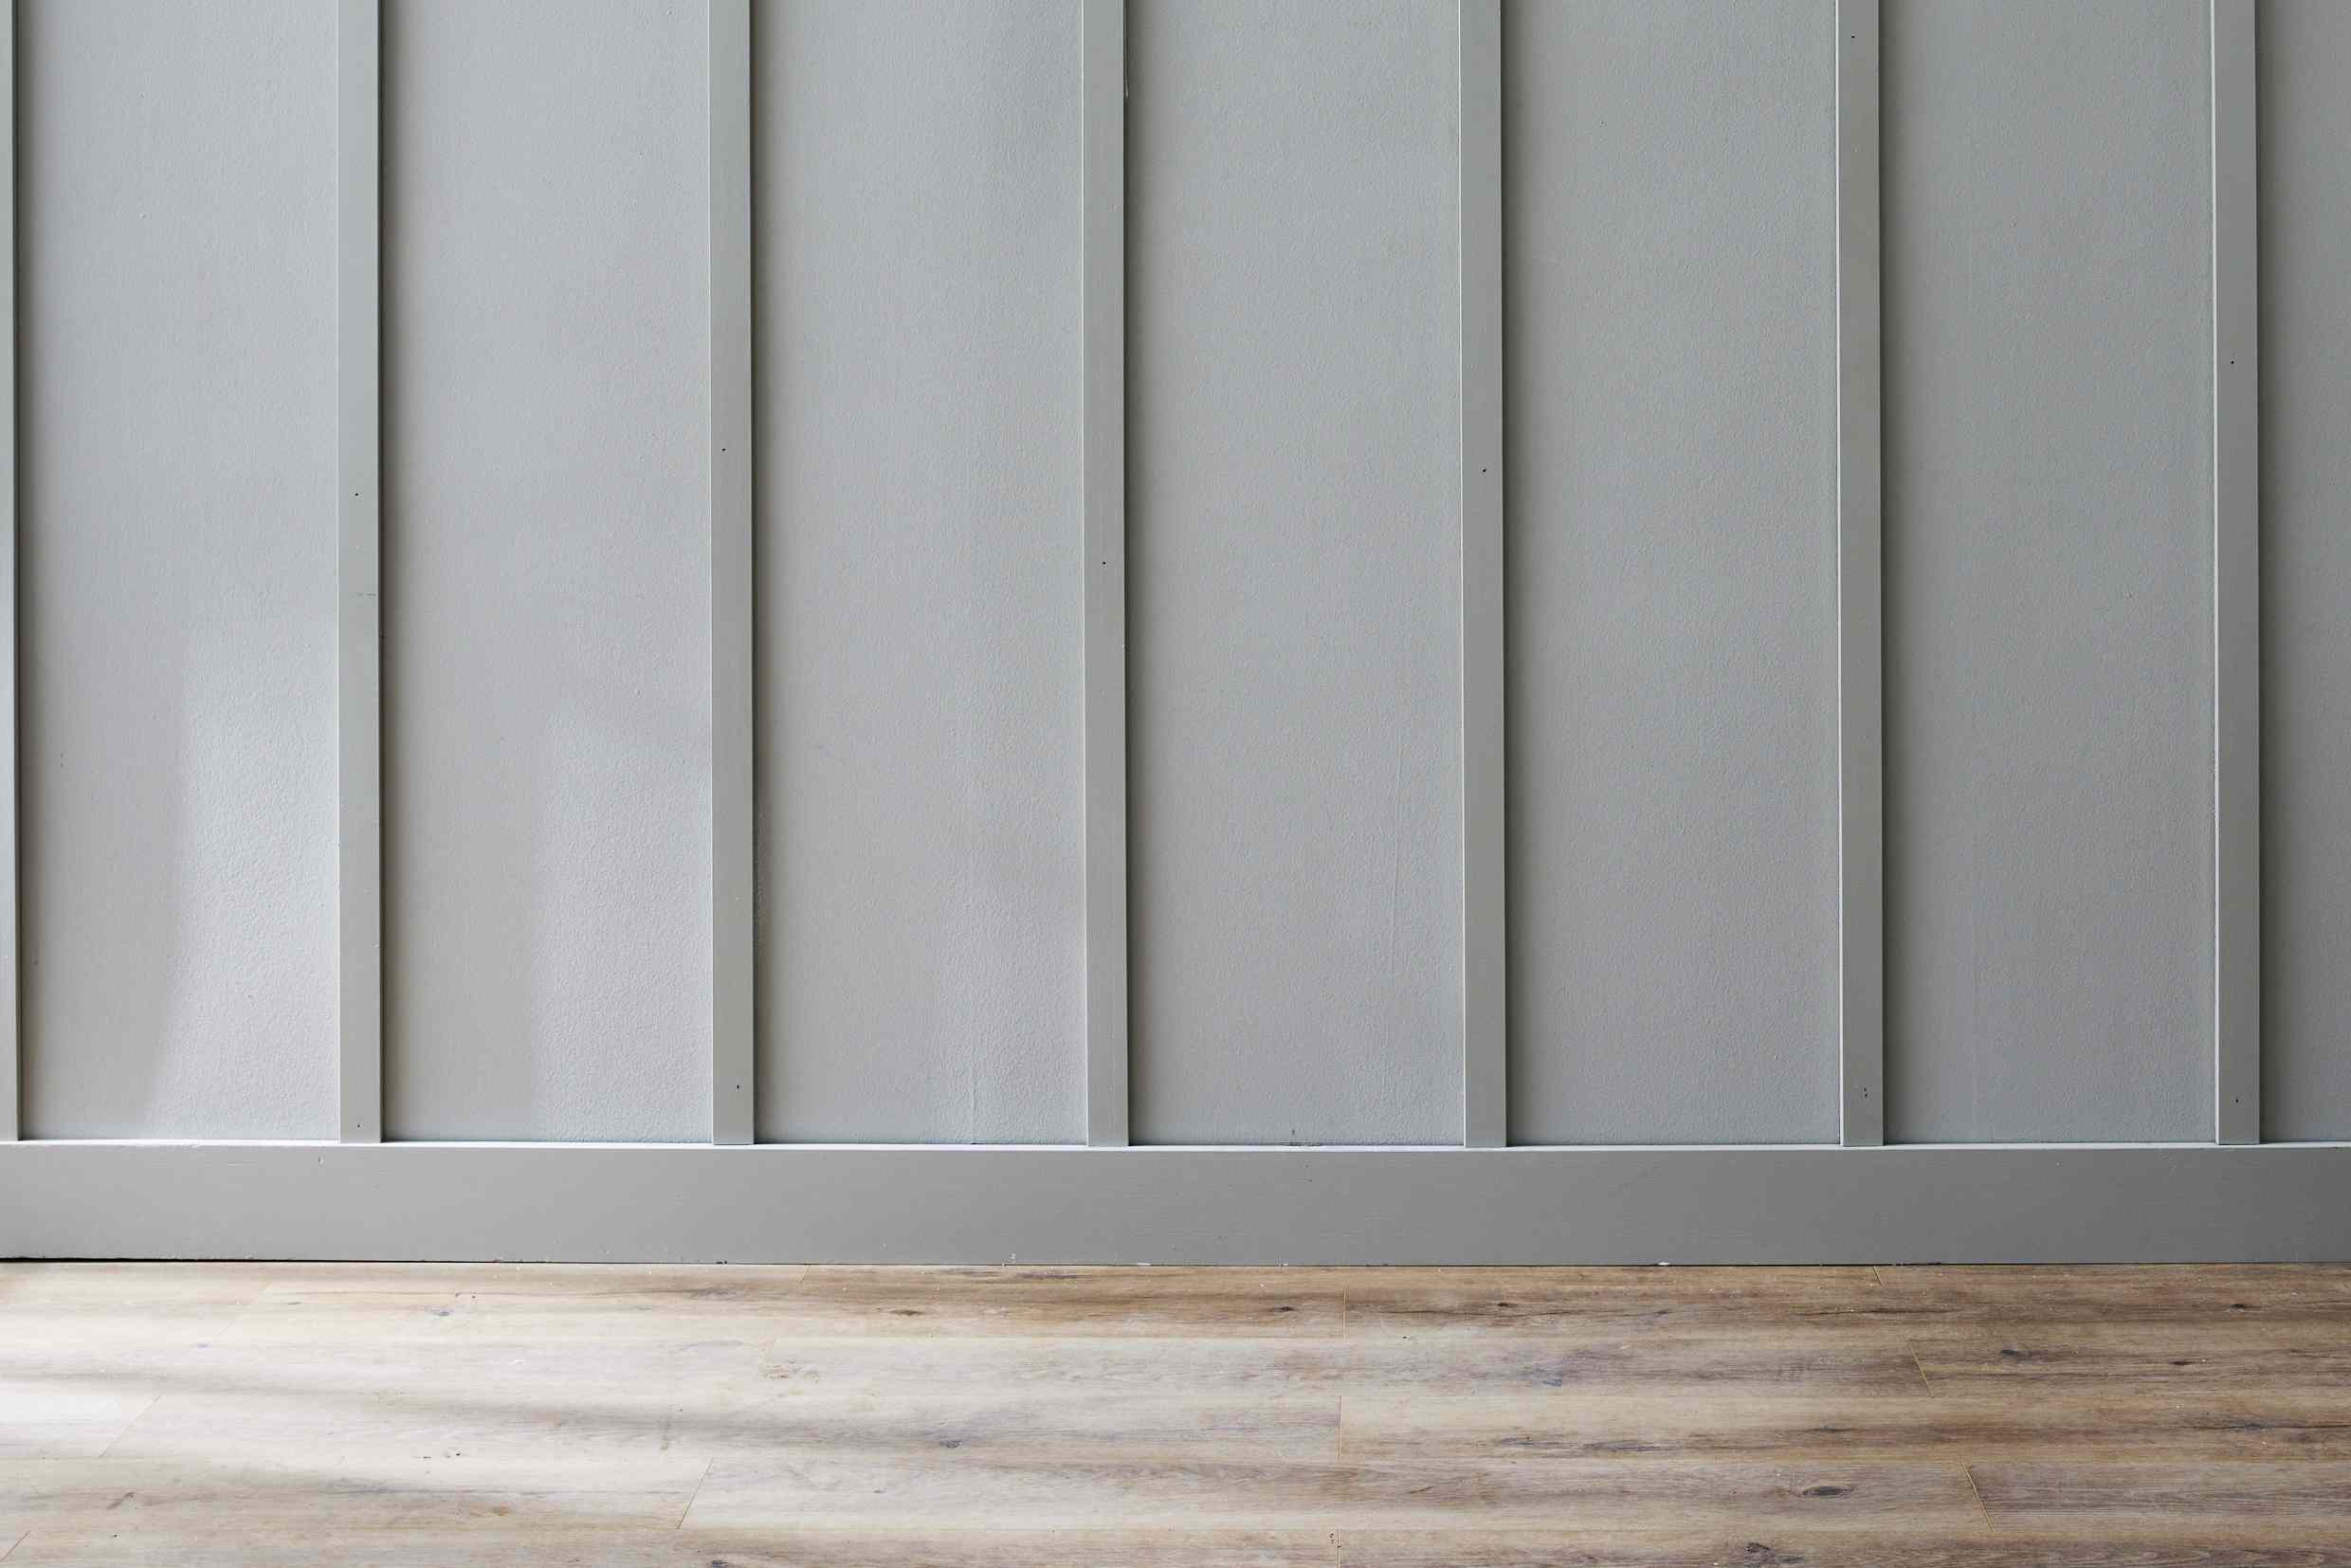
A board and batten wall is a classic wall treatment made with vertical trim pieces, called battens, arranged over a wall or backing board to create depth and texture. Traditionally, battens covered seams between wider boards. Indoors, many DIYers use a simplified method by attaching trim directly to drywall, then painting the wall and trim the same color. The result gives you the look of custom paneling without rebuilding the room or selling a kidney to fund the project.
This guide walks you through how to install a DIY board and batten wall from planning to painting, with practical tips for measuring, spacing, cutting, nailing, caulking, and avoiding the kind of mistakes that make people stare silently at a wall for 20 minutes.
Note: This article is designed for interior decorative board and batten walls. For exterior siding, wet areas, load-bearing changes, or walls with electrical or plumbing concerns, follow local building codes and consult a qualified professional when needed.
What Is a Board and Batten Wall?
A board and batten wall is a decorative wall paneling style that uses vertical strips of wood or MDF to create a repeated pattern. The “boards” are the wider flat areas, while the “battens” are the narrow vertical strips. In modern interior projects, the existing drywall often acts as the board surface, especially if it is smooth and in good condition.
Board and batten can be installed as a full-height feature wall, a half wall, a three-quarter wall, or even a grid pattern. The look works in bedrooms, entryways, dining rooms, nurseries, hallways, bathrooms, mudrooms, and home offices. It can feel farmhouse, modern, traditional, coastal, or moody and dramatic depending on the paint color and spacing.
Why Install a DIY Board and Batten Wall?
A DIY board and batten wall is popular because it delivers a big visual payoff without requiring advanced carpentry skills. You do need careful measuring and a steady approach, but you do not need to be a master woodworker with a shop full of intimidating machines.
It Adds Architectural Character
Flat drywall can make a room feel unfinished, especially in newer homes with basic builder-grade finishes. Board and batten adds shadows, lines, and structure. Suddenly, the wall behind your bed or entry bench looks intentional instead of like it has been waiting patiently for a personality transplant.
It Is Budget-Friendly
Costs vary depending on wall size, material, paint, and tools you already own, but many interior board and batten accent walls can be completed with inexpensive MDF or primed pine boards. If the drywall is smooth enough to use as the backing, you can skip full panel sheets and save money.
It Hides Minor Wall Imperfections
Small dents, uneven paint patches, or boring drywall can disappear under a well-planned trim layout and a fresh coat of paint. However, heavily textured walls may need skim coating or thin panel board first if you want a smooth, built-in look.
Tools and Materials You Will Need
Before you start, gather everything you need. Nothing interrupts DIY confidence quite like realizing the caulk gun is missing after you have already opened the caulk tube like a tube of fancy toothpaste.
Tools
- Tape measure
- Level or laser level
- Stud finder
- Pencil
- Miter saw or circular saw
- Brad nailer or finish nailer
- Caulk gun
- Putty knife
- Sanding sponge or orbital sander
- Paintbrush and roller
- Safety glasses and hearing protection
Materials
- 1×2, 1×3, or 1×4 boards for battens
- Top rail, bottom rail, or cap trim if desired
- Construction adhesive
- Brad nails or finish nails
- Wood filler or spackle
- Paintable caulk
- Primer, if boards are unfinished
- Interior latex paint
- Optional thin panel board for textured or damaged walls
Best Materials for a DIY Board and Batten Wall
The right material depends on your room, budget, and desired finish. For most interior accent walls, MDF and primed pine are the most common choices.
MDF
MDF is smooth, affordable, and easy to paint. It is great for bedrooms, living rooms, offices, and other dry areas. The downside is that MDF does not love moisture, so use caution in bathrooms, laundry rooms, or anywhere humidity behaves like an uninvited guest.
Primed Pine
Primed pine is stronger than MDF and works well for trim projects. It may have knots or slight warping, so inspect each board before buying. Hold boards at eye level and look down the length like you are judging a very skinny diving board.
PVC or Moisture-Resistant Trim
For bathrooms or damp spaces, PVC or moisture-resistant trim can be a smart choice. It costs more but is less likely to swell or warp when humidity rises.
Step 1: Choose the Wall and Design
Start by choosing where your board and batten wall will go. Accent walls behind beds, sofas, dining tables, and entry benches are especially popular because they create a focal point without overwhelming the entire room.
Next, decide on the height. A full wall feels bold and modern. A half wall feels classic and works beautifully in dining rooms, hallways, bathrooms, and entryways. A three-quarter wall adds drama while still leaving space above for artwork or wallpaper.
Common Design Options
- Vertical board and batten: Simple vertical battens from bottom to top.
- Half-wall board and batten: Battens stop at chair-rail height or slightly higher.
- Grid board and batten: Vertical and horizontal trim creates square or rectangular panels.
- Modern wide spacing: Battens are spaced farther apart for a clean contemporary look.
- Narrow traditional spacing: Battens are closer together for a more classic paneling effect.
Step 2: Measure the Wall Carefully
Measure the width and height of your wall. Write everything down. Do not trust your memory unless your memory has never forgotten why it walked into the kitchen.
For a partial wall, mark the finished height using a level or laser level. Common heights include 48 inches, 60 inches, or two-thirds of the wall height. In dining rooms, the height often lines up with chair rail proportions. In bedrooms, the height may be designed around the headboard.
How to Calculate Batten Spacing
Good spacing makes the project look professional. Bad spacing makes it look like the battens wandered onto the wall without supervision.
Use this simple spacing formula:
For example, say your wall is 120 inches wide. You want six vertical battens, and each batten is 2.5 inches wide. Six battens equal 15 inches total. Subtract 15 from 120, leaving 105 inches. If those six battens create five spaces between them, divide 105 by 5. Your spacing would be 21 inches between battens.
Many DIYers prefer placing battens at both outside edges of the wall, then spacing the interior battens evenly between them. This creates a framed look and helps the design feel balanced.
Step 3: Prepare the Wall
Remove outlet covers, wall hooks, artwork, and anything else attached to the wall. Clean the surface with a damp cloth to remove dust and grime. If the wall has holes or dents, patch them with spackle or joint compound, then sand smooth.
If you are using the existing drywall as your “board” surface, the wall should be smooth. Orange peel or knockdown texture may still show after painting. For a crisp professional finish, you can skim coat the wall or install thin hardboard or panel board first.
Should You Remove the Baseboard?
This depends on the thickness and style of your current baseboard. If your battens are thicker than the top edge of the baseboard, the battens may stick out awkwardly. In that case, remove and replace the baseboard with a flat board such as a 1×4 or 1×6. If the existing baseboard has a square profile and works with your trim thickness, you may be able to keep it.
Step 4: Mark the Studs
Use a stud finder to locate wall studs. Mark the stud positions lightly with pencil or painter’s tape. This is especially important for horizontal rails, because nailing into studs provides a stronger hold.
Vertical battens will not always land on studs, and that is normal. Construction adhesive helps secure them to the drywall. Still, when a batten does cross a stud, celebrate quietly and nail into it like the universe has handed you a small DIY gift.
Step 5: Install the Top and Bottom Rails
If your design includes a top rail, bottom rail, or both, install those first. Cut the boards to length, dry fit them, and check that they are level. Apply a wavy bead of construction adhesive to the back of each board, press it into place, and secure it with nails where possible.
For half-wall designs, the top rail creates the stopping point for the paneling. You can add a small cap trim or ledge above it for a finished look. A narrow 1×2 cap placed horizontally can make the wall feel more substantial and gives you a tiny shelf for leaning small artwork, which is basically the home decor equivalent of wearing a nice hat.
Step 6: Cut and Install the Vertical Battens
Measure the distance between your bottom and top rails, or from baseboard to ceiling if you are doing a full-height wall. Cut each vertical batten individually. Walls and ceilings are often slightly uneven, so do not assume every batten will be the same length.
Place the first batten at one edge of the wall and check it with a level. Apply construction adhesive to the back, press it into place, and nail it securely. Repeat with the opposite edge if your design includes side battens.
Use a Spacer for Consistent Gaps
Cut a scrap piece of wood to your desired spacing and use it as a spacer between battens. This saves time and helps keep the layout consistent. Still, check with a level as you go because a spacer can repeat an error if the first batten is crooked.
Continue installing battens across the wall. Step back occasionally to look at the full design. This is not vanity; this is quality control with dramatic pacing.
Step 7: Deal With Outlets and Obstacles
Outlets, light switches, vents, thermostats, and wall returns can affect your layout. Ideally, plan batten spacing so trim does not run directly into an outlet. If a batten must meet an outlet, you may need to notch the board or adjust spacing slightly.
For electrical outlets, use proper box extenders if the wall treatment changes the depth around the outlet. Do not bury electrical boxes behind trim or paneling. Electrical access should remain safe, visible, and code-compliant.
Step 8: Fill Nail Holes and Sand
Once the boards are installed, fill nail holes with wood filler or spackle. Let it dry fully, then sand smooth. For the cleanest finish, run your hand lightly over the filled spots. If you can feel the bump, you will probably see it after paint.
Also sand any rough board edges, seams, or uneven intersections. This step is not glamorous, but it is where the project starts moving from “weekend experiment” to “who did you hire?”
Step 9: Caulk the Seams
Caulk is the secret handshake of trim work. It hides tiny gaps between boards and wall surfaces, making everything look seamless after painting. Use paintable acrylic latex caulk for interior trim.
Apply a thin bead along both sides of each batten, along the top rail, bottom rail, corners, and anywhere trim meets the wall. Smooth the caulk with a damp finger or caulk tool. Keep a damp rag nearby and clean as you go. Caulk can turn from helpful friend to sticky chaos surprisingly fast.
Step 10: Prime and Paint
If your boards are unfinished, prime them first. If you are using pre-primed trim, you may still need primer over filled nail holes, raw cut ends, or patched drywall. Primer helps paint adhere evenly and prevents dull spots.
For the paint finish, satin or eggshell is common for walls, while semi-gloss can highlight trim. Many people paint the wall and battens the same color for a built-in look. White is timeless, but deep green, navy, charcoal, greige, muted blue, clay, and warm beige can all look stunning.
Painting Tips for a Smooth Finish
- Use a brush for inside corners and trim edges.
- Use a small roller for flat wall sections.
- Paint in thin coats instead of one heavy coat.
- Let the first coat dry fully before applying the second.
- Watch for paint pooling along caulk lines and trim edges.
Common DIY Board and Batten Mistakes to Avoid
Mistake 1: Skipping the Layout Plan
Do not start nailing boards to the wall because you feel emotionally ready. Measure first. Sketch the design. Calculate spacing. Mark the wall. Future you will be grateful and slightly smug.
Mistake 2: Assuming the Wall Is Square
Walls, floors, and ceilings are often imperfect. Measure each batten separately, especially on older homes. A tiny variation at the top or bottom can create visible gaps.
Mistake 3: Using Too Much Adhesive
Construction adhesive is useful, but do not overdo it. Too much can squeeze out the sides or make boards difficult to adjust. A modest wavy bead is usually enough for decorative trim.
Mistake 4: Forgetting to Caulk
Even well-installed trim can have small gaps. Caulk gives the finished wall that clean, custom look. Without it, the seams may show after painting.
Mistake 5: Choosing Boards Without Checking for Warping
Warped boards are the villains of trim projects. Inspect boards before buying. Choose straight pieces with clean edges, especially for vertical battens where crooked lines are easy to spot.
Board and Batten Wall Design Ideas
Bedroom Feature Wall
Install full-height board and batten behind the bed to create a dramatic headboard effect. Paint it a rich neutral or moody color for a boutique-hotel look without boutique-hotel pricing.
Entryway Drop Zone
A half-wall board and batten treatment in an entryway can pair beautifully with hooks, a bench, and baskets. It also protects the wall from backpacks, coats, bags, and the mysterious scuffs that appear when nobody in the household knows what happened.
Dining Room Wainscoting
Use a half-wall or three-quarter board and batten layout to add classic detail to a dining room. A cap rail can create a polished transition between paneling and upper wall paint or wallpaper.
Bathroom Accent Wall
Board and batten can work in bathrooms if you choose moisture-resistant materials and use good ventilation. Avoid untreated MDF in damp rooms unless you enjoy watching trim slowly develop regrets.
Home Office Background Wall
A board and batten wall behind a desk creates a professional video-call background. It says, “I have my life together,” even if there is a laundry basket just outside the camera frame.
How Long Does It Take to Install a Board and Batten Wall?
A simple half-wall board and batten project may take a weekend, including measuring, cutting, installing, filling, caulking, and painting. A full-height wall or grid design may take longer, especially if you need to skim coat textured drywall or add panel backing.
Drying time matters. Wood filler, caulk, primer, and paint all need time to set properly. Rushing the finish can lead to smudges, cracks, or visible imperfections. The wall may be decorative, but the drying times are not merely suggestions whispered by the paint can.
How Much Does a DIY Board and Batten Wall Cost?
The cost depends on wall size, board type, paint, and whether you already own tools. A small accent wall using MDF battens and existing paint may be relatively inexpensive. A larger wall with premium wood, panel backing, new baseboards, specialty paint, and tool rentals will cost more.
Budget for boards, adhesive, nails, caulk, filler, sandpaper, primer, paint, and any electrical box extenders or trim accessories. It is also wise to buy a little extra material in case of cutting mistakes. This is not pessimism; it is emotional insurance.
Extra Experience: Real-World Lessons From Installing a DIY Board and Batten Wall
The first lesson of installing a DIY board and batten wall is that measuring is not one task. It is a lifestyle. You measure the wall, then the boards, then the gaps, then the height, then the same height again because suddenly you no longer trust numbers. That is normal. Board and batten is simple in concept, but the finished look depends heavily on small details. A quarter-inch error may not sound dramatic, but once painted, vertical trim can make uneven spacing more noticeable than expected.
One of the best practical experiences is to mock up the layout with painter’s tape before cutting any boards. Tape the battens onto the wall, step back, and look at the design from the doorway, the bed, the sofa, or wherever the wall will usually be seen. Sometimes mathematically equal spacing looks odd because of nearby windows, outlets, furniture, or wall edges. A slightly adjusted layout can look better than a perfectly divided one.
Another useful lesson is to paint with the room’s lighting in mind. A white board and batten wall looks crisp and classic, but shadows between battens will be more visible in strong side lighting. Dark colors look elegant and expensive, but they reveal dust, roller marks, and uneven caulk if the prep work is rushed. Warm neutrals are forgiving and cozy, while deep blues and greens create a designer-style focal wall. Always test paint samples directly on the wall if possible. Colors change throughout the day, and what looks soft at noon can look like a mysterious cave at 8 p.m.
Baseboards deserve more attention than many beginners expect. If the existing baseboard has a thin decorative top edge, vertical battens may overhang awkwardly. Replacing the baseboard with a flat, thicker board often makes the entire project look more intentional. It can feel annoying to add one more step, but it is usually easier than trying to force modern battens to cooperate with a curvy old baseboard that clearly has its own agenda.
Caulking is another make-or-break experience. Beginners often apply too much caulk, then spend the next 30 minutes wiping, smearing, regretting, and negotiating with gravity. A small bead is better. Work in short sections, smooth it immediately, and keep a damp rag nearby. Once painted, neat caulk lines make the battens look built into the wall rather than stuck on as an afterthought.
Finally, do not judge the project too early. During installation, a board and batten wall can look messy. Nail holes, pencil marks, raw edges, and caulk lines make it feel unfinished because it is unfinished. The magic happens after sanding, caulking, priming, and painting. That final coat pulls everything together. Suddenly, the wall looks polished, the room feels upgraded, and you may find yourself casually standing nearby waiting for someone to compliment it. This is acceptable behavior. You earned it.
Conclusion
Installing a DIY board and batten wall is one of the most satisfying ways to transform a room without a full remodel. With careful planning, accurate spacing, straight boards, clean caulk lines, and smooth paint, a plain wall can become a custom-looking feature that adds depth, charm, and value to your home.
The key is to slow down during the planning stage. Choose the right design, calculate your spacing, prep the wall properly, and check each board as you install it. The project is beginner-friendly, but it rewards patience. Think of it as home improvement with a ruler, a nail gun, and a surprisingly strong opinion about caulk.
Whether you want a modern bedroom accent wall, a classic dining room wainscot, a stylish entryway, or a polished home office background, board and batten gives you a flexible, affordable, and beautiful option. And when guests ask who installed it, you can smile modestly and say, “Oh, I did.” Then wait exactly two seconds before offering a full tour.