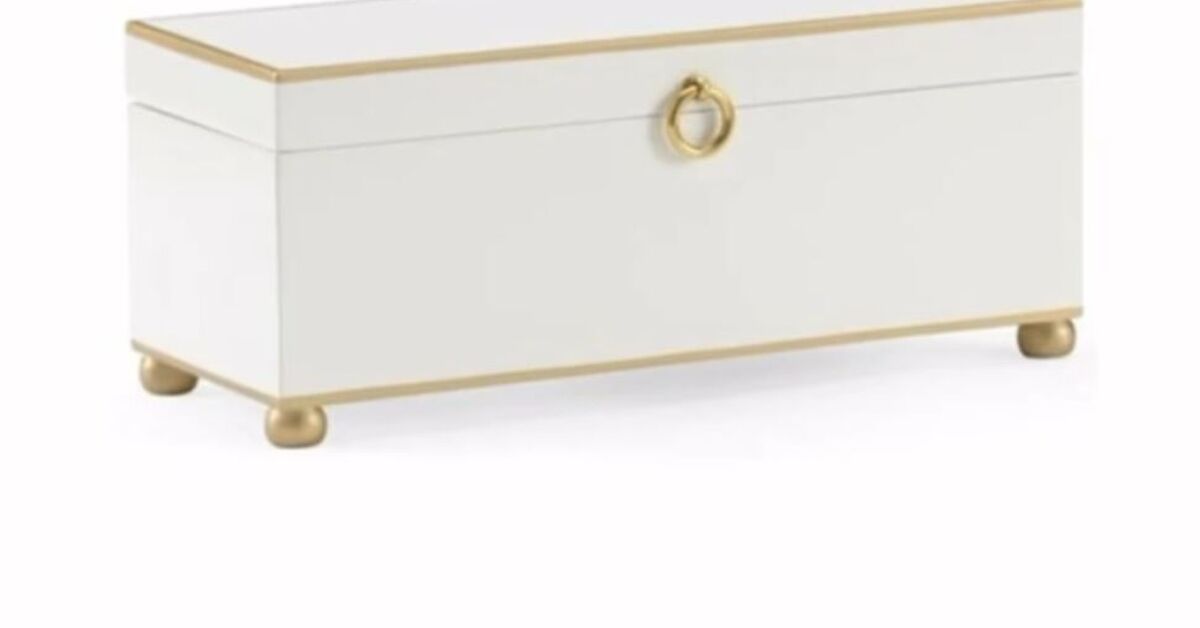
Decorative boxes are the tiny interior-design heroes nobody applauds enough. They hide remote controls, tame craft supplies, rescue messy shelves, and make a pile of “important things I swear I’ll organize later” look intentional. Better yet, you do not need a boutique budget to get the look. With a sturdy cardboard box, fabric, paper, paint, glue, and a little patience, you can make DIY decorative boxes that look custom, useful, and far more expensive than they actually are.
This step-by-step guide will show you how to turn plain boxes into beautiful storage pieces for bedrooms, living rooms, home offices, bathrooms, gift packaging, craft rooms, and entryways. We will cover materials, measuring, covering, lining, decorating, sealing, troubleshooting, and real-life tips from hands-on crafting experience. The goal is simple: create a decorative storage box that looks polished enough to display and sturdy enough to use.
Why Make DIY Decorative Boxes?
Buying decorative storage boxes is easy, but making them yourself gives you three big advantages: size, style, and savings. Store-bought boxes are often either too small, too flimsy, too plain, or mysteriously priced like they were hand-delivered by a royal courier. DIY decorative boxes let you choose the exact dimensions, colors, textures, and finishes that match your space.
You can also upcycle what you already have. Shipping boxes, shoe boxes, cereal boxes, gift boxes, and small product cartons can all become attractive organizers. A cardboard box covered in linen-look fabric can work beautifully on a bookshelf. A paper-covered shoe box can become a memory box. A small hinged box can become jewelry storage. A set of matching boxes can make open shelving look instantly calmer.
Best Types of Boxes to Use
Not every box deserves a makeover. Some boxes are strong and ready for their glow-up. Others collapse if you look at them with ambition. Choose boxes that are clean, dry, and structurally sound.
Good Box Options
- Shoe boxes: Great for photos, stationery, hair accessories, small toys, cords, and keepsakes.
- Shipping boxes: Ideal for larger storage bins, closet boxes, and shelf organizers.
- Gift boxes: Perfect for pretty memory boxes or reusable packaging.
- Cereal boxes: Useful for drawer dividers, magazine holders, or lightweight organizers.
- Small wooden boxes: Excellent for jewelry, tea bags, office supplies, or display storage.
Boxes to Avoid
Avoid boxes that are greasy, damp, crushed, musty, or too thin. If the cardboard bends easily, reinforce it before decorating. Decorative paper and fabric can hide ugly printing, but they cannot magically turn soggy cardboard into heirloom furniture. Sadly, glue is powerful, not supernatural.
Materials and Tools You Will Need
You can make decorative boxes with basic craft supplies. Start with what you have, then upgrade only if needed.
Basic Supplies
- Cardboard box, shoe box, gift box, or wooden box
- Scrapbook paper, wrapping paper, wallpaper remnants, fabric, or peel-and-stick paper
- Craft glue, decoupage medium, or hot glue
- Foam brush or paintbrush
- Scissors
- Ruler or measuring tape
- Pencil
- Clothespins or binder clips for holding edges while drying
- Clear sealant, decoupage top coat, or matte acrylic spray
Optional Decorative Extras
- Ribbon, twine, rope, or leather cord
- Label holders or printable labels
- Wood beads or small knobs
- Paint pens or stencils
- Fabric trim, lace, washi tape, or faux leather strips
- Felt, craft foam, or fabric for lining the inside
Step 1: Plan the Purpose and Style
Before you start cutting paper like a caffeinated scrapbooker, decide what the box will hold and where it will live. A box for bathroom supplies needs a finish that can handle occasional moisture. A box for office papers should be sturdy and easy to label. A gift box can be more decorative and delicate because it does not need to survive daily use.
Then choose your design direction. For a modern look, use solid linen fabric, black-and-white paper, or faux leather. For cottage style, try floral fabric, gingham, kraft paper, or lace trim. For kids’ rooms, use bright colors, character-free patterns, washable paper, and large labels. For holiday boxes, use metallic paper, velvet ribbon, or reusable gift-wrap details.
Step 2: Reinforce the Box
If your box feels weak, reinforce it before decorating. Cut extra cardboard panels to fit the inside bottom and sides, then glue them in place. For a storage bin that will hold heavier items, add a second cardboard layer to the bottom. Press the pieces flat while drying so the box does not warp.
If the top edges are rough, cover them with strips of paper, fabric, or tape. This creates a cleaner finish and prevents the cardboard layers from peeling. Think of this as giving your box a nice haircut before its makeover.
Step 3: Measure Carefully
Measure the height, width, depth, and lid dimensions. Add extra material for wrapping around corners and folding over edges. A good rule is to add at least one inch of extra paper or fabric on each side. For thicker fabric or a box with deep sides, add a little more.
Do not skip measuring. Eyeballing it may feel bold and artistic, but it usually ends with a crooked seam and the quiet shame of cutting a second piece. Use a ruler, mark lightly with pencil, and cut slowly.
Step 4: Cut the Outer Covering
Lay your paper or fabric wrong-side up on a clean surface. Place the box in the center and trace the bottom. Then roll the box onto each side and mark the panels, leaving extra for overlap. If you are using fabric, iron it first so wrinkles do not become permanent little valleys under the glue.
For wrapping paper or scrapbook paper, cut clean panels for each side instead of one large wrap if the pattern is directional. This helps keep stripes, florals, or geometric designs aligned. For fabric, one continuous piece often works well because fabric folds nicely around corners.
Step 5: Apply Glue in Thin Layers
Use a foam brush to apply a thin, even layer of glue or decoupage medium to one side of the box. Avoid giant puddles. Too much glue can cause paper to wrinkle, fabric to darken unevenly, and cardboard to warp. Press the material onto the glued area and smooth from the center outward to push out bubbles.
Work one side at a time. This gives you more control and keeps the adhesive from drying before the material is placed. If you are using delicate paper, test a small piece first. Some papers become fragile when wet, especially tissue paper and thin gift wrap.
Step 6: Wrap the Corners Neatly
Corners are where DIY decorative boxes either look professional or start whispering, “I was made at midnight.” For paper, fold corners as you would wrap a gift: crease sharply, trim extra bulk, and glue the flap flat. For fabric, snip small diagonal cuts at the corners so the material folds smoothly without bunching.
Use binder clips or clothespins to hold stubborn edges while they dry. If a corner looks bulky, trim away excess material before gluing the final flap. The cleaner the corners, the more polished the finished box will look.
Step 7: Cover the Lid
The lid is often the most visible part, so take your time. Cover the top first, then wrap the material around the edges. If your lid fits tightly, avoid adding too much thickness along the inside rim. Too many layers can make the lid difficult to close. A beautiful box that cannot shut is basically a very dramatic tray.
For a decorative accent, use a contrasting material on the lid. A navy fabric box with a brass label holder looks classic. A kraft-paper box with a floral lid feels charming. A white box with a black ribbon grid can look crisp and modern.
Step 8: Line the Inside
Lining the inside makes the box feel finished and protects whatever you store inside. Use felt for jewelry, fabric for keepsakes, scrapbook paper for stationery, or wipeable adhesive paper for bathroom and craft supplies. Measure the bottom and sides separately, then cut panels slightly smaller than the interior dimensions for a tidy fit.
Glue the bottom panel first, then the sides. Smooth each panel carefully. If you want a softer base, place a thin layer of craft foam or batting under the fabric lining. This is especially useful for jewelry, ornaments, or sentimental items.
Step 9: Add Handles, Labels, or Pull Tabs
Decorative boxes become much more useful when you can identify and grab them easily. Add a label holder to the front, tie on a cardstock tag, or attach a ribbon pull tab. For larger boxes, create side handles with rope or faux leather strips.
To make rope handles, mark two holes on each side, punch carefully, thread the rope through, and knot it inside. Reinforce the inside with small cardboard squares before tying the knots. This prevents the handle from tearing through the box if you pull it from a shelf.
Step 10: Seal the Surface
Sealing helps protect the decorative surface from dust, fingerprints, and everyday wear. Brush on a thin top coat of decoupage medium for paper-covered boxes. For fabric boxes, use a suitable fabric-safe finish only if needed, or leave the fabric unsealed for a softer look. Let the box dry fully before using it.
Drying time matters. A box may feel dry on the surface but still be curing underneath. Give it several hours before filling it, and wait longer for heavily glued or sealed projects. Patience is cheaper than repairing a lid that stuck to the table.
Creative DIY Decorative Box Ideas
1. Fabric-Covered Storage Box
Use cotton, canvas, linen, or upholstery remnants to cover a sturdy cardboard box. This works beautifully for shelves, closets, and craft rooms. Neutral fabrics create a calm look, while patterned fabric adds personality. Add a label holder for a store-bought finish.
2. Decoupage Memory Box
Use maps, book pages, magazine images, scrapbook paper, or printed photos to create a personal keepsake box. Apply each piece with decoupage medium, overlap slightly, and seal the top. This is ideal for travel souvenirs, letters, ticket stubs, and family mementos.
3. Faux Woven Rope Box
Wrap jute rope or cotton cord around the outside of a box, gluing as you go. Start at the bottom and work upward in tight rows. Add a fabric liner to soften the inside. This style looks great in coastal, farmhouse, boho, or natural-modern rooms.
4. Peel-and-Stick Paper Box
Contact paper or peel-and-stick wallpaper is fast, neat, and beginner-friendly. It works especially well on boxes with straight sides. Use a smoothing tool or old gift card to remove air bubbles. This is a great method for renters, dorm rooms, and quick shelf upgrades.
5. Gift Box With Reusable Style
Instead of wrapping a gift in disposable paper, decorate a sturdy box that the recipient can reuse. Add ribbon, a tag, and a lined interior. This turns the packaging into part of the present, which is delightfully sneaky in the best way.
Common Mistakes and How to Avoid Them
Using Too Much Glue
Excess glue causes bubbles, wrinkles, and warping. Apply thin layers and add more only where needed. If paper wrinkles, gently lift it while wet, smooth it again, and press with a clean cloth.
Skipping the Test Patch
Some paper bleeds color, and some fabric darkens when glued. Test a small piece before covering the entire box. This tiny step can save the whole project.
Ignoring Pattern Direction
If your paper or fabric has stripes, words, animals, or flowers, make sure the design faces the right direction on every side. Upside-down birds may be charming once. Four sides of confused birds? Less charming.
Making the Lid Too Thick
When covering a lid, keep inner folds thin so the lid still fits. Trim bulky corners and avoid stacking multiple layers along the rim.
Using Weak Boxes for Heavy Items
Decorative cardboard boxes are best for lightweight to medium-weight storage. For books, tools, or heavy supplies, use wood, plastic, or heavily reinforced cardboard.
Where to Use DIY Decorative Boxes
DIY decorative boxes work in almost every room. In the living room, use them for remotes, chargers, coasters, and game controllers. In the bedroom, store scarves, jewelry, letters, or seasonal accessories. In the bathroom, use lined boxes for hair clips, cotton rounds, or extra soaps. In the office, organize receipts, cords, pens, and notebooks. In a kids’ room, make labeled boxes for blocks, art supplies, trading cards, or tiny mystery objects that adults are not emotionally prepared to identify.
For open shelves, make several boxes in the same material for a clean, cohesive look. For drawers, use smaller boxes as dividers. For closets, label everything clearly. A label is the difference between an organized system and a decorative guessing game.
Budget-Friendly Tips
You can make DIY decorative boxes without spending much money. Save shipping boxes, reuse gift wrap, collect fabric remnants, and look for wallpaper samples. Old calendars, maps, paper shopping bags, and leftover drawer liner can also look surprisingly stylish. For handles, use ribbon from gift packaging, twine from the kitchen drawer, or strips cut from an old belt.
Buying supplies in coordinating colors helps your boxes look intentional even when they are made from different base materials. For example, cover three boxes in different black-and-white patterns, then add matching kraft labels. The result feels curated, not chaotic.
of Real DIY Experience: What Actually Makes the Project Look Good
After making several decorative boxes, one lesson becomes obvious: the box does not need to be expensive, but the edges need attention. Clean edges make the difference between “custom storage” and “I attacked a shoe box with glue.” The best approach is to slow down at the corners, trim extra material, and press each fold firmly before moving on. A ruler, a smooth card, and a few binder clips can do more for the final result than fancy supplies.
Another useful experience is that fabric is more forgiving than paper, especially for beginners. If you pull fabric slightly, it can smooth around corners and hide small imperfections. Paper looks crisp and beautiful, but it shows bubbles and wrinkles faster. If you are new to this project, start with cotton fabric or peel-and-stick paper before trying thin wrapping paper. Thick scrapbook paper also works well, but it may need separate panels instead of one continuous wrap.
Drying time is another detail people underestimate. It is tempting to finish the box, admire it for six seconds, and immediately fill it with every charger you own. Resist. Let the adhesive dry fully. If you stack boxes too soon, the surfaces can stick together or dent. If you close a freshly glued lid too early, the lid may bond to the box in a deeply inconvenient act of craft betrayal.
For storage boxes that will be handled often, reinforcement is worth the extra step. Add a cardboard insert to the bottom and cover the top rim with folded fabric or paper. This makes the box feel sturdier and helps it keep its shape. If you are adding rope handles, reinforce the holes from inside with glued cardboard patches. Without reinforcement, handles can tear through the side when the box is pulled forward.
When choosing patterns, think about the room where the box will live. A bold floral may look amazing on one box but overwhelming on six boxes lined across a shelf. For multiple boxes, combine one statement pattern with two quieter textures. For example, use one botanical print, one solid linen-look fabric, and one subtle stripe in the same color family. This creates variety without visual noise.
Labels are also more important than they seem. A decorative box without a label can become a stylish black hole. Use simple tags like “Cords,” “Photos,” “Receipts,” “Craft Paint,” or “Winter Accessories.” If the box is for kids, use large printed labels or picture labels. Organization works better when everyone can understand it quickly.
Finally, do not aim for perfection on the first attempt. DIY decorative boxes are low-risk projects, and that is part of the fun. If one side looks messy, place it toward the wall. If a corner is imperfect, add ribbon trim. If the pattern is crooked, call it handmade character and keep going. The more boxes you make, the better your measuring, folding, and finishing will become. By the third box, you may start looking at every empty package in your house and thinking, “You could be storage.” That is when you know the DIY transformation has officially begun.
Conclusion
Learning how to make DIY decorative boxes step by step is one of the easiest ways to organize your home while adding personal style. With a basic box, attractive covering material, careful measuring, neat corners, and a protective finish, you can create storage that looks beautiful and works hard. Whether you choose fabric, paper, rope, paint, or peel-and-stick wallpaper, the secret is simple: build a sturdy base, take your time with the details, and design each box for the way you actually live.
DIY decorative boxes are practical, affordable, and surprisingly satisfying. They turn clutter into decor, reuse materials that might otherwise be thrown away, and give your shelves a finished look without a designer price tag. In other words, they are small boxes with big main-character energy.