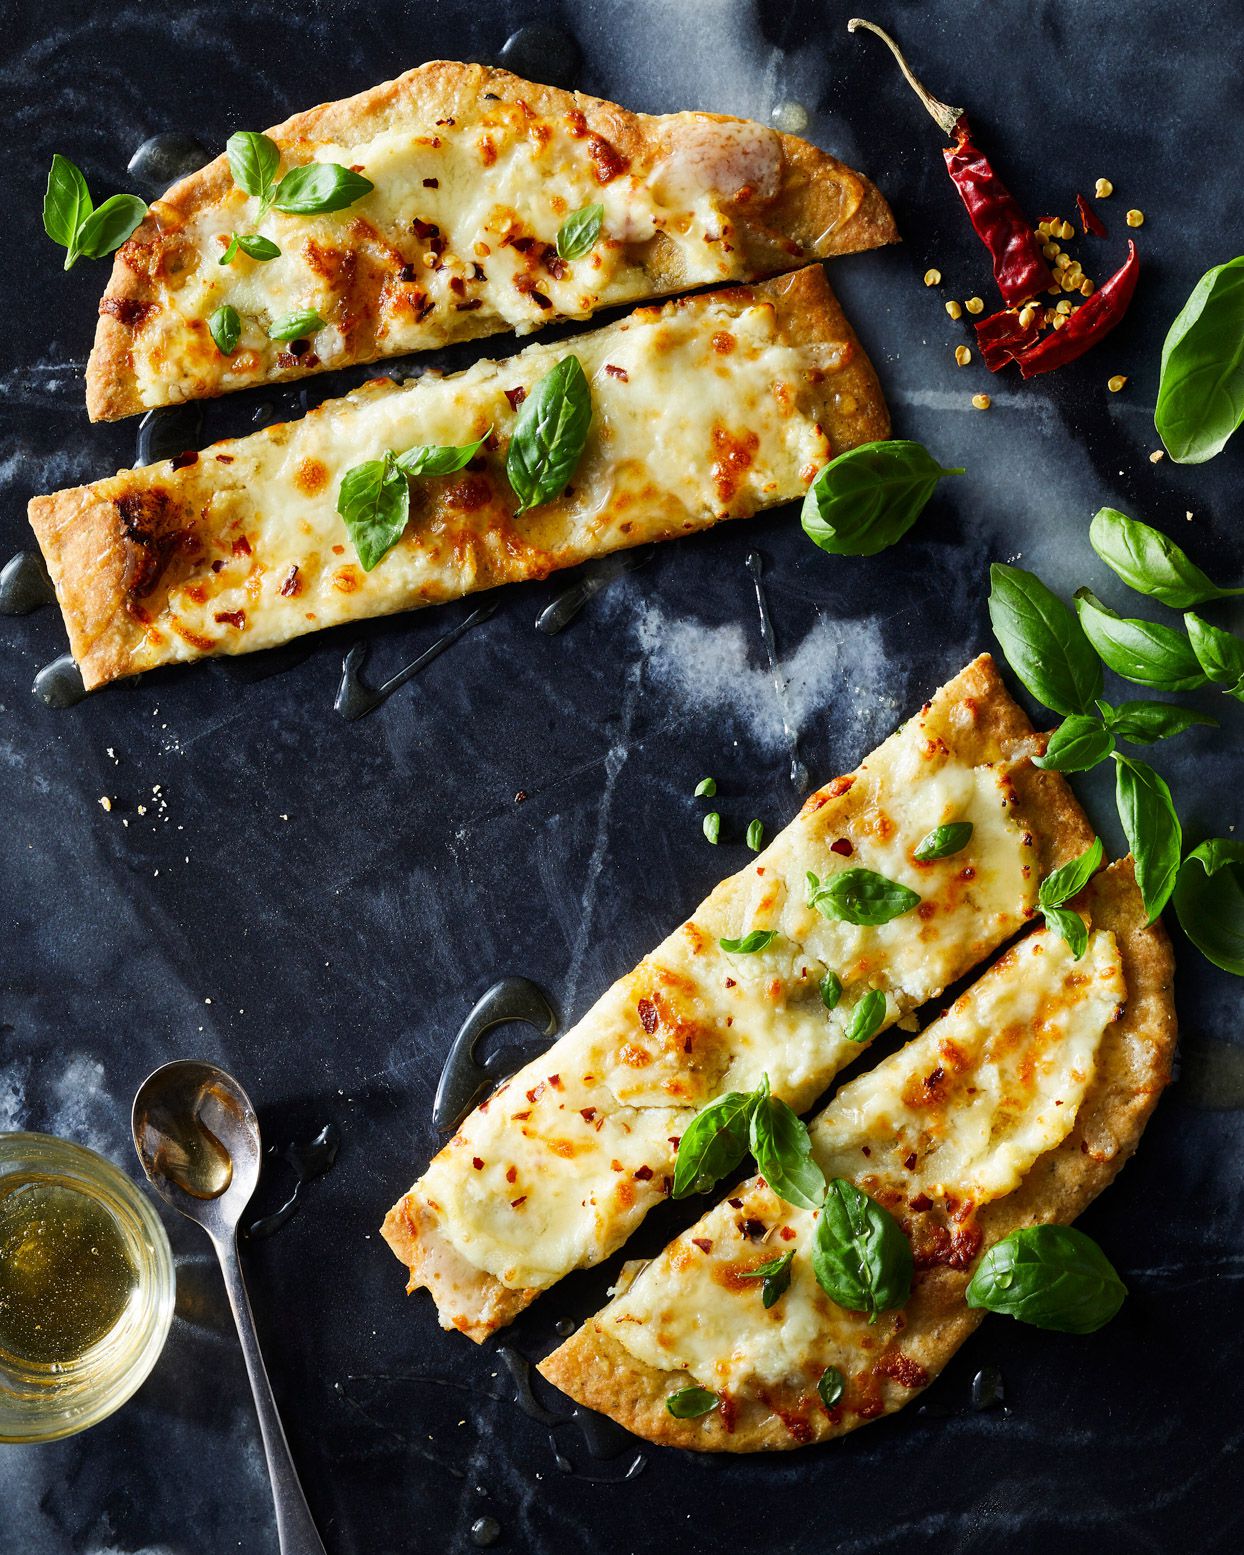
A homemade pie crust does not need to involve frozen butter cubes, a pastry blender, flour on every cabinet handle, and the emotional stamina of a competitive figure skater. This easy oil pie crust recipe is for bakers who want a tender, crisp, dependable crust without turning the kitchen into a flour-based crime scene.
Unlike a traditional butter pie crust, an oil-based crust comes together quickly because the fat is already liquid. There is no cutting, rubbing, freezing, or whispering motivational speeches to tiny butter chunks. You stir the ingredients, press or roll the dough, and move on with your life. It is especially useful for fruit pies, quiche, pot pies, pumpkin pie, pecan pie, and any moment when you suddenly remember that dessert is supposed to be ready in two hours.
The result is not exactly the same as a classic flaky butter pastry. Oil pie crust tends to be more tender, crisp, and slightly crumbly rather than dramatically layered. Think less “Parisian bakery window” and more “beloved family pie that disappears before anyone finds the serving spatula.” Many established American baking recipes use vegetable or canola oil with flour, salt, and cold milk or water for a fast, dairy-free-friendly pastry option.
Why This Oil Pie Crust Recipe Works
Pie dough is a balancing act between flour, fat, and liquid. In butter-based pastry, cold pieces of solid fat create little layers as they melt in the oven. Oil behaves differently because it coats the flour more evenly from the start. That coating helps limit gluten development, which is good news because too much gluten turns pie crust from “pleasantly tender” into “surprisingly similar to a coaster.”
Since oil is already liquid, this dough is incredibly fast to mix. There is also less risk of butter melting while you work, which makes the recipe especially friendly for warm kitchens, busy holidays, beginner bakers, and anyone whose rolling pin has mostly been used as a drawer decoration.
What Makes Oil Pie Crust Different?
- Faster mixing: No cutting cold butter or shortening into flour.
- Tender texture: The oil coats flour particles quickly and reduces overdevelopment of gluten.
- Dairy-free flexibility: Use plant milk or cold water if needed.
- Less dramatic flake: It is crisp and tender, but not as layered as all-butter pastry.
- Easy handling with parchment: The dough can be delicate, so parchment paper becomes your best baking sidekick.
Easy Oil Pie Crust Recipe
This recipe makes enough pastry for one 9-inch double-crust pie or two single-crust pies. For one single pie shell, divide the ingredients in half. Use a neutral oil for sweet pies, while olive oil can work nicely for savory tarts or rustic vegetable pies.
Ingredients
- 2 cups all-purpose flour
- 1 teaspoon fine salt
- 1 tablespoon granulated sugar, optional for sweet pies
- 2/3 cup neutral vegetable oil, canola oil, avocado oil, or light olive oil
- 1/4 cup cold milk, dairy-free milk, or ice-cold water
Optional Add-Ins for Extra Flavor
- 1/4 teaspoon cinnamon for apple, pear, or sweet potato pie
- 1 teaspoon dried thyme for chicken pot pie or vegetable pie
- 1 tablespoon finely grated Parmesan for a savory quiche crust
- 1/2 teaspoon black pepper for tomato pie or mushroom tart
- 1 teaspoon lemon zest for berry pie or lemon cream pie
How to Make an Oil Pie Crust
- Mix the dry ingredients. In a medium bowl, whisk together the flour, salt, and sugar if using. Whisking may sound aggressively formal for pie dough, but it helps distribute the salt and sugar before the oil arrives.
- Combine the oil and milk. Pour the oil and cold milk into a measuring cup. Do not whisk them together first. The two liquids do not need to become best friends before entering the flour.
- Add the liquids all at once. Pour the oil-and-milk mixture into the flour. Stir gently with a fork until the dough begins clumping together. Stop as soon as no major dry patches remain.
- Shape the dough. Divide the dough into two portions for a double-crust pie. Press each portion into a flat disk. Avoid kneading. This is pie dough, not bread dough, and it does not need a workout routine.
- Roll between parchment sheets. Place one disk between two sheets of parchment paper. Roll from the center outward until the dough is about 1 to 2 inches wider than your pie plate.
- Transfer carefully. Peel away the top parchment sheet. Slide one hand beneath the bottom sheet, flip the dough into the pie plate, then gently remove the remaining parchment. Patch any cracks with small pieces of dough.
- Fill or prebake. Use the crust immediately for baked pies, or blind bake it for cream pies, custard pies, or fillings that do not require a long oven bake.
Should You Roll or Press an Oil Pie Crust?
Both methods work, and your choice depends on the pie. For a rustic quiche, single-crust fruit pie, or savory tart, pressing the dough directly into the pie dish is the easiest route. Simply add the dough to the center of the pan and press it outward with your fingers until it reaches the sides and rim.
For a double-crust apple pie, lattice pie, or anything where appearance matters because your aunt photographs dessert before allowing anyone to eat it, rolling between parchment sheets gives you more control. Oil pastry can be softer than butter pastry, so parchment keeps it from sticking to the counter, rolling pin, and your last shred of optimism.
The Best Oil for Pie Crust
Neutral Vegetable Oil
Vegetable oil is the classic choice because it has a mild flavor and lets the filling take center stage. Use it for apple pie, blueberry pie, pumpkin pie, pecan pie, and creamy pies where you do not want the crust announcing itself from across the room.
Canola Oil
Canola oil works similarly to vegetable oil and has a mild taste. It is a practical choice for almost any sweet or savory pie. Several traditional oil pie crust formulas use canola oil with flour, salt, and cold milk for a simple no-roll pastry.
Avocado Oil
Refined avocado oil has a neutral flavor and can be used as a one-for-one replacement for vegetable oil in baking. It is especially useful when you want a more neutral-tasting option with a higher heat tolerance.
Olive Oil
Olive oil adds personality. Use light olive oil for a subtle flavor, or use extra-virgin olive oil when making savory pies such as tomato galette, spinach pie, roasted vegetable tart, or mushroom quiche. Its flavor can be wonderful, but it may compete with delicate desserts like vanilla custard or cherry pie. Olive oil generally works as a one-to-one substitute for vegetable oil in baking, though its flavor should match the recipe.
How to Blind Bake an Oil Pie Crust
Blind baking means partially or fully baking an empty pie shell before adding a filling. This method is helpful for chocolate cream pie, coconut cream pie, lemon pie, chilled mousse pies, and custard pies that do not bake long enough to brown the crust properly.
- Heat the oven to 375°F.
- Press or roll the crust into a 9-inch pie plate and crimp the edges.
- Prick the bottom lightly with a fork.
- Line the crust with parchment paper or aluminum foil.
- Fill with pie weights, dried beans, uncooked rice, or granulated sugar.
- Bake for 18 to 20 minutes.
- Carefully remove the parchment and weights.
- Bake for another 8 to 12 minutes, until the crust looks dry and lightly golden.
Chilling a shaped pie crust before baking can help reduce shrinkage and keep the edges neater. Pie weights also help prevent the bottom from puffing and the sides from sliding down like they just received disappointing news.
Oil Pie Crust Tips for Better Results
Use Cold Milk or Water
Cold liquid helps the dough come together without making it overly sticky. Milk gives the crust a little extra richness and browning, while water keeps the recipe fully dairy-free when paired with plant milk or water.
Do Not Overmix
Stir only until the dough forms moist clumps. Overmixing can make the crust tougher and more difficult to handle. The dough should look a little shaggy before you press it together.
Patch, Do Not Panic
Oil pie dough can crack when moved. This is normal. Press the crack back together or use a small scrap of dough as a patch. Once the pie is baked and covered with fruit, filling, whipped cream, or ice cream, nobody will launch a forensic investigation.
Use a Metal Pie Plate for a Crisper Bottom
Dark metal pans generally brown crusts faster, while glass pans let you see the bottom. Ceramic pie plates are beautiful but may bake a little more gently. No pan is morally superior; choose the one you have and keep an eye on browning.
Protect the Edges
If the rim browns too quickly, cover it with a pie shield or strips of aluminum foil. This is especially useful for long-baking fruit pies, where the filling needs time to bubble and thicken.
Best Pies for an Oil Pie Crust
This easy pie pastry works especially well with fillings that are soft, rich, or saucy. The crust has enough structure for a generous filling, while its tender texture keeps the overall pie from becoming heavy.
- Apple pie
- Peach pie
- Blueberry pie
- Pumpkin pie
- Pecan pie
- Chocolate cream pie
- Coconut cream pie
- Tomato pie
- Spinach quiche
- Chicken pot pie
- Vegetable pot pie
- Rustic galettes
Common Oil Pie Crust Problems and How to Fix Them
The Dough Is Too Crumbly
Add cold liquid one teaspoon at a time until the dough holds together when squeezed. Humidity, flour brands, and measuring style can all affect how much liquid the dough needs.
The Dough Is Too Sticky
Chill it for 10 to 15 minutes, then roll it between parchment. Avoid dumping in lots of flour, since too much additional flour can make the crust dry and dense.
The Crust Shrunk in the Pan
This usually happens when the dough is stretched into the pie plate or baked before it has time to relax. Press it gently into the pan instead of pulling it, then chill the shaped crust before baking.
The Bottom Is Pale or Soft
Bake the pie on a preheated baking sheet or place it on a lower oven rack. For custard and cream pies, blind baking is usually the best defense against a soggy bottom. Prebaking is commonly recommended for fillings that do not bake long or hot enough to crisp the crust.
Can You Make Oil Pie Crust Ahead of Time?
Yes. Press the dough into disks, wrap tightly, and refrigerate for up to 24 hours. Let it sit at room temperature for about 10 minutes before rolling so it becomes flexible again. You can also shape the crust directly in a pie plate, cover it tightly, and refrigerate it overnight before baking.
A baked oil pie shell can be cooled completely, wrapped well, and frozen for later. This is a useful trick before holidays, when oven schedules become less like cooking and more like airport traffic control.
How to Store Pie Made with an Oil Pie Crust
Storage depends mostly on the filling, not the crust. Fruit pies can usually sit at room temperature briefly after baking, while pies containing eggs, dairy, custard, cream, or cheesecake-style fillings should be refrigerated promptly. Food safety guidance recommends storing pumpkin, pecan, custard, and chiffon pies in the refrigerator for about three to four days after baking.
Real-Kitchen Experience: What an Oil Pie Crust Teaches You
There is a certain kind of confidence that arrives when you stop treating pie crust as a mysterious test of worthiness. An oil pie crust is often the recipe that gives people that confidence. It has a practical, old-fashioned charm: flour, salt, oil, milk, and a pie plate. No specialty tools. No requirement to own a marble pastry board inherited from a grandmother who wore pearls while baking.
Many home bakers first try an oil pie crust on a busy day. Maybe it is Thanksgiving morning, maybe guests are coming in two hours, or maybe the grocery store is out of refrigerated pie dough and the only thing left in the freezer aisle is a bag of mystery puff pastry with a torn corner. Suddenly, the “easy homemade crust” becomes less of a recipe and more of a rescue mission.
The first surprise is how quickly it comes together. There is no waiting for butter to soften, then regretting that it softened too much. There is no debate over whether the butter pieces are pea-sized, hazelnut-sized, or “probably close enough.” You pour, stir, press, and move forward. For someone who has avoided homemade pastry because it seemed fussy, that speed can feel like discovering that a supposedly difficult dance only has three steps.
The second surprise is that the dough does not always behave like classic pie dough. It can seem fragile when you first roll it. It may crack at the edge. It may cling to the parchment in a way that feels mildly personal. But this is where oil pie crust teaches one of the most useful baking lessons: pastry does not need to be perfect to be good.
A tiny tear can be patched. A rough edge can be crimped. A crooked crust can be hidden under a pile of cinnamon apples, toasted pecans, or whipped cream. Once baked, the pie becomes a whole object, not a close-up photograph of the spot where your thumb accidentally made a dent.
Oil pie crust also makes baking more spontaneous. Traditional pastry can feel like an event. Oil pastry can feel like a Tuesday. You can decide at 4:30 p.m. that you want tomato pie for dinner or peach pie after supper and still have a crust ready before the oven finishes preheating.
That ease matters. Recipes that are slightly less fancy but much more repeatable often become family favorites. A dependable oil pie crust may not win a pastry-school beauty contest against laminated butter dough, but it can win something arguably more useful: a permanent place in your recipe rotation.
The best part is that the recipe becomes flexible over time. One baker uses canola oil and milk for apple pie. Another uses olive oil and herbs for quiche. Someone else keeps it fully vegan with oat milk and neutral oil. A parent lets a child press the dough into the pan because fingerprints are easier to clean than flour-covered rolling pins. Every version carries the same basic message: pie can be homemade without being complicated.
Eventually, the oil pie crust becomes less of a shortcut and more of a style. It is the crust you make when you want the filling to shine, when you need a reliable dairy-free option, or when you simply do not feel like chasing butter cubes around a bowl. And honestly, that is enough. Pie should be delicious, not a personality test.
Final Thoughts
This oil pie crust recipe proves that homemade pastry can be quick, flexible, and genuinely delicious. With a few pantry ingredients, a bowl, and a sheet of parchment paper, you can make a crisp, tender crust for sweet pies, savory tarts, quiche, pot pies, and last-minute dessert emergencies.
Keep the dough lightly handled, use cold liquid, patch cracks without drama, and let the filling do its thing. Once you make this easy oil pie crust a few times, you may find yourself wondering why you ever treated pie dough like a high-stakes baking exam.