Grapes are tiny, juicy, snackable gems, but before they land in your fruit bowl, lunchbox, smoothie, salad, or mouth, they deserve a proper wash. The good news? You do not need a chemistry degree, a fancy produce spray, or a kitchen ritual involving twelve bowls and dramatic music. Learning how to wash grapes safely is mostly about clean water, gentle handling, good timing, and drying them well enough that they stay crisp instead of turning sad and squishy.
Because grape skins are eaten directly, washing matters. Grapes can collect dust, soil, handling residue, natural waxy bloom, and tiny bits of debris during harvesting, packing, shipping, and grocery-store life. They may look innocent in their bag, but they have been on a longer journey than most people take before breakfast. A quick rinse can help reduce surface dirt and some microorganisms, while a slightly deeper wash can help when grapes look dusty, sticky, or coated.
This guide covers three practical ways to wash grapes: a fast rinse, a bowl-and-colander method, and an optional baking soda soak for people who want a more thorough clean. You will also learn what not to use, when to wash grapes, how to dry them, and how to keep them fresh after cleaning.
Why Washing Grapes Matters
Fresh grapes are one of the easiest fruits to eat. That convenience is exactly why cleaning them properly matters. Unlike oranges or bananas, grapes do not come with a peel you remove before eating. The outside is the snack. That means whatever is on the surface can go straight into your bowl, recipe, or snack attack.
Washing grapes helps remove visible dirt, dust, and some surface microorganisms. It can also reduce some pesticide residues that remain on the surface. Washing does not sterilize grapes, and no home method can guarantee the removal of every germ or every trace residue. Still, proper rinsing is a smart food-safety habit and takes very little effort.
You may also notice a pale, powdery film on grapes, especially red, black, or purple varieties. This is often called bloom. Bloom is a natural waxy coating that helps protect grapes from moisture loss and decay. It is not automatically a sign of dirt or mold. However, grapes should still be rinsed before eating because bloom is not the only thing that may be on the surface. Think of bloom as the grape’s tiny security blanket, not a free pass to skip the sink.
Before You Start: Basic Grape-Washing Rules
Before getting into the three methods, keep a few simple rules in mind. First, wash your hands before handling grapes. Clean hands are the opening act of food safety. If your hands are not clean, the grapes are already losing the battle.
Second, wash grapes shortly before eating or using them. Washing a whole bag days in advance may feel efficient, but extra moisture can shorten their shelf life and encourage mold. Grapes prefer to stay dry in the refrigerator until snack time.
Third, skip soap, dish detergent, bleach, and household cleaners. Grapes have delicate skins, and cleaning products are not meant to be eaten. Even if you rinse carefully, residues can remain or affect flavor. No one wants grapes with a whisper of lemon-scented dish soap. That is not “gourmet.” That is a kitchen accident.
Finally, dry grapes well after washing. Moisture left behind can make grapes softer and more likely to spoil. A clean towel, paper towel, or salad spinner can help remove excess water.
Method 1: The Quick Running-Water Rinse
This is the easiest and most recommended everyday method for washing grapes. It is ideal when your grapes look clean and you plan to eat a small portion right away.
Best for
Use this method for a quick snack, a lunchbox serving, a small bowl of grapes, or grapes you plan to add to yogurt, oatmeal, cheese boards, or fruit salad.
How to do it
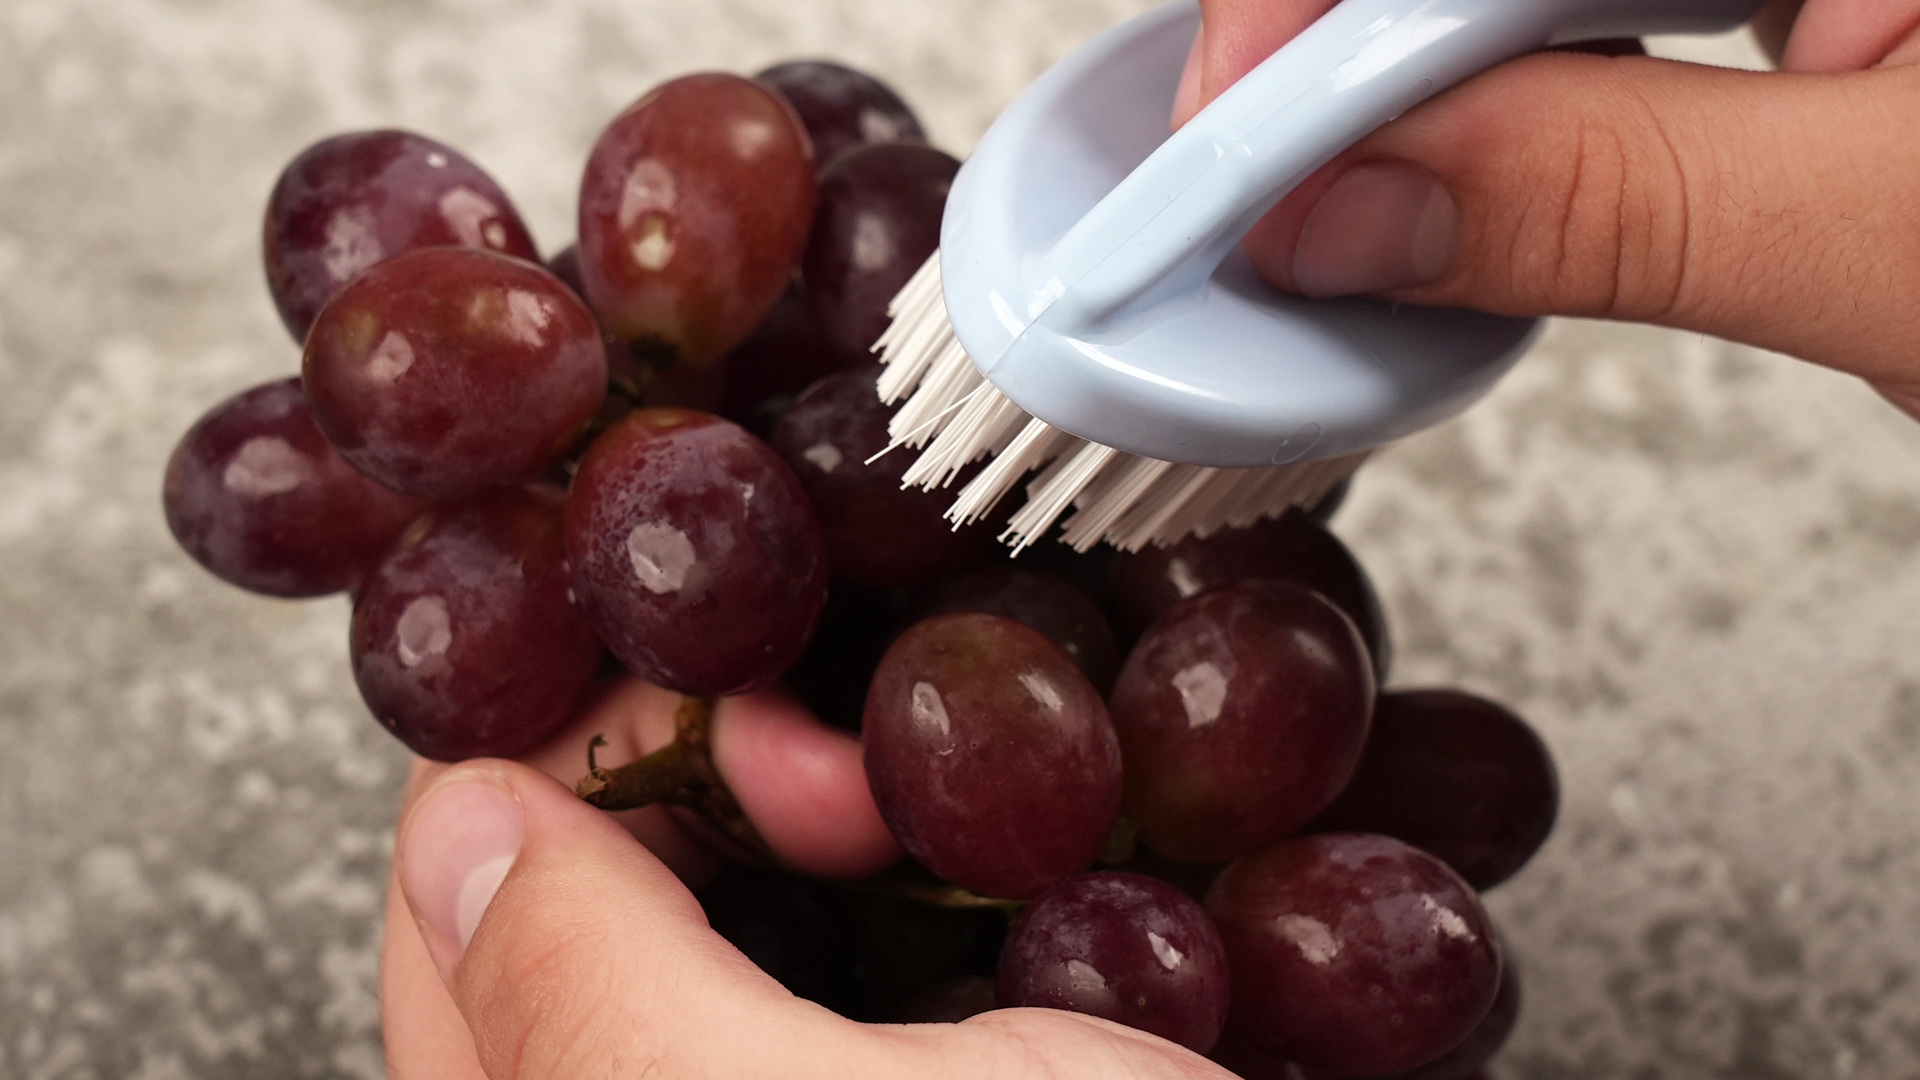
Place the grapes you want to eat in a clean colander. Hold the colander under cool running water. Use your fingers to gently move the grapes around so water reaches all sides. Do not crush, scrub aggressively, or blast them with water like you are pressure-washing a driveway. Grapes are tender. Treat them like fruit, not patio furniture.
Continue rinsing for about 20 to 30 seconds, or until the grapes look clean and any loose debris is gone. If some grapes are still attached to the stem, move the bunch gently so water reaches the hidden spots between grapes. If you notice damaged, split, moldy, or mushy grapes, remove and discard them.
How to dry them
Shake the colander gently to remove extra water. Spread the grapes on a clean towel or paper towel and pat them dry. If you are serving them immediately, a light drying is enough. If you are putting washed grapes back in the refrigerator, dry them thoroughly and store them in a ventilated container lined with a paper towel.
Why this method works
Running water helps move dirt and surface particles away from the grapes. The movement matters. Dunking grapes in a bowl can loosen debris, but running water carries it off. Gentle rubbing with clean fingers adds friction, which improves cleaning without damaging the skin.
Method 2: The Bowl Swish and Colander Rinse
The bowl swish method is useful when you have a bigger bunch of grapes or when they look extra dusty. It gives the grapes a little more contact time with water while still keeping the process simple and safe.
Best for
Use this method when washing a larger serving, prepping grapes for a party tray, cleaning grapes for a recipe, or dealing with grapes that have visible dust or a heavier bloom.
How to do it
Start with a clean bowl. This part matters. If the bowl has leftover salad dressing, cookie dough, or yesterday’s mystery sauce, wash the bowl first. Add cool, clean water, then place the grapes in the bowl. Gently swish them with your hands for 30 to 60 seconds. The goal is to loosen dirt and debris, not to give the grapes a whirlpool vacation.
After swishing, transfer the grapes to a colander and rinse them under cool running water. This final rinse is important because it carries away loosened particles. Do not let grapes soak for a long time. Long soaking can make delicate fruit softer and may reduce freshness.
Should you remove grapes from the stem first?
You can wash grapes either on or off the stem. Leaving them on the stem can help preserve structure if you are serving a pretty bunch on a platter. Removing them first can make cleaning and drying easier, especially when you want to pack them for snacks. If you remove grapes from the stem, be gentle and discard any grapes with torn skin.
How to dry them
After rinsing, spread grapes in a single layer on a clean towel. Roll them gently or pat them dry. For a larger batch, a salad spinner can work if you use a gentle spin. Do not spin them like you are training them for a carnival ride. A few slow turns are enough.
Why this method works
The bowl swish loosens dust and residue from tight spaces between grapes, while the final running-water rinse removes what the swish releases. This method is especially helpful for grapes that look cloudy or feel slightly gritty.
Method 3: The Optional Baking Soda Soak
A baking soda soak is an optional deeper-cleaning method. It is popular with people who are especially concerned about surface residues or grapes that feel waxy or dusty. Plain running water is usually enough for routine washing, but baking soda can be used carefully as an extra step.
Best for
Use this method when grapes look heavily coated, when you are preparing fruit for children’s snacks, when you want to remove more of the chalky bloom, or when you prefer a more thorough wash before serving grapes raw.
How to do it
Fill a clean bowl with cool water. Add about one teaspoon of baking soda for every two cups of water and stir until it dissolves. Add the grapes and gently move them around with clean hands. Let them sit for about 5 to 10 minutes. For very dusty grapes, you can gently agitate them once or twice during the soak.
After soaking, drain the grapes into a colander and rinse very thoroughly under cool running water. This step is non-negotiable. Baking soda is food-safe in small amounts, but you do not want it clinging to your grapes. Unless your goal is “fruit with a faintly alkaline personality,” rinse well.
How to dry them
Dry grapes completely with a clean towel or paper towel. Because this method involves soaking, drying becomes even more important. If you plan to store the grapes after washing, line a container with paper towel, leave some airflow, and refrigerate them promptly.
What about vinegar?
Some people like washing grapes with diluted vinegar. Others dislike the flavor it can leave behind. Food-safety authorities generally emphasize clean running water as the standard method and warn against soap, bleach, and detergent. If you use vinegar at home, rinse grapes very thoroughly afterward and avoid long soaking. For most households, water alone or a short baking soda soak followed by a strong rinse is simpler and more pleasant.
Why this method works
Baking soda is mildly alkaline and can help loosen certain residues on produce surfaces. It is not magic, and it does not turn grapes into laboratory-grade sterile spheres. It is simply an optional method for people who want a deeper wash than water alone.
Common Mistakes to Avoid When Washing Grapes
Mistake 1: Washing grapes before storing them
It is tempting to wash the whole bag right after grocery shopping. Future you seems organized, calm, and ready for healthy snacking. Unfortunately, grapes stored wet tend to spoil faster. The better approach is to store grapes unwashed in the refrigerator and wash only what you need.
Mistake 2: Using soap or dish detergent
Soap belongs on hands and dishes, not grapes. Produce can hold onto residues, and soaps are not designed for eating. If your grapes smell like a bubble bath, something has gone terribly wrong.
Mistake 3: Scrubbing too hard
Grapes have delicate skins. Hard scrubbing can split them, and split grapes spoil quickly. Use gentle finger movement, not force.
Mistake 4: Forgetting to dry them
Drying may seem optional, but it helps maintain texture and freshness. Wet grapes in a container can become slippery, soft, and more prone to mold.
Mistake 5: Ignoring bad grapes
If one grape is moldy, mushy, leaking, or badly damaged, remove it. Mold can spread quickly through a bunch. A little inspection before washing helps protect the rest of the grapes.
How to Store Grapes Before and After Washing
For best freshness, store unwashed grapes in the refrigerator. Keep them in their original ventilated bag or a breathable container. Grapes like cold storage and airflow. They do not enjoy being sealed in a humid little grape sauna.
If you wash grapes and have leftovers, dry them as thoroughly as possible. Then place them in a container lined with paper towel. Leave the lid slightly vented or use a container that allows airflow. Store them in the refrigerator and eat them within a few days for best texture.
You can also freeze washed grapes. Rinse them, dry them completely, spread them on a baking sheet, and freeze until firm. Then transfer them to a freezer-safe bag. Frozen grapes make a refreshing snack, especially in hot weather. They also work well as edible ice cubes in sparkling water or mocktails. Just do not expect thawed grapes to have the same crisp texture as fresh ones. Once frozen and thawed, they become softer.
How Long Should You Wash Grapes?
For a basic rinse, 20 to 30 seconds under cool running water is usually enough for a small serving. For a larger batch or dustier grapes, use the bowl swish method for about 30 to 60 seconds, followed by a rinse. For the optional baking soda method, soak for 5 to 10 minutes and then rinse thoroughly.
The key is not just time. It is technique. Running water, gentle movement, clean hands, and proper drying matter more than standing at the sink for five minutes wondering whether the grapes have achieved spiritual cleanliness.
Can Washing Remove All Pesticides from Grapes?
Washing can reduce some pesticide residues on the surface, but it cannot remove everything. Some residues may be more difficult to wash away, and some may not be on the surface at all. This is why food-safety experts often recommend a practical approach: wash produce well, eat a varied diet, and do not let fear of residues stop you from eating fruits and vegetables.
If pesticide exposure is a personal concern, you can choose organic grapes when available and affordable. Still, organic grapes should also be washed. Organic does not mean untouched by dust, hands, packaging, or the general chaos of transportation. All grapes need a rinse before eating.
Best Uses for Freshly Washed Grapes
Once your grapes are clean and dry, they are ready for more than snacking. Add them to chicken salad for sweetness, slice them into green salads, freeze them for summer treats, or pair them with cheese and nuts. Red grapes are excellent with sharp cheddar, black grapes look dramatic on a snack board, and green grapes bring a tart crunch that wakes up creamy dishes.
For children, cut grapes lengthwise into quarters to reduce choking risk. Clean grapes first, then slice them on a clean cutting board with a clean knife. Once cut, refrigerate them if they are not eaten right away.
Personal Experience: What Actually Works in a Real Kitchen
In everyday kitchen life, the best grape-washing method is the one you will actually do. A perfect method that feels annoying will be skipped on a busy Tuesday. A simple method that takes less than a minute will become habit. That is why the quick running-water rinse is the hero of normal life. It works for the handful of grapes you grab while making coffee, the lunchbox portion you pack before work, or the small bowl you eat while pretending you are not also thinking about cookies.
One useful habit is to wash only the amount you plan to eat. This sounds obvious, but it changes everything. When a whole bag of grapes gets washed and tossed back in the fridge while still damp, the grapes often lose their snap. A few days later, they can look tired, wrinkled, or suspiciously soft. When they stay unwashed until snack time, they usually remain firmer and fresher. Grapes are a little like good guests: they do better when they are not soaked before the party.
The bowl swish method is especially helpful for family gatherings. If you are preparing a fruit platter, rinsing grapes one tiny handful at a time feels inefficient. A clean bowl of cool water lets you loosen dust from a larger batch, and the final colander rinse makes the grapes feel cleaner. The important part is not leaving them in the water while you get distracted by a text message, the oven timer, or a sudden need to reorganize your entire refrigerator. A short swish is enough.
Drying is the step many people underestimate. Washed grapes look ready to eat, but wet grapes can water down fruit salads, make snack containers soggy, and spoil faster in storage. Spreading them on a towel for a few minutes makes a noticeable difference. For big batches, a salad spinner is surprisingly handy. Use a gentle spin, then finish with a towel. The grapes come out cleaner, drier, and more enjoyable to eat.
The baking soda method is best treated as an occasional deep clean, not a required daily ceremony. If grapes look extra chalky, dusty, or like they have been through a long grocery-store adventure, a short baking soda soak can make them feel fresher. But it must be followed by a thorough rinse. Baking soda residue can leave a flat, odd taste, and grapes should taste like grapes: sweet, crisp, juicy, and slightly dangerous because it is possible to eat half the bag without noticing.
Another practical tip is to inspect grapes before washing. Remove any that are split, mushy, leaking, or moldy. One bad grape can affect the bunch, especially when moisture is added. This is also the moment to trim away dry stems or separate the amount you need. A little inspection saves disappointment later.
For meal prep, washed and dried grapes can be portioned into small containers, but they are best eaten within a few days. Add a paper towel to the bottom of the container to absorb extra moisture. If you are packing grapes with crackers, nuts, or cheese, make sure the grapes are dry first. Nobody asked for damp crackers. Nobody.
Frozen grapes are another excellent reason to wash grapes properly. Clean them, dry them completely, freeze them in a single layer, and then store them in a freezer bag. They become cold, sweet little snacks that feel more exciting than they have any right to be. They are also wonderful in drinks because they chill without watering things down. Just remember that frozen grapes are best eaten frozen; once thawed, they become softer and less crisp.
Overall, the most reliable grape routine is simple: store unwashed, rinse before eating, dry well, and skip soap. That small routine keeps grapes safer, tastier, and fresher without turning snack time into a science fair.
Conclusion
Washing grapes does not need to be complicated. For most situations, a cool running-water rinse with gentle finger movement is the best everyday method. For larger batches or dusty grapes, a bowl swish followed by a thorough rinse works beautifully. For an occasional deeper clean, a short baking soda soak can be useful as long as you rinse and dry the grapes carefully afterward.
The biggest rules are easy to remember: wash grapes right before eating, use clean water, avoid soap and bleach, handle them gently, remove damaged grapes, and dry them well. Follow those steps and your grapes will be crisp, clean, and ready for snacking, slicing, freezing, or dressing up a cheese board like they own the place.