Trying to change WiFi to 2.4 GHz on iPhone can feel like looking for a secret elevator button in a building that only has stairs. You open Settings, tap Wi-Fi, poke around the blue “i” icon, and… nothing. No “2.4 GHz mode.” No “please stop connecting to 5 GHz.” No tiny Apple-shaped wizard handing you a band selector.
Here is the important truth: an iPhone does not include a built-in setting that lets you manually force the phone onto 2.4 GHz or 5 GHz. Instead, your iPhone connects to whatever Wi-Fi network name your router broadcasts. So, if you want your iPhone on 2.4 GHz, you usually need to make your router show a separate 2.4 GHz network, then connect your iPhone to that network.
This guide explains exactly how to do that in six practical steps. It also covers why 2.4 GHz matters, when it is better than 5 GHz, how to handle mesh routers, and what to do when your smart bulb, robot vacuum, baby monitor, printer, or other “I only speak 2.4 GHz” device refuses to cooperate.
Note: You are not changing the Wi-Fi band from inside iOS. You are changing or selecting the Wi-Fi network your router provides, then joining that network from your iPhone.
Why You Might Need 2.4 GHz WiFi on an iPhone
The 2.4 GHz Wi-Fi band is older, slower, and more crowded than 5 GHz, but it still has one superpower: range. It travels farther and usually handles walls, floors, cabinets, and awkward apartment layouts better than 5 GHz. In other words, 5 GHz is the sprinter; 2.4 GHz is the delivery driver who somehow finds your door even when the building numbers make no sense.
Many smart home devices still require 2.4 GHz because they do not need high-speed internet. A smart plug, security camera, thermostat, light switch, garage door opener, or Wi-Fi printer may only need a tiny amount of data. What it does need is a stable connection. That is why manufacturers often design these devices for 2.4 GHz only.
The problem appears during setup. Many smart devices use your iPhone as the setup bridge. If your iPhone is connected to a combined Wi-Fi network that currently places it on 5 GHz, the smart device may fail to pair because it is looking for 2.4 GHz. The app may say something vague like “Unable to connect,” which is tech language for “good luck, human.”
2.4 GHz vs. 5 GHz: What Is the Difference?
Before changing settings, it helps to understand what you are choosing. A 2.4 GHz network usually gives you longer range and better wall penetration, but lower speeds and more interference. A 5 GHz network usually gives you faster speeds and less congestion, but shorter range. Newer routers may also support 6 GHz, which can be even faster at close range, but many older and simple devices do not support it.
Use 2.4 GHz for:
- Smart home setup and IoT devices
- Devices far from the router
- Rooms separated by several walls
- Basic browsing, email, and light app use
- Printers, plugs, bulbs, cameras, and sensors
Use 5 GHz for:
- Streaming HD or 4K video
- Online gaming
- Video calls
- Large downloads
- Devices close to the router
For most modern iPhone users, 5 GHz is usually better for daily speed. But when you are pairing a stubborn smart device, troubleshooting weak signal, or trying to reach Wi-Fi in a far bedroom, 2.4 GHz can be the hero wearing slightly dusty sneakers.
Can You Force an iPhone to Use 2.4 GHz?
Not directly. iOS does not provide a button that says “Use 2.4 GHz only.” If your router uses one shared Wi-Fi name for 2.4 GHz and 5 GHz, your iPhone and router decide together which band to use. This feature is often called Smart Connect, band steering, or a single SSID setup.
Band steering is convenient because your home only shows one Wi-Fi name. Your phone, tablet, and laptop can move between bands automatically. The downside is that you lose manual control. When you need your iPhone on 2.4 GHz for setup, automatic band selection can become annoying.
The most reliable solution is to separate the bands. That means your router broadcasts two different network names, such as:
- HomeWiFi-2.4G
- HomeWiFi-5G
Once the 2.4 GHz network has its own name, your iPhone can connect to it like any other Wi-Fi network.
How to Change WiFi to 2.4 GHz on iPhone: 6 Steps
Step 1: Check Whether Your Router Has Separate 2.4 GHz and 5 GHz Networks
Open the Settings app on your iPhone, then tap Wi-Fi. Look at the list of available networks. If you see two similar names, such as “SmithHome” and “SmithHome-2.4G,” the hard part may already be done. Tap the 2.4 GHz network, enter the password, and your iPhone should join it.
If you only see one network name, your router may be combining 2.4 GHz and 5 GHz under the same SSID. That is common with mesh systems and modern routers. It is clean, simple, and great until a smart plug decides it wants to behave like royalty.
You can also check the sticker on your router, the router app, or your internet provider’s app. Some routers list separate default names for each band. Others hide the band settings inside an “Advanced,” “Wireless,” “Wi-Fi,” or “Network” menu.
Step 2: Log In to Your Router or Mesh Wi-Fi App
Next, open your router’s mobile app or web admin page. The exact method depends on your router brand or internet provider. Common options include a router app, an ISP app, or a local admin address such as a router gateway page.
Look for a section named Wi-Fi Settings, Wireless, Network, Advanced Settings, or Main Network. Router menus are not always glamorous. Some look like they were designed during a lunch break in 2009. Stay calm and keep looking for the wireless band settings.
If you cannot log in, check the router label, your internet provider account, or the setup card that came with the router. If the router belongs to your internet provider, you may need to use the provider’s official app instead of a browser.
Step 3: Turn Off Smart Connect or Band Steering
Find the setting that combines bands automatically. Depending on the brand, it may be called:
- Smart Connect
- Band Steering
- One Wi-Fi Name
- Single SSID
- Mesh steering
- Automatic band selection
Disable that feature if your router allows it. Once it is off, the router should let you create different names for the 2.4 GHz and 5 GHz bands. For example, you can keep your main network name for 5 GHz and create a separate 2.4 GHz name for setup tasks.
Some systems, especially certain mesh routers, may not allow full band separation. In that case, skip ahead to the troubleshooting section. You may still be able to use a guest network, IoT network, temporary distance trick, or router-specific workaround.
Step 4: Rename the 2.4 GHz Network Clearly
Give the 2.4 GHz band a clear name. Do not make your future self solve a mystery. A good name might be:
- Home-2.4G
- ApartmentWiFi-2G
- FamilyWiFi-IoT
- SmartHome-2.4
Keep the password strong and simple enough to type correctly. Avoid changing security settings unless you know what you are doing. For most homes, WPA2/WPA3 personal security is a good modern choice when supported by your router and devices. If an older smart device cannot connect, you may need to use WPA2-only on the 2.4 GHz network, but avoid weak legacy security whenever possible.
Save your changes. Your router may restart its Wi-Fi radios for a minute. During that time, every device in the house may briefly act like the internet has vanished into the fog. This is normal. Warn anyone currently gaming, streaming, or submitting homework before you click Save, unless you enjoy dramatic household feedback.
Step 5: Connect Your iPhone to the 2.4 GHz Network
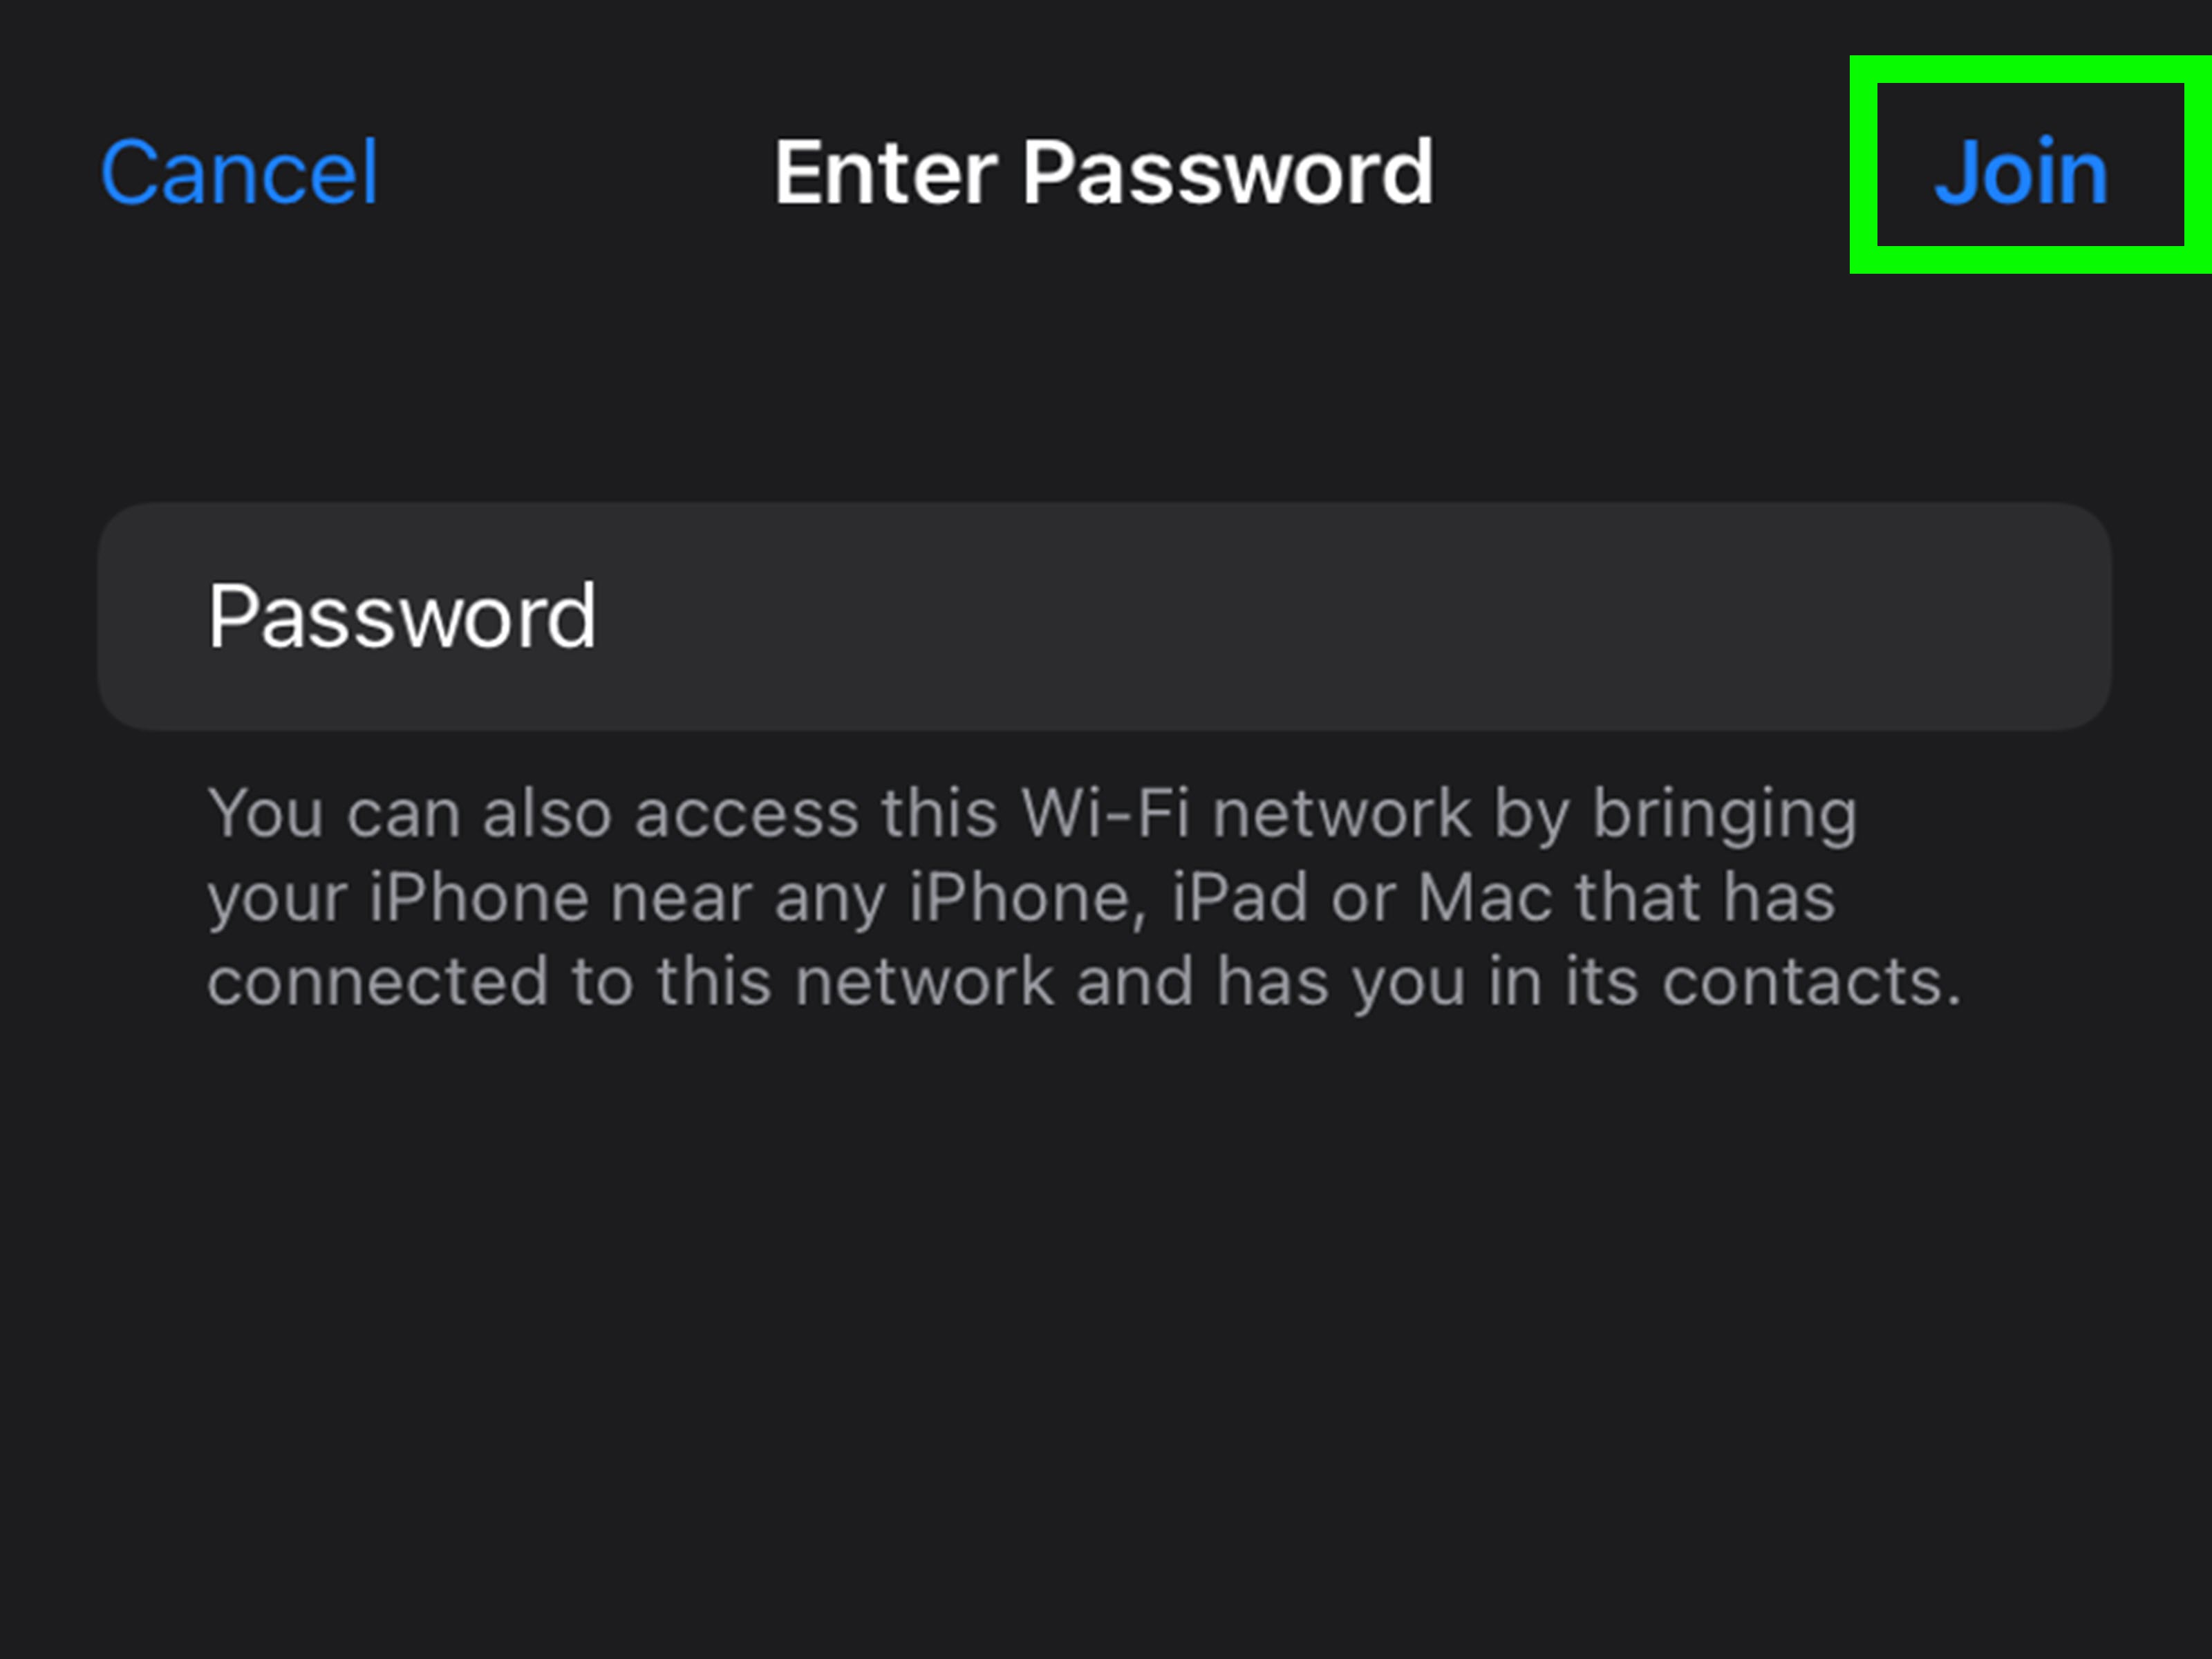
Now return to your iPhone. Go to Settings > Wi-Fi. Wait for the network list to refresh. Tap the new 2.4 GHz network name, enter the password, and look for the blue checkmark beside the network name.
If your iPhone keeps jumping back to the old network, tap the blue information icon beside the old network and choose Forget This Network. Then connect again to the 2.4 GHz network. You can rejoin the 5 GHz network later when you want faster performance.
For smart device setup, make sure your iPhone stays on the 2.4 GHz network while you complete the pairing process. Open the device’s app and follow its instructions. In many cases, the setup works immediately once the iPhone and device are on the same 2.4 GHz network.
Step 6: Test the Connection and Decide Whether to Keep the Bands Separate
After connecting, test the device or app that needed 2.4 GHz. If you were setting up a smart plug, turn it on and off from the app. If it was a camera, check the live feed. If it was a printer, try a test print. If it was a robot vacuum, send it on a short cleaning run and admire how confidently it attacks the same chair leg three times.
Once setup is complete, you have two choices. You can keep the bands separate for easier control, or you can combine them again if your router works better that way. Many people keep a dedicated 2.4 GHz network for smart home devices and use 5 GHz for phones, laptops, tablets, and streaming devices.
If your smart device works after setup, do not rush to change everything back. Stability matters more than having a perfectly tidy Wi-Fi list. A network named “Home-2.4G” is not ugly; it is practical. Think of it as a labeled drawer for devices that panic when modern routers get too clever.
What If Your Router Will Not Let You Split 2.4 GHz and 5 GHz?
Some mesh Wi-Fi systems use one network name across all bands and do not offer full separation. That can be frustrating, but you still have options.
Create a 2.4 GHz Guest or IoT Network
Many routers let you create a guest network or dedicated IoT network. If the settings allow you to choose the band, create a guest or IoT network that uses only 2.4 GHz. Connect your iPhone to that network during setup.
Move Farther Away from the Router
Because 2.4 GHz reaches farther than 5 GHz, moving your iPhone farther from the router may encourage it to connect on 2.4 GHz. This is not as precise as separating the bands, but it can help with some routers. Try standing near the edge of your Wi-Fi coverage while setting up the device. Yes, this may involve holding a smart bulb in a hallway like you are performing a tiny technology ritual.
Temporarily Disable 5 GHz
Some routers let you temporarily turn off the 5 GHz band. If available, disable 5 GHz, connect your iPhone and smart device to 2.4 GHz, complete setup, then turn 5 GHz back on. Use this carefully, because it may disconnect devices that rely on 5 GHz.
Use the Router Manufacturer’s App
Router apps sometimes hide features behind friendly names. Look for “device network,” “IoT network,” “smart home network,” or “compatibility mode.” These features are often designed specifically for 2.4 GHz devices.
Common Problems and Quick Fixes
Your iPhone Cannot See the 2.4 GHz Network
Make sure the 2.4 GHz band is enabled in the router settings. Check that the SSID is not hidden. Restart the router if necessary. Also confirm that your iPhone is within range. Even though 2.4 GHz travels farther, it is not magic. A router locked in a metal cabinet behind a refrigerator is still going to have a bad day.
The Password Works on 5 GHz but Not 2.4 GHz
Some routers use separate passwords for separate bands. Others keep the same password. Recheck the 2.4 GHz password in the router app. Watch for capital letters, spaces, and similar-looking characters such as zero and the letter O.
The Smart Device Still Will Not Pair
Confirm that your iPhone is connected to the 2.4 GHz network before opening the setup app. Turn off VPN temporarily if the app has trouble discovering devices on the local network. Make sure the smart device is in pairing mode. Also check whether the app has permission to access your local network in iPhone settings.
The Internet Feels Slower on 2.4 GHz
That is expected. The 2.4 GHz band is not built for maximum speed. Use it for range, compatibility, and smart home devices. For streaming, gaming, and big downloads, switch your iPhone back to 5 GHz when you are done setting things up.
Best Practices for Naming 2.4 GHz and 5 GHz Networks
A clear naming system prevents confusion. Use the same base name and add the band at the end. For example, use “MillerHome-2.4G” and “MillerHome-5G.” Avoid jokes that become annoying later, such as “Pretty Fly for a WiFi” or “FBI Surveillance Van,” unless you truly want to explain your network name to every guest forever.
For smart homes, a dedicated name like “MillerHome-IoT” can be even better. Put smart plugs, bulbs, cameras, sensors, and appliances on that network. Put phones, laptops, and streaming devices on the faster 5 GHz network. This keeps your setup organized and makes troubleshooting easier.
Is 2.4 GHz Safe and Secure?
Yes, the band itself is not the security issue. Security depends more on encryption, password strength, router updates, and network settings. Use a strong Wi-Fi password. Keep your router firmware updated. Avoid old security modes such as WEP. If your router supports WPA2 or WPA3, use modern security settings that remain compatible with your devices.
It is also smart to review connected devices occasionally. If you see something unfamiliar, change the Wi-Fi password and reconnect your trusted devices. Your router app may show device names, although some names are hilariously unhelpful, like “Unknown Device” or “ESP_4F9A12.” That might be your smart plug, not a spy satellite.
Experience Notes: Real-World Lessons from Changing WiFi to 2.4 GHz on iPhone
The most common mistake people make is assuming the iPhone is the problem. In most cases, the iPhone is simply doing what modern phones do: choosing the network it thinks is best. The real issue is usually the router’s combined network name. Once the 2.4 GHz band has a separate SSID, the setup becomes much easier.
In real homes, this problem often appears during smart home setup. A person buys a smart plug, downloads the app, scans the QR code, enters the Wi-Fi password, and waits. The app spins. The device blinks. The person sighs. Then the app says it failed. Nothing about the message clearly says, “Your iPhone is probably on 5 GHz while this little plug only supports 2.4 GHz.” That would be too helpful, apparently.
A practical approach is to create a dedicated 2.4 GHz network before adding multiple smart devices. This saves time. If you plan to install cameras, bulbs, switches, sensors, or appliances, do not set them up one by one while fighting the same Wi-Fi issue repeatedly. Create the 2.4 GHz SSID first, connect your iPhone to it, and then pair each device. Your future self will thank you with fewer forehead wrinkles.
Another useful lesson is to avoid changing too many router settings at once. If you rename networks, change passwords, adjust security modes, disable band steering, and reboot everything in one glorious burst of confidence, troubleshooting becomes harder. Change one major setting, save it, test it, then move on. Wi-Fi troubleshooting rewards patience. It does not reward button mashing, even though button mashing feels emotionally correct.
Placement also matters. If a smart camera is mounted outside, or a printer is hiding in a far room, 2.4 GHz may connect more reliably than 5 GHz. However, interference can still happen. Microwaves, Bluetooth devices, crowded apartment buildings, and neighboring routers can make the 2.4 GHz band noisy. If the connection drops often, try moving the router higher, away from thick walls, and out from behind TVs, appliances, or metal objects.
For mesh systems, the experience can be mixed. Mesh Wi-Fi is wonderful for coverage, but some mesh brands prefer simple automatic band management and may not expose separate 2.4 GHz and 5 GHz names. In those cases, a guest network or IoT network can be the cleanest workaround. If your system offers an “IoT network” option, use it. It exists for exactly this kind of smart-device drama.
It is also worth remembering that you do not have to keep your iPhone on 2.4 GHz forever. After setup, switch your iPhone back to the faster 5 GHz network for normal use. Leave the smart device on 2.4 GHz if that is where it works best. A smart plug does not need sports-car Wi-Fi. It needs reliable bicycle Wi-Fi that shows up every day and does the job.
Finally, write down your network names and passwords somewhere safe. Many Wi-Fi disasters begin with “I changed it months ago and definitely remember it.” No, you do not. Nobody does. A simple password manager entry or secure note can save you from resetting the router at midnight while a smart bulb blinks like it knows your secrets.
Conclusion
Changing WiFi to 2.4 GHz on iPhone is really about controlling your router’s Wi-Fi bands. The iPhone itself does not offer a manual 2.4 GHz switch, but once your router broadcasts a separate 2.4 GHz network, connecting is simple: open Settings, tap Wi-Fi, choose the 2.4 GHz SSID, and enter the password.
For smart home setup, printers, cameras, plugs, and devices far from the router, 2.4 GHz remains extremely useful. It may not win speed contests, but it wins plenty of compatibility battles. When 5 GHz is too fast, too short-range, or too automatic for a fussy device, 2.4 GHz is the dependable old friend who still picks up the phone.
Use separate names when you need control, keep passwords secure, and switch your iPhone back to 5 GHz when speed matters. That is the cleanest way to enjoy both worlds without letting your Wi-Fi network turn into a tiny soap opera.