Internet Explorer may now be the browser equivalent of a flip phone at a tech conference, but it still matters in many offices, legacy systems, school portals, government tools, and older Windows environments. If you are trying to access an internal website, connect through a company network, use a library database, or troubleshoot a stubborn connection issue, knowing how to enter proxy settings in Internet Explorer can save you from a surprising amount of digital head-scratching.
A proxy server acts like a middleman between your computer and the internet. Instead of your browser connecting directly to a website, your request first goes through the proxy. Businesses use proxy servers to filter traffic, improve security, control access, log network activity, or route users through a specific gateway. Schools and libraries may use proxy settings to verify that you are authorized to access paid research databases. In other words, a proxy is not magic; it is more like a polite network receptionist that checks where you are going before waving you through.
This guide explains how to enter proxy settings in Internet Explorer in 10 clear steps. It also covers automatic configuration scripts, manual proxy addresses, ports, exceptions, troubleshooting tips, and security best practices. Even if Internet Explorer is not your daily browser anymore, the settings you change here can affect Windows internet behavior and certain apps that rely on system proxy settings. So yes, this old browser still has a few buttons worth knowing.
What Are Proxy Settings in Internet Explorer?
Proxy settings in Internet Explorer tell the browser how to connect to the internet through a proxy server. These settings are located under Internet Options, specifically in the Connections tab and LAN Settings window. Depending on your network, you may use one of three common proxy setups:
1. Automatically Detect Settings
This option lets Windows search for proxy information automatically, often using Web Proxy Auto-Discovery, also called WPAD. It is common on corporate networks where IT teams do not want every employee manually typing server addresses like it is 2004.
2. Use Automatic Configuration Script
A proxy auto-configuration file, often called a PAC file, tells the browser which proxy to use for different websites. For example, your school may route library databases through a proxy but let regular websites connect directly.
3. Manual Proxy Server
This option requires you to enter a proxy server address and port number. It may look something like proxy.company.com with port 8080, or an IP address such as 192.168.1.100 with a specific port.
The correct choice depends on the instructions from your IT department, school, library, proxy provider, or network administrator. Guessing proxy settings is like guessing a Wi-Fi password at a coffee shop: technically possible, emotionally draining, and usually unsuccessful.
Before You Start: What You Need
Before entering proxy settings in Internet Explorer, gather the correct information. You may need:
- The proxy server address or IP address
- The proxy port number
- A proxy auto-configuration script URL, if your organization uses one
- Any required username and password
- A list of websites that should bypass the proxy
- Administrator permission, if your computer is managed by an organization
If your proxy settings are grayed out, your device may be controlled by Group Policy, security software, malware, or a managed workplace configuration. In that case, do not immediately blame Internet Explorer. Sometimes the browser is innocent, which is not a sentence people have said often in the last decade.
How to Enter Proxy Settings in Internet Explorer: 10 Steps
Step 1: Open Internet Explorer
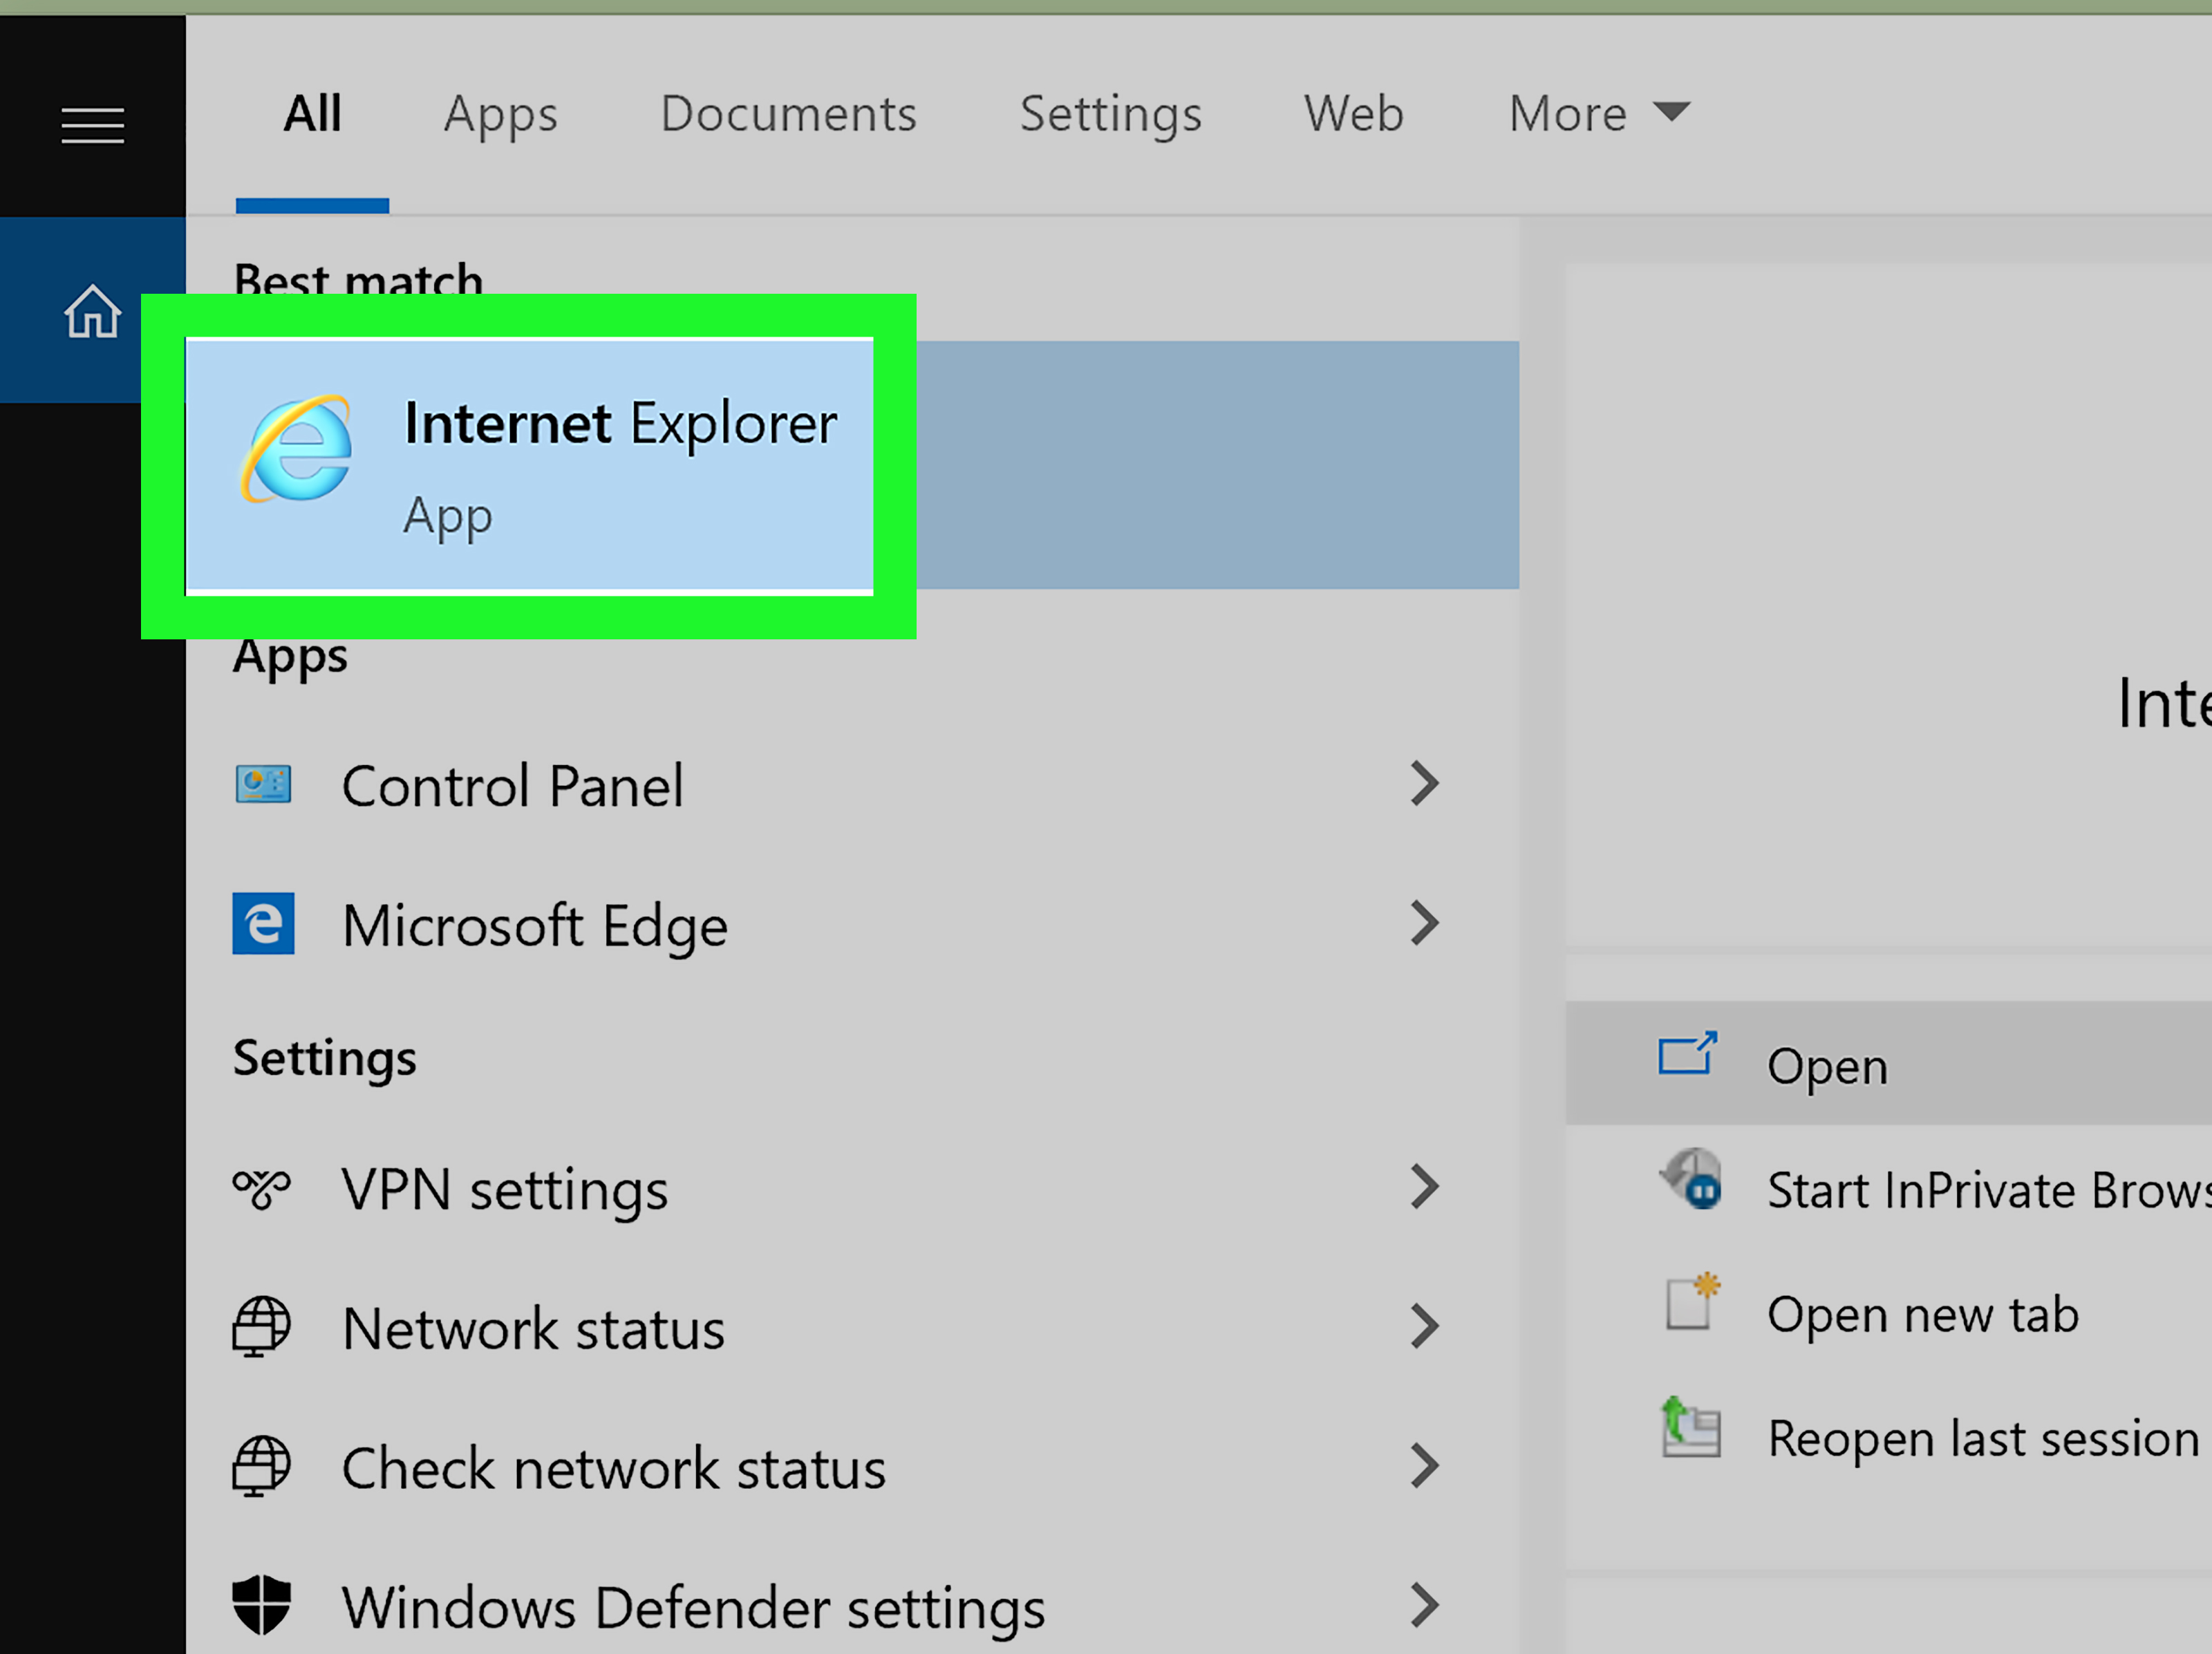
Start by opening Internet Explorer from the Start menu, desktop shortcut, or taskbar. On some newer Windows systems, Internet Explorer may redirect to Microsoft Edge because the Internet Explorer desktop app has been retired on many versions of Windows. If you still need legacy compatibility, your organization may use Microsoft Edge with IE mode instead.
If Internet Explorer is available, open it normally. If it does not appear in your Start menu, search for Internet Options instead. Many proxy settings can be accessed directly through Windows without opening the browser itself.
Step 2: Click the Gear Icon or Tools Menu
In the top-right corner of Internet Explorer, click the gear icon. This opens the Tools menu. If you are using an older version of Internet Explorer and do not see the gear icon, press the Alt key on your keyboard to reveal the classic menu bar, then click Tools.
This menu is where many of Internet Explorer’s important settings live, including security, privacy, add-ons, compatibility view, and Internet Options. It is basically the browser’s junk drawer, but organized enough to be useful.
Step 3: Select Internet Options
From the Tools menu, choose Internet Options. A new window will appear with several tabs, including General, Security, Privacy, Content, Connections, Programs, and Advanced.
For proxy settings, the important tab is Connections. This is where Internet Explorer manages dial-up, VPN, and LAN connection behavior. Even if you are using Wi-Fi or Ethernet, the LAN Settings button is usually where the proxy configuration lives.
Step 4: Open the Connections Tab
Click the Connections tab. You may see options for dial-up and VPN settings, but most users should look near the bottom of the window for the Local Area Network (LAN) settings section.
Do not worry if the wording feels old-fashioned. “LAN” simply means your local network connection, which may include wired Ethernet, office networks, or Wi-Fi connections. Internet Explorer comes from an era when “local area network” sounded cooler than “the office Wi-Fi that goes down every Tuesday.”
Step 5: Click LAN Settings
Click the LAN Settings button. This opens the Local Area Network Settings window. Here you will see options for automatic configuration and manual proxy server setup.
The main checkboxes usually include:
- Automatically detect settings
- Use automatic configuration script
- Use a proxy server for your LAN
- Bypass proxy server for local addresses
This small window is the control panel for your proxy connection. Tiny window, big consequences.
Step 6: Choose Automatic Detection If Required
If your organization tells you to use automatic proxy detection, check Automatically detect settings. This allows Windows and Internet Explorer to search for proxy configuration automatically.
This option is useful in offices, campuses, and managed networks where proxy details are distributed automatically. However, it can sometimes slow down browsing startup if the system spends time searching for configuration that does not exist. If your home internet works better with this option unchecked, that is normal. Home networks usually do not need automatic proxy discovery.
Step 7: Enter an Automatic Configuration Script If Provided
If you were given a script address, check Use automatic configuration script. Then enter the script URL in the Address field. A proxy script address may look similar to:
http://proxy.example.com/proxy.pac
After entering the script URL, Internet Explorer will follow the rules in that file. A PAC file can decide when to use a proxy and when to connect directly. This is especially useful for schools, libraries, and workplaces that route only certain traffic through a proxy.
Make sure you type the full address exactly. One missing slash can turn a perfectly valid setup into a tiny networking tragedy.
Step 8: Enter the Manual Proxy Server Address and Port
If you need to configure a manual proxy, check Use a proxy server for your LAN. Then enter the proxy address and port number in the appropriate fields.
For example:
- Address:
proxy.company.com - Port:
8080
Some proxy servers use common ports such as 80, 8080, 3128, or 8888, but you should always use the exact port provided by your network administrator or proxy service. The address tells Internet Explorer where the proxy server is. The port tells it which “door” to knock on.
If your proxy requires different settings for HTTP, HTTPS, FTP, or SOCKS, click the Advanced button and enter the details in the correct fields. Most everyday users will not need this advanced area, but it is helpful in more technical environments.
Step 9: Add Exceptions and Bypass Local Addresses
If you need certain sites to connect directly instead of through the proxy, click Advanced and use the exceptions box. You may also check Bypass proxy server for local addresses.
This is useful for internal websites, printers, routers, intranet tools, and local servers. For example, you may want addresses such as intranet.company.com or 192.168.* to avoid the proxy.
Proxy exceptions prevent unnecessary detours. Without them, Internet Explorer may try to reach a nearby internal resource by sending the request through a faraway proxy server. That is like mailing a note to someone sitting next to you by sending it through another state.
Step 10: Click OK, Apply, and Test the Connection
After entering your proxy settings, click OK to close the LAN Settings window. Then click OK or Apply in the Internet Options window.
Now test your connection. Open a website that should work through the proxy. If you are configuring a school or company proxy, test the internal service or restricted website you were trying to access. If a login prompt appears, enter the username and password provided by your organization.
If the website loads, congratulations. You have successfully entered proxy settings in Internet Explorer. You may now enjoy the rare satisfaction of making legacy software behave.
How to Access Proxy Settings Without Opening Internet Explorer
If Internet Explorer will not open, you can still reach the same settings through Windows.
Option 1: Use Control Panel
Open Control Panel, search for Internet Options, and select it. Then go to Connections and click LAN Settings. This opens the same proxy configuration window used by Internet Explorer.
Option 2: Use the Run Command
Press Windows + R, type inetcpl.cpl, and press Enter. This opens Internet Properties directly. From there, go to Connections and choose LAN Settings.
Option 3: Use Windows Settings
On Windows 10 and Windows 11, you can open Settings, go to Network & Internet, and select Proxy. Modern Windows proxy settings include automatic detection, setup scripts, and manual proxy configuration. This is the newer route, especially for users who no longer have access to the Internet Explorer desktop app.
Common Problems When Entering Proxy Settings
The Proxy Settings Are Grayed Out
If the checkboxes or fields are unavailable, the settings may be controlled by your employer, school, antivirus software, or Windows Group Policy. On a work computer, contact IT before trying to override the settings. On a personal computer, scan for malware if the proxy keeps reappearing without your permission.
The Internet Stops Working After Enabling a Proxy
This usually means the proxy address, port, script URL, or authentication details are incorrect. Reopen LAN Settings and double-check everything. If you are not required to use a proxy, uncheck Use a proxy server for your LAN and try again.
Only Some Websites Work
This can happen when the proxy blocks certain categories, the PAC file has rules for specific domains, or exceptions are missing. If internal sites fail, try enabling Bypass proxy server for local addresses or adding the site to the exceptions list.
A Login Box Keeps Appearing
Some proxies require authentication. If the login box keeps returning, your username, password, domain, or account permission may be wrong. In workplaces, proxy authentication may be tied to your Windows account.
The Proxy Keeps Turning Itself Back On
If your proxy setting re-enables itself after you turn it off, check for VPN software, security tools, browser extensions, malware, or corporate management policies. Some legitimate applications modify proxy settings to inspect or route traffic. Some unwanted programs do the same thing for far less charming reasons.
Proxy Server Safety Tips
Not every proxy server is safe. A trusted workplace proxy can be useful. A random free proxy found online can be risky. The proxy operator may be able to see traffic metadata, block pages, inject content, log browsing behavior, or interfere with unencrypted connections. If you need privacy on public Wi-Fi, a reputable VPN may be a better choice than an unknown proxy server.
Follow these basic safety rules:
- Use proxy settings only from a trusted organization or provider.
- Avoid entering passwords on websites that do not use HTTPS.
- Do not use random free proxies for banking, email, work accounts, or personal data.
- Remove proxy settings when you no longer need them.
- Scan your computer if proxy settings change without your action.
- Ask IT before changing proxy settings on a managed device.
A proxy can be helpful, but it is not a universal privacy shield. Think of it as a routing tool, not an invisibility cloak. The internet has enough myths already; we do not need to give proxies a superhero cape.
Should You Still Use Internet Explorer for Proxy Settings?
Internet Explorer 11 is the final version of Internet Explorer, and the desktop application has been retired on many Windows versions. Microsoft now recommends Microsoft Edge, including IE mode for legacy websites that still require Internet Explorer compatibility.
However, the old Internet Options panel still matters because some Windows components and older applications rely on those system-level settings. If you are supporting a legacy application, internal business portal, outdated web control, or old device management interface, Internet Explorer proxy settings may still be relevant.
For daily browsing, use a modern browser. For legacy troubleshooting, Internet Options can still be the dusty toolbox you pull from the shelf when the shiny new tools refuse to fit the old screws.
Quick Checklist: Internet Explorer Proxy Setup
- Open Internet Explorer or Internet Options.
- Go to Tools > Internet Options.
- Select the Connections tab.
- Click LAN Settings.
- Choose automatic detection, script configuration, or manual proxy.
- Enter the proxy address and port if required.
- Add exceptions if needed.
- Click OK and Apply.
- Restart the browser if the settings do not take effect.
- Test the connection with the website or service you need.
Real-World Experience: What It Is Like to Set Proxy Settings in Internet Explorer
Anyone who has worked with older office computers, school library systems, or business intranet tools knows that proxy settings can feel simple in theory and oddly dramatic in practice. The steps are not hard: open Internet Options, go to Connections, click LAN Settings, type the proxy address, enter the port, and click OK. That sounds easy enough. But real life loves adding confetti.
One common experience is discovering that the proxy address was copied with an extra space at the end. Everything looks right, the port is correct, the checkbox is checked, and yet the browser refuses to connect. After twenty minutes of serious troubleshooting face, you notice the tiny invisible space after the address. Delete it, click OK, and suddenly the page loads. The computer does not apologize.
Another frequent situation happens in offices where employees move between networks. At work, the company proxy is required. At home, that same proxy makes the internet stop working. The user calls support and says, “My Wi-Fi is broken.” The Wi-Fi is not broken. The browser is simply trying to reach the entire internet through a company server that is no longer reachable. Turning off the manual proxy or switching back to automatic detection often fixes the issue immediately.
School and library proxies create their own little adventure. A student may need access to academic journals from home, so the library provides a PAC file address. The user enters it under Use automatic configuration script, but accidentally leaves Use a proxy server for your LAN checked with old settings from another network. Now two configurations are competing, and the browser behaves like it has been asked to choose between two GPS routes while blindfolded. The fix is usually to use only the method the institution recommends.
Managed work computers can be even trickier. Sometimes the LAN Settings button opens, but the boxes are grayed out. This usually means IT controls the configuration. In that case, trying to “outsmart” the policy is not a great move. The better option is to contact support and explain the exact problem: which website fails, whether the error appears on all browsers, and whether the issue happens only outside the office network.
From experience, the best way to handle proxy setup is to write down the original settings before changing anything. Take a screenshot or make a quick note. If the new setup fails, you can return to the previous configuration instead of performing the ancient ritual known as “clicking random boxes until something changes.”
It also helps to test one change at a time. Do not enable automatic detection, add a script, enter a manual proxy, add exceptions, restart the browser, clear cache, change DNS, and reboot the router all at once. That creates a troubleshooting smoothie, and nobody wants to drink it. Make one change, test, then move to the next.
The final lesson is simple: proxy settings are powerful because they sit between your computer and the web. A correct proxy can unlock internal tools, research databases, filtered networks, and secure routing. An incorrect proxy can make the internet appear completely broken. Treat the settings with respect, verify the address and port, and keep your original configuration handy. Internet Explorer may be old, but when it comes to proxy troubleshooting, it can still teach modern users a few practical lessons.
Conclusion
Entering proxy settings in Internet Explorer is a straightforward process once you know where to look. Open Internet Options, go to the Connections tab, click LAN Settings, and choose the proxy method your network requires. You may use automatic detection, a configuration script, or a manual proxy address and port. The key is accuracy: one wrong character in a proxy address can make the entire connection fail.
Although Internet Explorer has largely been replaced by Microsoft Edge, its Internet Options settings remain useful for legacy applications, managed computers, older systems, and troubleshooting. Whether you are connecting to a workplace proxy, accessing a school database, or fixing a browser that refuses to load pages, these 10 steps give you a practical path forward. And if the settings still do not work, do not panic. Check the address, confirm the port, review exceptions, remove old settings, and ask your network administrator when needed. The proxy may be a middleman, but you are still in charge.
Note: This article is based on current Windows proxy behavior, Internet Explorer legacy configuration practices, and widely accepted network troubleshooting guidance. For modern daily browsing, use a supported browser and trusted proxy or VPN services only.