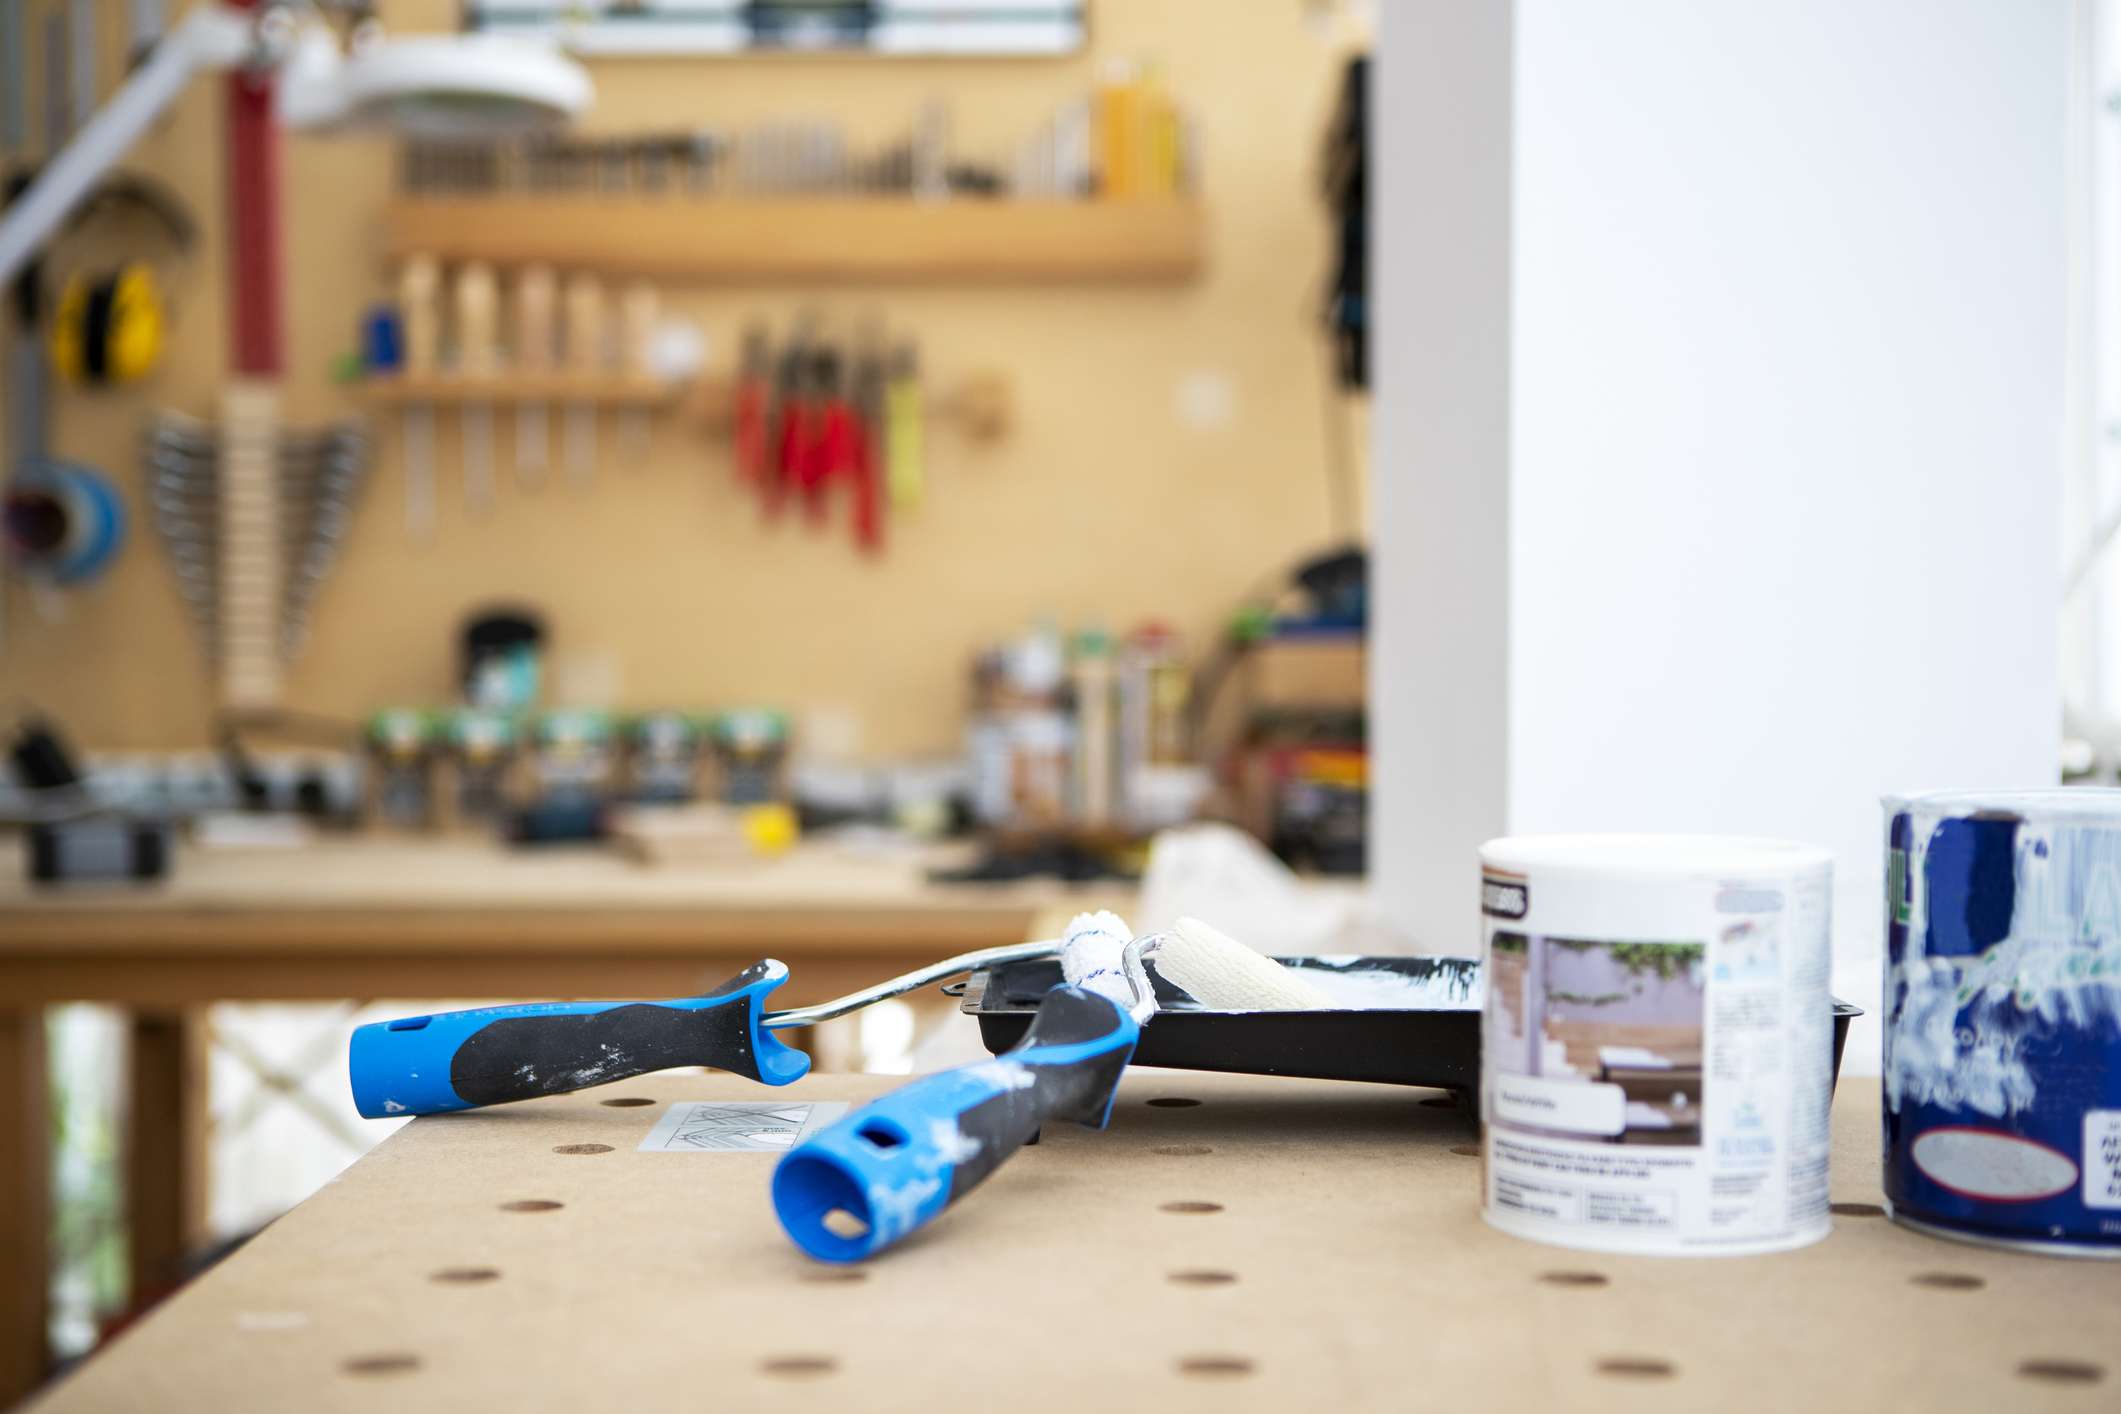
DIY can be wonderful. It can save money, add personality, and give you the deeply satisfying feeling that you, a mere mortal with a drill and an overconfident playlist, have conquered your own home. But there is a fine line between “smart weekend upgrade” and “why does this room look like it lost a fight with a bargain bin?”
That line usually appears when a project is rushed, overdone, poorly prepped, or chosen because it looked amazing in a 12-second social video and not because it actually suits the house. Contractors and renovation pros see the same visual mistakes again and again: bad paint, obvious fake finishes, crooked tile, clumsy caulk, and trendy wall treatments that age faster than a carton of milk in July.
The tricky part is that many of these projects start with good intentions. A homeowner wants to “freshen up” a kitchen, cover a dated wall, or make a bathroom look custom without hiring a pro. Fair enough. But some DIY choices end up making a home look cheaper, messier, and more obviously amateur than it did before. And once the seams start showing, literally or figuratively, the whole room suffers.
Below are six tacky home DIYs that contractors, painters, and design pros often say make a home look bad almost instantly. Better yet, we’ll also cover what to do instead, so your next project looks intentional instead of accidental.
Why Some DIY Projects Backfire So Fast
A bad DIY rarely fails because the idea was terrible on paper. It fails because the execution gives the project away. Humans are surprisingly good at spotting when something is just a little off: a wavy paint line, a shelf that sags, grout lines that wander like a toddler at the zoo, or a faux finish trying very hard to impersonate marble and not quite pulling it off.
In other words, tacky DIYs usually have one thing in common: they look unfinished, overly trendy, or fake. When a project hurts function along with appearance, that is when contractors really start sighing into their coffee.
1. Sloppy Paint Jobs and Random Accent Walls
Paint is the gateway DIY. It feels approachable, affordable, and forgiving. Sometimes it is. Sometimes it also leaves behind drips, lap marks, roller lines, patchy coverage, and trim that looks like it was painted during a mild earthquake.
This is one of the fastest ways to make a home look bad because paint covers a lot of visual real estate. If the finish is uneven, the room immediately feels messy. If the wall wasn’t patched, sanded, cleaned, and primed correctly, the final result can highlight every dent, seam, and old repair instead of hiding them. That is not “character.” That is your wall snitching on you.
Then there is the random accent wall. For years, homeowners treated one bold wall like a magic trick that would make a room feel current. Today, that move often reads more dated than daring, especially when the accent color is disconnected from the rest of the room or used to distract from bland furnishings. One dramatic navy wall surrounded by three beige walls can make a room look chopped up rather than elevated.
What to do instead
Take paint seriously even if the project is inexpensive. Patch holes, sand rough spots, clean the surface, tape carefully, and use the right primer and finish for the material. Test colors on large swatches and look at them during the day and at night. If you want drama, go all in with a cohesive room palette or bring in color through art, rugs, upholstery, or curtains instead of one lonely “statement” wall begging for attention.
2. Messy Drywall Repairs and Texture Cover-Ups
Nothing screams “DIY gone sideways” quite like visible drywall seams. Contractors notice them instantly. So do guests, even if they cannot explain why the room feels off. A wall should disappear into the room. When you can see tape lines, uneven mud, sanding scratches, or bulging patch areas, the wall becomes the main character, and not in a good way.
This mistake often happens when homeowners underestimate drywall work. Hanging, taping, mudding, feathering, sanding, and blending all require more finesse than social media makes it seem. Some people then try to hide a bad repair with heavy wall texture, aggressive orange peel, or a decorative coating applied with the optimism of someone who has already bought the drop cloth but not the skill.
Sometimes the result is worse than the original hole. Instead of a smooth wall, you get a lumpy patch that catches light from every angle and announces itself to the entire room. Add glossy paint, and congratulations, you have created a spotlight for your mistake.
What to do instead
For very small holes, use proper patch kits, thin coats of compound, and patient sanding between coats. For larger areas, it is often smarter to call in a pro. Drywall is one of those jobs where skilled labor pays off visually. If you do tackle it yourself, blend farther out than you think you need to and never skip primer before painting.
3. Peel-and-Stick Everything That Pretends to Be Something Else
Peel-and-stick products are not automatically bad. In fact, some are useful in rentals, low-commitment spaces, or small decorative applications. The problem starts when they are used as a full-on impersonation of expensive permanent materials in places where they cannot convincingly perform.
Think fake marble contact paper on countertops, faux subway tile sheets in a high-splash kitchen, bargain vinyl flooring with repetitive patterns, or adhesive backsplash panels that look decent from ten feet away and mildly haunted from three. Once corners lift, seams show, patterns repeat too obviously, or surfaces bubble from moisture and heat, the room starts to look cheap fast.
That is because people do not just see the product; they see the shortcut. And shortcuts are most obvious in kitchens, bathrooms, and entryways, where real wear and tear quickly expose what was meant to be temporary. A faux finish can save money upfront, but if it looks fake almost immediately, the visual cost is high.
What to do instead
Use peel-and-stick strategically, not theatrically. It can work in a laundry room, closet, low-humidity powder room, or inside cabinets. But for the most visible surfaces in your home, choose honest materials over fake luxury. A simple laminate, durable paint, or well-chosen budget tile usually looks better than a “marble” film trying to fool no one.
4. Overdone Shiplap, Farmhouse Feature Walls, and Faux Rustic Tricks
There was a time when every other DIY project involved shiplap, distressed wood, barn doors, rustic signs, or some variation of “let’s make this suburban hallway look like a highly stylized tractor brochure.” Used sparingly and in the right house, some of these elements can still work. Used everywhere, they can make a home look theme-y and dated almost overnight.
The issue is not wood detail itself. The issue is overuse and mismatch. If your home has a contemporary, colonial, midcentury, or traditional profile, slapping a faux farmhouse treatment on every blank wall can feel disconnected from the architecture. It is the decorating equivalent of forcing everyone at a dinner party to wear cowboy boots because one person likes country music.
Contractors and designers often point out that wall treatments should add depth, not dominate the room. When every room has paneling, every shelf has faux-aged stain, and every sign is shouting a scripted slogan about gathering, the house stops feeling curated and starts feeling costume-designed.
What to do instead
If you love texture, use it with restraint. One thoughtfully placed wall treatment can add character. Ten of them can make the home feel overcommitted to a trend. Choose millwork, panel molding, beadboard, or wood detailing that fits the age and style of the house. And maybe let at least one wall remain a wall. They have earned a day off.
5. Amateur Tile Work, Wonky Backsplashes, and Thick Caulk Beads
Tile is where many ambitious DIY dreams go to become expensive lessons. A backsplash or bathroom floor may look straightforward, but poor tile installation is incredibly easy to spot. Uneven spacing, crooked rows, awkward cuts at edges, chipped corners, lippage between tiles, smeared grout haze, or cracking grout lines can make a room look unfinished even when everything else is new.
Then comes caulk, the small detail with giant visual power. Sloppy caulk lines around tubs, sinks, backsplashes, and trim are one of the most common signs of rushed work. If the bead is too thick, too messy, already peeling, or smeared across adjacent surfaces, it makes the whole area look grimy and amateur. In kitchens and bathrooms, bad caulk is not just ugly. It can also invite moisture problems, which is a terrible bonus feature.
Tile and grout also age badly when the wrong materials are used or when maintenance is ignored. Cracked grout, chipped tile, and dirty joints quickly make a space feel neglected, even if the renovation was expensive. Nothing says “luxury spa bathroom” like one cracked tile and a caulk line that resembles icing applied from a moving vehicle.
What to do instead
Be realistic about your skill level. Small, simple tile projects are more forgiving than large walls or floors with lots of cuts. Plan your layout before setting the first tile. Use spacers, the correct trowel, proper underlayment, and color-matched finishing materials. Remove old caulk completely before replacing it, and keep the new line neat, thin, and clean. If the room is highly visible or moisture-prone, hiring a pro is often money well spent.
6. Open Shelving and Hacked Cabinetry That Sacrifice Function
Few DIY trends have convinced more homeowners to remove perfectly useful storage in the name of style than open shelving. On social media, open shelves look airy, curated, and charming. In real life, they often look like a dust collection strategy with mugs.
When upper cabinets are ripped out and replaced with shelves, the kitchen can lose practical storage, visual calm, and everyday flexibility. Unless your dishes match, your styling is disciplined, and your housekeeping habits are borderline Olympic, the shelves can start to look cluttered quickly. And when the brackets are bulky, the wood is overly rustic, or the shelves sag, the whole kitchen starts drifting toward “unfinished coffee shop set.”
Cabinet “hacks” can also go wrong when they are too trendy or poorly executed. Oversized hardware, misaligned doors, badly painted cabinets, cheap trim add-ons, or mismatched knobs and pulls can make cabinetry look cheaper rather than custom. The goal of a cabinet update should be cohesion. If every drawer looks like it was assigned a different personality, the room loses polish.
What to do instead
Use open shelving sparingly, especially in kitchens. A small run of shelves for everyday dishes or decor can work well, but keep most storage concealed. If you are updating cabinets, focus on consistent hardware, clean alignment, durable finishes, and subtle details. A quieter upgrade usually looks more expensive than a dramatic hack trying too hard to impress.
How to DIY Without Making Your Home Look Worse
The good news is that DIY itself is not the villain here. Plenty of projects look fantastic when they are chosen wisely and finished properly. The trick is knowing when to go simple, when to stop chasing trends, and when to call someone with more tools and less ego.
- Prioritize prep over speed.
- Choose projects that suit your home’s architecture.
- Avoid fake finishes in high-visibility areas.
- Use trendy features in moderation, not every room at once.
- Respect details like grout lines, caulk, seams, and hardware alignment.
- If a project affects water, heat, exterior protection, or major surfaces, think twice before winging it.
The most beautiful homes do not necessarily look expensive. They look intentional. That is the real difference. A modest room with clean paint, solid storage, honest materials, and careful finishing will almost always look better than a trend-packed room full of shortcuts.
Final Takeaway
If a DIY project makes your home look unfinished, fake, cluttered, or overstyled, it is probably not saving you money in the long run. Sloppy paint, bad drywall, peel-and-stick overreach, overdone farmhouse walls, crooked tile, and impractical open shelving all have one thing in common: they draw attention to the wrong things.
Contractors tend to agree that the best upgrades are the ones that improve both appearance and function. That means clean lines, careful prep, durable materials, and enough restraint to know when a trend is fun on the internet but exhausting in a real house.
So before you grab the caulk gun, the peel-and-stick faux marble, or twelve planks of distressed “barnwood” for your powder room, pause for a second. Your house does not need more drama. It needs better decisions.
Experience-Based Lessons Homeowners Learn the Hard Way
If you talk to enough homeowners, you start hearing the same stories. Someone spends a Saturday painting kitchen cabinets because a video promised a “luxury transformation” in one weekend. By Sunday night, the doors are streaky, the finish feels tacky, and every fingerprint has become a permanent design feature. What looked easy online turns out to require labeling hinges, sanding thoroughly, priming properly, curing patiently, and accepting that cabinet painting is not the same as painting a bedroom wall. Many people do not realize that until they are reinstalling crooked doors at 11:30 p.m. while muttering things not fit for a family room.
Then there is the backsplash story. A homeowner wants the kitchen to feel updated, so they buy peel-and-stick tile or try laying real tile for the first time. At first, it looks surprisingly decent. Then sunlight hits it the next morning. Suddenly every uneven row becomes visible. The outlet cutouts are jagged, one corner tile sits higher than the rest, and the grout line near the cabinet somehow widens like it is trying to escape. The kitchen is technically “done,” but the eye goes straight to the mistakes every single time.
Bathrooms generate their own category of regret. Homeowners often remember the moment they realize caulk is not supposed to resemble toothpaste applied with a snow shovel. They wanted fresh, clean lines around the tub or sink. Instead, they got smears, gaps, and an oddly lumpy seal that collects mildew like it has a personal mission. The room may be newly updated, but the finish work makes it feel dirtier than it really is.
Feature walls create another familiar experience. Someone decides one wall needs “personality,” so out comes the dark paint, the wood slats, the faux brick panels, or the farmhouse sign large enough to communicate with aircraft. During installation, the excitement is real. A few weeks later, the wall starts to feel louder than the rest of the room. Furniture no longer works with it. Decor has to compete with it. Instead of adding style, the feature takes over like an overeager party guest who will not leave.
Open shelving regret tends to arrive slowly. At first, homeowners love the airy look. Then daily life happens. Mismatched cereal bowls, water bottles, paper towels, medicine, random mugs, and the giant plastic cup from a baseball game all need somewhere to live. Suddenly the “curated shelf moment” looks like a yard sale with better lighting. People often discover that what they really wanted was less visual bulk, not less storage.
The lesson from all of these experiences is simple: the projects that age best are the ones rooted in patience, proportion, and practicality. Homeowners rarely regret thoughtful prep, balanced design, or calling in help when the job gets too technical. They do, however, regret rushing, overdecorating, and trusting a trend more than their own house. If that sounds familiar, do not panic. Almost every bad DIY can be fixed. It just usually costs more than doing it carefully the first time.