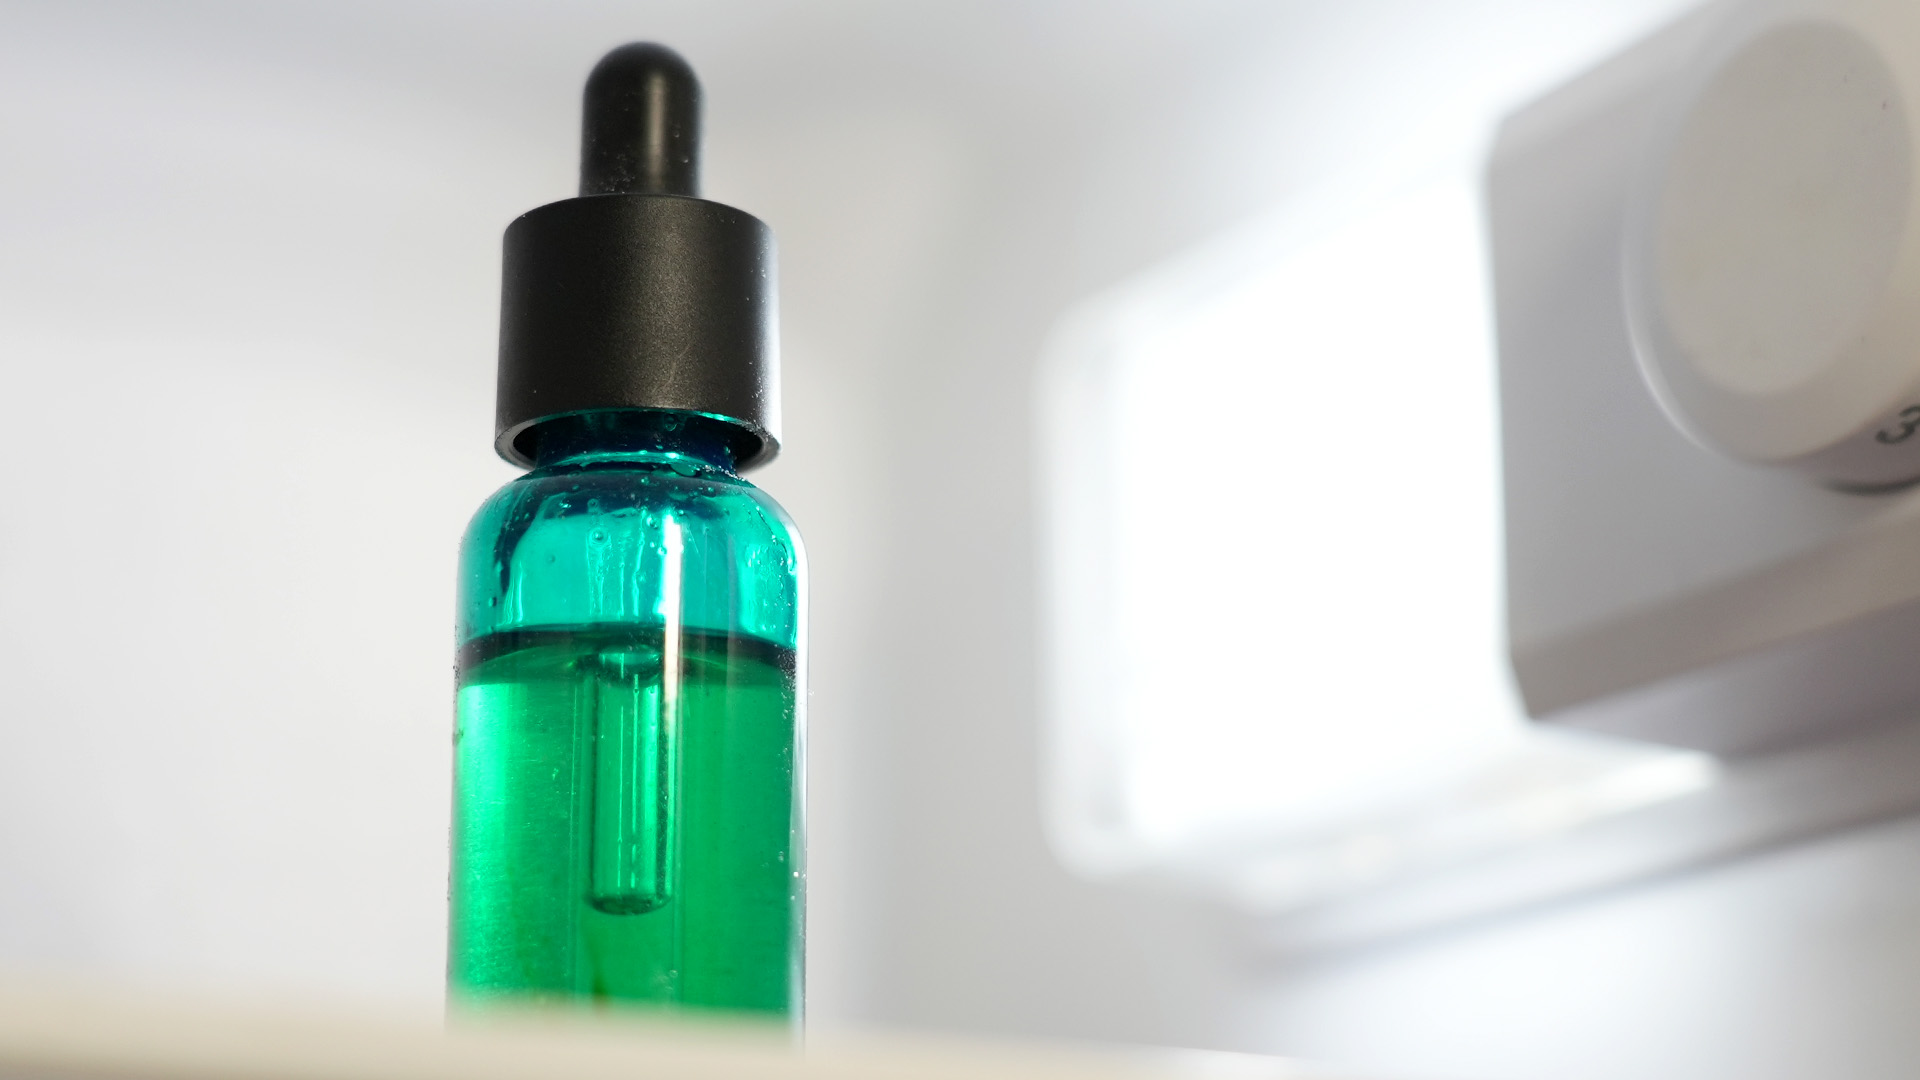
There is something wonderfully satisfying about turning a few simple ingredients into a beauty product that looks as though it belongs on a boutique shelf. Add a tiny bottle of essential oil, and suddenly your bathroom feels less like a bathroom and more like a spa where nobody asks whether you would like to upgrade your treatment for another $79.
DIY essential oil beauty recipes can be affordable, customizable, and surprisingly easy to prepare. The trick is remembering that essential oils are highly concentrated plant extractsnot harmless scented water. More is not better. More is usually just more likely to make your skin send an angry complaint.
The six recipes below use conservative amounts of essential oil and focus on uncomplicated, mostly oil-based formulas for the face, body, scalp, hands, and nails. Each blend can be made in a small batch, adjusted for texture, and packaged in a clean container for everyday use or gifting.
Essential Oil Beauty Safety Before You Start
Essential oils may come from flowers, leaves, roots, bark, or fruit peels, but “natural” does not automatically mean gentle. Concentrated oils can irritate skin, trigger allergic contact dermatitis, and cause serious poisoning when swallowed. Tea tree, peppermint, lavender, and several other popular oils have all been associated with adverse skin reactions, particularly when used undiluted or at high concentrations.
The U.S. Food and Drug Administration regulates products according to their intended use. A homemade balm intended to soften skin is a cosmetic, but claiming that it cures eczema, kills an infection, or treats a disease moves the product into drug-claim territory. Essential oils should therefore be discussed realistically: they add fragrance and may enhance the sensory experience of a beauty routine, but they are not miniature bottles of guaranteed medical miracles.
Use a Conservative Dilution
For leave-on facial products, a dilution around 0.5% is a cautious starting point. In practical kitchen terms, that is approximately one drop of essential oil in two teaspoons, or 10 milliliters, of carrier oil. For body products, approximately four to six drops per fluid ounce of carrier is still relatively mild. Drop size varies by bottle, so anyone making products for sale should measure formulas by weight rather than relying on drops.
Professional aromatherapy guidance generally recommends diluting essential oils before topical use. Higher concentrations increase the possibility of irritation, especially on damaged, inflamed, freshly shaved, or highly sensitive skin.
Patch-Test the Finished Blend
Apply a tiny amount of the completed product to a small area of intact skin, such as the inner forearm. Wait at least 24 hours before using it more widely. A successful patch test does not guarantee that an allergy will never develop, but it can reveal an immediate irritation before your entire face becomes involved in the experiment.
People with eczema, fragrance allergies, or very reactive skin may be better served by fragrance-free products. Dermatologists note that essential oils and fragrance ingredients can irritate sensitive skin or cause allergic rashes.
Be Careful With Sun-Sensitive Citrus Oils
Some cold-pressed citrus oils, particularly expressed bergamot, bitter orange, lemon, and lime, may increase the risk of a phototoxic skin reaction when followed by ultraviolet exposure. Distilled citrus oils and specially processed “FCF” or furanocoumarin-free oils may have different safety profiles, but the extraction method must be verified. When uncertain, keep citrus oils out of leave-on daytime skin products.
Keep Everything Clean and Clearly Labeled
Wash and thoroughly dry bowls, spoons, funnels, jars, and bottles before mixing. Water encourages microbial growth, so do not introduce wet fingers or damp utensils into an oil-based product. Label every container with the ingredients and preparation date. Store essential oils and finished blends away from direct sunlight, excessive heat, children, and pets.
1. Gentle Lavender and Jojoba Facial Oil
This minimalist facial oil is designed for people who want a light finishing layer without turning their nighttime routine into a chemistry final. Jojoba is technically a liquid wax, and its smooth, lightweight texture makes it popular in facial products. Lavender contributes a soft herbal fragrance, although it should still be treated as a potential allergen rather than a universal skin-soothing superhero.
Ingredients
- 2 teaspoons jojoba oil
- 1 drop lavender essential oil
- 1 clean 10-milliliter dark glass dropper bottle
Instructions
- Pour the jojoba oil into the clean, completely dry bottle.
- Add one drop of lavender essential oil.
- Close the bottle and roll it gently between your palms to combine.
- Label the bottle with the ingredients and date.
How to Use It
At night, place one or two drops in your palm and press the oil onto slightly damp skin after cleansing. Avoid the eyelids, lips, nostrils, and any broken or irritated areas. Start by using it two or three evenings per week rather than immediately declaring it your new personality.
Customization Tip
For a fragrance-free version, omit the lavender completely. The result is still a perfectly functional facial oil. Essential oil is an optional accent, not the ingredient holding the universe together.
2. Diluted Tea Tree Blemish-Targeting Oil
Tea tree oil appears in countless products for oily and blemish-prone skin, but applying it straight from the bottle can produce dryness, stinging, burning, or allergic dermatitis. The safer DIY approach is a highly diluted blend applied only to a small area.
Topical tea tree products are tolerated by many people, but irritation is possible, especially when the oil is old or has been exposed repeatedly to heat, air, and light. Tea tree oil must never be swallowed.
Ingredients
- 2 teaspoons jojoba oil
- 1 drop tea tree essential oil
- 1 clean 10-milliliter roller bottle or dropper bottle
Instructions
- Add the jojoba oil to the bottle.
- Add one drop of tea tree essential oil.
- Seal and gently roll the container to mix.
- Store it in a cool, dark cabinet.
How to Use It
After cleansing, use a clean fingertip or cotton swab to apply a pinhead-size amount to one blemish-prone spot. Do not spread it across the entire face. Avoid using it on picked, bleeding, or severely inflamed skin.
When to Skip It
Do not use this blend if you have reacted to tea tree oil before, have extremely sensitive skin, or are already using several strong acne products. Persistent, painful, or scarring acne deserves evidence-based care from a dermatologist rather than increasingly ambitious experiments in the bathroom.
3. Lavender Brown Sugar Body Polish
This body polish combines fine brown sugar with oil to create a quick rinse-off exfoliating treatment. It is intended for tougher body areas such as the legs, elbows, and armsnot the face, where physical scrubbing can easily become too aggressive.
Ingredients
- 1/2 cup fine brown sugar
- 1/4 cup jojoba, grapeseed, or sunflower oil
- 4 drops lavender essential oil
- 1 clean, dry jar with a tight lid
Instructions
- Place the brown sugar in a dry mixing bowl.
- Add the carrier oil gradually while stirring.
- Mix in the lavender essential oil.
- Transfer the scrub to the jar and label it.
How to Use It
Scoop out a small amount with a dry spoon. Massage it gently over damp body skin using light circular motions, then rinse thoroughly. Use no more than once or twice per week. Vigorous scrubbing is not extra effective; it is simply exfoliation with anger-management issues.
Safety Tips
Do not use the scrub on the face, sunburn, cuts, rashes, freshly shaved skin, or active eczema. The oil may make the shower floor slippery, so rinse the tub afterward unless you would like your beauty routine to include an unscheduled balance test.
4. Rosemary and Lavender Pre-Shampoo Scalp Oil
A pre-shampoo oil can make a dry-feeling scalp and hair lengths feel more conditioned. This recipe uses only three drops of essential oil in two tablespoons of carrier oil, creating a mild blend rather than the intensely scented scalp concoctions commonly demonstrated online.
Ingredients
- 2 tablespoons jojoba or grapeseed oil
- 2 drops rosemary essential oil
- 1 drop lavender essential oil
- 1 clean 1-ounce glass bottle
Instructions
- Pour the carrier oil into the bottle.
- Add the rosemary and lavender essential oils.
- Close the bottle and shake gently.
- Write the ingredients and date on the label.
How to Use It
Before shampooing, place approximately one teaspoon of the blend into your palms. Massage a small amount over the scalp and distribute the remainder through dry hair ends. Leave it on for 15 to 20 minutes, then shampoo thoroughly. Fine hair may require two rounds of shampoo.
Important Rosemary Caution
Rosemary essential oil may not be appropriate for everyone. Cleveland Clinic advises caution for people who are pregnant or who have epilepsy or high blood pressure. Those users can omit rosemary and prepare the recipe with only one or two drops of lavender, subject to individual tolerance.
Do not apply scalp oils before using hot styling tools. Oil-coated hair and high heat are not the glamorous collaboration they sound like.
5. Simple Lavender Cuticle Oil
Cuticle oil is one of the easiest DIY beauty products to make because it requires no melting, whipping, heating, or muttering at a double boiler. Jojoba oil helps condition the skin surrounding the nails, while a very small amount of lavender adds fragrance.
Ingredients
- 2 tablespoons jojoba oil
- 2 drops lavender essential oil
- 1 clean nail-polish bottle, roller bottle, or small dropper bottle
Instructions
- Add the jojoba oil to the container.
- Add two drops of lavender essential oil.
- Close and gently roll the bottle to combine.
How to Use It
Apply one small drop to the base of each nail and massage it into the surrounding skin. Use it after washing your hands or before bed. Give the oil several minutes to absorb before touching a phone, keyboard, white shirt, tax document, or anything else that looks better without fingerprints.
Extra-Dry Hand Option
After applying the cuticle oil, cover the hands with a fragrance-free hand cream. This layers an oil-based product beneath a cream, helping reduce the greasy feeling while giving dry skin a more comfortable finish.
6. Lavender Shea Hand and Body Balm
This solid balm is richer than a lotion and contains no added water, making it simpler for home preparation. Shea butter provides body, jojoba oil improves spreadability, and beeswax helps the balm remain firm at room temperature.
Ingredients
- 1/4 cup shea butter
- 2 tablespoons jojoba oil
- 1 tablespoon beeswax pellets
- 6 drops lavender essential oil
- 1 clean, heat-safe 4-ounce jar
Instructions
- Place the shea butter, jojoba oil, and beeswax in a heat-safe bowl.
- Set the bowl over a saucepan containing one or two inches of gently simmering water.
- Stir until the ingredients have completely melted.
- Remove the bowl from the heat and allow the mixture to cool for several minutes.
- Stir in the lavender essential oil.
- Pour the balm into the jar and leave it uncovered until fully firm.
How to Use It
Warm a pea-size amount between your fingertips and massage it into dry hands, elbows, heels, or knees. Because the formula is rich, begin with less than you think you need. You can always add more; removing half a tablespoon of balm from your elbow is a less elegant operation.
Texture Adjustments
For a softer balm, remelt the mixture and add another teaspoon of jojoba oil. For a firmer texture, add a small amount of beeswax. Make adjustments in tiny increments because beeswax takes its job very seriously.
Practical Experiences: What to Expect From a DIY Beauty Session
Making essential oil beauty products looks effortless in a thirty-second video. A glass bowl appears, several aesthetically pleasing drops fall in slow motion, and moments later someone is holding a flawless jar tied with linen ribbon. A real DIY session is usually less cinematic. There may be sugar on the counter, oil on the label, and one dropper bottle that refuses to cooperate until the exact moment you stop watching it.
The Aroma Will Change After Mixing
Essential oil often smells much stronger when first added to a formula. Immediately after mixing, lavender may dominate the room and convince you that one drop could perfume a small airport. After the blend rests for several hours, the aroma usually becomes softer as it disperses through the carrier oil or balm.
This is one reason to resist adding extra drops immediately. Prepare the recipe, close the container, and evaluate the scent the following day. A mild aroma is usually preferable in a leave-on product, particularly when it will be applied close to the nose.
Texture Matters More Than Fancy Ingredients
The most enjoyable homemade product is often the one with the best texture, not the longest ingredient list. A facial oil that spreads smoothly, a scrub that rinses without leaving a thick film, or a balm that melts easily between the fingers is more likely to be used consistently.
Carrier oils feel different on the skin. Grapeseed oil is generally lighter, jojoba feels silky, and coconut oil can become solid when the room gets cool. Climate matters too. A balm that is beautifully soft in January may behave like soup in a hot bathroom during July. Small test batches allow you to adjust the formula without creating enough unwanted balm to wax a dining table.
Small Batches Usually Win
DIY enthusiasm can tempt people to fill every available jar, but small batches are easier to keep clean and use while fresh. Essential oils and carrier oils gradually oxidize after repeated exposure to heat, light, and air. An oil that develops a sharp, stale, paint-like, or otherwise unusual odor should be discarded.
A 10-milliliter facial oil may last surprisingly long because only one or two drops are used at a time. Making a smaller amount also allows you to change the formula if your skin dislikes an ingredient. It is much less painful to retire a tiny bottle than to stare sadly at a mason jar containing enough rejected serum for an entire neighborhood.
Labels Prevent Mysterious Bathroom Archaeology
Every container should list the product name, ingredients, and preparation date. After a few weeks, a pale golden oil in an unlabeled bottle could be facial oil, cuticle oil, scalp oil, or something originally intended for a squeaky hinge.
Use water-resistant labels or cover a paper label with clear tape. Also record the exact number of drops used. When a recipe turns out particularly well, accurate notes make it possible to reproduce instead of relying on the traditional method known as “I think I added a little more of the clear one.”
Your Skin Gets the Final Vote
A beautiful scent, expensive oil, or enthusiastic online review cannot predict how an individual will react. A product may work comfortably on the hands but feel irritating on the face. Another may be pleasant during winter and too heavy during humid weather.
Introduce only one new homemade product at a time. That makes it easier to identify the cause if irritation appears. Stop using a blend that produces persistent redness, itching, burning, swelling, blistering, or worsening breakouts. Do not interpret discomfort as “detoxification.” Skin irritation is not a ceremonial stage of becoming radiant.
Clean Preparation Makes the Process More Enjoyable
Set out every ingredient before beginning, clean the work surface, and keep paper towels nearby. Use dedicated measuring tools when possible, especially for beeswax and strong fragrances. Pouring through a small funnel reduces spills and makes the final container look more polished.
Most importantly, enjoy the process without feeling pressure to replace an entire established skincare routine. DIY beauty works best as a small creative ritual: one simple balm, one carefully diluted oil, or one jar of body scrub. The goal is not to transform the bathroom into an unlicensed cosmetics factory by Tuesday.
Final Thoughts
These six DIY essential oil beauty recipes show that homemade skincare does not need twenty exotic ingredients or enough essential oil to alert the neighbors. Conservative dilution, clean equipment, small batches, careful labeling, and realistic expectations create a safer and more enjoyable experience.
Begin with one recipe, patch-test it, and pay attention to how your skin responds. Essential oils should remain optional fragrance accents within a thoughtful formulanot the main ingredient and certainly not a substitute for medical care. When simplicity leads the recipe, DIY beauty can feel creative, affordable, and genuinely luxurious.
Research note: Safety guidance for this article was synthesized from educational materials published by the FDA, National Center for Complementary and Integrative Health, American Academy of Dermatology, Poison Control, Johns Hopkins Medicine, Cleveland Clinic, Mayo Clinic, Children’s Hospital of Philadelphia, National Association for Holistic Aromatherapy, Tisserand Institute, and peer-reviewed studies indexed by PubMed.