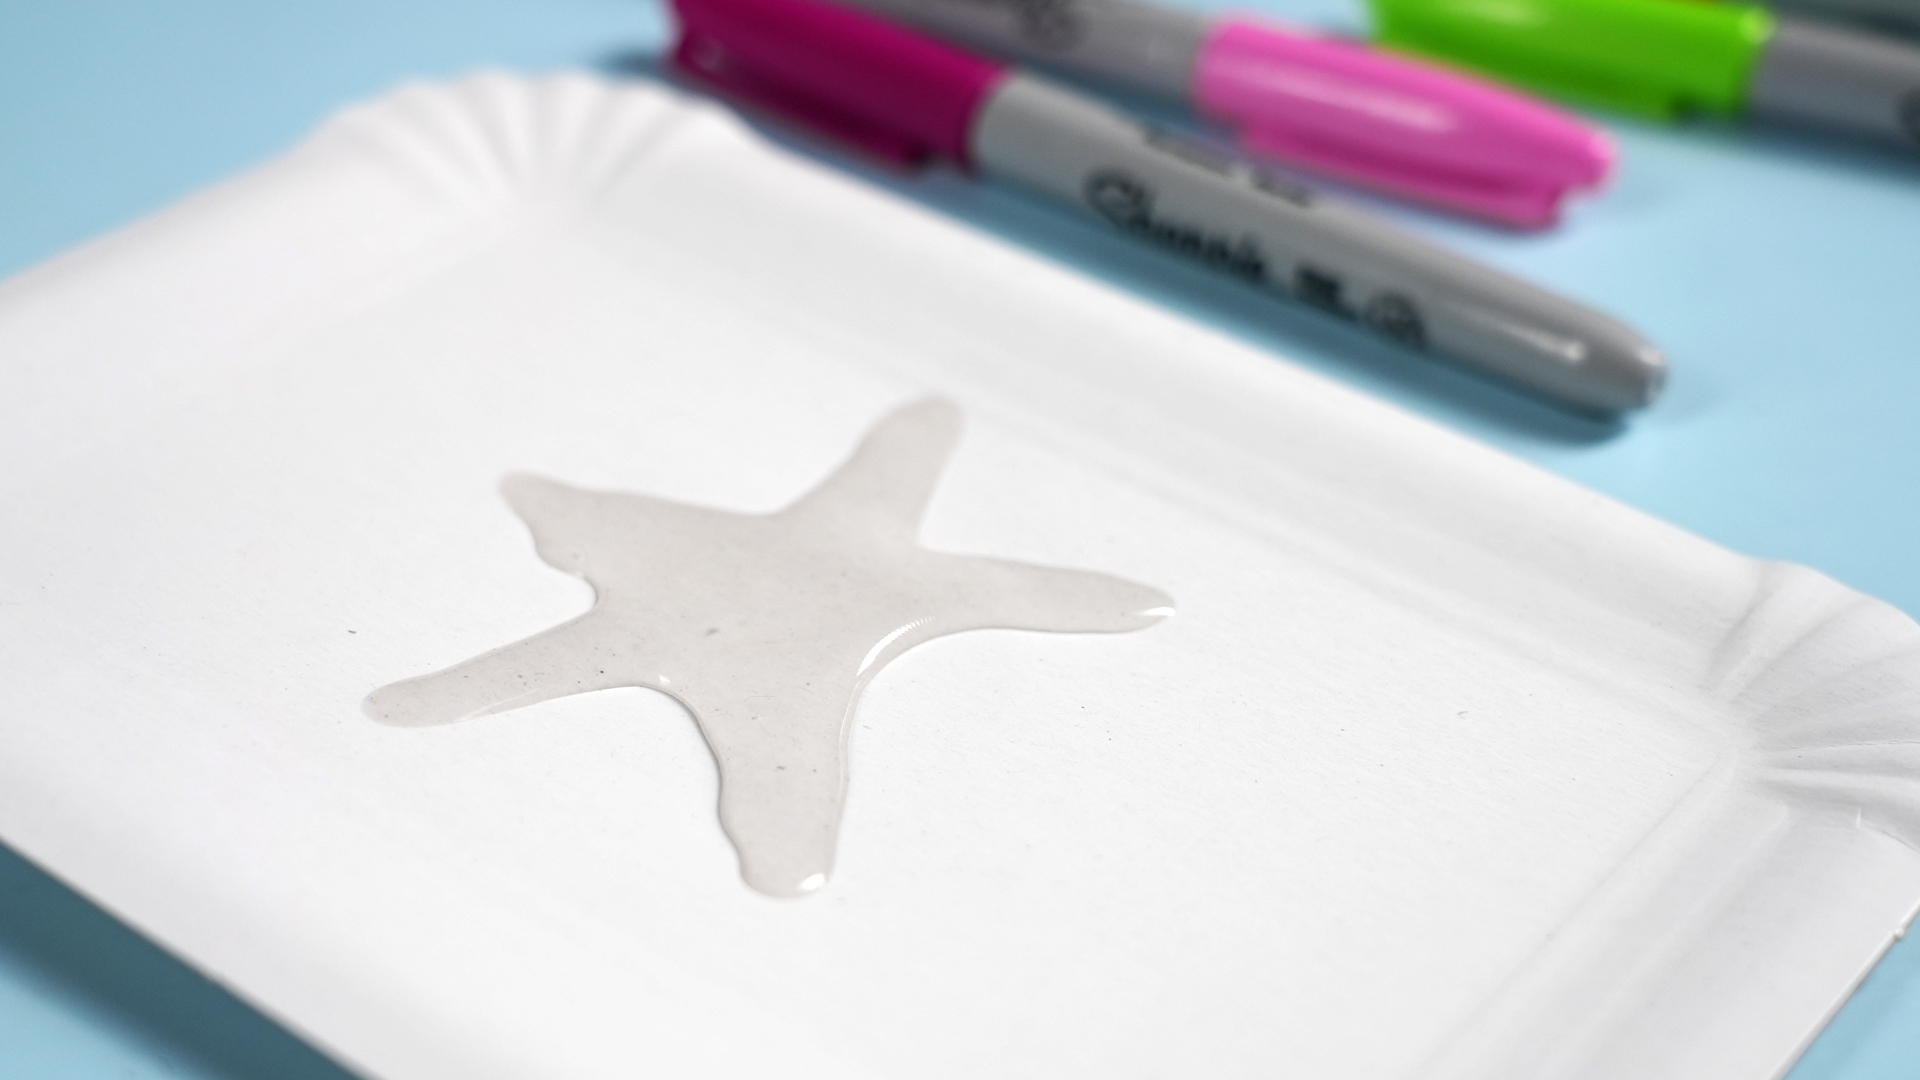
Stickers are tiny pieces of joy with adhesive on the back. They decorate water bottles, rescue boring notebooks, organize chaotic drawers, label homemade candles, and give laptops the kind of personality usually reserved for people who own five different tote bags. The good news? You do not need a print shop, a design degree, or a suspiciously expensive craft room to make them. You just need the right method for the kind of sticker you want.
Some sticker-making methods are wonderfully low-tech. Others involve printable vinyl, laminating sheets, and a cutting machine that sounds like it belongs in a spy movie. Both approaches work. The secret is knowing which one matches your goal, your budget, and your patience level on a Tuesday night.
In this guide, we will break down four practical ways to make stickers, from handmade designs to polished waterproof vinyl. Along the way, we will cover the best materials, the pros and cons of each method, and examples of where each style shines. Whether you want DIY stickers for journaling, party favors, small business packaging, or pure craft-fueled happiness, there is a method here with your name on it.
Why Make Your Own Stickers?
Before we get to the fun part, let us answer the obvious question: why make stickers at home when you can buy them? Because homemade stickers give you control. You pick the size, shape, finish, colors, and message. You can make one giant goofy cat face or fifty minimalist pantry labels. You can test branding ideas for a small business, create planner stickers that actually match your life, or turn your child’s artwork into something peel-and-stick and frame-worthy.
Making stickers at home is also surprisingly flexible. You can keep it simple with scissors and label paper, level up with printable sticker sheets, or go full “craft wizard” with laminated vinyl and die-cut borders. In other words, sticker making is not one craft. It is a whole family of crafts wearing the same sticky coat.
1. Make Hand-Drawn Stickers with Paper, Markers, and Adhesive Sheets
Best for beginners, kids, journaling, and one-of-a-kind designs
If you want the easiest way to make stickers, start here. Hand-drawn stickers are charming, inexpensive, and gloriously imperfect. They are ideal for sketchbooks, planners, classroom rewards, gift tags, and any project where personality matters more than machine-perfect edges.
To make this type of sticker, create your design on paper or directly on full-sheet label paper. You can use markers, colored pencils, acrylic paint pens, or even collage materials. Once the art is finished, cut around the shapes with scissors or a craft knife, peel the backing, and stick them wherever a tiny burst of delight is needed.
What you need
- Full-sheet sticker paper or blank label sheets
- Markers, pens, pencils, or paint pens
- Scissors or a precision knife
- Optional: glitter, washi tape, stamps, or collage paper
How to do it
- Sketch simple shapes first, such as stars, flowers, smiley faces, fruit, or lettering.
- Outline your drawings with a dark pen so the shapes stand out after cutting.
- Color the designs and let any wet media dry completely.
- Cut carefully around each shape, leaving a small border if you like the classic sticker look.
- Peel and apply.
This method works especially well when you want a handmade look. A little wobble in the outline is not a flaw. It is proof that a human made it instead of a robot with suspiciously steady hands. Hand-drawn stickers are also excellent for teachers, parents, and crafters who want a low-cost weekend project without needing a printer.
The main downside is durability. These stickers are usually better for indoor use and paper surfaces than for water bottles, lunch boxes, or anything that lives a rugged life. Still, for journals, cards, storage bins, and seasonal crafts, they do the job beautifully.
2. Print Sticker Sheets at Home with Sticker Paper
Best for planner stickers, labels, logos, party favors, and organized chaos
If hand-drawing sounds lovely but your actual artistic style leans more “sleepy potato,” printable sticker paper is your friend. This method lets you design stickers on a computer, print them at home, and cut them by hand or with a machine.
Printable stickers are ideal for people who want cleaner, more consistent results. You can use design tools to create names, icons, product labels, thank-you seals, chore charts, classroom stickers, and themed party sheets. This is also a smart route for small businesses that want to test packaging stickers before ordering in bulk.
What you need
- Inkjet- or laser-compatible sticker paper
- A home printer that matches your paper type
- Design software or online templates
- Scissors, paper trimmer, or craft knife
How to do it
- Choose your sticker format: circles, rectangles, labels, or a full custom sheet.
- Create your design using templates or design software.
- Keep important text and artwork away from the edges so nothing gets clipped.
- Print a test page on plain paper first to check alignment and size.
- Load the sticker paper correctly and print the final version.
- Cut out the stickers if you used a full sheet, then peel and apply.
This is one of the most versatile DIY sticker methods because it can look polished without being complicated. Want neat pantry labels? Done. Need custom envelope seals for a wedding shower? Easy. Want a sheet of tiny motivational planner stickers that say “Reply to that email, brave soul”? Now we are talking.
For best results, match the paper to your goal. Matte sticker paper feels soft and works well for planners and labels you may write on. Glossy paper gives colors more punch. Clear sticker paper can create a sleeker, more “store-bought” look on glass or packaging. If you want a more durable finish, printable vinyl is the next step up.
The biggest advantage here is consistency. Once you save a design, you can print it again and again. The biggest catch is printer compatibility. Always use sticker paper designed for your printer type. Inkjet paper and laser paper are not interchangeable cousins. They are more like distant relatives who argue at holidays.
3. Make Waterproof Vinyl Stickers with Laminate and a Cutting Machine
Best for water bottles, tumblers, laptops, outdoor gear, and small business sticker packs
If you want stickers that look polished and hold up better to handling, moisture, and everyday wear, printable vinyl stickers are the goldilocks option. They are not industrial sign decals, but they are a clear upgrade from plain paper stickers.
This method usually starts with printable vinyl instead of standard sticker paper. After printing, you apply a clear laminate sheet on top to protect the surface. Then you cut the shapes, often with a cutting machine like a Cricut or similar craft cutter. The result is smoother, tougher, and more professional-looking.
What you need
- Printable vinyl
- Clear laminating sheet
- Inkjet printer or compatible printer for the material
- Cutting machine or patient hands with fine scissors
- Design file with a cut line or offset border
How to do it
- Create or upload your sticker artwork.
- Print the design onto printable vinyl.
- Place the laminate sheet smoothly over the printed surface to protect it.
- Load the material into your cutting machine or cut by hand.
- Choose your cut style: kiss-cut for sticker sheets or die-cut for individual stickers.
- Peel and apply to a clean, dry surface.
Let us pause for a quick craft vocabulary moment. Die-cut stickers are cut all the way through the sticker and backing, creating individual shapes. Kiss-cut stickers cut only through the sticker layer, leaving the backing intact so multiple stickers can stay on one sheet. Both are useful. Die-cut feels giftable and polished. Kiss-cut is perfect for planner sheets, sets, and easy storage.
This method is excellent for creators selling sticker packs, parents making custom name labels, and crafters who want stickers that survive a little rough handling. Add laminate and you get more protection against scratches and moisture. Without laminate, printed vinyl still looks good, but it is generally less protected.
The downside is the setup. You need more materials, more precision, and possibly a cutting machine. But if you already love paper crafts, this method pays off fast. It delivers that satisfying “Wait, I made this?” moment that crafters live for.
4. Use a Sticker Maker or Mini Photo Printer for Fast, Mess-Free Stickers
Best for photos, scrapbooking, school projects, labels, and instant gratification
Sometimes you do not want to design, print, laminate, calibrate, trim, and have a philosophical disagreement with your printer tray. Sometimes you just want stickers now. That is where sticker makers and mini photo sticker printers come in.
A manual sticker maker can turn small paper pieces, die cuts, ribbon, tags, or photos into stickers by applying adhesive as the item passes through. No drying time, no glue puddles, and no sticky fingers unless you are really committed to chaos. This is a great choice for paper crafters, scrapbook fans, and people who enjoy making embellishments from leftovers.
Mini photo printers take a different route. Some compact models print peel-and-stick photos, which is perfect for journaling, party crafts, dorm decor, and quick gifts. You choose a photo, edit it in an app, print it, peel it, and stick it. It is almost suspiciously convenient.
What you need
- A sticker maker or mini sticker/photo printer
- Compatible refill cartridge or sticker photo paper
- Photos, paper pieces, labels, or die cuts
- Optional embellishments like doodles, text, and frames
How to do it
- Choose what you want to turn into a sticker: a photo, a cutout, a tag, or a printed shape.
- Run it through the sticker maker or print it on adhesive-backed mini photo paper.
- Trim if needed.
- Peel and stick.
This is arguably the most fun method for casual crafting because it removes several failure points. You do not need to master templates or figure out cut settings. It is also a sneaky-good option for kids’ crafts, travel journals, wedding guest books, and memory projects where photos matter more than perfect precision.
The trade-off is cost. Specialty devices and refill supplies can be pricier over time than simple sticker paper. Still, the convenience is hard to beat. If your crafting motto is “less fiddling, more sticking,” this method may be your winner.
How to Choose the Best Sticker Method
The best way to make stickers depends on what you want them to do. If you want cute, handmade charm, go with hand-drawn stickers. If you want neat labels or printable planner sheets, use sticker paper and a home printer. If you want more durable, polished stickers for bottles or branding, choose printable vinyl with laminate. If you want quick, mess-free fun, a sticker maker or mini photo printer is the easiest route.
Also think about the surface. Paper and notebook covers are forgiving. Water bottles and lunch containers demand more durability. Gift packaging wants clean visuals. Journals often love softer finishes and whimsical shapes. In other words, the sticker should match the mission.
Common Sticker-Making Mistakes to Avoid
- Using the wrong paper for your printer: inkjet and laser materials are not the same.
- Skipping a test print: this is how tiny text becomes microscopic regret.
- Placing artwork too close to the edge: leave room for trim and printable margins.
- Applying laminate too quickly: bubbles are very committed once they move in.
- Expecting all homemade stickers to be waterproof: many are decorative, not battle-ready.
Real-Life Experiences with Making Stickers
The first time many people make stickers, it starts with confidence and ends with one crooked label stuck permanently to a thumb. That is part of the charm. Sticker making is one of those crafts that looks simple from the outside, but once you begin, you realize there is a whole world of choices hiding behind a humble peel-off backing.
A common beginner experience is starting with hand-drawn stickers because they feel safe and easy. You grab paper, markers, and scissors, fully expecting a quick craft session. Then, an hour later, you have a tiny pile of stars, mushrooms, goofy faces, and one strangely aggressive banana. None of them are perfect, yet all of them feel oddly lovable. Handmade stickers have that effect. They carry personality in a way mass-produced designs rarely do.
Another familiar experience happens when someone upgrades from drawing by hand to printing sticker sheets at home. At first, the printer feels like a magical assistant. You type, click, print, and suddenly you have matching labels for spice jars, folders, party favors, or planner pages. Then the printer reminds you that it, too, has opinions. Maybe the alignment is off. Maybe the color is moodier than expected. Maybe the sticker paper goes in upside down because printers enjoy humble pie as a side dish. Still, once the settings are right, the result feels incredibly satisfying.
Printable vinyl creates a different kind of thrill. This is the moment when homemade stickers stop looking homemade in the old-fashioned sense and start looking polished. The first laminated vinyl sticker often feels like a little triumph. It is smooth. It is crisp. It has a proper border. It sticks to a water bottle without looking like it was cut out during a power outage. For many crafters, this is the stage where sticker making shifts from hobby to possible side business.
Then there is the pure convenience crowd, the people who fall in love with sticker makers and mini photo printers. Their experience is less about precision and more about momentum. They print a photo from a birthday dinner, stick it in a journal, add a caption, and call it a memory preserved. Or they run paper scraps and labels through a sticker maker and suddenly every gift bag, storage bin, and school folder gets a custom touch. It feels efficient, but also playful. Like organization finally loosened its collar and agreed to have fun.
What makes sticker making memorable is how quickly it becomes personal. A child turns doodles into reward stickers. A college student covers a laptop with inside jokes and travel photos. A small business owner tests product labels from the kitchen table. A parent prints chore charts that somehow work better when a gold star is involved. Stickers are small, but they carry identity, humor, and intention in a very compact form.
There is also a surprisingly relaxing side to the process. Designing tiny graphics, choosing finishes, trimming edges, and peeling the backing can feel repetitive in the best possible way. It is focused without being stressful. Even when a cut goes slightly off or a laminate sheet lands with one dramatic bubble, the stakes stay low. You are not rebuilding an engine. You are making sticky little art. Perspective helps.
Over time, most people develop favorites. Some stay loyal to matte planner stickers because they write on them easily. Others become vinyl devotees who want every design to survive dish splashes and backpack scuffs. Some never give up the handmade look because perfect lines are overrated anyway. The method matters, but the experience matters more. Good sticker making is not about chasing factory perfection. It is about making something useful, funny, beautiful, or delightfully unnecessary with your own ideas.
And honestly, that is why the craft keeps pulling people back. One project leads to another. A label sheet becomes a party favor set. A journal page turns into a whole scrapbook. A few homemade decals inspire a tiny online shop. It all starts with one sticker and the dangerous thought, “I bet I can make that.” Usually, you can. And once you do, ordinary objects around your house begin to look suspiciously under-decorated.
Final Thoughts
Making stickers is one of those rare crafts that can be as simple or as advanced as you want. You can doodle on label paper at the kitchen table, print organized sheets for your planner, laminate vinyl decals for a polished finish, or use a sticker maker for fast peel-and-stick fun. There is no single best way to make stickers. There is only the best method for your project, your tools, and your level of patience with technology.
Start small, test materials, and do not worry if the first batch is a little wonky. Wonky stickers still stick. And once you find your favorite process, you may discover that almost everything in your home is one custom label away from becoming cuter, tidier, or much more entertaining.