Making a photocopy sounds easy: lift lid, place paper, press button, feel powerful. Yet anyone who has ever copied a wrinkled form, a faded receipt, or a 37-page packet five minutes before a meeting knows the truth. A photocopier can be your loyal office assistant or a tiny paper dragon that spits out gray shadows, crooked margins, mysterious black lines, and one page that looks like it survived a rainstorm.
The good news is that great photocopies are not magic. They come from a few smart habits: preparing the original, cleaning the scanning area, choosing the right copy settings, using the right paper, and checking the first copy before you create a small forest of mistakes. Whether you are copying school worksheets, business contracts, tax documents, flyers, manuals, ID cards, recipes, or family photos, the same practical rules apply.
This guide explains 4 ways to make great photocopies using plain American English, real-world examples, and zero worship of complicated buttons. You do not need to become a printer technician. You just need to stop treating the copier like a vending machine with toner.
Why Photocopy Quality Still Matters
In a world of PDFs, cloud drives, and phones that can scan a napkin, photocopies still matter. Offices use them for contracts, invoices, employee forms, training packets, and client handouts. Teachers copy lessons and worksheets. Small businesses copy menus, flyers, receipts, and inventory sheets. Families copy birth certificates, insurance cards, medical forms, and travel documents.
A poor copy can create real problems. Blurry text makes a form hard to read. A dark background can hide small print. A crooked copy looks unprofessional. A black streak across a signature line may cause confusion. Even worse, bad photocopies waste paper, toner, time, and patience. Patience, as every office knows, is the first supply to run out.
Great photocopies are clean, straight, readable, properly sized, and suitable for the purpose. A legal document should have crisp black text. A photo should keep as much detail as possible. A flyer should look bright and balanced. A double-sided packet should be in the right order, not transformed into a puzzle game.
1. Start With a Clean Machine and a Better Original
The first rule of making great photocopies is beautifully unglamorous: clean the glass. Most copy quality disasters begin with dust, fingerprints, correction fluid, ink, adhesive, crumbs, or tiny mystery particles on the scanner glass or automatic document feeder. That little speck on the glass may become a dramatic black line on every page, like the copier is adding its own signature.
Clean the scanner glass and ADF strip
Open the copier lid and look at the main glass. Then check the narrow glass strip near the edge, which is used by many automatic document feeders. This narrow strip is especially important because a tiny mark there can create a vertical line on every copy made through the feeder. Use a soft, lint-free cloth. Lightly dampen the cloth with water or an approved glass cleaner, but do not spray liquid directly onto the copier. Spraying directly can push moisture into places where moisture was definitely not invited.
Wipe the glass gently, then dry it with another clean cloth. Also wipe the white backing under the lid if it looks dusty or stained. That backing helps the copier read the page background correctly. If it is dirty, your copy may look muddy or uneven.
Prepare the original before copying
The copier can only reproduce what it sees. If the original is wrinkled, curled, faded, stapled, sticky, or covered in coffee rings, the copy will usually inherit those problems. Before copying, remove staples and paper clips. Flatten folded corners. Smooth wrinkles as much as possible. If the original is torn, place it carefully on the glass instead of sending it through the feeder. The automatic document feeder is convenient, but it has no sympathy for fragile paper.
For valuable or delicate documents, use the flatbed scanner glass. Place the original face down and align it with the corner guides. Close the lid gently. If the document is thick, such as a book or bound manual, avoid forcing the lid down. Heavy pressure may blur the image, bend the spine, or make the copier capture shadows near the binding.
Use the glass for quality, the feeder for speed
The document feeder is great for multi-page office packets, but the glass is usually better for photos, IDs, fragile originals, small receipts, and pages with fine details. Think of the feeder as the fast-food lane and the glass as the sit-down restaurant. Both have a place. One is faster; the other gives you more control.
Example: If you need 30 copies of a clean, typed memo, the feeder is perfect. If you need one clear copy of a faded handwritten note from 1998, use the glass, adjust the settings, and make a test copy first.
2. Choose the Right Copy Settings Before Pressing Start
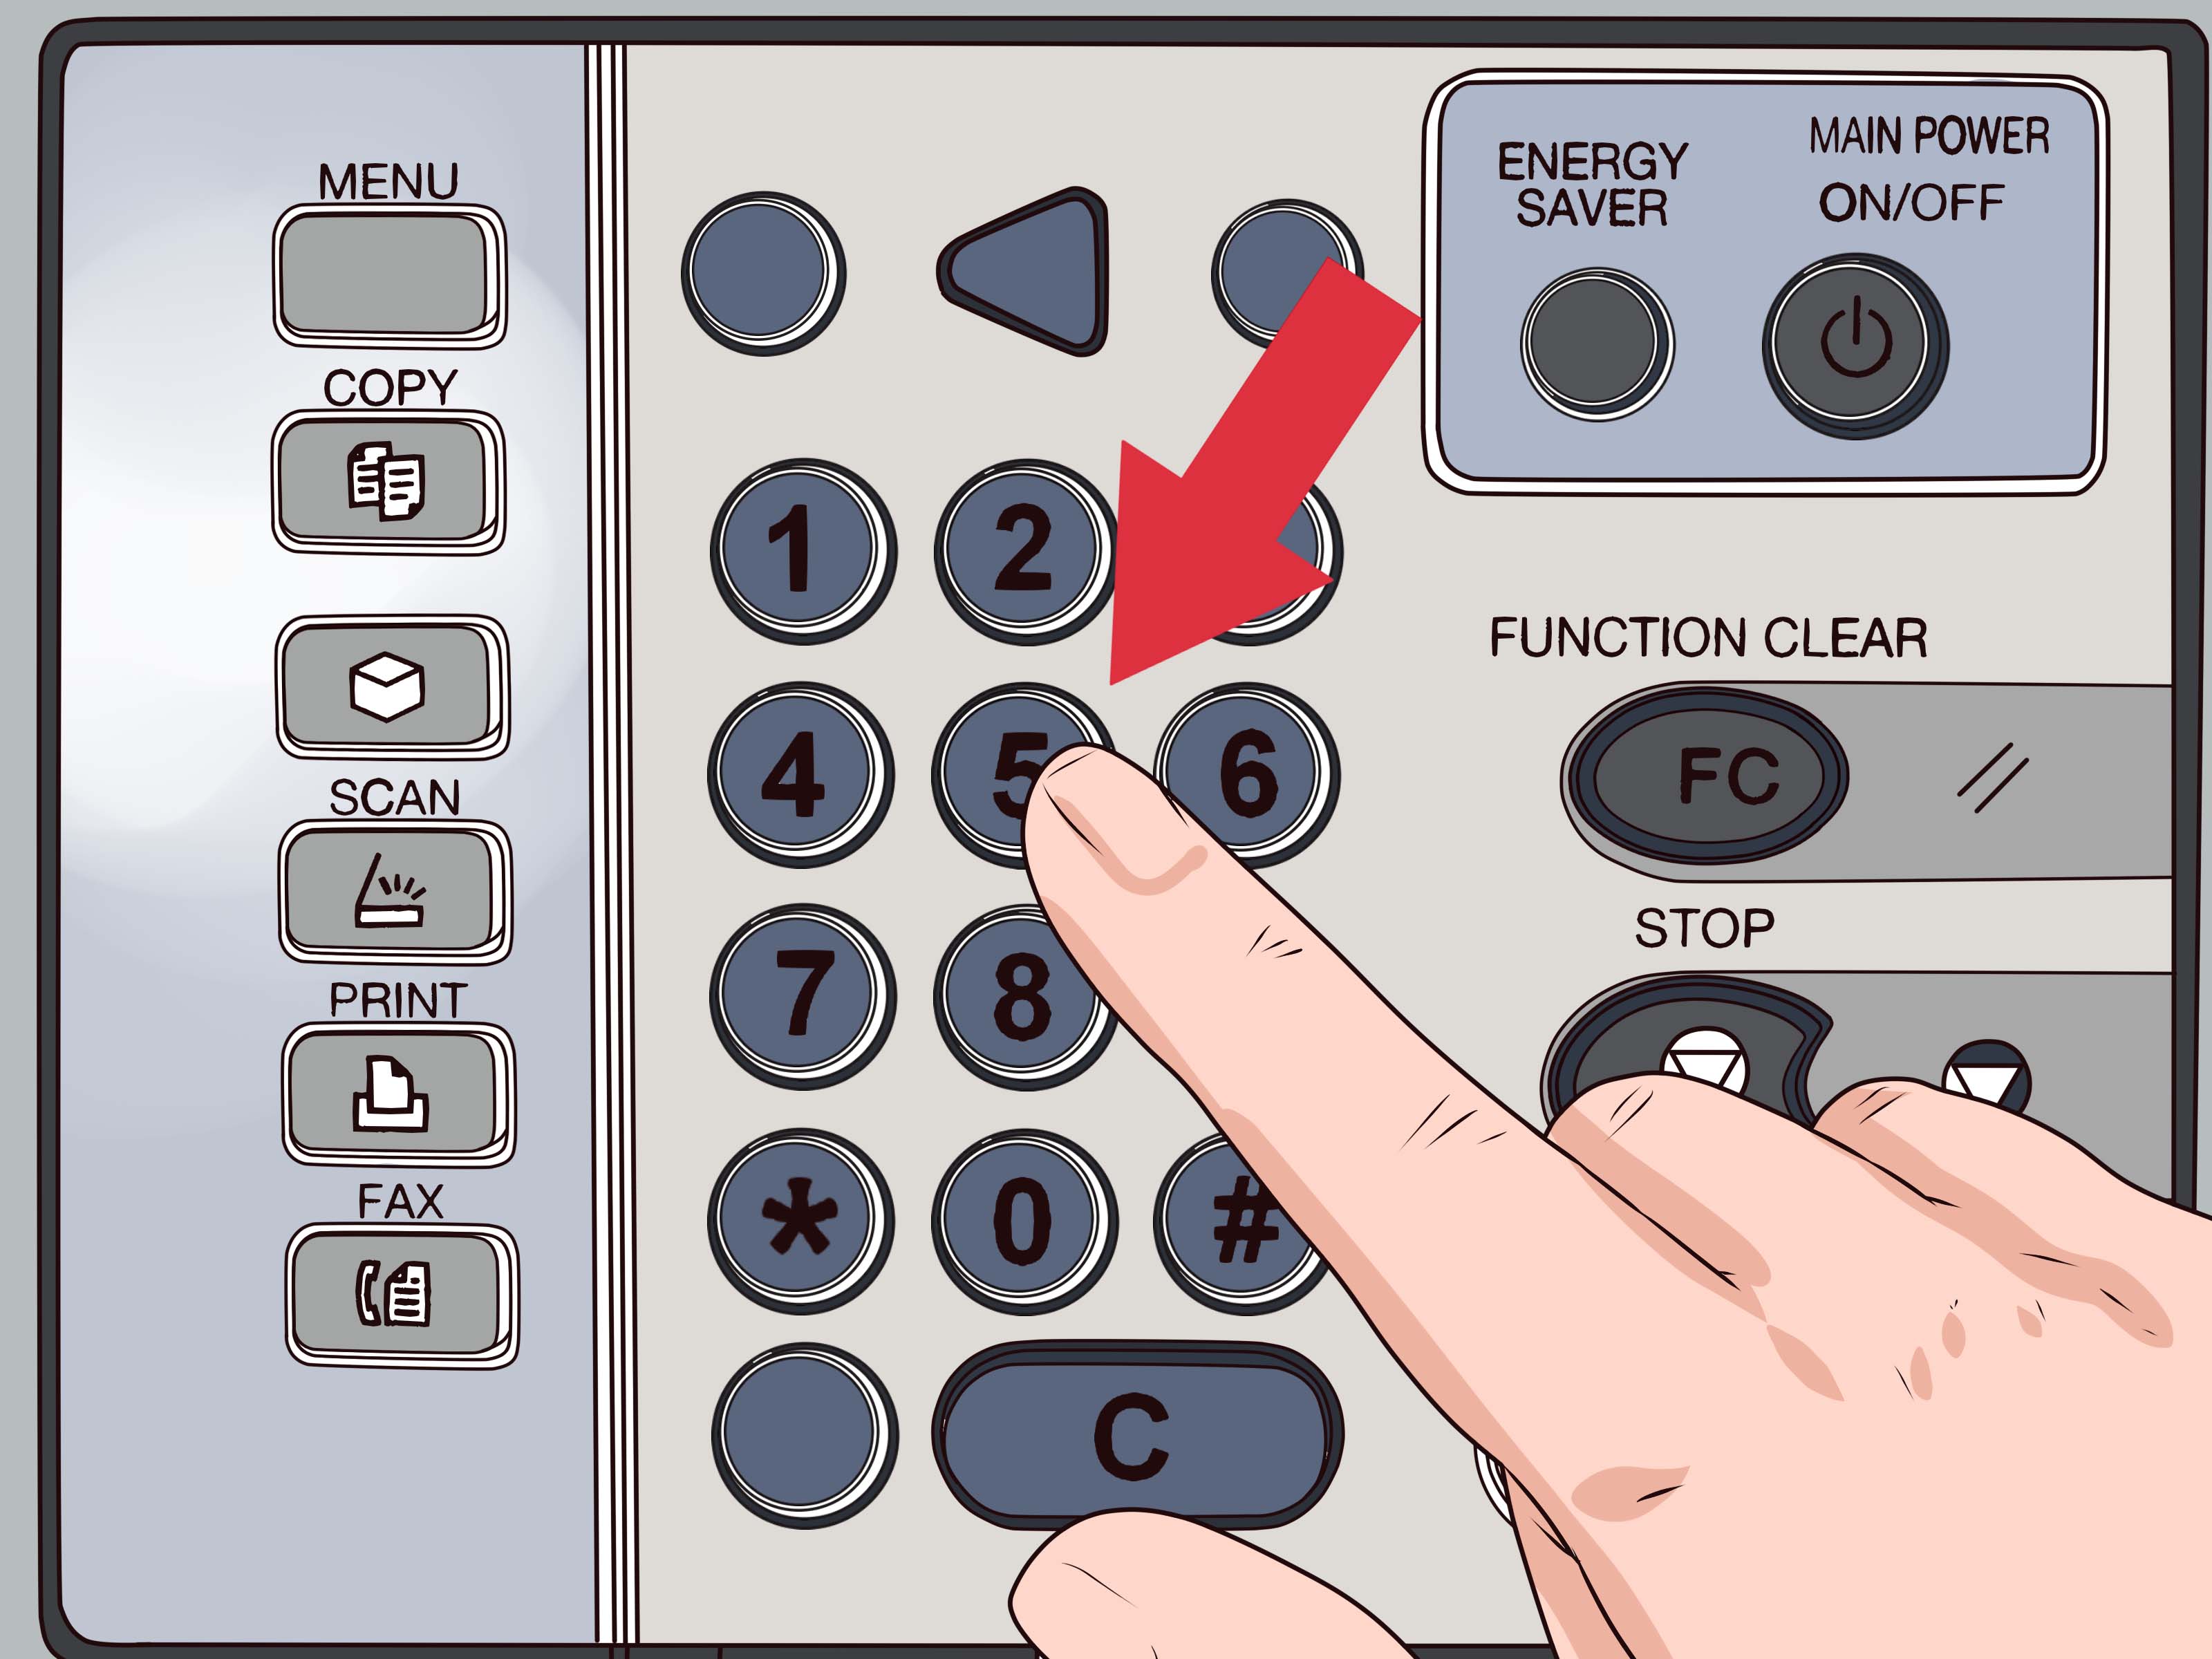
Most people press the big green button and hope for the best. This works for simple jobs, but great photocopies often require a quick settings check. Modern copiers include options for darkness, contrast, original type, background removal, sharpness, color mode, paper size, scaling, duplex copying, and resolution. You do not need every setting every time, but choosing the right few can make a dull copy look professional.
Adjust darkness and contrast
If your copy looks too pale, increase the density or darkness. If it looks heavy, gray, or overcooked, lighten it. Contrast helps separate text from the background. For black-and-white documents, stronger contrast can make letters sharper. For old forms, background cleanup can reduce gray paper tone and make the text easier to read.
Here is a simple rule: if the original is faint, darken the copy slightly. If the original has a colored or gray background, use background removal or lighten the copy. If you are copying pencil marks, try a darker setting, because pencil can disappear faster than snacks in a break room.
Select the correct original type
Many copiers let you choose modes such as Text, Photo, or Text/Photo. Use Text mode for contracts, forms, letters, worksheets, and anything dominated by words. Use Photo mode for pictures, artwork, or graphics. Use Text/Photo mode for brochures, reports, magazine pages, or flyers that include both images and writing.
This matters because text and photos need different treatment. Text mode sharpens edges. Photo mode protects smooth tones. Text/Photo mode tries to balance both. Choosing the wrong one is like wearing hiking boots to a wedding. Technically possible, but not ideal.
Check size, scaling, and orientation
Before copying, confirm the paper size. Letter, legal, A4, and custom sizes do not behave the same. If the copier thinks your original is a different size, it may crop edges, shrink the page, or add unwanted borders. Use 100% when you need an exact copy. Use Fit to Page when the original is slightly larger or smaller than the paper. Use reduce/enlarge settings carefully when copying IDs, book pages, patterns, diagrams, or forms that must stay readable.
Orientation matters too. A landscape original placed like a portrait can lead to sideways copies, cropped edges, or awkward white space. Take three seconds to line up the page correctly. Those three seconds may save you from recopying 80 pages while pretending you are not annoyed.
Use color only when color helps
Color copies are useful for charts, photos, marketing materials, highlighted notes, maps, and design proofs. But for basic forms and text documents, black-and-white is usually sharper, cheaper, and faster. If the original has colored text that must remain meaningful, use color. If the color adds no value, black-and-white is the sensible choice.
3. Use Better Paper, Toner, and Handling Habits
Paper is not just paper. It affects brightness, contrast, feeding, texture, and the overall feel of the final copy. Cheap paper may be fine for internal drafts, but important copies deserve better stock. The goal is not to buy luxury paper with a trust fund. The goal is to match the paper to the job.
Choose paper brightness and weight wisely
Brighter paper usually makes text appear crisper and images look cleaner. For everyday office copies, standard 20 lb. copy paper with good brightness is usually enough. For client proposals, flyers, certificates, or presentation handouts, consider 24 lb. or 28 lb. paper with higher brightness. Heavier paper feels more substantial and is less likely to look flimsy when printed on both sides.
For color copies, smooth bright paper can help graphics look more vivid. For high-volume internal copying, ordinary multipurpose paper is practical and affordable. For photos, glossy or photo-specific paper may be better, but only if your machine supports it. Always check your copier’s paper recommendations before feeding it special media. Copiers are picky eaters.
Store paper correctly
Paper absorbs moisture from the air. Damp paper can curl, jam, wrinkle, or produce uneven copies. Very dry paper can create static and feeding issues. Keep paper wrapped until you need it. Store it flat in a clean, dry place. Do not leave open reams beside a window, under an air conditioner, near a sink, or in the mysterious office closet where humidity goes to start a family.
Use the right tray and media setting
If you use thicker paper, labels, envelopes, or specialty stock, select the matching media type on the copier. The machine may adjust heat, speed, or feeding behavior based on the paper setting. Using heavy paper while the copier thinks it is plain paper can lead to smudging, curling, jams, or poor toner bonding.
Also make sure the paper guides in the tray are snug but not tight. If the guides are too loose, pages may feed crooked. If they are too tight, pages may buckle. The perfect setting is firm enough to guide the paper without squeezing it like it owes you money.
Watch toner and ink condition
Faint copies may come from low toner, clogged ink nozzles, worn drums, or dirty internal components. If the copier gives a toner warning, do not ignore it until the page looks like a ghost wrote it. For inkjet multifunction printers, print head cleaning or nozzle checks may help when colors look wrong or faded. For laser copiers, toner cartridges, drums, and maintenance kits eventually need replacement.
If copies are poor but printed documents from a computer look fine, the issue may be in the scanning area or copy settings. If both copies and printed documents look bad, the issue may be toner, ink, paper, or internal print quality. This simple comparison can save time and prevent unnecessary button-pushing rituals.
4. Test, Troubleshoot, and Maintain Like a Copy Pro
The best photocopy habit is also the easiest: make one test copy before making many copies. This is especially important for large jobs, double-sided pages, color copies, bound originals, legal forms, flyers, or anything you would be embarrassed to hand out upside down.
Make a test copy first
Before printing 200 copies, print one. Check for straightness, darkness, missing edges, streaks, smudges, and correct page order. If the job is double-sided, confirm that the second side is not upside down. If it is stapled or collated, check the finishing. A test copy is the office version of tasting the soup before serving dinner.
For multi-page jobs, test the first few pages. If the original packet includes mixed sizes, folded pages, colored pages, or pages with sticky notes, do not assume the feeder will handle everything perfectly. Remove sticky notes unless they are meant to appear in the copy. Straighten pages and fan the stack to reduce feeding problems.
Troubleshoot common copy problems
Black vertical lines: Clean the narrow ADF glass strip and check for ink, dust, correction fluid, or adhesive. If the line appears only when using the feeder, the ADF glass is the likely suspect.
Gray background: Use background removal, lighten the density, or copy from a cleaner original. Colored paper and old documents often need adjustment.
Blurry text: Clean the glass, choose Text mode, make sure the original lies flat, and avoid pressing too hard on thick originals.
Cropped edges: Check paper size, original size, scaling, and placement on the glass. Some copiers cannot scan the extreme edge of the glass, so move tiny originals slightly inward if needed.
Smudges or loose toner: Check the paper type setting, paper condition, and toner or ink system. Specialty paper may need a different tray or media setting.
Crooked copies: Align the original, adjust paper guides, and make sure pages are not curled or wrinkled before using the feeder.
Create a simple copier maintenance routine
Good copy quality improves when maintenance becomes routine instead of emergency theater. Keep a lint-free cloth near the copier. Clean the glass weekly in busy offices or whenever streaks appear. Store paper properly. Replace supplies on schedule. Empty waste toner containers when required. Remove jammed paper carefully, following the machine instructions instead of yanking like you are starting a lawn mower.
If a copier continues to produce streaks, faded images, grinding noises, repeated jams, or error messages after basic cleaning and troubleshooting, call for service. There is a noble line between being resourceful and becoming the person who accidentally removes a panel that was never meant to be removed.
Specific Examples: How to Copy Common Documents Well
Copying an ID card
Use the scanner glass, not the feeder. Place the card straight and choose the ID copy feature if your machine has one. This feature usually copies both sides of the card onto one sheet. Use black-and-white for basic records or color if the card design matters. Make a test copy to ensure all edges are visible.
Copying a faded receipt
Receipts are tricky because many are printed on thermal paper that fades over time. Use the glass. Try increasing darkness slightly and using Text mode. If the receipt has a gray or yellow background, experiment with contrast and background removal. Do not run tiny receipts through the feeder unless you enjoy clearing paper jams with tweezers and regret.
Copying a photo
Clean the glass carefully, use Photo mode, and choose color. Use quality paper if the copy will be kept or displayed. Avoid pressing hard on the photo, and make sure it lies flat. If the copier allows resolution or quality settings, choose a higher quality option rather than the fastest mode.
Copying a contract or legal form
Use Text mode, black-and-white, 100% scaling, and the correct paper size. Check margins and signatures. If the document is double-sided, confirm duplex settings before copying the whole stack. For important documents, keep the first test copy beside the original and compare page by page.
Real-World Experiences: Lessons From the Copy Room
Anyone who has spent time around office equipment eventually develops copier wisdom. Not formal wisdom, like a framed certificate. More like survival wisdom. The kind you earn after discovering that one dirty dot on the feeder glass can ruin every page of a 60-page packet.
One useful experience is learning that the first bad copy is a warning, not a challenge. Many people see a streak and immediately make another copy, then another, as if the copier might feel embarrassed and improve. It usually does not. If the same mark appears in the same place, stop and inspect the glass. A tiny piece of correction tape, a pen dot, or dried glue can produce a line that looks far more serious than it is. Cleaning takes one minute. Recopying a whole packet takes much longer and comes with emotional damage.
Another lesson: the automatic document feeder is wonderful, but it is not a paper therapist. It cannot fix curled pages, sticky edges, torn corners, or documents with staples hiding like little metal traps. Before feeding a stack, fan the pages, square the edges, and remove anything that is not paper. If the originals are old, thin, or important, use the glass. Slower? Yes. Safer? Also yes. The feeder is for strong, clean pages that know how to behave.
Paper choice also teaches fast lessons. Standard copy paper is fine for everyday handouts, but it can make important documents look ordinary. A slightly brighter, heavier sheet can make a proposal, flyer, certificate, or menu feel more polished. The difference is not dramatic in the package, but it is obvious in someone’s hand. A clean copy on good paper quietly says, “I had my life together for at least five minutes today.”
Settings matter more than most people expect. Copying a photograph in Text mode can make faces look harsh and grainy. Copying a contract in Photo mode can soften letters and reduce readability. Copying a faded form with default settings may produce a sad gray rectangle. The best habit is to pause and ask, “What am I copying?” If it is mostly words, choose Text. If it is mostly an image, choose Photo. If it is a brochure or report, choose Text/Photo. This tiny decision can rescue quality before the machine even starts.
The test copy is the unsung hero. In busy offices, people skip it because they are in a hurry. Then they spend ten minutes recycling bad copies, reloading paper, and muttering at a machine that simply did what it was told. A single test copy catches upside-down duplex settings, wrong paper size, faint text, crooked placement, and missing margins. It is the cheapest insurance in the building.
Finally, good photocopying is partly about respect for the original. A document that matters deserves a few careful seconds. Align it. Flatten it. Choose the right setting. Use clean glass. Check the result. Great photocopies are not created by luck; they are created by small, repeatable habits. The copier may still beep at you occasionally, because copiers enjoy drama, but you will win most of the battles.
Conclusion
Making great photocopies is not complicated, but it does require attention. Start with a clean scanner glass and a clean original. Choose copy settings that match the document. Use the right paper and keep supplies in good condition. Make a test copy before running a large job. These four habits can turn blurry, streaky, crooked copies into clear, professional pages that are easy to read and ready to share.
The next time you stand in front of a copier, do not just slap the paper down and hope the machine understands your dreams. Give it a clean surface, a straight original, the right settings, and decent paper. The copier will still make its little mechanical noises, but the final result will look like someone knew what they were doing. That someone, congratulations, is you.