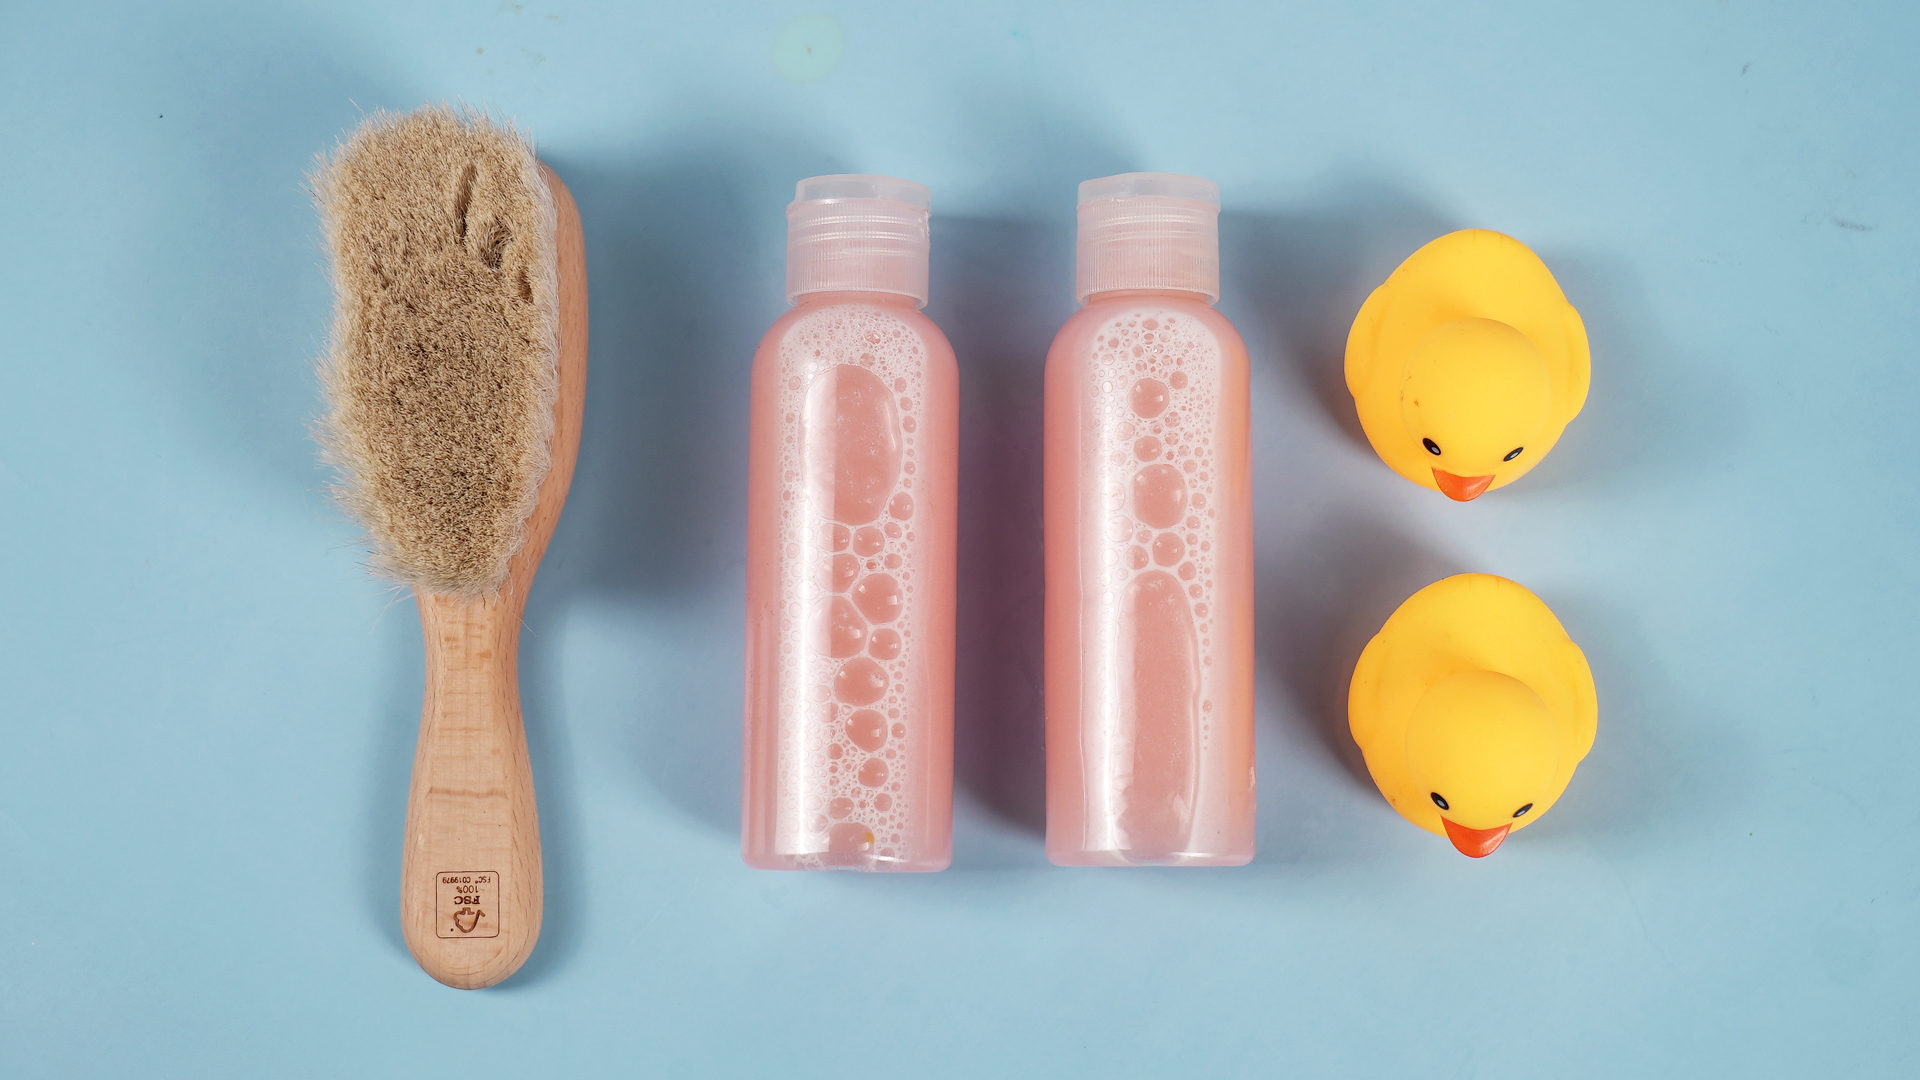
If your current shower gel smells like a tropical vacation but leaves your skin feeling like a dry rice cake, it may be time for a change. Homemade shower gel gives you something store-bought products often do not: control. You get to choose the scent, the texture, the ingredient list, and whether your shower routine feels like a spa ritual or a five-minute rescue mission before work.
The good news is that making your own shower gel is not complicated. The even better news is that you do not need to turn your kitchen into a chemistry lab with dramatic goggles and a soundtrack. With a few smart ingredients and some realistic expectations, you can make gentle, effective cleansers at home that feel good on your skin and make your bathroom shelf look just a little more interesting.
One quick reality check before we dive in: most homemade “shower gels” are closer to body wash than the thick, glossy gels you buy at the store. That is normal. Commercial shower gels often rely on specialized surfactants, stabilizers, and preservatives. Homemade versions are simpler, softer, and a little less showroom-fancy. Think cozy sweater, not sequined jacket.
Why Make Homemade Shower Gel in the First Place?
People usually switch to homemade shower gel for one of four reasons: sensitive skin, ingredient awareness, cost, or plain curiosity. Sometimes it is all four. If you have ever read the label on a commercial body wash and thought, “I recognize water, maybe glycerin, and then the plot thickens,” DIY can feel refreshingly straightforward.
Homemade shower gel also lets you customize for your skin type. Dry skin may prefer more glycerin or aloe. Normal skin may do beautifully with a simple castile blend. Sensitive skin may be happiest with a fragrance-free formula and fewer moving parts. The point is not to make the most complicated recipe. The point is to make the one your skin will not file a formal complaint about.
Before You Start: A Few Smart Shower-Gel Rules
1. Keep it clean
Use a freshly washed bowl, spoon, funnel, and bottle. If your recipe contains water, aloe gel, or other moisture-rich ingredients, cleanliness matters even more. Homemade cleansers do not have the robust preservative systems many commercial products use, so sloppy prep is a terrible houseguest.
2. Make small batches
Small batches are your friend. They let you test texture, scent, and skin feel without committing to a gallon of something that turns out to be wrong for you. Tiny batch, tiny heartbreak.
3. Patch test first
Even natural ingredients can irritate skin. Essential oils, fragrance blends, and botanicals are common troublemakers for some people. Test a little on your inner arm before using it all over.
4. Fragrance-free beats “unscented” for sensitive skin
If your skin gets cranky easily, skip added fragrance entirely. “Unscented” does not always mean fragrance-free. Sometimes it just means the smell has been disguised, which is not the same thing as being gentle.
5. Store wisely
Water-free formulas generally last longer. Recipes with aloe, brewed ingredients, or added water should be kept in very small amounts, stored in a clean bottle, and used quickly. If in doubt, refrigerate and remake often. Homemade skin care is many things, but immortal is not one of them.
Key Ingredients That Make Homemade Shower Gel Work
Liquid castile soap is the star of many DIY body wash recipes because it is a concentrated cleanser made from vegetable oils. It cleans effectively, rinses well, and works as a flexible base.
Glycerin is a humectant, which means it helps attract and hold water in the outer layer of the skin. In plain English, it helps your skin feel less tight after a shower.
Aloe vera gel can make a homemade shower gel feel smoother and more soothing. It is especially useful when you want a softer, less stripped finish.
Honey is popular in DIY body washes because it helps create a richer feel and can make a simple cleanser feel more moisturizing.
Essential oils are optional. Very optional. They smell wonderful, but more is not better, especially if your skin is sensitive. A few drops go a long way.
Way #1: The Simple Castile and Glycerin Shower Gel
This is the easiest place to start. It is quick, beginner-friendly, and ideal if you want something gentle without a long shopping list.
Best for
Normal skin, combination skin, and anyone who wants a basic homemade body wash that does the job without a lot of drama.
Ingredients
- 1/2 cup liquid castile soap
- 2 tablespoons vegetable glycerin
- 2 tablespoons distilled water
- 5 to 8 drops essential oil, optional
How to make it
- Pour the castile soap into a clean bowl or measuring cup.
- Add the glycerin and distilled water.
- Stir slowly to combine. Do not whisk like you are auditioning for a baking show, or you will create too many bubbles.
- Add essential oil if you want scent.
- Transfer to a squeeze bottle or pump bottle.
How it feels
This version is light, slippery, and clean-rinsing. The glycerin helps soften the finish, so your skin feels clean rather than squeaky. That is a good thing. “Squeaky clean” sounds satisfying, but it often means your skin barrier is quietly rolling its eyes.
Good scent pairings
Lavender, sweet orange, or peppermint can work well in very small amounts. If you have reactive skin, skip them and keep the formula fragrance-free.
Way #2: The Honey and Aloe Moisturizing Shower Gel
If your skin runs dry, this recipe has a softer, richer feel. Honey and aloe give the cleanser a more comforting texture, while castile soap still handles the cleansing part.
Best for
Dry skin, winter skin, post-gym skin, and anyone who wants a shower gel that feels a little more nurturing.
Ingredients
- 1/3 cup liquid castile soap
- 2 tablespoons aloe vera gel
- 1 tablespoon raw honey
- 1 tablespoon vegetable glycerin
- 1 tablespoon distilled water
- 3 to 5 drops essential oil, optional
How to make it
- Add the honey to a clean mixing bowl first.
- Stir in the aloe vera gel and glycerin until smooth.
- Add the castile soap and distilled water slowly.
- Mix gently until everything is blended.
- Pour into a clean bottle and label it with the date.
How it feels
This one feels silkier than the first recipe and has a slightly cushioned lather. It is a great option when your skin feels tight after bathing or when cold weather has your elbows acting like sandpaper.
A quick honesty note
Because this recipe includes aloe and honey, it is more of a small-batch formula. Make only what you can use relatively quickly. If the smell, color, or texture changes, toss it and make a fresh batch. Your shower should be relaxing, not a microbial mystery novel.
Way #3: The Fragrance-Free Oat and Aloe Shower Gel
This recipe is for people whose skin likes to overreact to everything. New detergent? Rash. Fancy body wash? Rash. Looking at a heavily perfumed candle from across the room? Also suspicious. This formula keeps things gentle and simple.
Best for
Sensitive skin, dry skin, and anyone who wants a mild homemade cleanser with no added fragrance.
Ingredients
- 1/2 cup fragrance-free liquid castile soap or unscented castile soap
- 2 tablespoons aloe vera gel
- 1 tablespoon vegetable glycerin
- 1 teaspoon finely ground colloidal oatmeal
- 1 to 2 tablespoons distilled water as needed
How to make it
- Combine the aloe vera gel and glycerin in a bowl.
- Stir in the colloidal oatmeal until smooth.
- Add the castile soap slowly.
- If the mixture is too thick, add a little distilled water.
- Transfer to a clean bottle and shake gently before each use.
How it feels
This version is creamy, mild, and not flashy. It is the beige cardigan of shower gels, and that is a compliment. If your skin tends to sting, itch, or protest loudly after strongly scented products, this recipe is worth trying.
How to Use Homemade Shower Gel the Right Way
Use a small amount on your hands, a soft washcloth, or a gentle sponge. A quarter-sized amount is usually enough. More product does not mean a better cleanse. It just means you will spend more time rinsing and wondering why the bottle is already half empty.
Shower with warm water, not hot. Hot water may feel glorious in the moment, especially on a Monday morning when life has already offended you, but it can dry out your skin. Keep showers reasonably short, rinse thoroughly, and pat skin dry instead of scrubbing it with a towel like you are polishing furniture.
If you are prone to dryness, apply moisturizer while your skin is still slightly damp. Homemade shower gel can be gentle, but the post-shower routine still matters.
Common DIY Shower Gel Mistakes to Avoid
Using too many essential oils
Homemade does not automatically mean irritation-free. Strong scents can bother sensitive skin. Start with less than you think you need, or skip fragrance entirely.
Making a huge batch
Fresh is better. A giant bottle may feel efficient, but it is not smart if the formula contains water-based ingredients and no broad-spectrum preservative.
Expecting commercial texture
Store-bought shower gels are engineered for thickness and uniformity. Homemade versions may separate a little or look thinner. That does not mean they failed. It means they are homemade and not auditioning for a shampoo commercial.
Ignoring your skin’s feedback
If your skin feels dry, tight, itchy, or stingy after using a recipe, adjust it or stop using it. Your shower gel should not become a personal feud.
Which Homemade Shower Gel Is Best for You?
Choose Way #1 if you want the easiest all-purpose formula. Pick Way #2 if your skin needs extra comfort and softness. Go with Way #3 if your skin is sensitive and your ideal scent profile is “nothing, thank you.”
You can also rotate by season. The simple castile blend works beautifully in humid weather, while the honey-and-aloe version shines in winter. Sensitive skin formulas are worth keeping around year-round, especially if your skin likes to behave differently every other Tuesday.
Final Thoughts
Making homemade shower gel is one of those DIY projects that is actually practical. It is fast, affordable, customizable, and useful from the first batch. You do not need fancy tools, a background in cosmetic chemistry, or a moonlit herb garden. You just need a thoughtful formula, clean containers, and the humility to admit when your first version needs a little tweaking.
The best homemade shower gel is not the prettiest one or the one with the longest ingredient list. It is the one that leaves your skin clean, comfortable, and calm. Start simple. Test small. Keep notes. And if you accidentally create something glorious, congratulations: your shower just got an upgrade.
Real-Life Experience: What It’s Like to Actually Use Homemade Shower Gel
The first time I made homemade shower gel, I expected one of two outcomes: either I would emerge from the shower glowing like a woodland nymph, or I would smell faintly of salad dressing and regret everything. The truth landed somewhere in the middle, but in a good way. What surprised me most was not the lather or the scent. It was how differently my skin felt afterward.
With commercial shower gels, I had gotten used to that “super clean” feeling that sounds impressive in advertising but often translates to “your skin is now filing for emergency moisture.” The simple castile and glycerin version felt different right away. My skin felt clean, but not stripped. It was the kind of difference you do not notice in a dramatic movie-scene way. You notice it an hour later when your arms are not begging for lotion like they are submitting a formal request in writing.
The honey and aloe version was the one that made the shower feel a little luxurious. It did not foam as aggressively as a typical store-bought gel, but it felt richer and smoother. There was a moment of minor disappointment because we have all been trained to associate giant bubbles with success. But once I got past that, I realized the formula did not need a mountain of foam to work. It spread easily, rinsed cleanly, and left my skin feeling softer, especially around dry spots like elbows and shins.
The fragrance-free oat and aloe version was the quiet overachiever. It was not glamorous. It did not smell like coconut sunset or enchanted citrus thunderstorm. It just worked. On days when my skin felt sensitive, overly dry, or irritated by weather changes, this was the formula I reached for first. It felt calm, and calm is underrated in skin care. Sometimes the most successful product is the one that does not make your skin do anything dramatic at all.
There were a few lessons, of course. Homemade shower gel absolutely benefits from small bottles. A giant dispenser looks ambitious, but smaller bottles are easier to shake, easier to keep fresh, and less heartbreaking if a formula is not quite right. I also learned that essential oils are best handled with restraint. What smells pleasantly herbal in the mixing bowl can become unexpectedly intense once steam hits it in the shower. This is not the place for overconfidence.
The biggest difference, though, was psychological. Making homemade shower gel turns an ordinary routine into something more intentional. You start paying attention to how your skin feels in different seasons, which ingredients seem helpful, and whether you really need a product with a novel-length ingredient label. It makes the shower feel less automatic and a little more personal.
So yes, homemade shower gel takes a tiny bit more effort than tossing a bottle into your cart. But in exchange, you get customization, simplicity, and the oddly satisfying feeling of washing up with something you made yourself. That is a pretty good trade for ten minutes in the kitchen and a slightly more interesting bathroom shelf.