If you have a pile of colorful rubber bands, a hook, and the irresistible urge to make something adorable in under half an hour, you are in exactly the right place. A single loom bracelet is one of the easiest bracelet designs for beginners, but it is also one of the most satisfying. It works up quickly, wastes very few bands, and gives you that delightful “I made this with my own tiny craft wizard hands” feeling.
Better yet, you do not need a deluxe jewelry studio or a craft room that looks like a Pinterest warehouse exploded. You can make a single loom bracelet on a full loom, on a mini loom or two pegs, or even without a traditional loom at all. That flexibility is part of the reason rubber band bracelets have stayed so popular with kids, parents, camp counselors, teachers, and nostalgic grown-ups who just wanted to “try one” and then somehow ended up making twelve.
In this guide, you will learn three practical ways to make a single loom bracelet, how to get the size right, which mistakes to avoid, and how to make your bracelet look more polished instead of “I dropped three bands and now it has character.” Whether you want a simple bracelet for yourself, a friendship gift, a birthday party craft, or a first project for a beginner, this article will walk you through the process in plain English.
Why a Single Loom Bracelet Is the Best Place to Start
The single loom bracelet is the little black dress of rubber band crafts: simple, reliable, and surprisingly versatile. It is beginner-friendly because the pattern repeats quickly, so you do not have to memorize a complicated sequence. It is also easy to customize. You can make it rainbow, striped, monochrome, school-themed, holiday-themed, or color-coordinated enough to make your organizer heart sing.
Another reason this bracelet works so well for beginners is that it teaches the core skills behind more advanced rainbow loom bracelet patterns. You learn how to place bands, maintain even tension, move loops cleanly, and secure the closure clip without launching the whole thing into another dimension. Once you can make a neat single loom bracelet, you are already building the muscle memory for more detailed designs later.
What You Need
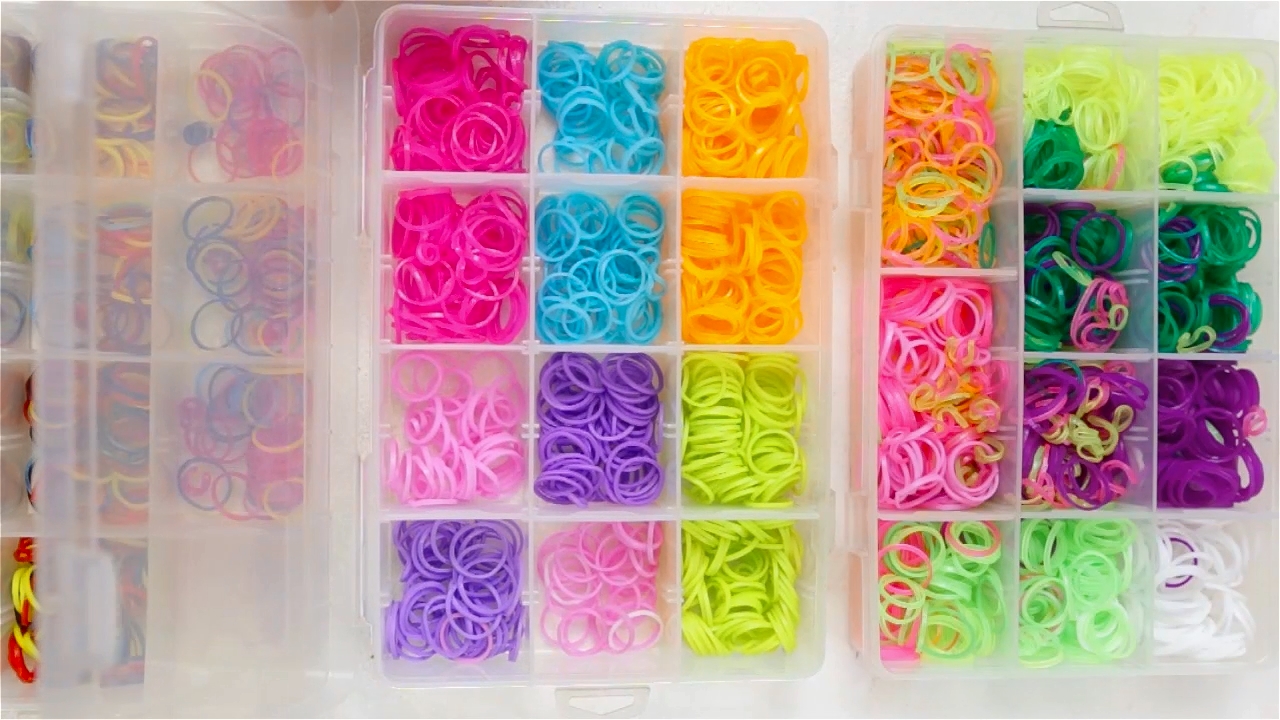
- Rubber bands or loom bands in your chosen colors
- A loom, mini loom, two pegs, two pencils, or your fingers depending on the method
- A plastic hook or small crochet hook
- A closure clip, usually a C-clip or S-clip
- A flat surface and a little patience
For most bracelets, plan on using about 20 to 30 bands for the main body, depending on wrist size and the method you use. Keep a few extra bands nearby for extensions, repairs, or the classic “wait, why is this shorter than I thought?” moment.
Before You Begin: Sizing, Color Planning, and Setup
Before you start building your single loom bracelet, decide how you want it to look. A classic rainbow sequence is always fun, but color-blocking also works beautifully. Try alternating two colors for a sporty look, use pastels for something softer, or make matching bracelets in team colors for birthdays, school spirit days, or party favors.
Bracelet size matters more than most beginners expect. A bracelet that looks long enough on the loom can suddenly feel snug once clipped. The safest move is to test the chain against the wrist before attaching the clip. If it looks short, add a few more bands or create a small extension at the end. Do not worry. Almost every first bracelet needs a tweak. Consider it a crafting rite of passage.
Way 1: Make a Classic Single Loom Bracelet on a Full Loom
This is the most traditional method and the one many people picture when they think of a Rainbow Loom bracelet. If you have a full loom with rows of pegs and directional arrows, this is a great place to begin.
Step 1: Position the Loom Correctly
Set your loom on the table with the arrows pointing away from you. That direction matters because it affects the way you place and loop the bands. Starting with the loom facing the correct way saves you from having to redo your work later while whispering dramatic things like, “We were all rooting for you.”
Step 2: Lay the Bands in a Diagonal Single Pattern
Begin at the center peg near the bottom of the loom. Stretch your first band diagonally to the peg above on the left. Then place the next band from that left peg to the center peg above it. Continue this zigzag pattern all the way up the loom, switching from center to side, then side back to center. The result should look like a diagonal single-chain path climbing the loom.
Take your time during this stage. If one band skips a peg or goes in the wrong direction, the bracelet will still have a personality, but maybe not the one you were aiming for. Push the bands down slightly as you work so there is room for the next ones.
Step 3: Turn the Loom Around
Once all the bands are placed, rotate the loom so the arrows point toward you. Now the bottom band is ready to be looped forward through the chain. This flip is the moment the project changes from “tiny rubber-band ladder” to actual bracelet magic.
Step 4: Hook and Loop the Bands
Insert your hook into the first peg where you will begin looping. Gently pull back the top band so you can grab the lower band underneath. Lift that lower band up and over the peg, then place it onto the adjacent peg it should connect to next. Repeat this same motion all the way up the loom, always pulling the lower band forward through the upper loop.
The main goal here is to stay calm and avoid stabbing at the bands like you are trying to defeat a tiny plastic dragon. Smooth, gentle movements work better. If a band slips off, stop and fix it right away. Waiting until later usually turns a two-second repair into a full-on bracelet rescue mission.
Step 5: Add the Clip
When you reach the end of the chain, place a C-clip or S-clip through the final loop while it is still secured on the loom. This keeps the bracelet from unraveling when you remove it. Then carefully lift the bracelet off the loom from the top end downward.
Step 6: Make an Extension if Needed
If the bracelet is too short to wrap comfortably around the wrist, use the empty loom to create a short extension chain with a few extra bands. Attach one end of the extension to the bracelet and the other end to the clip. This is incredibly common and not a sign of failure. It is a sign that wrists continue to have the audacity to be different sizes.
Why This Method Works Well
The full loom method gives you the most control. It is especially useful when teaching beginners because the pegs keep everything in place, and the zigzag layout makes the single chain easy to see. If you want a tidy, consistent beginner bracelet, this is often the best method to start with.
Way 2: Make a Single Loom Bracelet on a Mini Loom or Two Pegs
If you do not want to use a full-size loom, a mini loom or any two-peg setup can do the job beautifully. This method is fast, portable, and perfect for crafting at the kitchen table, in the car on a road trip, or anywhere you are likely to hear someone say, “Wait, can you make me one too?”
Step 1: Twist the First Band
Take your first band and twist it into a figure-eight shape. Place one loop over one peg and the other loop over the second peg. This twisted starter band creates the base of the bracelet.
Step 2: Add Two More Bands Without Twisting
Place a second band over both pegs without twisting it. Then add a third band the same way. You should now have three bands stacked on the two pegs, with the twisted one at the bottom.
Step 3: Lift the Bottom Band Over
Using your hook, grab the bottom band on one side and pull it up and over the peg so it drops into the center. Repeat on the other side. Now one band has been woven into the bracelet and two bands remain on the pegs.
Step 4: Keep Repeating the Pattern
Add one new band across the pegs, then pull the bottom band over on both sides. Repeat this pattern until the bracelet is long enough. As the chain grows, gently tug the tail downward to keep the tension even and the stitches neat.
This method becomes rhythmic very quickly: add one band, lift the bottom, add one band, lift the bottom. It is the kind of repetitive craft that feels oddly relaxing, right up until someone bumps the table and you suddenly become a protective bracelet goblin.
Step 5: Finish the Bracelet
When the bracelet reaches the right length, move the remaining loops onto a clip. Attach the clip to the starting band at the opposite end to close the bracelet. If needed, add a few extra bands as an extension before clipping.
When to Choose This Method
This is a great option if you want a simple bracelet without setting up a full loom. It is also ideal for travel kits and beginner craft sessions because it uses very few tools and takes up almost no space.
Way 3: Make a Single Loom Bracelet Without a Traditional Loom
No loom? No problem. You can still make a single loom bracelet with two pencils, two markers, chopsticks, or even your fingers. This method is especially handy when you want a quick project and your loom is missing in action, probably under a couch cushion with one sock and an expired crayon.
Step 1: Create a Two-Point Setup
If you are using pencils, hold them parallel or secure them side by side with tape or a rubber band. If you are using fingers, simply use your index and middle finger as the two pegs.
Step 2: Start the Chain
Twist the first band into a figure-eight and place it across the two points. Add a second band on top without twisting. Then add a third band above that.
Step 3: Pull the Bottom Band Over
Lift the bottom band over one side and release it into the center. Repeat on the other side. Add another band and repeat the same motion. Keep going until you have the length you want.
Step 4: Clip It Closed
Transfer the last loops to the clip and connect them to the beginning of the bracelet. Check the fit, and add an extension if the bracelet feels too tight.
Why This Method Is So Popular
This version proves you do not need fancy tools to make a cute rubber band bracelet. It is perfect for kids who want to try bracelet making right away, for classrooms that need a budget-friendly craft, or for anyone who enjoys the chaos of improvising with office supplies.
Common Mistakes and How to Avoid Them
Your Bracelet Is Too Tight
Add more bands before closing it, or make a small extension chain. A bracelet should sit comfortably, not leave your wrist negotiating labor rights.
Your Bands Keep Slipping Off
Work more slowly, push stacked bands down on the pegs as you go, and use a gentle hook motion instead of yanking. Sudden force is usually the villain here.
The Pattern Looks Uneven
That usually comes from inconsistent tension. Try keeping each band placement and each hook movement steady. After a couple of bracelets, your hands naturally get more consistent.
The Clip Pops Off
Make sure the clip catches both end loops securely. If only one side is attached, the bracelet can come apart when stretched. Double-check the closure before celebrating like you just won a crafting championship.
Fun Ways to Customize a Single Loom Bracelet
Once you understand the basic bracelet pattern, customization is where the fun really begins. Here are a few easy ideas:
- Use rainbow order for a classic colorful finish
- Alternate two colors for a striped bracelet
- Use black with one neon accent for a bold look
- Choose school or team colors for spirit bracelets
- Make matching friendship bracelets in coordinated shades
- Add a short extension in a contrasting color as a design detail
You can also make a set of three slim bracelets and stack them together. That gives you the visual effect of a bigger accessory while keeping each individual bracelet easy to make. It is basically the bracelet equivalent of ordering fries and telling yourself they do not count because you are “sharing.”
Final Thoughts
Learning how to make a single loom bracelet is one of the easiest ways to get into rubber band crafts. It is affordable, beginner-friendly, colorful, portable, and just complicated enough to feel rewarding without becoming stressful. Whether you use a full loom, a mini loom, or two pencils you found in a desk drawer, the basic process is simple: place the bands, loop them carefully, size the bracelet correctly, and clip it securely.
Once you make your first one, you will probably want to try another with different colors, then another for a friend, then another because the first one “was just practice,” and before long you will have a tiny pile of bracelets and absolutely no regrets. That is the beauty of a single loom bracelet. It is easy to start, fun to master, and surprisingly hard to stop making.
Real-World Experiences With Making a Single Loom Bracelet
The funny thing about learning to make a single loom bracelet is that the first one almost always teaches you more than the next five combined. In theory, it is a simple craft. In practice, your first attempt may include a backwards band, a clip that flies off the table, and a dramatic pause where you wonder whether rubber bands have developed personal opinions. That is normal. In fact, it is part of the charm.
Many beginners start with excitement and a huge color plan. They imagine a perfect rainbow loom bracelet with flawless stripes, maybe something worthy of showing off immediately. Then they realize color order matters more than expected. Put one odd color in the wrong spot and suddenly the bracelet goes from “soft sunset palette” to “leftover jelly beans in a lunchbox.” The good news is that even the weird combinations usually become endearing once the bracelet is finished.
Another common experience is underestimating the size. Nearly everyone reaches the end, proudly holds up the bracelet, and then discovers it fits a doll better than a human wrist. That is why experienced bracelet makers keep extra bands nearby for an extension. It is not cheating. It is wisdom. After a few attempts, you get a much better feel for how many bands your preferred method needs.
There is also a real difference between making a bracelet alone and making one with other people. At home, the process can feel relaxing and almost meditative. You add bands, hook loops, and watch the chain grow one tiny step at a time. In a group setting, though, it becomes social in the best way. Kids compare colors, trade clips, ask for help, and immediately start planning matching sets. A single loom bracelet works especially well at birthday parties, camp tables, rainy afternoons, and classroom craft breaks because it feels creative without becoming overwhelming.
One of the best experiences connected to this craft is giving the bracelet away. Because a single loom bracelet is quick to make, it is easy to create one for a sibling, a friend, a classmate, or a parent who pretends they do not want one and then absolutely wears it. Handmade bracelets carry a little extra meaning because someone chose the colors, spent the time, and clipped the ends together with care. That is a lot of sweetness packed into a handful of rubber bands.
Over time, many crafters develop personal preferences. Some love the full loom because it feels organized and precise. Others swear by the mini loom or finger method because it is fast and easy to carry anywhere. Some people enjoy making neat striped bracelets, while others lean into color chaos and let the bands surprise them. There is no single correct style. The best method is the one that makes you want to sit down and make another bracelet tomorrow.
That is really why this project has lasted. A single loom bracelet is small, simple, and inexpensive, but it delivers a genuine feeling of progress. You start with loose bands and end with something wearable. That transformation is satisfying every time, whether you are eight years old, thirty-eight, or somewhere in between with a suspiciously large stash of craft supplies.