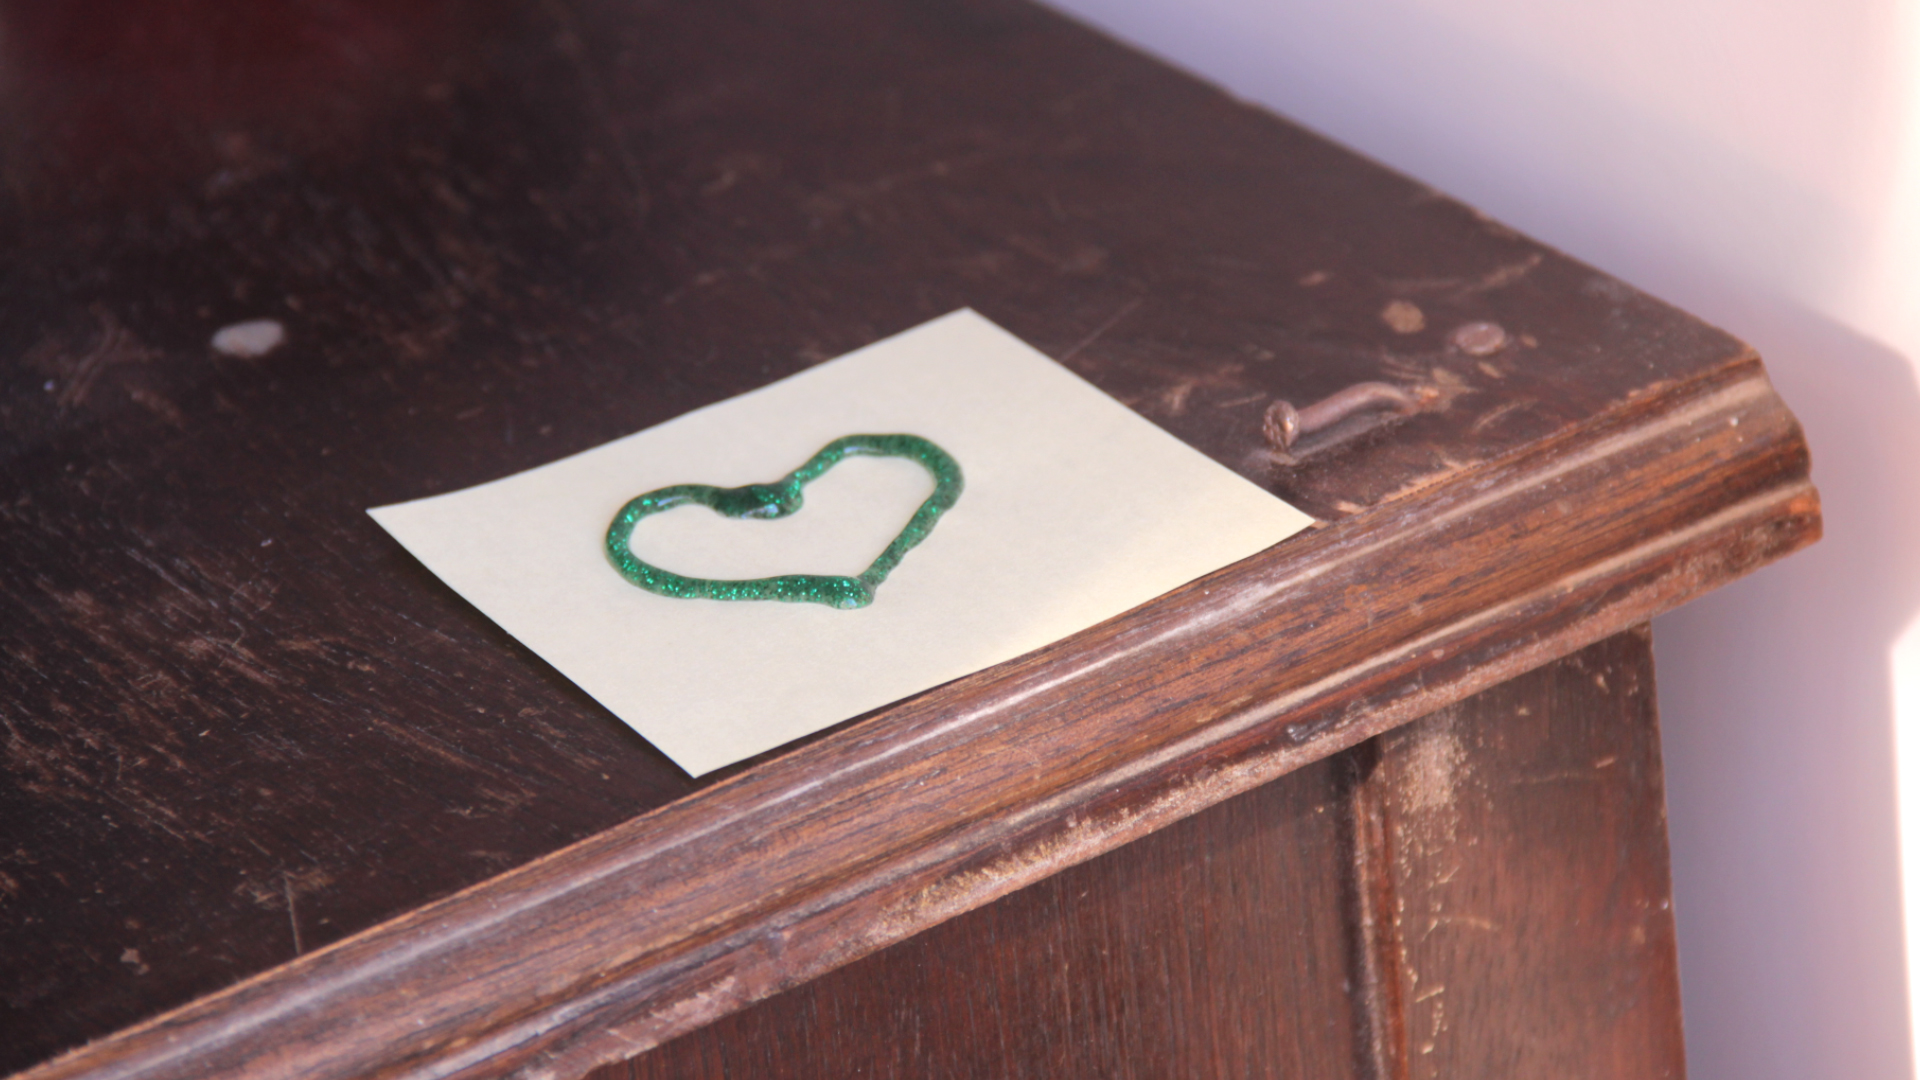
Glitter glue is the craft-table equivalent of a tiny disco ball: cheerful, dramatic, and somehow always in places you did not invite it to be. It can turn a plain birthday card, school poster, scrapbook page, ornament, or DIY decoration into something that says, “Yes, I brought sparkle, and no, I will not apologize.” But there is one small problem: glitter glue often takes its sweet, shimmering time to dry.
If you have ever finished a project and then hovered over it like a nervous museum guard, whispering “please don’t smear,” you are not alone. Glitter glue dries by letting moisture evaporate from the glue base. That means drying time depends on how thickly you applied it, what surface it is sitting on, the room temperature, the humidity, and how much airflow reaches the project. A thin line on paper may dry fairly quickly, while a thick glittery mountain on foam, plastic, or fabric can stay tacky for hours.
The good news: you can speed things up without ruining the sparkle. The trick is not to attack your project with wild heat like you are defrosting a windshield. Glitter glue responds best to thin application, gentle airflow, and controlled warmth. Below are three practical, beginner-friendly ways to dry glitter glue fast while keeping your craft cute, clean, and proudly non-smudged.
Why Glitter Glue Takes Time to Dry
Before we get into the three methods, it helps to understand what is happening. Most school and craft glitter glues are water-based adhesives mixed with glitter particles and color. When the glue is wet, it is soft, shiny, and easy to move around. As water evaporates, the glue film firms up and holds the glitter in place.
Thicker glue takes longer because the outside may feel dry while the inside is still damp. Think of it like a pancake: the edges can look done while the center is still questionable. Glitter glue also dries more slowly on non-porous surfaces such as plastic, glass, wax paper, or coated paper because the moisture has fewer places to go. On absorbent paper or cardboard, some moisture can soak into the surface, which may help the glue set faster.
Humidity matters too. In a damp room, the air already contains a lot of moisture, so evaporation slows down. In a dry, warm, well-ventilated room, glitter glue usually dries faster. This is why the same bottle of glitter glue may behave like a responsible adult one day and like a sticky swamp creature the next.
Way 1: Apply Glitter Glue in Thin Layers
The fastest drying method starts before drying begins
The easiest way to dry glitter glue fast is to avoid applying too much in the first place. A thin, even layer dries much faster than a thick blob. This sounds painfully simple, but it is the craft tip that saves the most time. Glitter glue is tempting because the squeeze bottle practically begs you to make puffy lines, dots, swirls, stars, hearts, and possibly your entire name in bubble letters. Fun? Absolutely. Fast-drying? Not always.
For paper crafts, greeting cards, posters, and scrapbook pages, use the nozzle to draw a narrow line instead of a raised ridge. If you need more sparkle, add a second thin layer after the first layer has become dry to the touch. This gives you shine without creating a glitter glacier that refuses to harden before bedtime.
If you are filling in a large area, squeeze a small amount onto the surface and spread it gently with a craft stick, toothpick, foam brush, or disposable brush. The goal is coverage, not frosting. A smooth layer will dry more evenly and is less likely to crack, wrinkle paper, or remain sticky in the middle.
Best surfaces for thin glitter glue layers
Thin layers work especially well on construction paper, cardstock, cardboard, poster board, wood craft shapes, paper plates, and unfinished chipboard. These materials give moisture more opportunity to escape. On slick materials like plastic ornaments, glass jars, acetate sheets, or wax paper, thin layers are even more important because the surface will not absorb much moisture.
For fabric, go slowly. Fabric can absorb glue unevenly, and thick glitter glue may become stiff or gummy. Test a small hidden area first, especially if the project needs to bend or be worn. A thin layer gives you better control and lowers the chance of hard, crunchy patches. Nobody wants a T-shirt that feels like it lost a fight with a glittery cracker.
Quick steps for the thin-layer method
- Place your project on a flat, protected surface.
- Use the glitter glue bottle tip for lines or a small brush for filled areas.
- Apply the thinnest layer that still gives visible sparkle.
- Let the first layer dry to the touch before adding more.
- Keep the project flat until fully dry to prevent sliding or pooling.
This method is best when you have some control over the project from the beginning. It is also the most reliable technique for preventing smears, bumps, and mysterious sticky spots that appear right when you thought the craft was finished.
Way 2: Use a Fan for Gentle Airflow
Air movement helps moisture escape
If your glitter glue is already on the project and you need it to dry faster, reach for a fan. A small desk fan, box fan, or ceiling fan can help move moist air away from the glue surface and replace it with drier air. This encourages evaporation without blasting the glue out of shape.
The key word is gentle. Do not put the fan on tornado mode and aim it directly at a fresh puddle of glitter glue. Strong airflow can push wet glue into weird ridges, blow dust onto the surface, or send loose paper decorations on a dramatic journey across the room. Use low or medium speed and place the project a few feet away from the fan.
This method is especially useful for classroom projects, kids’ crafts, posters, paper ornaments, and anything with multiple glue details. It is safer than high heat and works well when you have several pieces drying at once. Arrange the projects in a single layer with space between them so air can circulate.
How long should you use the fan?
For thin glitter glue lines on paper, 15 to 30 minutes of gentle airflow may make a noticeable difference. Thicker areas may still need an hour or longer. The fan does not magically cure the glue instantly; it simply helps the drying process move along at a less dramatic pace.
If the room is humid, combine the fan method with a drier location. Move the craft away from bathrooms, kitchens, laundry rooms, open windows on rainy days, or any place where the air feels damp. A dry bedroom, craft room, or air-conditioned space can help glitter glue dry faster and more evenly.
Fan-drying tips that actually help
- Place the project flat so wet glue does not run.
- Keep the fan at low or medium speed.
- Aim airflow across the project, not directly into thick glue blobs.
- Keep pets, dust, and loose glitter away from the drying zone.
- Rotate the project after 15 minutes if one side is drying faster.
Fan drying is the best all-purpose method because it is simple, low-risk, and does not require special tools. It is also ideal when the craft belongs to a child who keeps asking, “Is it dry yet?” every 47 seconds. The answer may still be “not quite,” but at least the fan is doing something productive.
Way 3: Use a Hair Dryer on Cool or Low Warmth
Controlled warmth can speed drying, but be careful
A hair dryer can help dry glitter glue fast, but it should be used carefully. Too much heat can make glue bubble, wrinkle paper, warp plastic, soften foam, or create a skin on the surface while the inside stays wet. The safest approach is to use the cool setting or the lowest warm setting, keep the dryer moving, and hold it several inches away from the project.
This method works best for sturdy surfaces like cardstock, cardboard, wood, canvas board, or thick poster board. Be extra cautious with lightweight paper, tissue paper, thin plastic, foam sheets, or delicate decorations. If the surface starts to curl, buckle, or look stressed, stop and switch to fan drying.
Never hold the dryer in one spot. Move it back and forth slowly, like you are warming the air around the project rather than cooking the glue itself. Glitter glue is not a grilled cheese sandwich. It does not need aggressive heat to become its best self.
How to dry glitter glue with a hair dryer
- Set the hair dryer to cool or low warm airflow.
- Place the project on a flat, heat-safe surface.
- Hold the dryer about 8 to 12 inches away.
- Move the dryer continuously across the glued area.
- Use short sessions of 30 to 60 seconds, then pause and check the surface.
- Let the project rest flat after drying so the glue can finish setting.
The hair dryer method is useful when you are finishing a last-minute card, party decoration, school display, or craft photo prop. It is not the best choice for very thick glitter glue designs because the outside may dry faster than the inside. For thick designs, combine short hair dryer sessions with fan drying and patience.
When not to use a hair dryer
Avoid using a hair dryer if your project includes lightweight loose glitter, feathers, tissue paper, curled paper strips, plastic wrap, delicate foam, or small pieces that can fly away. Also avoid high heat on sealed photographs, thin plastic ornaments, or any material that might melt or warp. If you are unsure, test the dryer on a scrap piece first.
For kids’ crafts, an adult should handle the hair dryer. The dryer can become hot, and the airflow can move wet glue around if used too closely. A fan is usually better for younger crafters because it is easier, calmer, and less likely to turn craft time into a glitter weather event.
Extra Tips to Make Glitter Glue Dry Faster
Choose the right drying location
Location matters more than most people think. A warm, dry room with steady airflow is ideal. If you are crafting in a humid basement or near a steamy kitchen, your glitter glue may take longer. Move the project to a dry table or shelf where it can sit undisturbed.
Keep projects out of direct intense sunlight unless the material can handle it. Sun may help warmth, but it can also curl paper, fade colors, or make some surfaces warp. Bright indirect light and good airflow are usually safer.
Use wax paper or parchment under the project
If you are making peelable designs, window clings, ornaments, or shapes that need to dry separately, use wax paper, parchment, or a plastic sheet as your work surface. Just remember that non-porous surfaces slow drying because moisture can only escape upward. Keep the design thin and allow extra drying time before peeling.
Do not stack projects too soon
Glitter glue can feel dry on top but still be soft underneath. If you stack cards, close a scrapbook, or slide a project into a folder too soon, you may discover the dreaded glitter glue transfer. That is when your beautiful star becomes a smudge on the opposite page. Let the project dry fully before stacking, folding, mailing, or storing.
Check dryness the smart way
Do not poke the main design with your finger unless you enjoy fingerprints as an artistic signature. Instead, touch a small edge or a test dot of glue placed on scrap paper. If it feels cool, soft, or tacky, give it more time. Dry glitter glue should feel firm and should not move when lightly touched.
Common Mistakes That Slow Down Drying
Using too much glue
This is the number one reason glitter glue takes forever to dry. Thick dots and raised lines look fun, but they trap moisture. If you want a dimensional look, build it in layers instead of making one giant blob.
Drying in a humid room
Humidity slows evaporation. A project that dries in 30 minutes on a dry day may stay tacky much longer in damp weather. Air conditioning, a fan, or a dehumidified room can help.
Touching the project too early
Every crafter has done this. You think, “I will just check.” Then suddenly there is a fingerprint in the middle of a glitter rainbow. Resist the urge. Test a scrap dot instead.
Using high heat
High heat can cause more problems than it solves. It may warp the surface, make glue bubble, or dry the top unevenly. Cool air, low warmth, and patience are usually better than hot air and regret.
Best Method by Project Type
For paper cards and posters
Use thin lines and a fan. If you are in a hurry, add a short cool hair dryer session. Keep the paper flat to prevent curling.
For ornaments and plastic crafts
Use very thin layers and allow extra time. Plastic does not absorb moisture, so airflow is your best friend. Avoid high heat because plastic can warp.
For fabric crafts
Apply lightly and test first. Use airflow rather than strong heat. Let the fabric dry flat so glue does not sink or spread unevenly.
For thick glitter designs
Use a combination approach: fan drying, short low-heat hair dryer passes, and longer resting time. Thick designs may need several hours or overnight drying even if the surface looks dry.
Personal Crafting Experience: What Actually Works in Real Life
After plenty of glitter glue experiments, the biggest lesson is this: the project that dries fastest is the one that was not overloaded with glue in the first place. I have seen beautiful cards ruined by one ambitious squeeze of glitter glue that turned a neat silver border into a slow-moving metallic river. It looked exciting for about ten seconds, then became a sticky waiting game.
For school posters, my favorite method is to finish the glitter glue details last, then place the poster on a flat table with a fan nearby. The fan should not be close enough to rattle the paper. A gentle breeze is enough. If the poster has glitter glue letters, I keep the lines thin and avoid filling huge areas. Filled-in glitter glue titles look amazing, but they can take much longer to dry and may wrinkle thinner poster board.
For handmade cards, I like making a tiny test dot of glitter glue in the corner of a scrap paper. That dot becomes the “dryness detective.” Instead of touching the actual card and risking a fingerprint, I touch the test dot. If the dot is tacky, the card stays open. If the dot is firm, the card is usually safe to handle. This small trick has prevented many tragic envelope accidents.
For ornaments, patience matters more. Glitter glue on plastic or glass tends to dry slowly because the surface does not absorb moisture. I use thin strokes, then let the ornament sit in a cup or drying rack where air can move around it. A hair dryer can help a little, but only on cool or low warmth. Too much heat can make plastic ornaments unhappy, and unhappy plastic ornaments are not subtle about it.
One surprisingly helpful habit is planning the drying zone before opening the glue. Glitter glue projects need a safe landing spot where nobody will stack books on them, drop homework on them, or let a curious cat inspect the sparkle with one paw. A clean shelf, spare table, or tray works well. If you use a tray, you can move the project without bending it.
Another real-life tip: do not judge glitter glue by shine alone. Wet glitter glue can look glossy and beautiful, and dry glitter glue can still look glossy and beautiful. The shine does not always tell you whether it is safe to touch. Texture matters more. If the glue still feels soft, cool, or rubbery, give it more time.
The best overall method is a combination: apply thin layers, place the project somewhere dry, and use gentle airflow. The hair dryer is useful, but it is a helper, not a miracle wand. When used carefully, it can speed up small areas. When used too aggressively, it can blow wet glue sideways and create abstract art you did not request.
In short, glitter glue rewards calm crafters. Give it air, give it space, and do not drown the project in sparkle paste. Your crafts will dry faster, look cleaner, and survive handling without turning into a glitter crime scene.
Conclusion
Drying glitter glue fast is not about forcing it into submission. It is about helping moisture evaporate while protecting the design. The three best methods are simple: apply glitter glue in thin layers, use a fan for gentle airflow, and use a hair dryer only on cool or low warmth when the surface can handle it.
For the fastest and neatest results, start with less glue than you think you need. Add more sparkle in layers if necessary. Keep your project flat, choose a dry room, avoid high heat, and test dryness on a scrap dot instead of poking the main design. Glitter glue may be dramatic, but with the right approach, it does not have to hold your project hostage.
Whether you are making a birthday card, classroom poster, holiday ornament, scrapbook page, or kid-friendly masterpiece, these techniques will help your glitter glue dry faster while keeping the sparkle exactly where it belongs.