Editor’s note: A backbend kickover is an advanced flexibility and tumbling skill. Practice on proper gymnastics mats under the supervision of a qualified coach. Stop immediately if you feel sharp pain, numbness, dizziness, or unusual pressure in your wrists, shoulders, neck, or lower back.
A smooth backbend kickover looks almost magical. One moment, you are standing upright; the next, you are arched upside down like a human rainbow, and thenwhooshyou are back on your feet. Naturally, your first attempt may look less like an elegant rainbow and more like a confused folding chair. That is normal.
The skill combines a controlled standing backbend, a strong bridge, an energetic leg kick, an inverted split position, and a balanced landing. Flexibility matters, but flexibility alone will not carry your legs over your head. You also need shoulder mobility, arm strength, core control, confidence, and good timing.
This guide explains three practical ways to learn a backbend kickover: using an elevated surface, practicing with wall assistance, and performing the skill with a trained spotter. You will also find preparation drills, form corrections, safety advice, and a realistic account of what the learning process often feels like.
What Is a Backbend Kickover?
A backbend kickover is a gymnastics and cheerleading skill in which you begin standing, reach backward into a bridge, shift your body weight toward your hands, and kick your legs over your head one at a time. You finish standing in a lunge or with your feet together, depending on the style being practiced.
It is different from a back walkover. During a backbend kickover, both feet usually reach the floor in the bridge before one leg initiates the kick. In a back walkover, the leading leg rises as the gymnast bends backward, creating a more continuous split-leg movement. A reliable bridge kickover is commonly used as a stepping-stone toward learning a back walkover.
Skills You Should Have Before Starting
Do not rush directly into the full movement because you can already touch your toes or perform a dramatic living-room backbend. A kickover places substantial weight on the hands and shoulders while the spine is extended. Gymnastics organizations and sports medicine specialists recommend gradual skill progression, appropriate mats, good technique, and trained supervision when athletes learn complex movements.
A Stable Bridge
You should be able to hold a bridge with your hands approximately shoulder-width apart, your elbows straight, and your feet firmly planted. Your arms should remain active rather than collapsing while your head hangs between your shoulders.
Practice gently shifting your chest toward and away from your hands. For a successful kickover, your shoulders must move overor slightly beyondyour wrists. If all your weight stays near your feet, your kicking leg can perform its finest rocket-launch impression and still go nowhere.
A Controlled Handstand
A kickover passes through a brief inverted position similar to a split handstand. You do not necessarily need a competition-perfect handstand, but you should understand how to support your body through straight arms, engage your core, and control your legs overhead.
Wall-supported handstands, handstand lunges, and small split-leg switches can improve the upside-down awareness needed for the middle of the skill. Coaching progressions frequently connect handstand control with stronger bridge kickovers and later back walkovers.
A Pain-Free Range of Motion
Your wrists, shoulders, upper back, hips, and spine should move comfortably through the required positions. More bending is not automatically better. If tight shoulders prevent your arms from reaching overhead, your lower back may compensate by arching excessively.
Repeated spinal extension is associated with overuse injuries in gymnastics, particularly when training volume rises too quickly or discomfort is ignored. Persistent back pain, wrist pain, or pain that worsens during arching should be evaluated by a qualified medical professional.
Warm Up Before Every Practice
Begin with five to ten minutes of light movement, such as jogging, skipping, jumping jacks, or brisk walking. A warm-up increases circulation and prepares your muscles and joints for more demanding activity. Avoid forcing deep stretches while your body is cold.
After raising your body temperature, perform controlled wrist circles, shoulder circles, lunges, leg swings, cat-cow movements, gentle cobra stretches, and overhead shoulder stretches. Add a few hollow-body holds, plank shoulder taps, glute bridges, and wall handstands to activate the muscles that stabilize the kickover.
Your warm-up should make you feel mobile and alertnot exhausted. Save enough energy for the actual skill instead of arriving at your first attempt with arms that have already submitted a formal resignation letter.
Method 1: Learn the Kickover From an Elevated Surface
Practicing with your feet elevated is often the most approachable kickover progression. The elevation helps move your hips closer to your hands, reducing the distance your center of mass must travel. Gymnastics coaching resources commonly recommend a secured panel mat, wedge mat, or similar padded apparatus for this drill.
Use only stable gymnastics equipment that cannot slide or tip. A mattress, rolling chair, glass coffee table, or suspicious stack of decorative pillows is not a safe substitute.
Step 1: Set Up the Mat
Place a firm folded panel mat or low wedge on a padded gymnastics floor. Ask your coach to confirm that the equipment is secure. Begin with enough elevation to make the kickover manageable, but not so much that your body position becomes awkward.
Step 2: Push Into a Bridge
Lie on your back with your feet on the elevated mat. Bend your knees and place your hands beside your ears with your fingers pointing toward your shoulders. Press through your hands and feet until your arms straighten into a bridge.
Step 3: Shift Toward Your Hands
Push through your legs and move your chest toward your hands. Keep your elbows straight and your shoulders active. Think about bringing your shoulders over your wrists rather than simply throwing a leg into the air.
Step 4: Lift the Leading Leg
Raise your preferred leading leg until it points upward. Keep it long and active. A straighter leading leg creates a longer lever and can help produce a smoother, more controlled kick.
Step 5: Push With the Supporting Foot
Drive through the foot that remains on the mat while continuing to shift your shoulders forward. The leading leg pulls upward as the supporting leg pushes away. These actions should occur together.
Step 6: Separate and Land the Legs
Pass through a split-leg handstand shape. Reach the leading foot toward the floor, then bring the second foot down. Lift your chest and finish in a lunge with your arms beside your ears.
Step 7: Reduce the Height Gradually
Once you can perform several controlled repetitions, lower the mat by one level. Do not rush from a high platform directly to the floor. The goal is to preserve the same shoulder shift, straight arms, and split-leg control as assistance decreases.
Method 2: Practice a Wall-Assisted Kickover
A wall drill can help you understand how to transfer weight onto your hands while giving your feet something solid to push against. It can also reduce fear because you do not need to generate the entire kick from the floor.
This drill must be performed over thick mats with a coach. Use a clear wall with no mirrors, shelves, windows, frames, or furniture nearby. Walls are excellent training partners because they do not get tired, but they are terrible at catching you.
Step 1: Position Your Bridge
Lie on your back with your feet close to the wall and push into a bridge. Your exact distance will depend on your height and flexibility. A coach can help you find a position that lets you place one foot on the wall without compressing your lower back.
Step 2: Walk One or Both Feet Up
Place the ball of one foot against the wall. Beginners may briefly place both feet on it before returning to a split position. Keep pressing through your hands so your shoulders remain active.
Step 3: Shift Your Shoulders Forward
Move your chest toward the wall and your shoulders toward the space above your hands. Do not allow your elbows to bend outward. Your arms are the base of the movement, not decorative accessories.
Step 4: Press Away From the Wall
Extend your leading leg overhead while pushing firmly through the foot touching the wall. Once your hips pass above your hands, separate your legs and reach the leading foot toward the floor.
Step 5: Finish in a Lunge
Land one foot at a time, push the floor away through straight arms, and raise your upper body. Finish with your front knee slightly bent, your back leg extended, and your arms overhead.
As control improves, use less pressure against the wall. You can then transition to a secured wedge or panel mat before attempting the floor. Wall, wedge, and panel-mat drills are widely used to create a progressive path toward an independent bridge kickover.
Method 3: Perform a Spotted Backbend Kickover
This method combines the complete standing backbend with the kickover. It should initially be performed with a gymnastics coach or another adult specifically trained to spot tumbling skills. A friend who once watched half a tutorial during lunch does not qualify.
Step 1: Begin in a Strong Standing Position
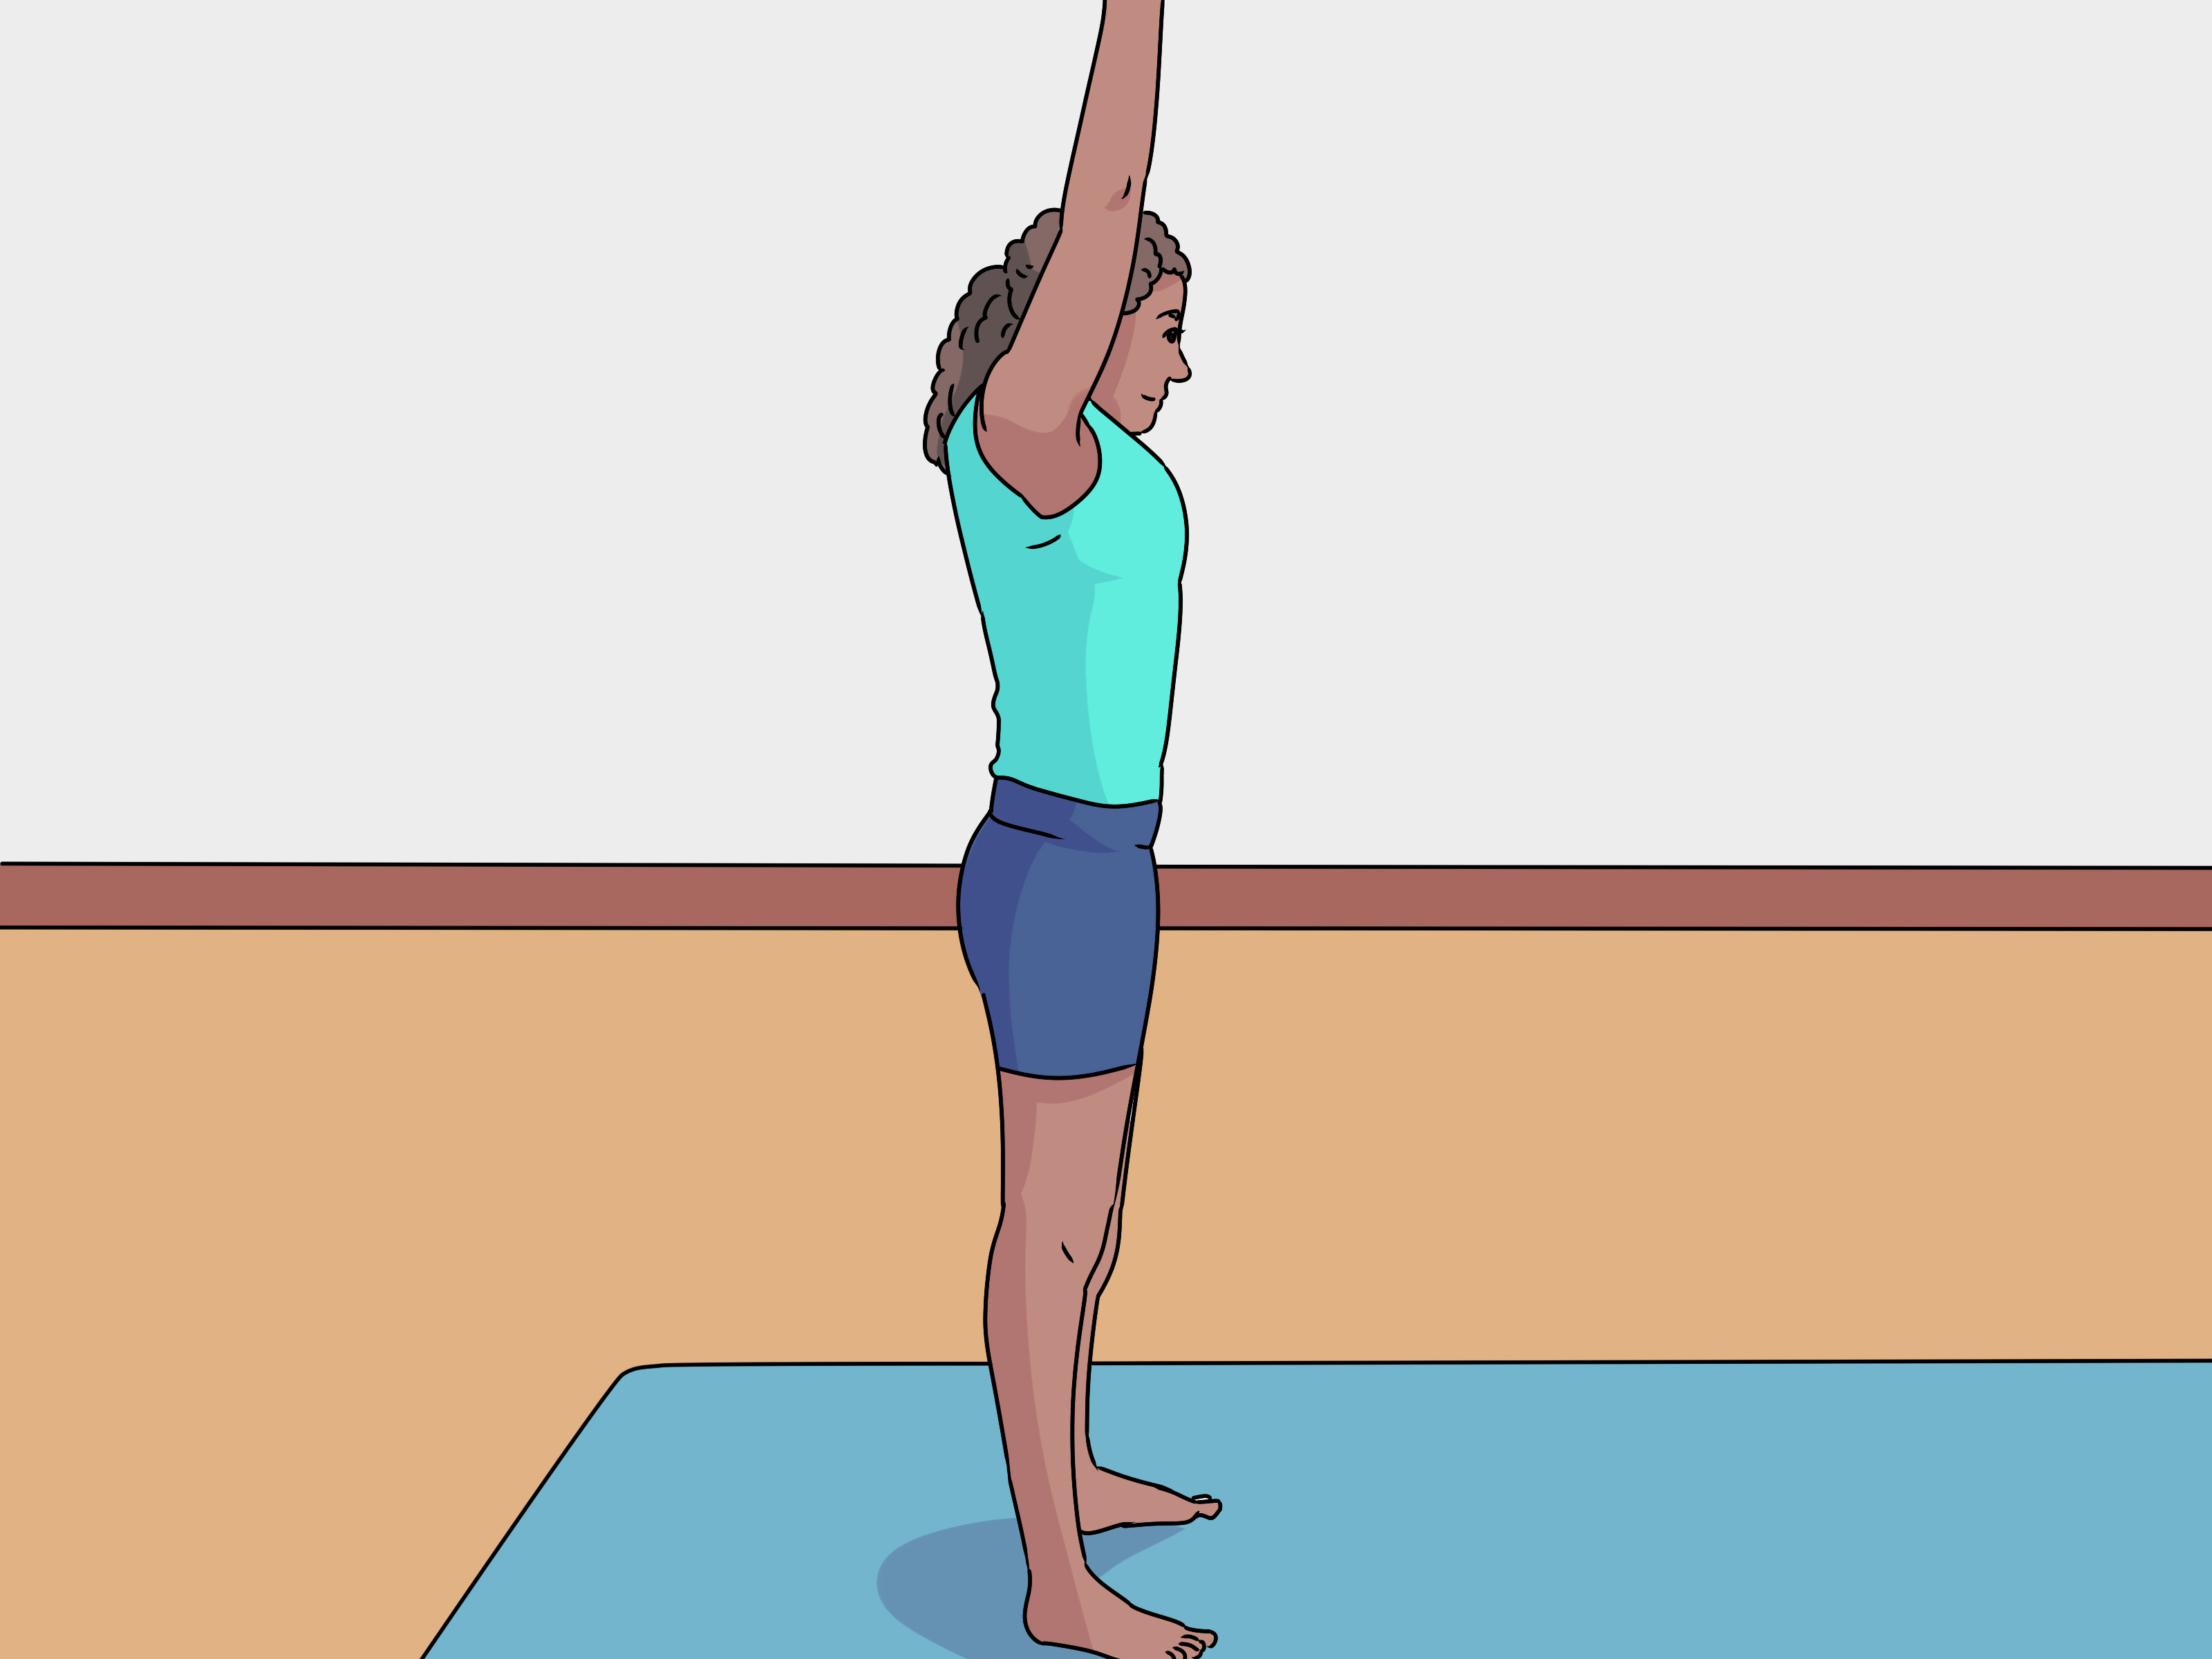
Stand with your feet approximately hip-width apart and extend your arms beside your ears. Engage your abdominal and leg muscles. Look forward and breathe normally.
Step 2: Reach Up Before Reaching Back
Lift through your chest and reach your hands upward as you begin bending backward. Keep your hips from drifting too far forward. Continue looking toward your hands so you know where they are moving.
Step 3: Place Your Hands on the Mat
Land with your hands about shoulder-width apart. Your fingers should point generally toward your feet. Absorb the arrival through active shoulders rather than dropping heavily into your wrists.
Step 4: Establish the Bridge
Straighten your arms and keep your feet grounded. The spotter may support your lower back or hips while helping you position your shoulders correctly. Pause only long enough to establish control.
Step 5: Shift and Kick
Move your shoulders over your hands, lift the leading leg, and push forcefully from the supporting foot. Keep your core engaged as your hips rise. Think “up and over,” not “kick wildly and hope gravity becomes cooperative.”
Step 6: Pass Through the Inverted Split
Keep your legs separated as they travel overhead. The leading leg reaches toward the landing while the second leg follows. Straight arms and active shoulders help maintain space between your head and the floor.
Step 7: Land and Recover
Place the leading foot down, then the second foot. Push through your hands, lift your chest, and finish in a controlled lunge. Avoid twisting sideways or collapsing onto both feet at once.
The spotter should gradually reduce assistance only when your coach sees consistent control. Training mats, spotting systems, foam pits, and other protective equipment can help reduce risk while unfamiliar gymnastics skills are being learned.
How to Fix Common Backbend Kickover Problems
Your Legs Will Not Go Over
The problem may not be leg strength. Check whether your shoulders are actually moving over your wrists. Practice bridge rocks, elevated kickovers, and bridges with one leg lifted. You may also need stronger handstands and more controlled shoulder mobility.
Your Elbows Keep Bending
Bent elbows reduce your support and bring your head closer to the floor. Build strength with incline push-ups, planks, handstand holds, and straight-arm shoulder drills. Use an easier kickover variation until you can maintain lockedbut not painfully hyperextendedelbows.
You Fall Sideways
Make sure your hands are evenly placed and your leading leg travels over the center of your body. Sideways movement often occurs when one shoulder carries more weight or the kicking leg swings around rather than upward.
Your Lower Back Feels Pinched
Stop practicing. A backbend should create muscular effort and stretching sensations, not sharp or pinching pain. Tight shoulders or hip flexors may be forcing excessive movement into the lumbar spine. Ask a coach, physical therapist, or sports medicine professional to evaluate your technique before continuing.
You Can Do It From a Mat but Not the Floor
This is a normal plateau. Continue lowering the elevation in small increments. Concentrate on moving your shoulders before your supporting foot leaves the surface. Film a repetition only when your coach approves, then compare your shoulder and hip positionsnot merely how high your leg travels.
A Simple Practice Routine
A productive session might include a general warm-up, wrist and shoulder preparation, three bridge holds, three bridge rocks, two wall handstands, several one-leg bridge lifts, and three to five assisted kickovers. Quality matters more than accumulating dozens of tired repetitions.
Rest between attempts and stop when your arms can no longer stay straight or your landing becomes uncontrolled. Overuse injuries are common in gymnastics because the same joints repeatedly absorb substantial stress. Gradual progression and adequate recovery are essential parts of skill development, not evidence that you are being lazy.
Practice Experience: What Learning a Backbend Kickover Often Feels Like
The following is a composite learning experience based on common coaching progressions and challenges rather than a claim about one specific athlete.
The first surprise is usually that the kick is not the most important part. Many beginners arrive ready to launch one leg toward the ceiling with enough enthusiasm to contact a passing satellite. Then they discover that the rest of their body has remained firmly parked over their feet.
During the first few practices, an elevated mat can make the movement feel almost suspiciously easy. You push into a bridge, raise one leg, shift toward your hands, and suddenly your feet arrive on the other side. The first successful landing is rarely graceful. There may be bent knees, a sideways step, and an expression suggesting you have just discovered teleportation. It still counts as progress.
The next stage is learning to identify what created the success. Was it a powerful kick, or did the shoulders finally move beyond the wrists? Did the supporting foot push at the right moment? Did the arms remain straight? Once the movement is understood as a coordinated weight transfer rather than an isolated leg swing, practice becomes more consistent.
Reducing the height of the mat is where patience gets tested. A kickover that felt effortless from eight inches may suddenly disappear at four inches. This can be frustrating because it feels as though a skill has been lost. In reality, the lower position demands more shoulder mobility, more leg drive, and better timing. Returning temporarily to the higher mat is not moving backward. It is using a clearer version of the skill to correct the unclear one.
Fear often appears during the transition to the floor. Even athletes who can hold a bridge comfortably may hesitate when it is time to lift the supporting foot. A trained spotter changes the experience. Knowing that someone can guide the hips creates enough confidence to commit to the weight shift instead of performing a tiny kick and immediately returning the foot to safety.
One especially useful moment occurs when a coach asks the learner to stop thinking about kicking and instead “push the chest toward the wall.” The instruction sounds backward until the body moves. As the shoulders travel over the hands, the hips become lighter and the leg suddenly has somewhere to go. The skill stops feeling like a battle against gravity and starts feeling like passing through a handstand.
Progress is rarely perfectly linear. Some days, three repetitions work in a row. On another day, the bridge feels stiff, the hands land too far apart, and every kickover resembles a shopping cart with one defective wheel. Sleep, fatigue, warm-up quality, stress, and muscle soreness can all affect coordination.
The best improvement often comes from ending practice before technique collapses. A few focused repetitions provide better learning than twenty desperate attempts. Video feedback can also help. What feels like a massive shoulder shift may appear on camera as a movement of approximately half an incha humbling but extremely useful discovery.
Eventually, the spotter uses less assistance. The learner completes a repetition and realizes the coach barely touched them. That moment usually produces the confidence needed for an independent attempt. The first solo kickover may not have straight legs or a polished landing, but it represents something more valuable: the athlete coordinated strength, flexibility, balance, timing, and courage without being carried through the movement.
After that, the goal changes from simply getting over to performing the skill well. The arms become straighter, the legs separate more cleanly, and the landing grows quieter. What once felt like a daring stunt becomes a repeatable skilland often the foundation for a smoother back walkover.
Conclusion
There is no secret shortcut for learning a backbend kickover, but there is a dependable progression. Build a stable bridge and handstand, warm up thoroughly, and begin with an elevated or wall-assisted variation. Move to a spotted floor kickover only after you can shift your shoulders, support your weight through straight arms, and control your legs overhead.
Practice patiently and resist the temptation to force the movement through pain or exhaustion. A successful kickover should come from coordinated technique, not from repeatedly launching yourself backward and negotiating with gravity. With qualified coaching, safe equipment, consistent drills, and sensible recovery, the skill can develop from an awkward first attempt into a smooth and confident movement.