An RV table should hold dinner, laptops, maps, and the time someone reaches for the syrup. Unfortunately, lightweight construction, removable pedestal legs, road vibration, and years of enthusiastic card games can turn a perfectly respectable dinette table into a miniature carnival ride.
The good news is that most RV table wobble comes from a few predictable places: loose mounting hardware, excessive play between pedestal components, weak attachment points, or a support system that simply is not rigid enough for the tabletop. You usually do not need to rebuild the entire dinette or hire a cabinetmaker who arrives carrying seventeen clamps.
These three practical methods explain how to make an RV table sturdier, beginning with the least expensive repair and progressing to a more substantial upgrade. The right solution depends on where the movement begins, so spend a few minutes diagnosing the table before buying hardware.
Why Does an RV Table Wobble?
Many RV tables use one or two removable pedestal tubes seated in floor and tabletop mounting bases. This arrangement is lightweight, compact, and convenient when the tabletop must be lowered to convert the dinette into a bed. The tradeoff is that every connection creates a potential point of movement.
A small amount of clearance between a pedestal tube and its socket may become noticeable at the edge of a wide tabletop. Loose screws can magnify that motion. If the screws have damaged the thin plywood or composite material underneath, tightening them may provide only temporary improvement. Wall-mounted, folding, and telescoping tables can develop similar movement at hinges, locking mechanisms, and mounting rails. RV-specific furniture also must balance strength with low weight, compact dimensions, and the need to remain secure during travel. erform a Two-Minute Wobble Test
Park the RV on a reasonably level surface, engage the parking brake, and stabilize the vehicle as you normally would at a campsite. Remove everything from the table. Then hold the tabletop near one corner and move it gently from side to side and front to back.
- If the tabletop moves while the pedestal remains still, inspect the upper mounting plate and its screws.
- If the entire pedestal moves at the floor, inspect the lower base, floor fasteners, and surrounding flooring.
- If the tube rocks inside the socket, the pedestal connection may be worn, loose, or poorly fitted.
- If the table sways mainly in one direction, it may need lateral bracing or a second support point.
- If a telescoping mechanism shifts vertically, inspect its lock, collar, and adjustment hardware.
Ask another person to move the table while you watch each connection. This is faster than randomly tightening every screw in sight, although random screw tightening remains one of humanity’s favorite repair traditions.
Before You Begin: Tools and Safety
Most repairs require only basic hand tools. Gather a screwdriver or bit set, adjustable wrench, flashlight, tape measure, pencil, drill with small pilot bits, and a vacuum. Depending on the repair, you may also need replacement screws, wood glue, hardwood toothpicks or dowels, washers, thread-locking compound, rubber shims, angle brackets, or a replacement pedestal base.
Use hand pressure when checking screws before reaching for an impact driver. RV cabinetry and flooring may contain thin plywood, particleboard, laminated panels, or lightweight composites. Overtightening a fastener can strip the material and turn a ten-minute repair into an afternoon featuring vocabulary unsuitable for the campground newsletter.
Before drilling into an RV wall or floor, determine what is behind the surface. Electrical wiring, plumbing, gas lines, tanks, heating ducts, and structural members may be hidden from view. RV walls are particularly thin, so screw length and placement require more care than they would in a conventional house. n>
Way 1: Tighten and Reinforce the Existing Mounting Hardware
The simplest way to make an RV table sturdier is to restore the connections it already has. This method costs little, preserves the original dinette conversion system, and often eliminates most of the wobble.
Step 1: Tighten the Upper and Lower Mounts
Remove the pedestal tube or lower the table according to the manufacturer’s instructions. Check every screw holding the tabletop bracket and floor base. Tighten loose fasteners gradually in a crisscross pattern so the mounting plate seats evenly.
If bolts pass completely through the tabletop or supporting panel, inspect the nuts and washers underneath. A missing washer may allow a nut to dig into soft material. A larger washer or backing plate can spread the load across a wider area, provided there is adequate clearance and the modification does not interfere with the table’s bed-conversion function.
For metal-to-metal fasteners that repeatedly loosen but still have healthy threads, a removable, medium-strength thread-locking product may help. Avoid permanent formulas unless the part is genuinely intended never to come apart again. RV furniture often needs to be disassembled for maintenance, replacement, or access to nearby systems.
Step 2: Repair Stripped Screw Holes
A screw that spins without tightening is not securing anything. In solid wood or sufficiently thick plywood, a lightly stripped hole can sometimes be repaired by removing the screw, coating hardwood toothpicks or a small wooden dowel with wood glue, filling the hole, allowing the glue to cure, trimming the repair flush, and drilling a correctly sized pilot hole.
For more serious damage, remove the bracket and inspect the material. Epoxy repair compound or a glued hardwood plug can create a stronger foundation than simply installing a wider screw. Do not automatically use a much longer screw; it could reach wiring, plumbing, or the underside of the RV. Furniture-repair guidance commonly recommends rebuilding stripped holes before redrilling rather than repeatedly forcing a loose fastener into damaged material. tep 3: Reduce Play in Removable Pedestal Connections
If the mounting plates are solid but the pedestal tube rocks inside a socket, clean both mating surfaces first. Dust, crumbs, corrosion, and deformed plastic liners can prevent a proper fit. Reinsert the tube fully and twist it into place if the system uses a tapered compression connection.
A very thin, durable shim may reduce minor clearance, but it must not prevent full engagement. Avoid stuffing thick cardboard into the socket. Cardboard compresses, absorbs moisture, and eventually becomes a tiny archaeological record of every spilled drink in the RV.
Some owners use a removable pin or screw through a pedestal and collar to eliminate movement. Such a modification should be attempted only when you understand the mechanism, know where drilling is safe, and do not need the pedestal to slide or telescope through that point. Never drill through a pressurized, spring-loaded, or unfamiliar lifting mechanism.
When This Method Works Best
Hardware reinforcement is ideal when the table was once stable but gradually became loose. It is also the best first step because additional legs and brackets cannot compensate for a floor base that is separating from the floor.
Way 2: Add a Second Support Point or Lateral Brace
A single pedestal can support vertical weight reasonably well while still allowing side-to-side movement. Adding another support path changes the geometry of the table and can dramatically reduce sway. This is especially helpful for wide tabletops used as workstations.
Option A: Install a Wall Support Rail or Cleat
If one edge of the table sits close to a solid dinette wall or cabinet structure, a wall-mounted rail, cleat, or removable table bracket can support that edge. The existing pedestal then carries part of the load while the wall connection resists lateral movement.
Measure carefully before installing the wall component. The tabletop must remain level, and any removable bracket must release easily when the dinette converts into a bed. Fasten the rail into known structural backing rather than relying only on thin decorative wall paneling. Hollow-wall anchors may be suitable for limited loads in certain assemblies, but the safest attachment depends on the RV’s wall construction.
RV owners have reported using wall hinge brackets alongside existing legs to reduce side-to-side movement and simplify bed conversion. Wall brackets and folding-leg arrangements are also established alternatives to freestanding pedestal systems. ption B: Add a Folding Leg or Second Pedestal
A folding leg placed near the unsupported outer edge is one of the easiest upgrades for a table that dips or twists when someone leans on it. Choose a locking leg rated for the tabletop’s expected load and position it where it will not attack anyone’s knees during breakfast.
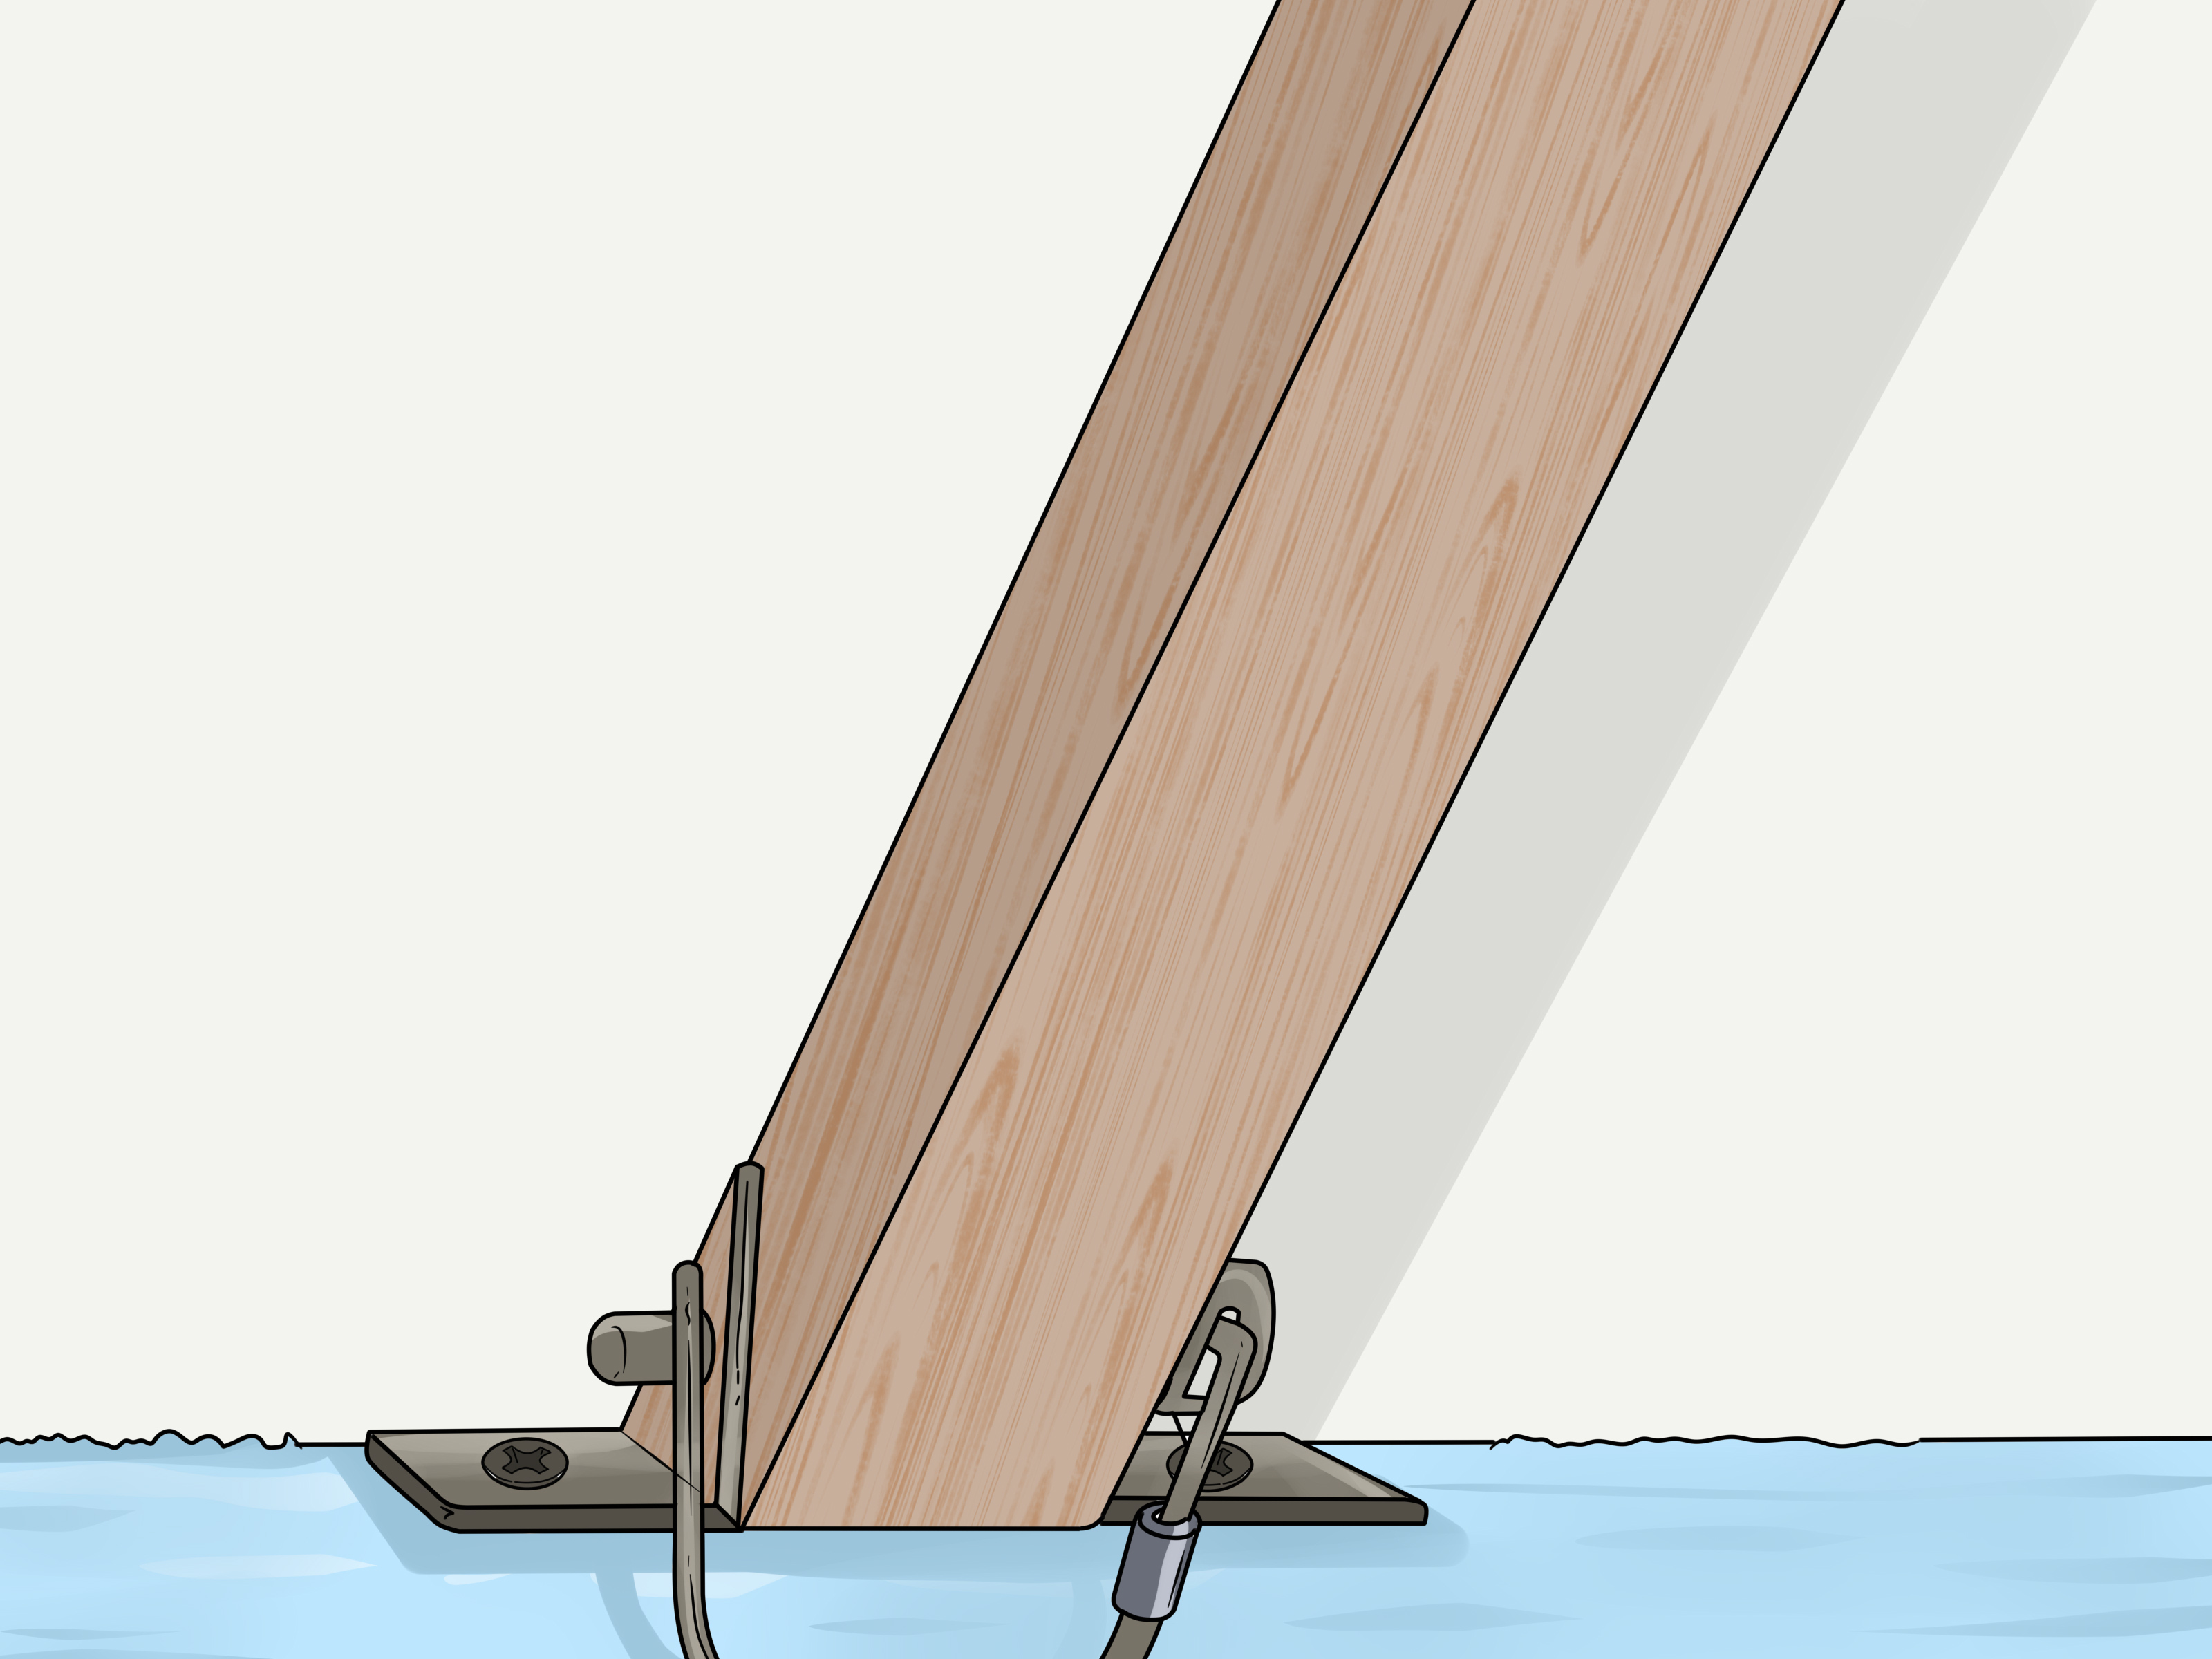
For a larger rectangular tabletop, two pedestal legs usually control rotation better than one. RV replacement tables are commonly offered in both one-leg and two-leg configurations, while surface-mounted brackets can provide multiple anchor points. ore adding a floor-mounted leg, verify that the new base will not interfere with storage compartments, slide mechanisms, tanks, wiring, ducts, or the dinette’s sleeping arrangement. The floor must also be strong enough to hold the chosen fasteners.
Option C: Add a Diagonal or Corner Brace
Tables with a framed base or cabinet-style support may wobble because the frame is rackingits rectangular shape is shifting slightly toward a parallelogram. A diagonal brace, corner block, or metal angle bracket can resist this motion.
Install braces where they will connect two meaningful structural members. Attaching a heavy bracket to thin decorative veneer accomplishes little beyond creating impressive-looking screw holes. Diagonal braces are specifically used on worktables and other structures to resist lateral forces and reduce racking. hen This Method Works Best
Add support when all original hardware is tight but the table still flexes because of its size, shape, or single-point mounting design. It is often the most effective solution for RV owners who use the dinette as a full-time office.
Way 3: Upgrade the Pedestal, Base, or Entire Support System
If the pedestal tube is bent, the socket is badly worn, a telescoping lock slips, or the original base is simply too flexible, replacement may be more reliable than repeated adjustments.
Choose a Better RV Table Support
Replacement options include compression-fit pedestal systems, surface-mounted bases, recessed floor mounts, telescoping legs, locking folding legs, wall-mounted swing arms, and two-leg table kits. Some recessed RV table brackets use multiple anchor points and a compression-fit receptacle to limit rattle and hold the post firmly. luate the following before ordering:
- Table height: Measure from the finished floor to the underside of the tabletop.
- Mounting style: Confirm whether the existing system is recessed, surface-mounted, wall-mounted, or removable.
- Top size and weight: A large solid-wood replacement top may overpower a lightweight pedestal designed for a laminate panel.
- Bed conversion: Make sure the table can still lower, release, or move as required.
- Floor structure: Confirm that fasteners can reach appropriate backing without penetrating hidden systems.
- Travel security: Removable components should have a secure storage or locking arrangement while the RV is moving.
Install the Upgrade Correctly
Use the manufacturer’s template and installation instructions whenever available. Mark the base location, verify clearances above and below, and drill pilot holes appropriate for the fasteners and substrate. Pilot holes can help reduce splitting in wood components, but they must not be so large that the screw threads cannot grip. a two-pedestal conversion, align both legs carefully. If the sockets are not parallel, the legs may bind during removal or force the tabletop out of level. Temporarily assemble the entire system before permanently tightening every base.
After installation, apply moderate pressure at each corner. Recheck all hardware after the first trip because vibration and normal settling may reveal a connection that needs a final adjustment.
When This Method Works Best
Upgrade the support system when parts are visibly damaged, replacement components no longer fit tightly, or the original design has never been stable enough for the way you use the table. A sturdier pedestal costs more than a handful of screws, but it may end the cycle of repairing the same wobble every few months.
Which RV Table Stabilization Method Should You Choose?
| Problem | Best First Fix | Typical Difficulty |
|---|---|---|
| Loose screws or mounting plates | Tighten hardware and repair damaged holes | Easy |
| Pedestal rocks inside its socket | Clean, reseat, shim carefully, or replace worn parts | Easy to moderate |
| Large tabletop sways sideways | Add a wall rail, folding leg, or second pedestal | Moderate |
| Base frame racks diagonally | Add corner blocks or diagonal bracing | Moderate |
| Bent, cracked, or slipping mechanism | Replace the pedestal or support system | Moderate |
Common Mistakes That Can Make the Problem Worse
Installing Longer Screws Without Checking Below
A longer screw is not automatically a stronger solution. It may miss structural backing or damage something hidden beneath the floor. Confirm the construction before changing fastener length.
Overtightening Screws in Lightweight Panels
Stop tightening when the bracket is firmly seated. Continuing to drive the screw can crush the panel or strip the hole. A secure hand-tight connection is better than a power-tool victory followed by immediate regret.
Bracing the Table to a Weak Wall Panel
A brace is only as strong as the material holding it. Locate studs, backing plates, cabinet framing, or another verified structural attachment point.
Ignoring the RV’s Level and Stabilization
Sometimes the table appears unstable because the entire trailer is moving. Level the RV, deploy stabilizers correctly, and repeat the wobble test before altering the furniture.
Adding Too Much Weight
Heavy residential table bases and thick hardwood tops may improve stiffness but add cargo weight. Consider the RV’s available payload and keep modifications as light as practical.
Practical Experiences and Lessons From Real-World RV Table Repairs
The following composite examples reflect common repair patterns reported by RV owners and the practical lessons that emerge from them. They are useful because an RV table rarely announces the exact cause of its wobble. It simply shakes your coffee and waits for you to solve the mystery.
Experience 1: The “Loose Base” That Was Actually a Damaged Floor Connection
Consider a travel trailer whose dinette table becomes noticeably unstable after several seasons. The owner tightens the floor-base screws before every trip. The table feels better for a day or two, but the movement always returns.
When the base is finally removed, two screw holes are enlarged and the surrounding panel is slightly crushed. The screws were turning, but they were no longer clamping the bracket securely. Rebuilding the damaged attachment points, drilling proper pilot holes, and reinstalling the base with appropriate washers solves the actual problem.
The lesson is simple: a screw that repeatedly loosens may be a symptom, not the cause. Continually tightening it can remove even more material. When a fastener will not hold normal hand torque, stop and inspect the hole.
Experience 2: A Stable Pedestal With an Oversized Tabletop
In another common situation, the pedestal and floor base are perfectly secure. The table still sways because the owner replaced the original lightweight top with a wider work surface. The new top is excellent for two laptops, a monitor, notebooks, and a coffee mug large enough to have its own zip code. It also acts like a lever, magnifying small movement at the pedestal.
Adding a locking folding leg near the outside edge transforms the table. The pedestal continues to support the center, while the new leg controls twisting and downward flex. The owner also positions the leg close to a side edge so it does not occupy valuable foot space.
The lesson is that changing the tabletop changes the forces on the support system. A pedestal suitable for a compact factory top may not provide enough lateral stiffness for a larger desk conversion.
Experience 3: The Wall Rail That Improved More Than Stability
A dual-pedestal dinette may still move slightly if both legs have clearance in their sockets. Instead of replacing everything, an owner adds a removable wall rail along the inside edge of the table. The rail supports one side and prevents side-to-side movement, while the existing legs carry the outer portion.
The unexpected benefit appears at bedtime. Because the inside edge is already aligned and supported, lowering the table into its bed position becomes easier. There is less wrestling with two loose legs while trying not to drop the tabletop on a foot.
The lesson is that the best modification can improve both stiffness and usability. Before installing a brace, think about how the table moves during dining, travel, cleaning, storage, and bed conversion.
Experience 4: The Repair That Failed After One Rough Road
A quick fix may feel solid while the RV is parked but loosen after miles of vibration. One owner installs a replacement base using convenient screws that fit the holes but are not well matched to the mounting material. The table passes the driveway test, yet movement returns after a bumpy trip.
The successful second repair uses the correct fastener type, sound backing, properly sized pilot holes, and an even tightening pattern. The owner tests the assembly again after traveling and catches one slightly loose fastener before it becomes a larger problem.
The lesson is that an RV repair must survive motion, not merely gravity. Inspect a modified table after its first trip and periodically thereafter.
Experience 5: Knowing When Replacement Is the Better Repair
Sometimes the pedestal has been tightened, shimmed, cleaned, and politely threatened, yet it still wobbles. Visible wear inside the socket or a slipping telescoping mechanism indicates that the component has reached the end of its useful life.
Replacing it with a properly sized RV table pedestal can be less frustrating than stacking additional temporary fixes. The new assembly should match the tabletop’s dimensions, expected use, conversion requirements, and existing floor structure.
The broader lesson is not to confuse persistence with economy. A five-dollar repair is inexpensive only when it works. Repeating it six times while rescuing spilled coffee is merely a subscription plan for annoyance.
How to Keep an RV Table Sturdy
Inspect the table at the beginning and end of the camping season. Check mounting screws, pedestal sockets, folding-leg locks, wall rails, and tabletop brackets. Clean removable connections before reinstalling them, and secure loose components for travel.
Avoid using the tabletop as a handrail when entering or moving through the RV. Even a strong table may not be designed to handle a person’s full weight applied suddenly at one corner. Distribute heavy items evenly and remove equipment before towing or driving.
Conclusion
To make an RV table sturdier, begin by finding the exact point of movement. Tighten sound hardware and rebuild stripped attachment holes. If the original support remains too flexible, add a wall rail, folding leg, second pedestal, or diagonal brace. When a pedestal or locking mechanism is worn or poorly suited to the tabletop, replace it with a properly sized RV-specific system.
Start with the smallest repair that addresses the real cause, but do not keep patching a damaged component indefinitely. A stable table makes meals, remote work, games, and rainy campground afternoons far more enjoyableand keeps your coffee from attempting an unscheduled migration across the dinette.